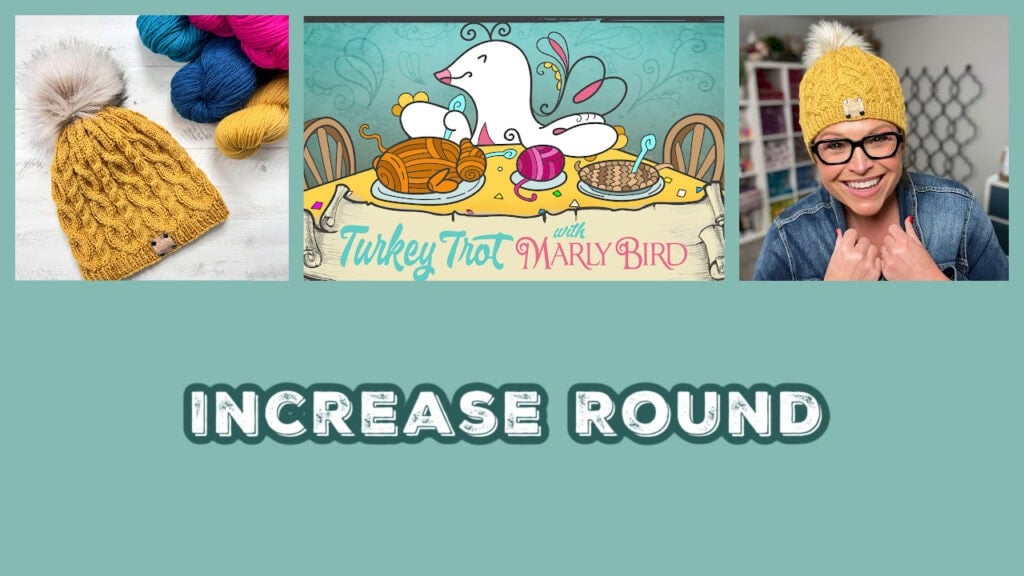
Turkey Trot 2025 | Keystone Cabled Knit Hat | Day 2
Hey BiCrafty Besties! Welcome back to Day 2 of the 7th Annual Marly Bird Turkey Trot Make-Along 2025. Yesterday you built a beautiful brim with tidy 1×1 ribbing (and I’m still slow-clapping for you). Today we’re making a teeny-tiny shift that has a huge payoff: the Increase Round, then we start the cable body.
If you ever need the daily links or want to peek ahead to see what’s coming, the Turkey Trot hub is your home base. All five days are linked there:
https://marlybird.com/blog/7th-annual-marly-bird-turkey-trot-make-along-2025/

Increase Round + Start the Cable Body (let’s head into cable country!) 🦃🧶
Day 2 includes two parts:
- Increase Round — getting your stitch count perfect
- Cable Body Setup + First Twists — establishing the rhythm
No stress, no mystery panic. We’re just building the heart of the hat one confident round at a time.
Quick Supplies Reminder
Grab these before you start today:
- your hat on the needles (brim finished!)
- stitch markers — you’ll want several today
- cable needle (if you use one)
Optional but recommended: a lifeline yarn strand or dental floss (yes, really). We’ll chat about that in a second.
Part 1: The Increase Round — Getting Your Stitch Count Perfect
Okay, friend, this round is short, sweet, and extremely important. Think of it as the bridge between the simple rhythm of ribbing and the structured flow of the cable pattern.
This increase round brings you to the exact stitch count required for:
✔ your chosen size
✔ the cable pattern repeat multiple
Take your time. Follow your size instructions carefully, and double-check your total when you’re done. A clean, accurate increase round makes the cable section fall right into place and prevents frustration later.
Marly’s Tips for the Increase Round
- This is a fantastic moment to add a lifeline.
Once we step into cable country, it’s comforting to know you’ve got a safety net. - Count your stitches right after the increases.
It’s way easier to fix a boo-boo now than eight rounds later.
When your stitch count is perfect… you’re ready for the fun part.
Affiliate Disclosure: This post contains affiliate links. To learn more please visit my privacy policy here💖
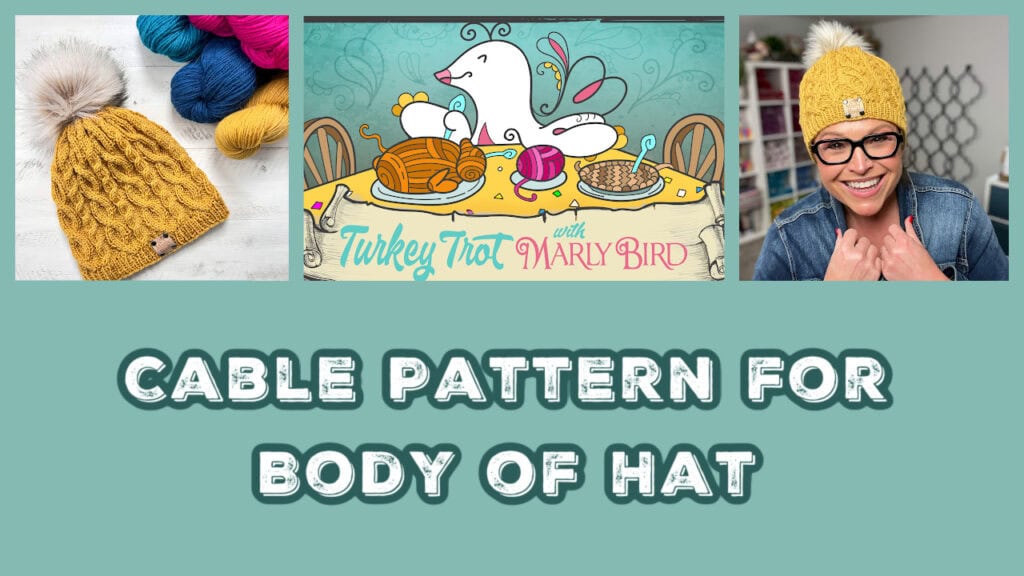
Part 2: Working the Cable Body — Setting Up the Pattern & Starting Your Twists
This is where the Keystone Hat comes alive! The body is the meat and potatoes of the pattern — full of texture, movement, rhythm, and those gorgeous rope cables that make this design feel so classic.
Read Your Size Notes First
Before you begin, read through your size instructions fully.
Each size starts on a different round number, and it’s easy to miss that if you dive straight in.
Example:
In the video, I’m making Teen–Adult Small, which begins on Round 11.
Your size could start earlier or later, so always follow your pattern.
Your First Cable Round After Increases = Very Important
No matter which round number your size starts on, that first cable-pattern round sets up:
- your knit columns
- your purl gutters
- the visual “roadmap” for every repeat after
A clean setup round makes everything else feel natural and intuitive.
Use Stitch Markers Between Repeats
Until the cable rhythm lives in your bones, markers are your best friend. Place one at the start of each repeat to help you:
- stay oriented
- spot mistakes fast
- feel the flow
- avoid the “wait… where am I?” moments 😆
The Purl-After-Knit Tension Check (again!)
Just like with ribbing: every time you meet a purl stitch after a knit,
👉 give it a gentle snug tug.
That keeps your purl ditch tidy, knit columns crisp, and cables beautifully defined.
Walking Through the Rounds
In today’s lesson, we work through:
- Round 11 (for my size)
- Round 12
- Round 1
- Round 2
- Round 3
- Round 4
- Round 5 (you’ll do this one on your own!)
- Round 6
You’ll see each cable worked with a cable needle and without one, so you can choose the method that feels best in your hands.
Keep Going to Your Size Length
Continue the body until you hit the length listed for your size, then:
⭐ End after a Round 5.
No matter how long you make your hat, the crown is written as though your last round was Round 5 — that keeps everything aligned.
Keep That Lifeline Handy
If you haven’t added one yet, now’s a great time.
Cables are gorgeous… but they’re also chatty. They’ll tell you immediately if something is off. A lifeline gives you the confidence to keep moving without fear.
If you already placed one:
- move it up as needed
- keep it ready for tricky cable rounds
- use it anytime things feel a little “wait… what row am I on?”
Consistency Is Your Superpower
As you continue:
- keep snugging that purl-after-knit
- let markers guide you through each repeat
- stay relaxed, stitches close to needle tips
- take your time on cable rounds — they’re the stars
This part builds slowly, but the payoff? Chef’s kiss. Your fabric will look richer and more beautiful with every round.
Want the Best Value + All the Extras? VIP Is Still Open
If you want everything ad-free, organized, and fully supported, VIP is still available and truly the best value. Marly Bird House
✅ ad-free videos
✅ downloadable PDFs + handouts
✅ bonus lessons + technique help
✅ unlimited access in Marly Bird House
✅ all resources in one tidy place
Grab VIP here:
https://marlybirdturkeytrot.com Marly Bird House
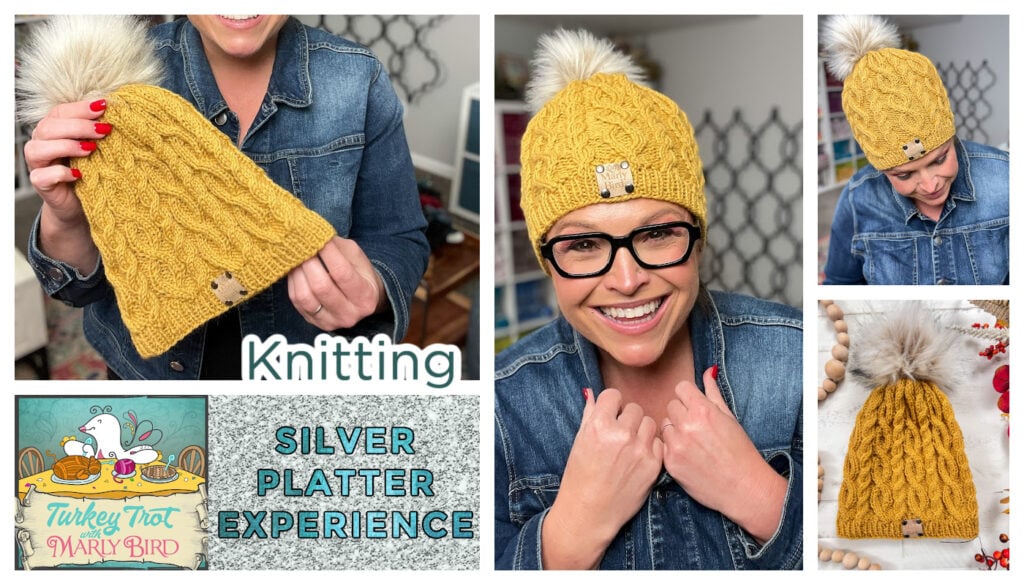
Day 2 Video + Written Pattern Instructions
SKILL LEVEL
Adventurous Beginner
MEASUREMENTS
To Fit Sizes
Baby – Toddler (Child, Teen – Adult S, Adult M – Adult L)
To fit head circumference ranges:
12 – 14¼ (14¼ – 16½, 16½ – 19½ , 19½ – 22½ )”
[30.5 – 36 (36 – 42, 42 – 49.5, 49.5 – 57) cm]
Finished Measurements
Note: Hat fabric is extremely stretchy. The Cable Panels pattern behaves like a rib and so the measurements are flexible. The circumference of the Hat can grow up to 25-30% when worn, so be sure to choose a size that is smaller than your real head circumference when laid flat.
Circumference when laid flat: 11½ (13¾, 16, 18¼)” [37 (44.5, 51.5, 59) cm]
Circumference when fully stretched: 14½ (17½, 20¼, 23¼)” [29 (35, 40.5, 46.5) cm]
Height: 6¼ (7¾, 8½, 10)” [16 (19.5, 21.5, 25) cm]
Gauge
28 sts and 26 rounds = 4 x 4” [10 x 10 cm] in Cable Panels pattern laid flat and unblocked.
MATERIALS
Yarn
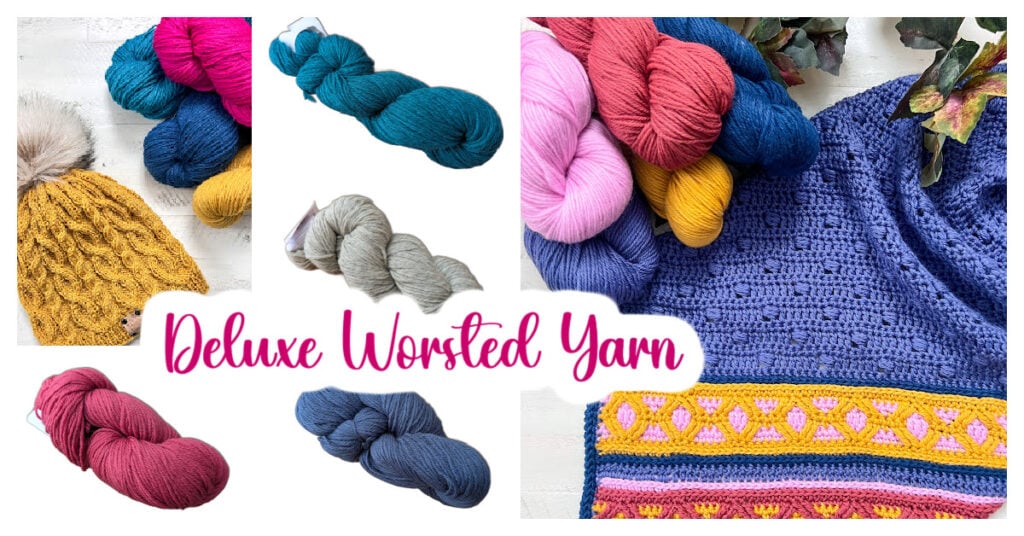
Universal, Deluxe Worsted (100% wool, 220 yds / 208 m, 3½ oz / 100 g, CYCA #4 worsted)
1 (1, 1, 2) #12174 Ginseng
Needles
U.S. 8 [5 mm] 16” [40.5 cm] circular needle or size needed for gauge, set of 5 double-pointed needles in same size.
Notions
- Removable stitch markers: https://erinlanebags.com/collections/stitch-markers
- Cable Needle
- Tapestry needle: https://amzn.to/42LkAui
- Quality project bag: https://erinlanebags.com/collections/view-bags
- Leather tag (optional): https://tidd.ly/47hQAaW
- Leather rivets (optional) https://amzn.to/4eSByem
- Faux Fur Pom (optional)
ABBREVIATIONS
K – Knit
K2tog – Knit 2 together
Kfb – Knit into the front and back of the same stitch (see Special Stitches)
P – Purl
P2tog – Purl 2 together
Pfb – Purl into the front and back of the same stitch (see Special Stitches)
RS – Right Side
Sl – Slip
Ssk – Slip, slip, knit (see Special Stitches)
St(s) – Stitches
WS – Wrong side
SPECIAL STITCHES
⭐️ Ssk (Slip, Slip, Knit): Slip 2 stitches, one at a time, as if to knit. Insert left hand needle into the front of these 2 stitches and knit them together from this position – 1 stitch decreased.
⭐️ Kfb (Knit Front & Back): Knit through front and back of next stitch – 1 stitch increased.
⭐️ Pfb (Purl Front & Back): Purl through front and back of next stitch – 1 stitch increased.
CABLE STITCHES
⭐️ 2/2 LC (2/2 Left Cable): Slip 2 sts onto cable needle and hold in front, k2 from left hand needle, k2 from cable needle.
⭐️ 2/2 RC (2/2 Right Cable): Slip 2 sts onto cable needle and hold in back, k2 from left hand needle, k2 from cable needle.
⭐️ 2/1 LPC (2/1 Left Purl Cable): Slip 2 sts onto cable needle and hold in front, p1 from left hand needle, k2 from cable needle.
⭐️ 2/1 RPC (2/1 Right Purl Cable): Slip 1 st onto cable needle and hold in back, k2 from left hand needle, p1 from cable needle.
STITCH PATTERNS
1 x 1 Rib
Worked in the round over an even number of sts.
Every Round: * K1, p1; repeat from * around.
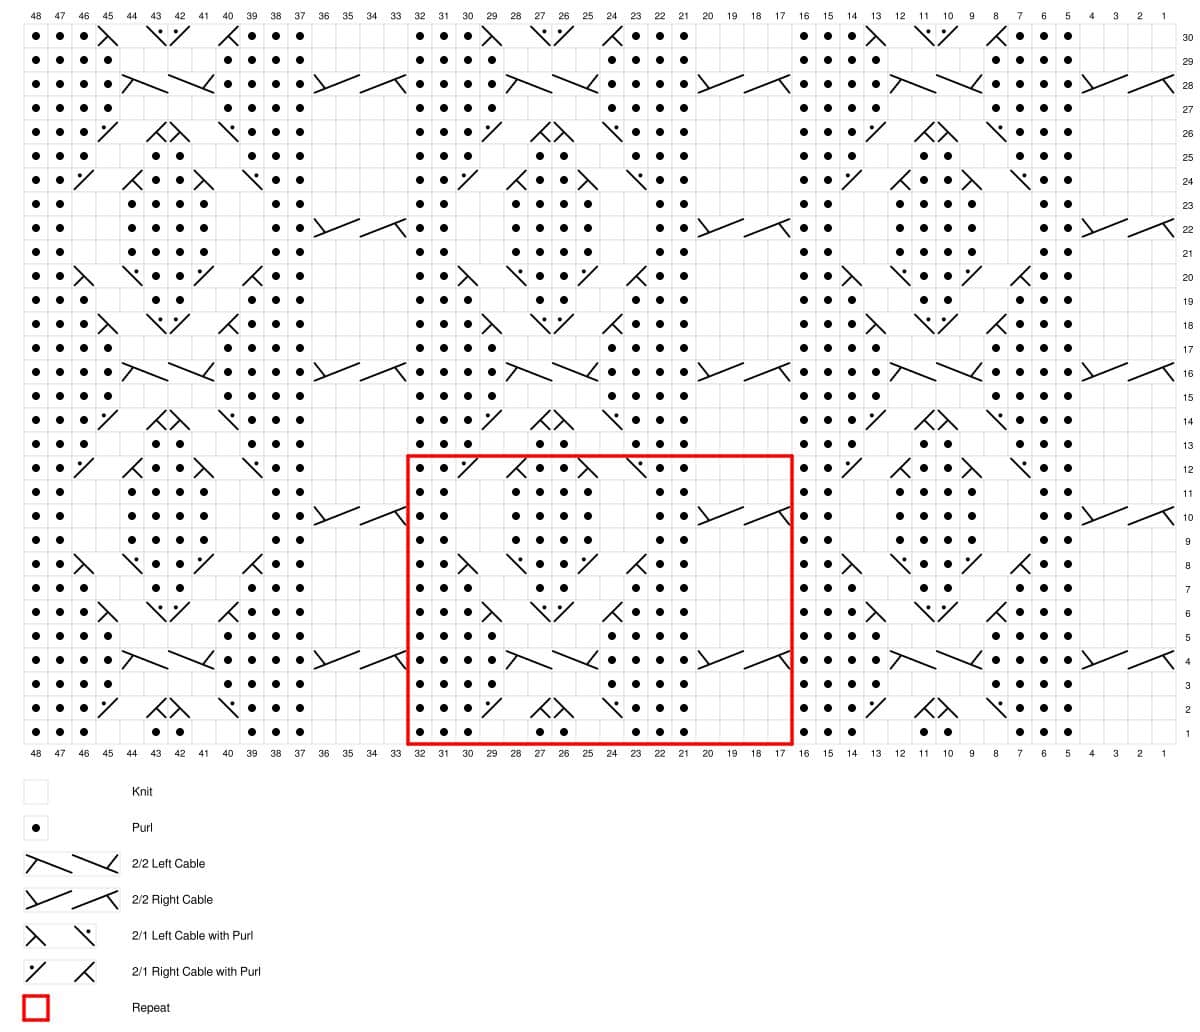
Cable Panels Pattern (circular)
Worked in the round over a multiple of 16 sts.
Round 1: * K4, p3, k2, p2, k2, p3; repeat from * around.
Round 2: * K4, p3, 2/1 LPC, 2/1 RPC, p3; repeat from * around.
Round 3: * K4, p4, k4, p4; repeat from * around.
Round 4: * 2/2 RC, p4, 2/2 LC, p4; repeat from * around.
Round 5: * K4, p4, k4, p4; repeat from * around.
Round 6: * K4, p3, 2/1 RPC, 2/1 LPC, p3; repeat from * around.
Round 7: * K4, p3, k2, p2, k2, p3; repeat from * around.
Round 8: * K4, p2, 2/1 RPC, p2, 2/1 LPC, p2; repeat from * around.
Round 9: * K4, p2, k2, p4, k2, p2; repeat from * around.
Round 10: * 2/2 RC, p2, k2, p4, k2, p2; repeat from * around.
Round 11: * K4, p2, k2, p4, k2, p2; repeat from * around.
Round 12: * K4, p2, 2/1 LPC, p2, 2/1 RPC, p2; repeat from * around.
Repeat Rounds 1-12 for circular Cable Panels pattern.
CHART
Cable Panels pattern – circular version
NOTES
- Directions are for the smallest size; changes for larger sizes are in parentheses. When only one number is given then that number applies to all sizes.
- Hat is worked in the round from the bottom up.
- Hat fabric is extremely stretchy. The Cable Panels pattern behaves like a rib, and so the measurements are flexible. The circumference of the Hat can grow up to 25-30% when worn, so be sure to choose a size where the Hat is smaller, when laid flat, than your real head circumference.
- Optional double-brim may increase the amount of yarn required.
VIDEO TUTORIALS
- How to Long Tail Cast On >> https://youtu.be/vEGwt4cedLM <<
- How to Fix a Dropped Cast On Stitch >> https://youtube.com/shorts/ZlvKpqAqMrc <<
- Knit Stitch (continental style) >> https://www.youtube.com/watch?v=M3brKFKg5Yc <<
- Purl Stitch (continental style) >> https://www.youtube.com/watch?v=LuDt-8jqh4g <<
- How to Add a Lifeline >> https://youtu.be/FiqYUE_aHAw <<
- How to Tink >> https://youtu.be/c7Gud7k4Y8k <<
- How to Cable >> https://www.youtube.com/watch?v=qn7xpc72xRs <<
- How to Fix a Mis-Crossed Cable >> https://youtu.be/5se7YKWv5xg <<
- How to Do 1 x 1 Ribbing >> https://youtu.be/xx7XFsbEGkE <<
- How to Bury Ends >> https://youtu.be/8_NBGUKjO-E <<
Click Here to watch on YouTube: https://youtu.be/P36dbARppXs
Click Here to watch on YouTube: https://youtu.be/v_WVa8j47W8
KEYSTONE HAT PATTERN
BRIM
These instructions are part of Day 1
BODY (updated 11-29-25 @ 9:11pm)
Single Brim – Increase Round
For Size Teen – Adult S only:
Next Round (increase round): * Work 5 sts in established 1 x 1 Rib, pfb; repeat from * around.
Count: 112 sts.
For Sizes Baby – Toddler, Child, and Adult M – Adult L Only:
Next Round (increase round): * Work 8 (10, x, 6) sts in established 1 x 1 Rib, kfb, Work 8 (10, x, 6) sts in established 1 x 1 Rib, pfb; repeat from * around.
Count: 80 (96, x, 128) sts.
(Optional) Double Brim — Increase Round
For All Sizes:
Next Round (increase round): * Work 8 (10, 5, 6) sts in stockinette stitch, kfb, repeat from * around.
Count: 80 (96, 112, 128) sts.
Body Of Hat Cables
For All Sizes:
Count: 80 (96, 112, 128) sts. Work evenly in Cable Panels pattern for 31 (39, 43, 41) rounds starting with pattern Round #11 (3, 11, 1), and ending after a pattern Round #5.
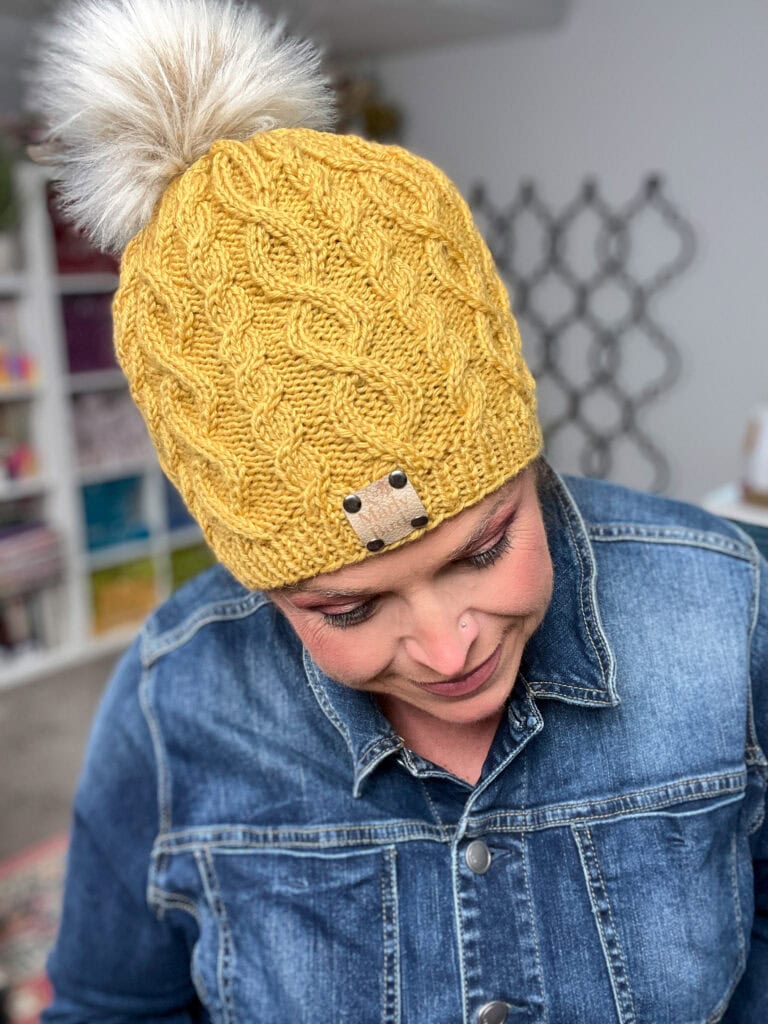
Adult M-Adult Large Please note: For a more petite hat, stop here and move to the crown. For a taller hat (which will also match the sample and the 10” height) add 12 more rounds. For reference: sample yellow hat is an Adult Medium-Large and is worked for 53 rounds ending after a pattern round 5. Before the crown shaping it measured 8.75″ tall and after the crown it is 10″ tall.
➡️ Continue to Day 3 Instructions
FAQ: Keystone Cabled Knit Hat Day 2
➡️ Why is the increase round so important?
Because it gets you to the exact stitch count for both your size and the cable repeat multiple. If you’re off by even one stitch, cables won’t line up and you’ll end up annoyed later.
➡️ How do I know I increased correctly?
After finishing the increase round, count your stitches. Compare to your size’s stitch count in the pattern. Fixing one mistake now beats ripping eight rounds later.
➡️ Should I place a lifeline now?
Yes, this is the perfect moment. You’re about to enter cable country, and lifelines make cable knitting feel safe and chill. Note: do not put the lifeline through the stitch markers!
➡️ I got lost in the cable repeats. What should I do?
Markers between repeats are lifesavers. If you’re already lost, pause, count your stitches within a repeat, and compare to the chart/written row. You can also rip back to your lifeline if needed.
➡️ Do I have to use a cable needle?
Nope! Use one if you like the security. You can also cross stitches without one — today’s lesson shows both so you can pick your favorite method.
➡️ Why do I need to end after Round 5 before the crown?
The crown shaping is written assuming your last body round was Round 5. Ending there keeps all decreases and cable alignment correct.
➡️ Where do I find Day 3?
All daily links are in the Turkey Trot hub post:
https://marlybird.com/blog/7th-annual-marly-bird-turkey-trot-make-along-2025/

Final Pep Talk
You’re officially in the cable zone — and that’s something to celebrate. This section takes the most focus, so keep it cozy: take breaks, hydrate, stretch, breathe… and admire how stunning this fabric looks as it grows.
These Keystone cables are worth every stitch. You’re doing amazing. 💕
— Marly Bird, your BiCrafty Bestie