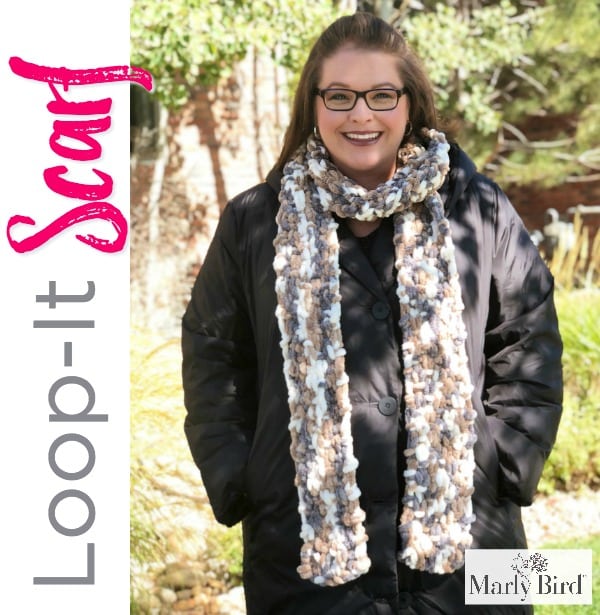
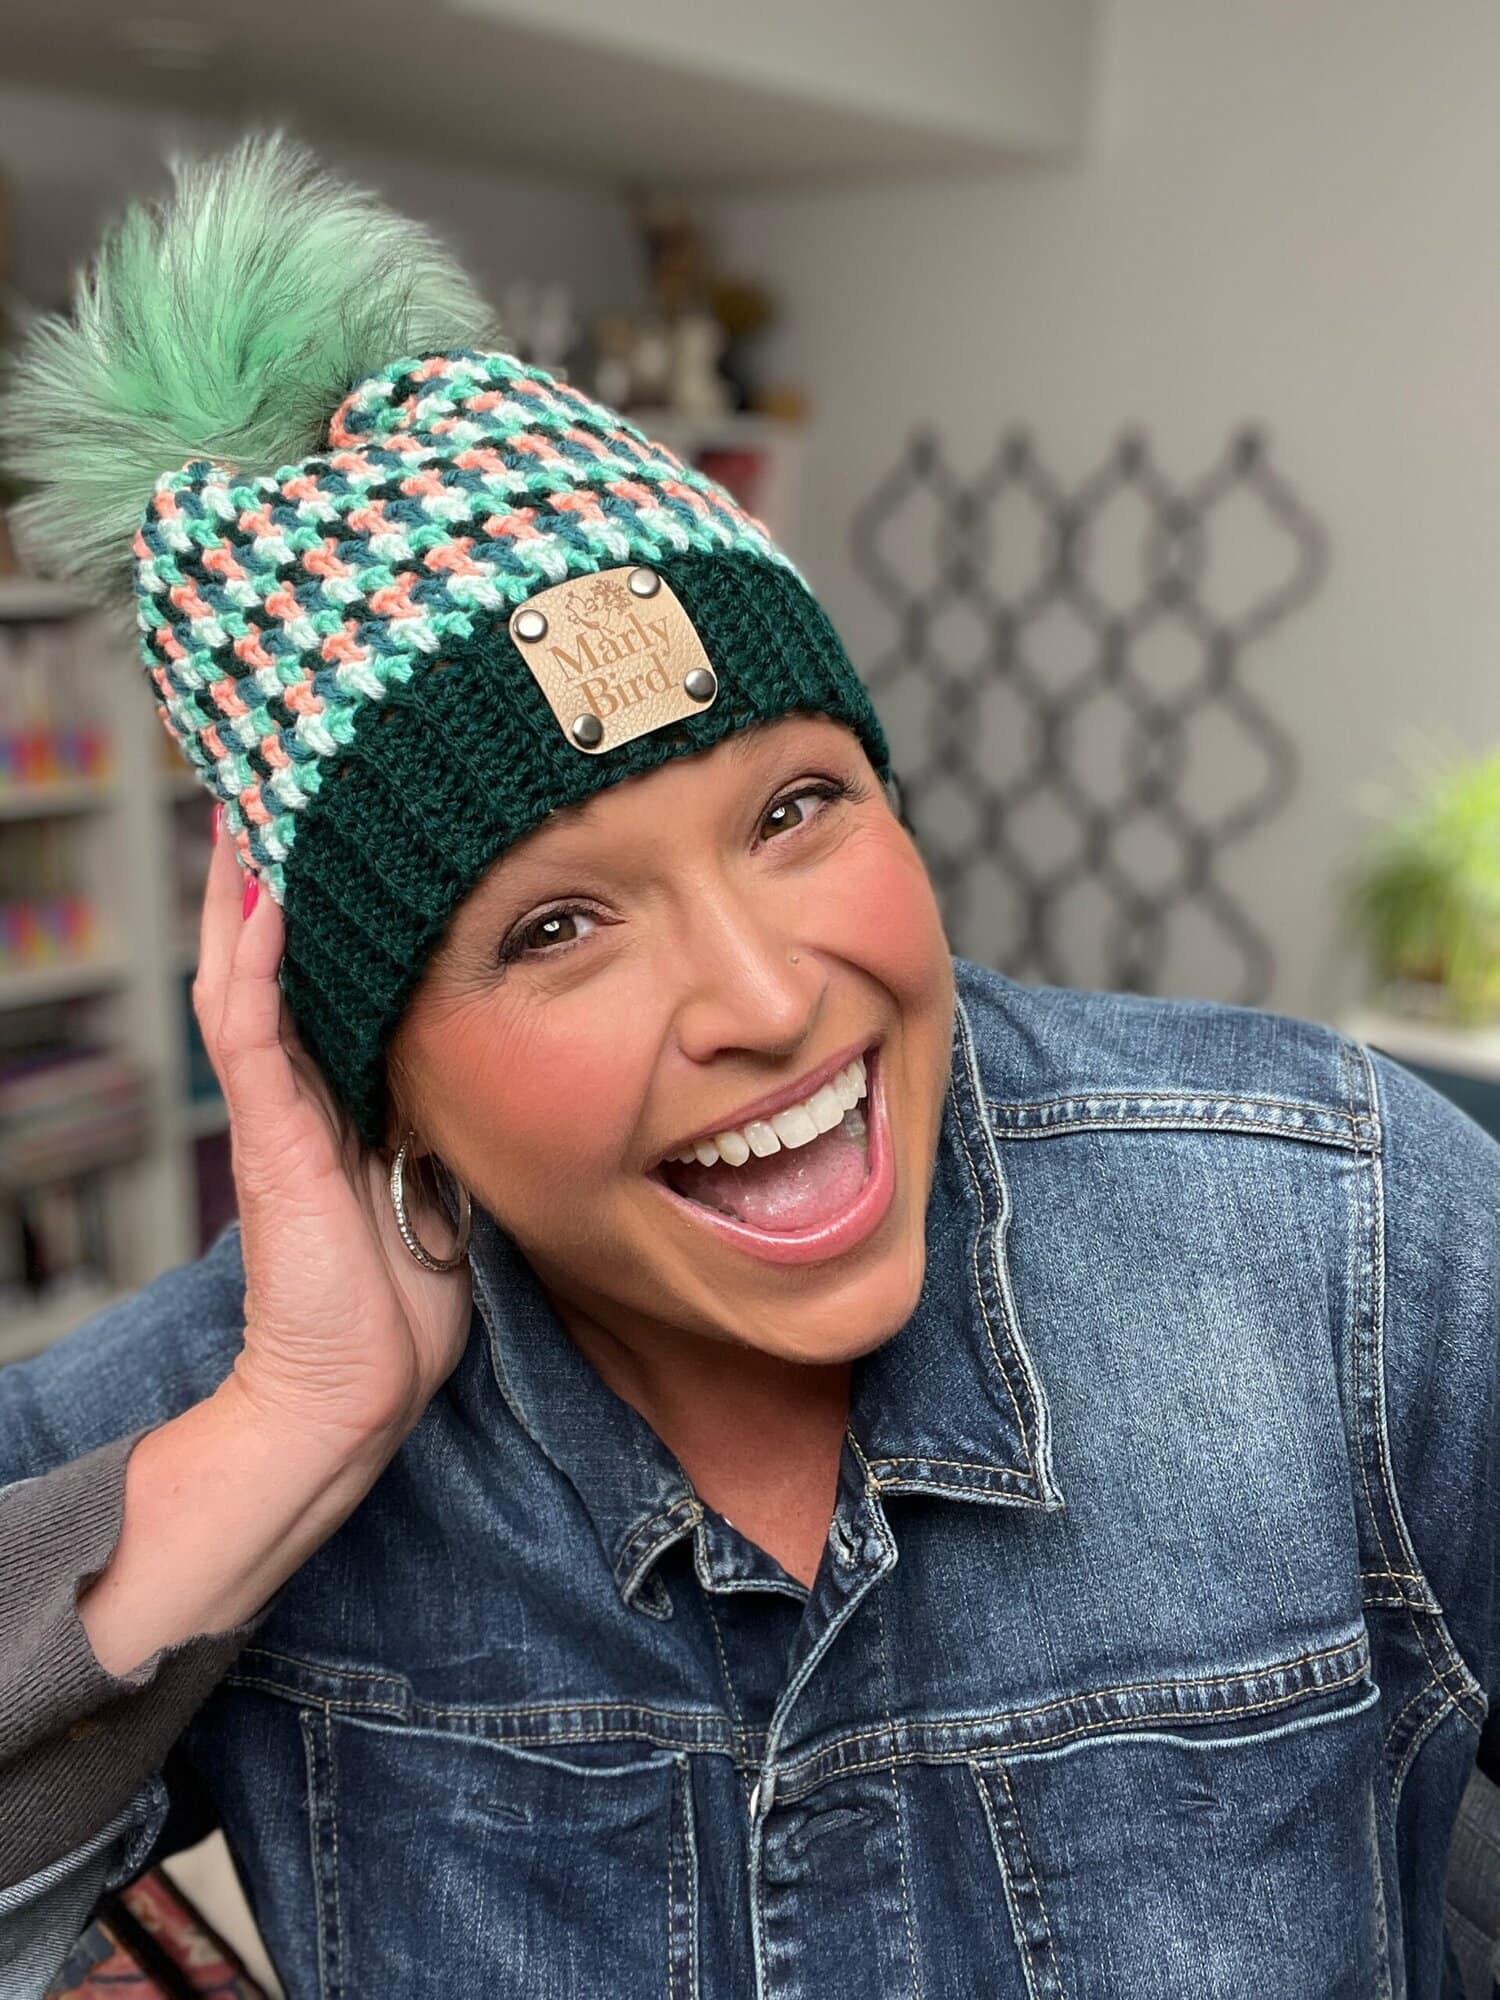
Loop-It Puffy Seed Stitch Scarf
The Free Pattern Loop-It Puffy Seed Stitch Scarf uses a new yarn that is puffy, soft, and has the loops built into the yarn. No wonder the name is Loop-it™ as that is the perfect name for this fun finger knitting yarn.
Queue it up and Like the Pattern on Ravelry
Disclosure: This page may contain affiliate links which help me cover the cost of publishing my blog. Should you choose to make a purchase, at no additional cost to you, I may earn a small percentage of the sale.
Free Pattern Loop-it Puffy Seed Stitch Scarf
by Marly Bird
Materials
Yarn RED HEART® Loop-it™; 3.5oz. (100g) 7.6 yd (7m) 100% Polyester; 2 balls #9413 Mixtape
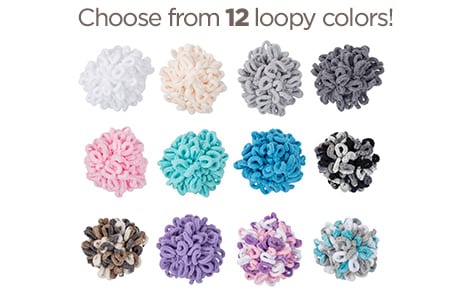
Needles/Hook NONE…only your fingers!
Notions NONE…you can weave in with your fingers! 
Video Tutorials for Special Techniques for Loop-it Yarn
Loop-it Knit
Loop-it Purl
Loop-it Add New Yarn & Loop-it Bind Off…watch the FBLive Video showing how to do this for this project!
Note from Marly:
Well, I will tell you that writing this pattern is interesting as it is different than any other pattern I’ve ever written. I hope the manner in which I wrote it out works for all of you. Should you have any suggestions for additional instructions I would love to hear what you think. Be sure to leave a comment on this post!
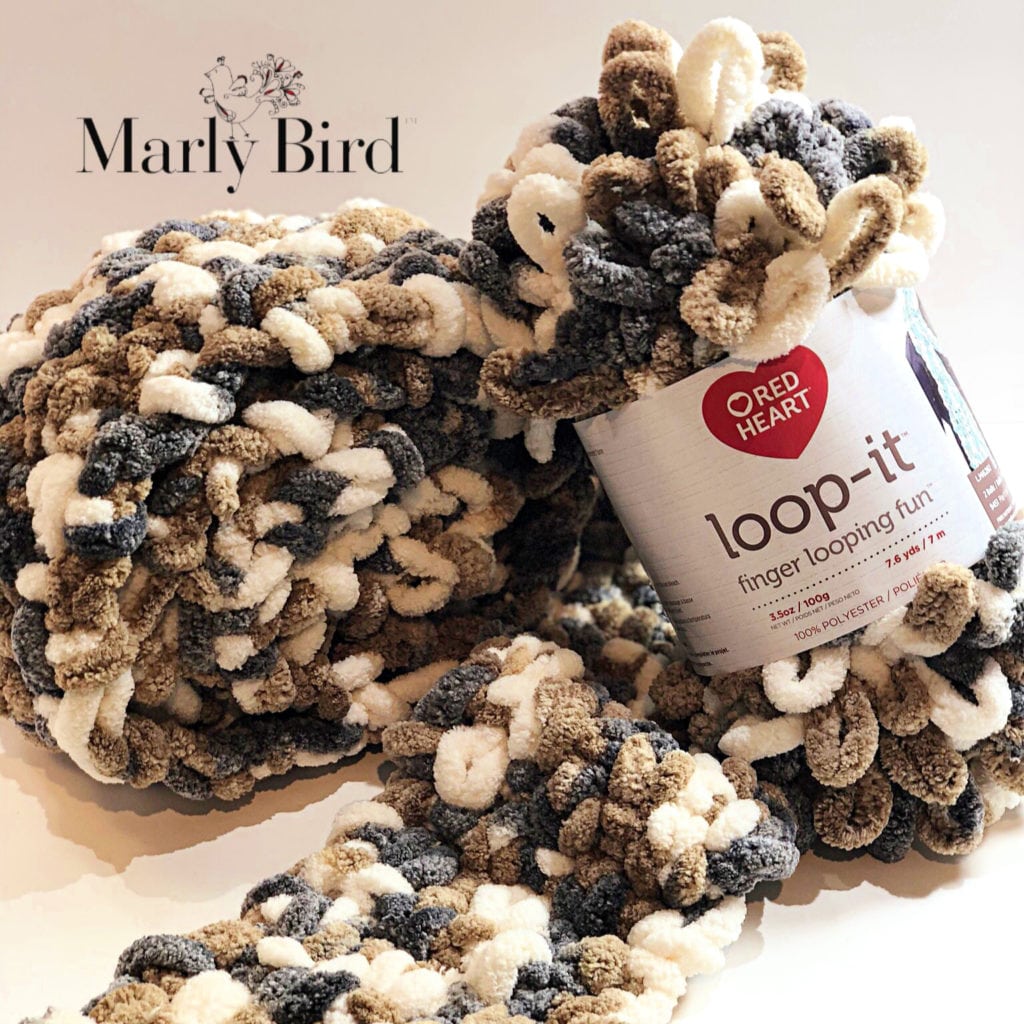
Loop-It Puffy Seed Stitch Scarf Pattern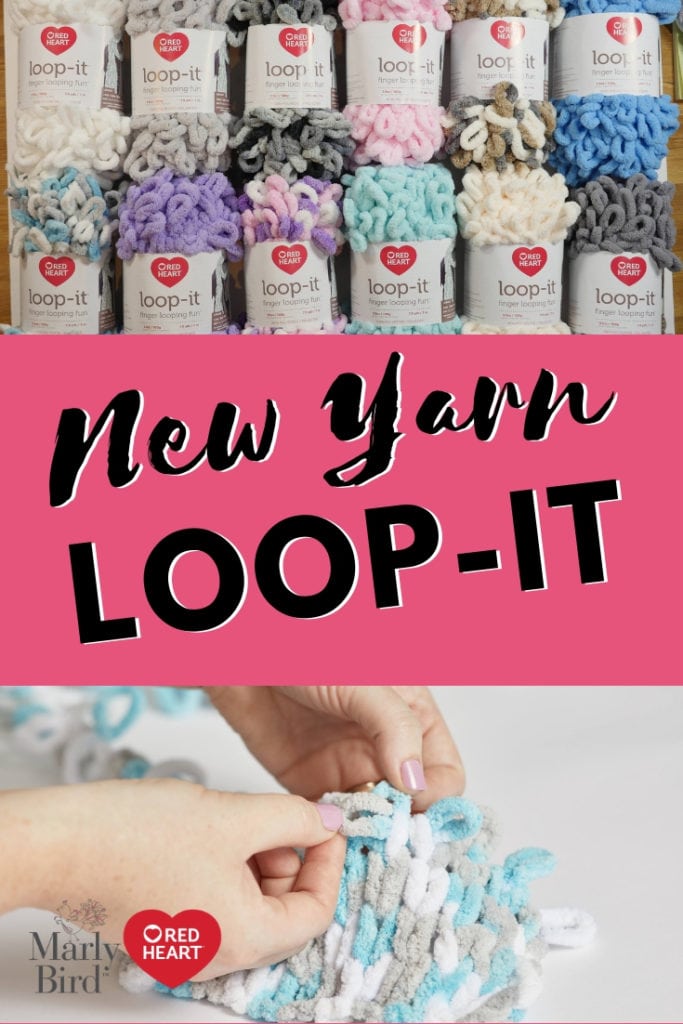
- Working from left to right,
- with the working yarn in back,
- *pull next available loop of working yarn through the next project loop as if to knit [see tutorial video for help],
- move the working yarn to the front,
- pull next available loop of working yarn through the next project loop as if to purl [see tutorial video for help]
- move the working yarn to the back,
- repeat from * to the last stitch
- This means at the end of the row you will have a knit stitch, purl stitch, knit stitch, purl stitch, knit stitch, purl stitch, knit stitch – 1 seed stitch row formed.
- Working from right to left,
- with the workin yarn in front,
- *pull next available loop of working yarn through the next project loop as if to purl [see tutorial video for help],
- move the working yarn to the back,
- pull next available loop of working yarn through the next project loop as if to knit[see tutorial video for help]
- move the working yarn to the front,
- repeat from * to the last stitch
- This means at the end of the row you will have a purl stitch, knit stitch, purl stitch, knit stitch, purl stitch, knit stitch, purl stitch – 1 seed stitch row formed.

