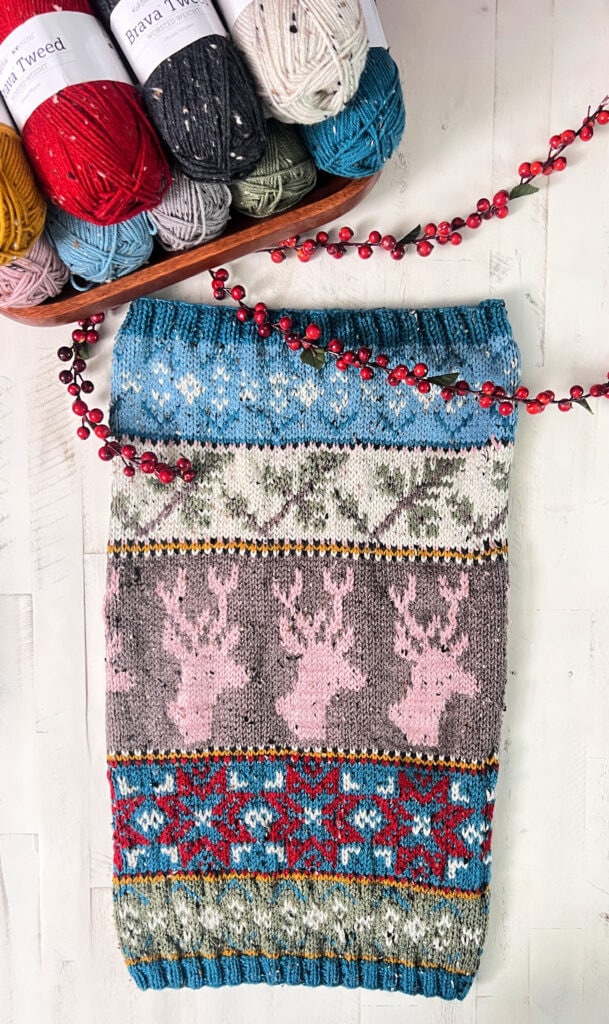
Dancer’s Delight Knit Cowl – Final Edging
🎄 Sleigh the Holiday Make-Along – Final Edging for the Knit Cowl! 🧶
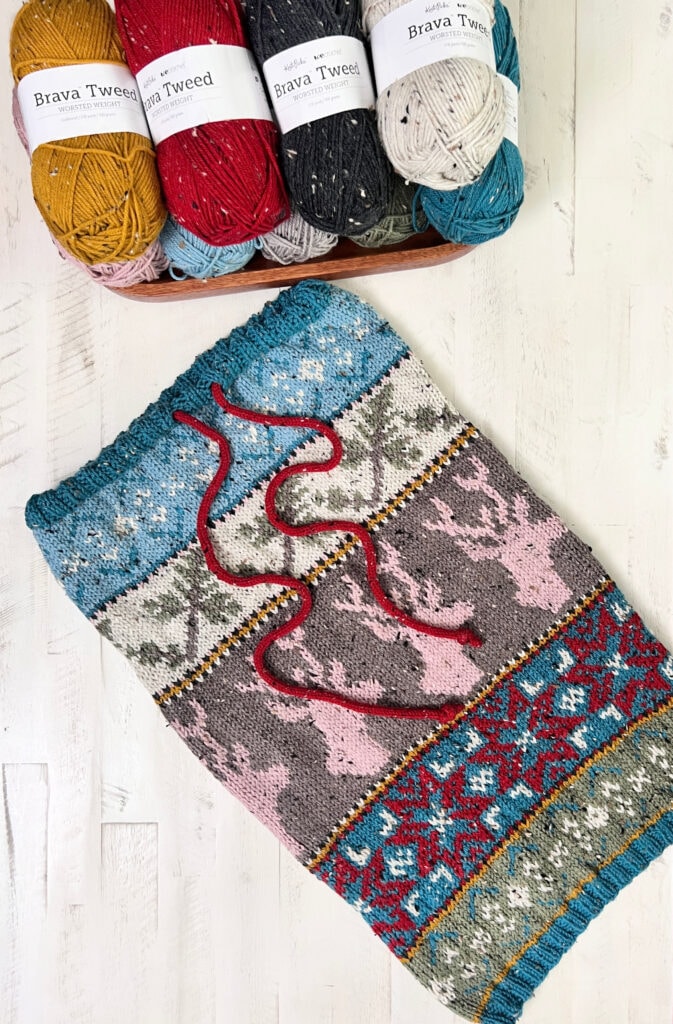
You've sleighed your colorwork, taimed the tails, and danced through every chart—now it’s time to add the final bow on your Dancer’s Delight Knit Cowl! 🎁✨
This last step is where your cowl really comes together—literally—and the best part? You get to choose how it finishes!
Affiliate Disclosure: This post contains affiliate links. To learn more please visit my privacy policy here💖
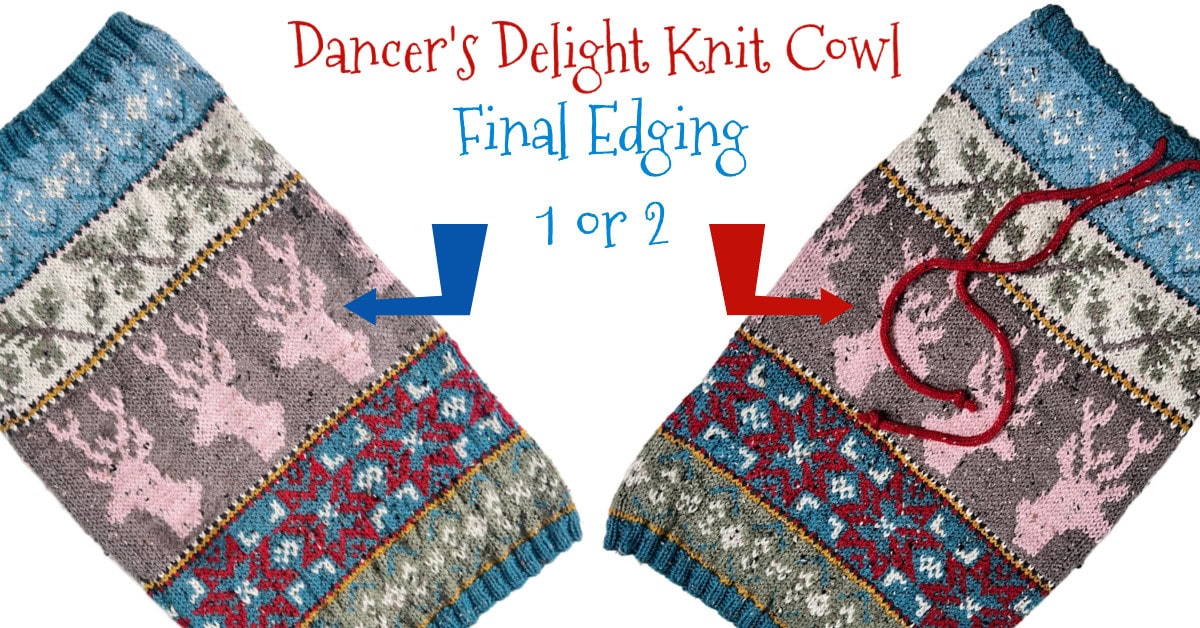
🎀 Two Ways to Finish—Your Cowl, Your Call!
Just like the beginning of your cowl, the finishing edge features a beautiful ribbed section… but with a twist (or not—you decide)!
You’ve got two options for how to complete this section:
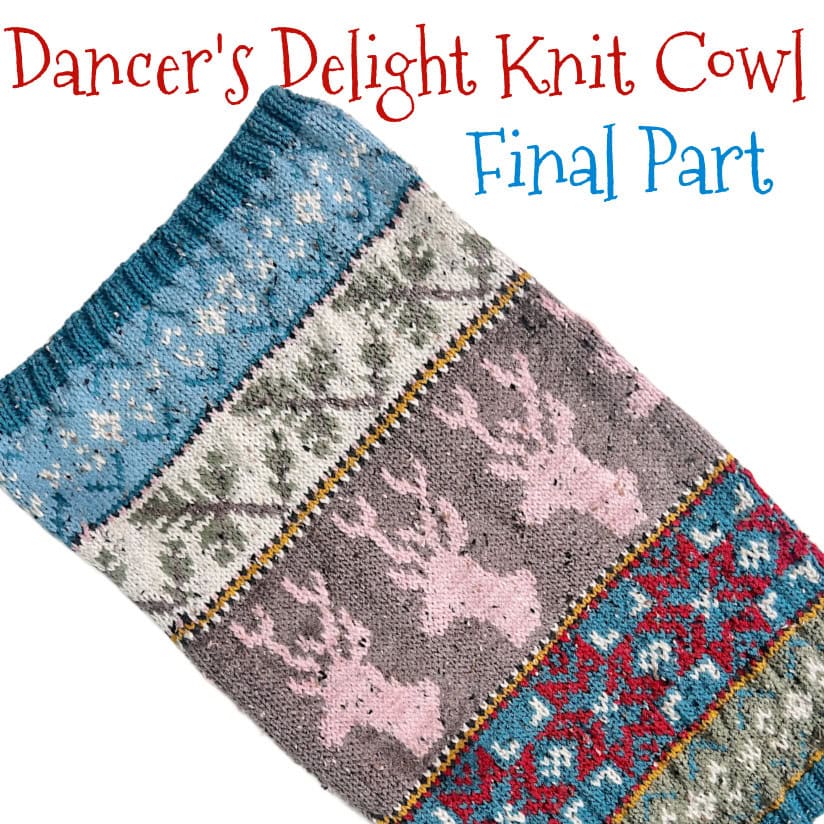
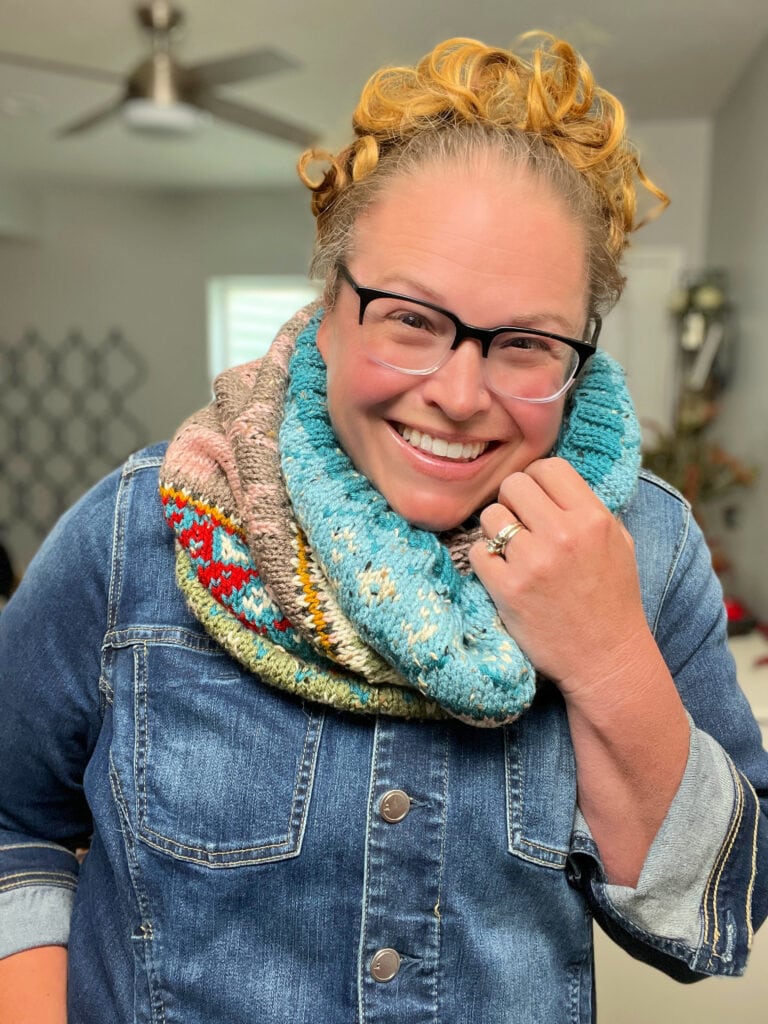
💫 Option 1: The Classic Ribbed Edge
Stick with the ribbing and bind off as usual to keep things simple and stretchy. It's neat, classic, and matches the beginning edge beautifully. A great choice if you want a timeless, unfussy finish.
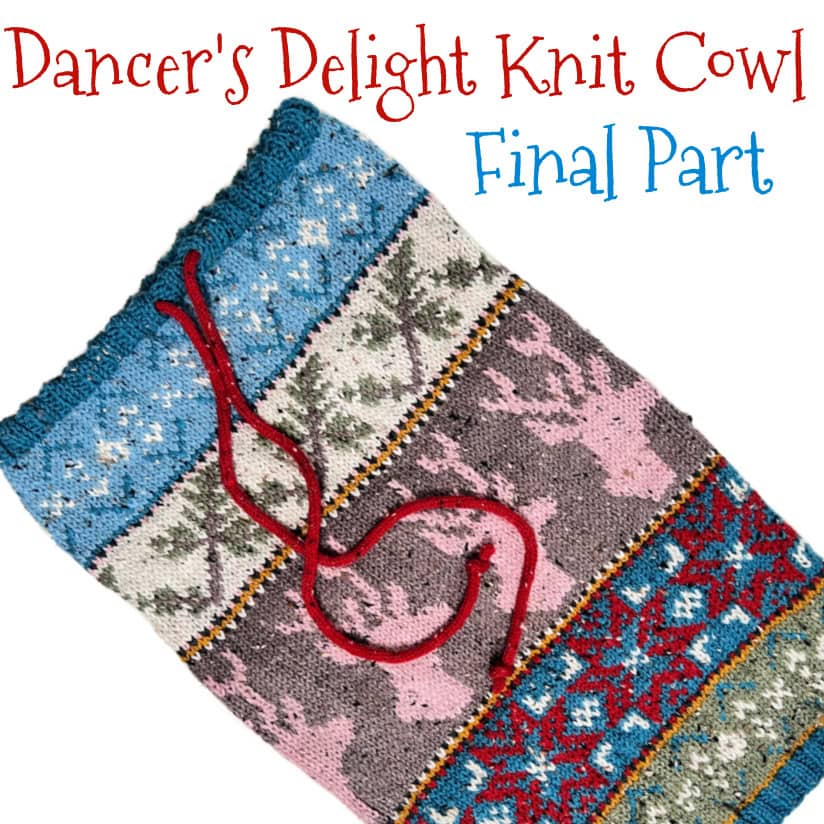
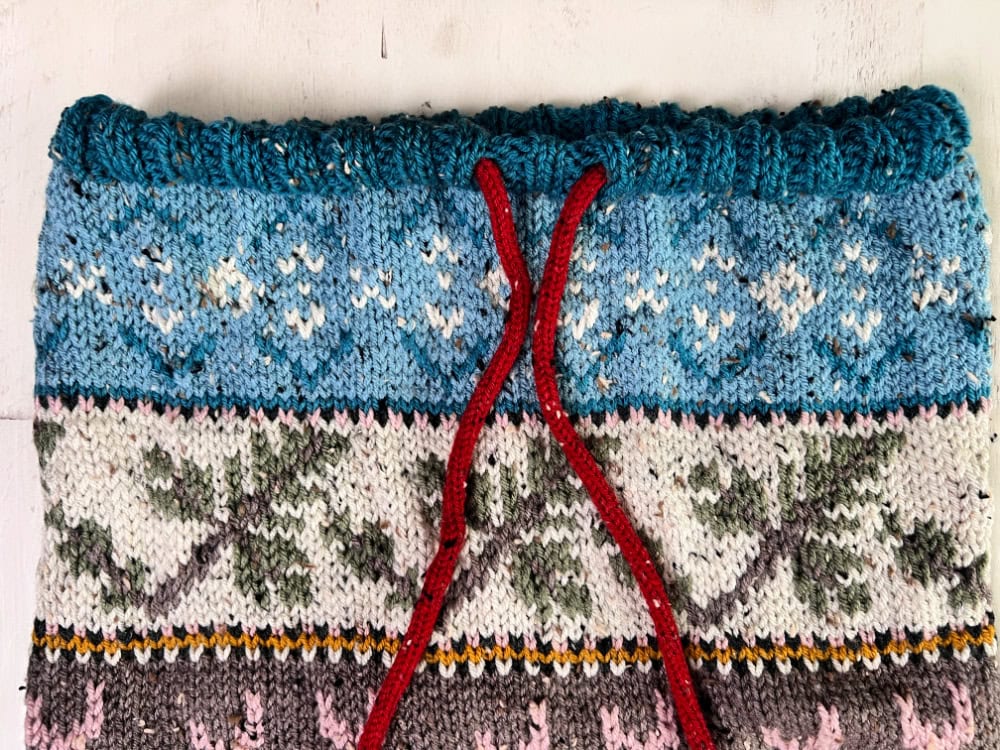
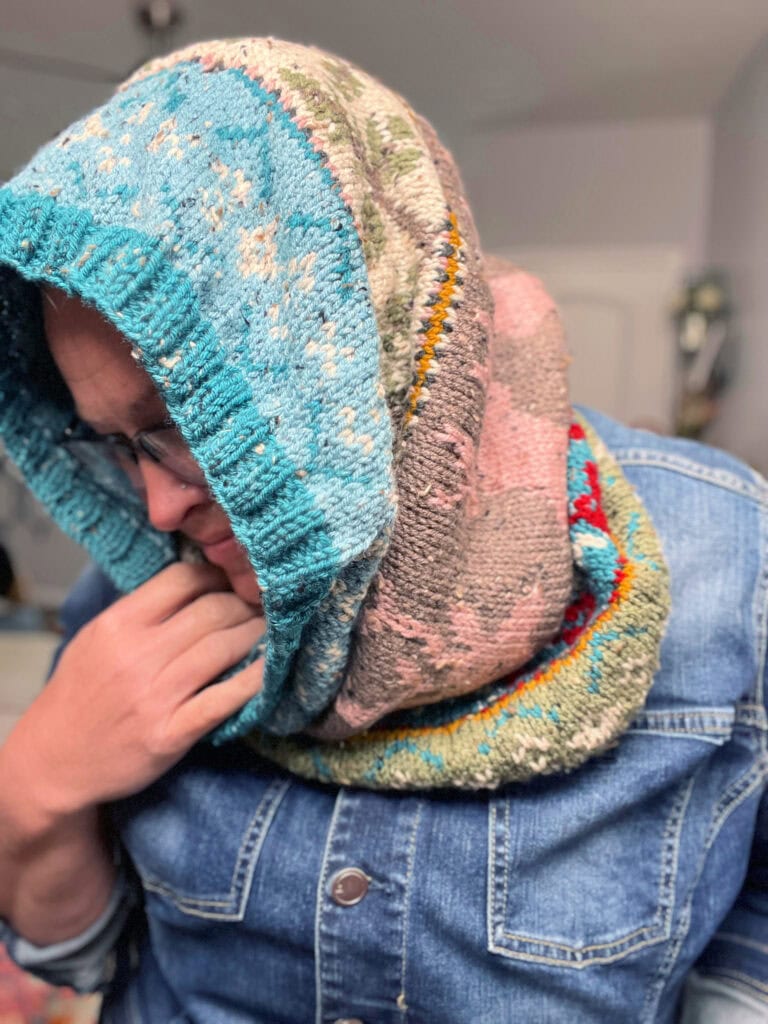
💫 Option 2: Folded Casing with Drawstring
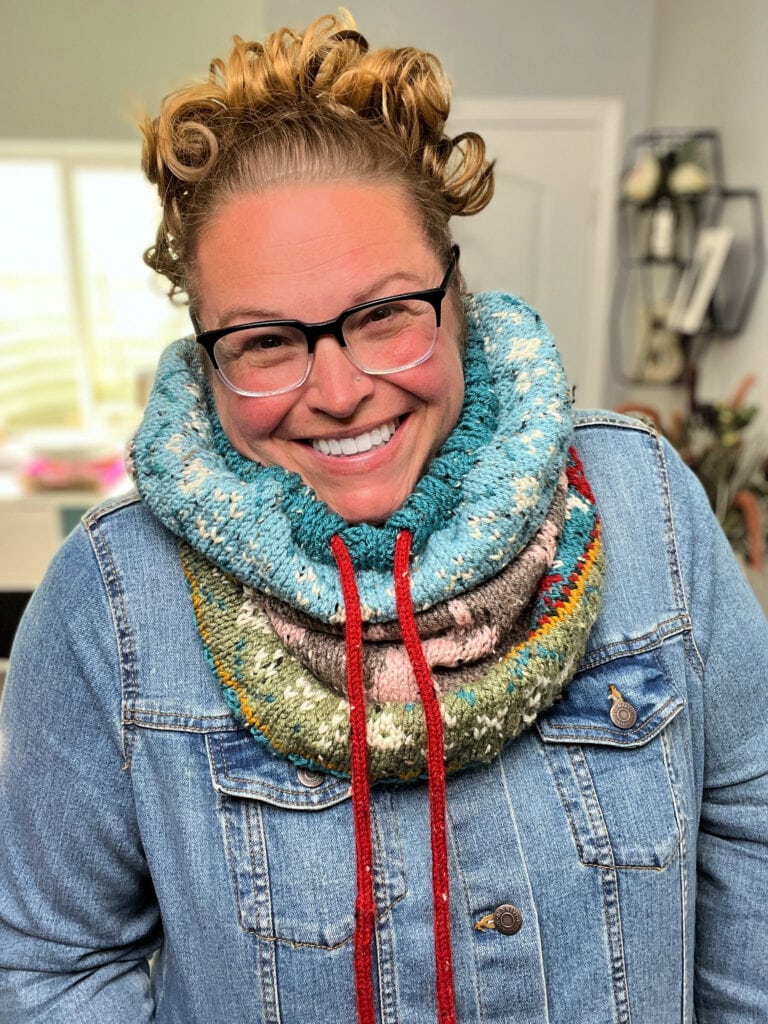
Go all-in on coziness by folding the ribbing inward to create a drawstring casing—just like you did at the start! This adds structure and style, plus you’ll finish off with a second I-cord drawstring to mirror the top edge.
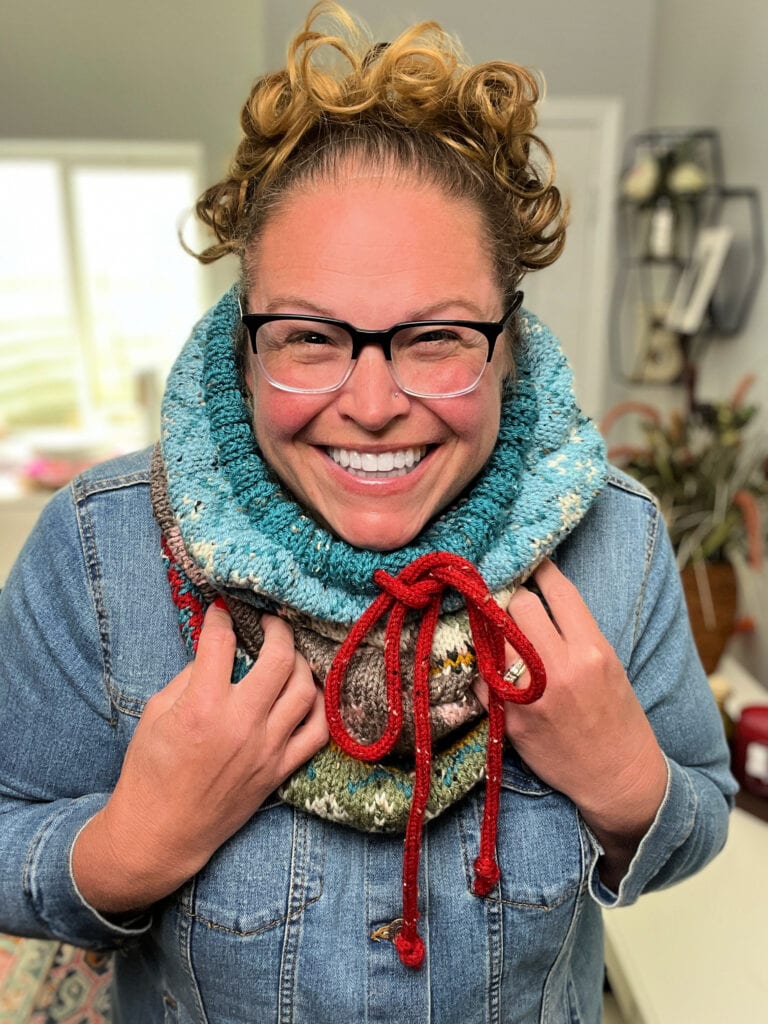
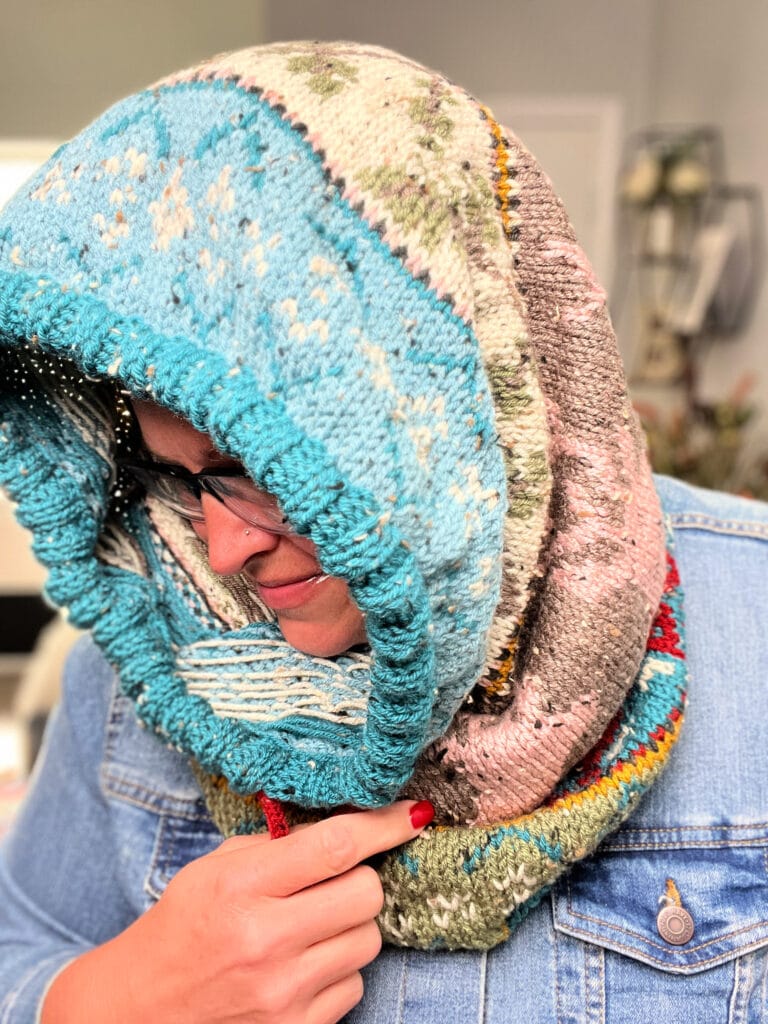
This option gives your cowl a snug, hoodie-like feel that you can cinch up on chilly days. Bonus points for symmetry and extra festive flair!
🧶 Pro Tip: If you’re making the drawstring version, don’t forget to thread your I-cord through before you seam up the casing. (Nobody wants to thread a 55-65” yarn noodle through a sealed tunnel. Ask me how I know… 😂)
🥳 Whether You Go Sleek or Snug…
The finishing edge is your last chance to customize the fit, vibe, and functionality of your cowl. No matter which route you take, it’s going to look amazing—because YOU made it!
👉 When you're ready, hop into the final chart section and follow along with the written pattern or videos inside your Pattern Upgrade on Marly Bird House.
And don’t forget—we’re still celebrating over in the BiCrafty Community Group on Facebook. Share your cowl progress, ask questions, or just pop in to say hi! ❄️
You’re almost at the finish line—and I’m so proud of you.
Now let’s finish strong and sleigh that edge! 💃🧶
#mmmdi #marlybird #sleightheholiday #knitcowlpattern #strandedcolorwork
FINISHING
Option 1 – Ribbed Final Edging
Round 1: * K2, p2; repeat from * around.
Repeat this round 5 more times.
Bind off in pattern. Weave in the ends.
Option 2 – Ribbed Final Edging with Drawstring Casing
I-Cord Drawstring
Add a pop of personality to your cowl with a sleek I-cord drawstring! Use any of the contrasting colors in the cowl, or stick with the main color.
To Make the I-Cord:
Using the double pointed needle, cast on 4 stitches and slide them to the other end of the needle.
Rows: *Knit 4 stitches, slide the stitches to the other end of the needle without turning your work; repeat from * until the I-cord measures at least 55-65” inches [140-165 cm] or your preferred length.
Cut a tail and pull it through the final loops to fasten off. Weave in tail.
Drawstring Casing
Rounds 1-4: * K2, p2; repeat from * around.
Round 5: [K2, p2] 16 times, k2, yo, ssk, k2, k2tog, yo, [k2, p2] 17 times.
Rounds 6-12: * K2, p2; repeat from * around.
Finishing the Casing with I-Cord Drawstring
Now it’s time to give your cowl that polished, professional finish with a neat folded casing and a drawstring tucked inside. Here’s how to do it:
Thread the I-Cord
Weave your I-cord drawstring through the yarn over eyelets created in Round 5, making sure the cord runs along the inside of the ribbing. This will allow the folded edge to look smooth and tidy on the outside.
Fold the Casing
Fold the ribbed section inward—toward the wrong side of the cowl—so the right side is facing out and the drawstring is tucked securely inside the fold.
Join the Casing Closed
Insert your right-hand needle into the first live stitch on your left-hand needle and into the corresponding purl bump from the first round of ribbing on the inside of the cowl. Knit these two together (k2tog).
Bind Off as You Go
Repeat the process with the next stitch and its matching purl bump. Then, pass the first stitch over the second to bind off one stitch. Continue this process all the way around, sealing the casing closed and binding off at the same time.
Secure the Drawstring
Tie a small knot at each end of the I-cord drawstring to prevent it from slipping back through the eyelets. Tug gently to center the cord and adjust as needed. Optional—add tassels, pompoms, or beads to the end of the drawstring for added weight.
Weave in the ends.

Return to main blog post about the make-along event: https://marlybird.com/blog/sleigh-the-holiday-make-along-2025-join-the-festive-fun/
❤️ Your BiCrafty Bestie,
Marly Bird