Crochet Motifs In The Round: Granny Squares (BiCrafty Bootcamp: Beginner Crochet Lessons for Knitters: Lesson 6)
You’ve learned a lot about how to crochet in rows. Now you’re ready to learn how to crochet in the round. Crocheting in the round takes many forms from working hats to creating tablecloths. We’re going to start by learning how to crochet motifs in the round. Then you can join those motifs together to create a variety of other types of projects. To start, we’ll learn the class crochet granny square. We’ll make a granny square earwarmer, show you how to add a lining to it, and provide you with lots of tips to get you on the right foot working in the round.
What Is a Classic Granny Square?
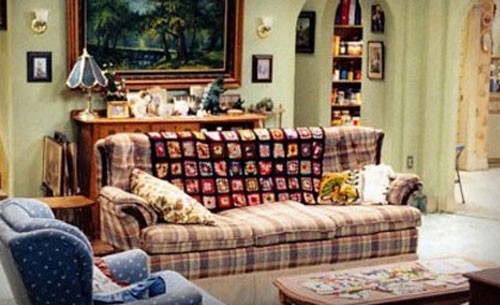
The granny square is a quintessential crochet stitch. Even non-crocheters know what a granny square is most likely because of pop cultures depiction of it in many beloved movies and or tv shows. *Who here is thinking about the crochet granny square afghan on the back of the Conner’s couch on Roseanne?
Lucky you, you’ve already learned the basic granny stitch. Therefore, you know that it consists of sets of three double crochet stitches separated by spaces. Remember, Marly calls these 3dc granny sets. The classic granny square takes the granny stitch and adds corners and increases to make a square. And you do all this in the round.
That’s right, you work this crochet square in the round with four corners and increases to allow for the square to get larger each round. For most squares, you begin in the center, using sets of double crochet and chains or spaces to create the corners of a square. Then you build out the square with each round. You can grow a crochet granny square as large as you want.
For BiCrafty Bootcamp, we’ll start with small crochet motifs in the round. That way you can get a lot of practice. Plus you’ll enjoy the instant gratification of a granny square project this week. We are sort of in love with it.
Now, it is important to note that there are a variety of ways to make a basic granny square, which might seem strange but it is true. You can make grannies with…
- You can begin with a chain 4 and work granny sets and spaces into the 4th chain from hook or you can begin with an adjustable ring (we will learn more about this)
- Chains between the granny sets (if you have been following along with the bicrafty bootcamp lessons you know that is what Marly calls the 3dc’s in one st/sp) or no chains
- You can make them in joined rounds with the right side always facing or turn the rounds
- You can do them all in one color or many colors
- You can work in continuous rounds without cutting the yarn or cut and rejoin the yarn in a different spot each round
- You can make small squares that are then put together for a blanket or one large square that is big enough for a blanket
- You can make them to be seamed or joined as you go (love the JAYGO method!)
…and those are only a few of the different ways you can make a basic granny square. The mind boggles.

The point is that the way we are teaching you in BiCrafty Bootcamp is not the only way but it will show you the basic construction of not only a granny square in the round but motifs in general. You will take the knowledge you learn here and be able to apply it to other types of motifs in the round.
Magic Loop or Adjustable Ring vs Chain and join in the round
There are different ways to start a crochet project in the round. You can crochet a few stitches and then work a bunch of stitches into the first chain you made, you can crochet a very short chain then slip stitch it together to form a ring then working your first round of stitches into the center of the chain to begin the project, or you you can begin with a magic loop or adjustable ring, which easily closes so there’s no hole in the center of your project.
Each start has its advantages and disadvantages and you should follow any set of instructions given in a pattern for your project. But, knowing the pluses and minuses of each start will help you become a better crocheter.
Stating motifs with chains
Pros:
- easy to manage the chains
- creates the first turning stitch (in most cases)
- you can easily join with a slip stitch to create a solid ring
Cons:
- leaves a opening in the middle
- not flexible
Starting motifs with magic loop or adjustable ring
Pros:
- closes fabric tight
- very flexible
- clean finish
Cons:
- harder to manage at the start
- can easily come undone if tails are not secured properly (DO NOT CROCHET OVER YOUR TAIL!)
In this weeks video, Marly demonstrates how to do magic loop or adjustable ring, but if you want a bit more detailed instructions you can check out this video ⬇️
Knitters Learning to Crochet
As knitters we are taught to work in the round we must use double pointed needles or circular needles to allow the stitches to then be worked in a spiral. With crochet, you are not grabbing any other tool to accomplish a motif in the round, you simply start a project and then work in the round (either in joined rounds or in a spiral…we will learn more about spiral later).
Another big takeaway for knitters is that when you start a project in the round with crochet you usually have to join with a stitch stitch. It isn’t as easy as just starting your first round with your first stitch in the first stitch of the previous round like knitting. Marly has a funny story about learning this when she made her first socks (did you hear her talk about it in the live).
Just like knitting, when you work in the round to make a square or a circle or any other shape, you will have corners that require increases to allow for the growth of the fabric. For crochet, these increases can be done with chains or actual stitches. It all depends on the motif or stitch pattern.
Lined Scrappy Granny Ear Warmer Crochet Pattern
This week you will learn how to crochet a basic granny square motif. Then we will show you how to combine granny squares to make an uber soft ear warmer. Moreover, we’ll show you how to upcycle an old sweatshirt to line the crochet ear warmer. This makes the scrappy granny ear warmer actually warm, makes it soft, and makes it comfortable to wear.
Lined Granny Ear Warmer Crochet Materials
Yarn: Brava Mini Packs. Choose one main color. Then choose three additional colors per square. There are five squares total. Therefore, you might have 15 different colors; or you might mix and match colors across the squares.
Hook: Size H (5 mm) or any size hook to obtain the gauge. (WeCrochet Hook, TooShay Crochet Hook)
But if you want to learn some different ways, check out some of these videos. Learn more about how to crochet a granny square here. And here’s some video help too:
Notions: Locking stitch markers from WeCrochet (optional), Chenille and tapestry needles for weaving in ends
For Lining: old sweatshirt material (or new fleece), scissors (or rotary cutter and cutting mat), sewing pins, sewing needle and thread (or sewing machine)
Scrappy Granny Ear Warmer Pattern Notes
- Change colors in last draw through 2 of stitch before color change
- Each granny square consists of four rounds
- Each square has four colors
- The main color is the same for all of the squares
- Make the center colors of the squares different or the same, it is up to you
Scrappy Granny Ear Warmer Pattern Instructions
Motifs (make 5)
With Color A
Ch 4, join with sl st to 1st ch to make a ring, do not turn.
Round 1: Ch 3 (counts as a dc now and throughout) 2 dc, ch 1, *3 dc, ch1; repeat from * 3 times, hdc in 3rd ch of tch to join.
Change to Color B (see notes)
Round 2: Ch 3, (2dc, ch 1, 3 dc) around post of hdc, *ch 1, (3 dc, ch 1, 3 dc) in next corner ch-1 sp, repeat from * twice more, hdc in 3rd ch of tch to join.
Change to Color C
Round 3: Ch 3, 2 dc around post of hdc, *ch 1, (3 dc, ch 1, 3 dc) in next corner ch-1 sp, ch 1, 3 dc in next ch-1 sp; repeat from * twice more, ch 1, (3dc, ch 1, 3 dc) in next corner ch-1 sp, hdc in 3rd ch of tch to join.
Change to Color D
Round 4: Ch 1, sc around post of hdc, *sc in each st and ch-1 space to corner ch-1 space, 2 sc in corner ch-1 sp; repeat from * last corner ch-1 sp, 2 sc in corner ch-1 sp, sc in next 3 sts, slip stitch to first sc to join.
Fasten off.
Joining The Motifs
Lay the motifs out flat in a row.
The slip stitch join is worked through the outermost loop of each square which is the back loop of one and the front loop of the other. (see video for help) Tip for knitters: joining this way is very similar to a three-needle bind-off.
With the color D, use a slip stitch, join the left side edge of motif 1 to the right side edge of motif 2. Fasten off.
With the color D, use a slip stitch, join the left side edge of motif 2 to the right side edge of motif 3. Fasten off.
With the color D, use a slip stitch, join the left side edge of motif 3 to the right side edge of motif 4. Fasten off.
With the color D, use a slip stitch, join the left side edge of motif 4 to the right side edge of motif 5. Fasten off.
This will make the motifs joined five in a row, fold the ear warmer in half so the left side edge of motif 5 matches up to the right side edge of motif 1, join with a slip stitch, do not cut the yarn on the final slip stitch of this join.
Border for Joined Granny Squares
This border is worked around the ear warmer across all the stitches of the granny square along the top, then along the bottom.
Round 1: Ch 3, dc in each sc around, join to the 3rd ch of the tch, do not turn.
Round 2: Ch 1, sc in same stitch as join, and in each dc around, join with a slip stitch in the first sc.
Fasten off.
Flip ear warmer over to add border to other side.
With color D, join yarn with a sl st between motifs #5 and #1,
Round 1: Ch 3, dc in each sc around, join to the 3rd ch of the tch, do not turn.
Round 2: Ch 1, sc in same stitch as join, and in each dc around, join with a slip stitch in the first sc.
Fasten off.
Lining your Granny Ear Warmer
Step 1. Grab an old sweatshirt, a cutting mat, and a rotary cutter. Good old fabric scissors and a steady hand would work as well! I’m a big fan of reuse and recycle, and found this pretty colored child’s sweatshirt for $1.49 at my local thrift store! It was super soft. Therefore I knew it would work well for this project.

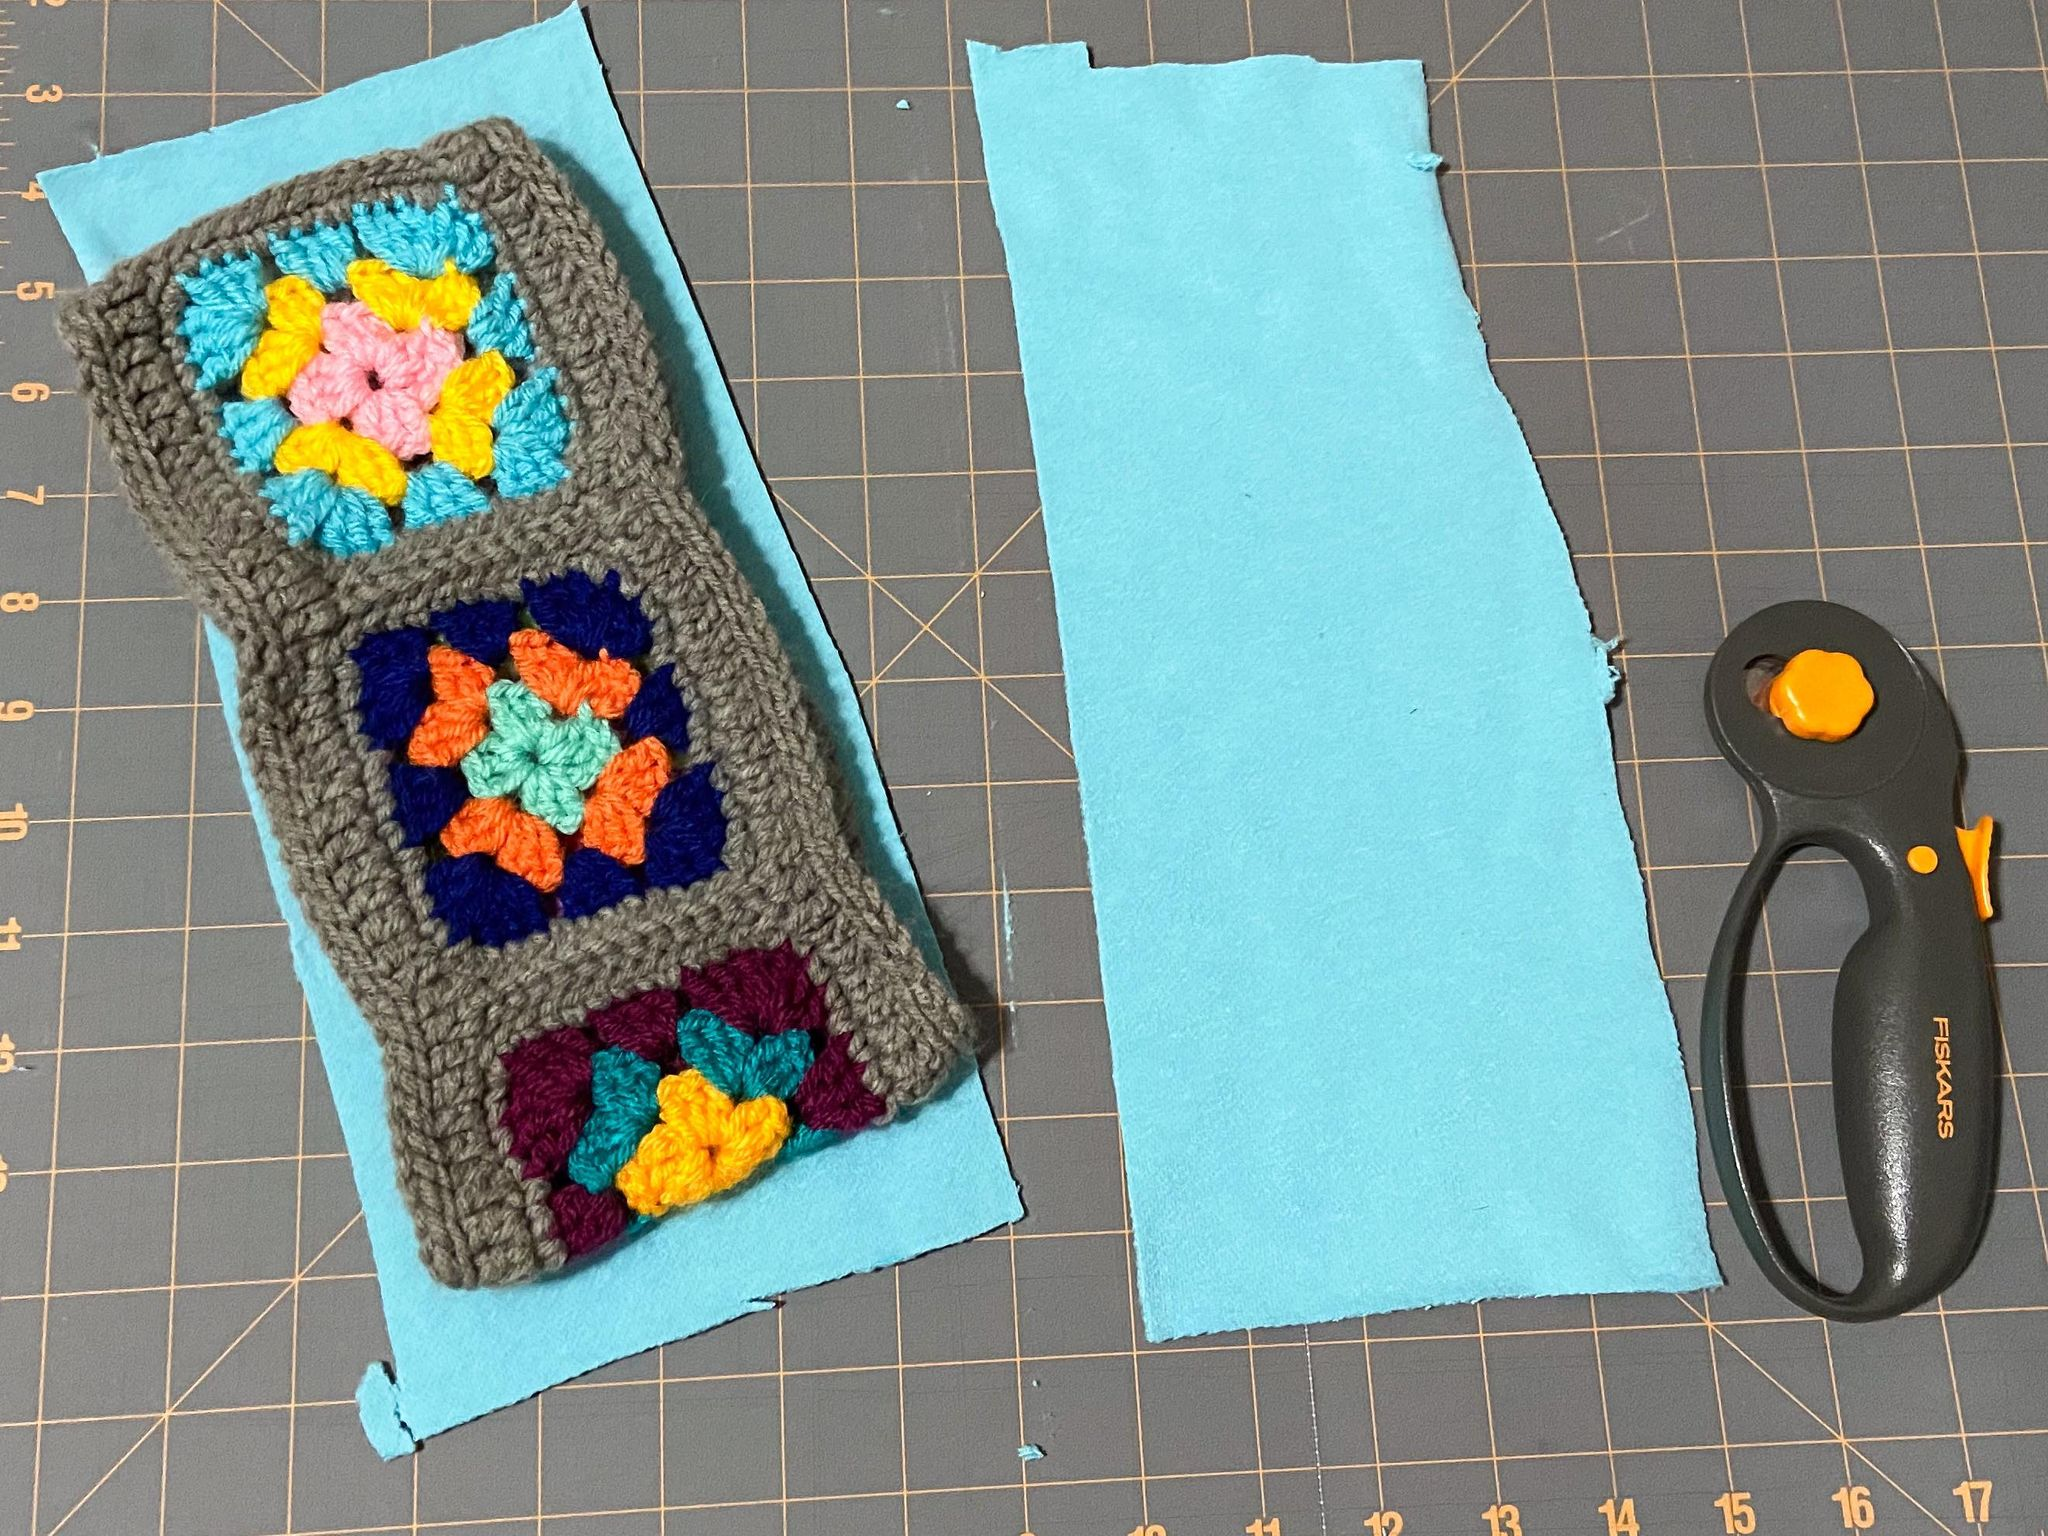
Step 2. Cut out a large square of fabric. For me, it was the entire back of this sweatshirt. It might differ for you. You just want to be sure you have enough fabric for both sides of your headband.
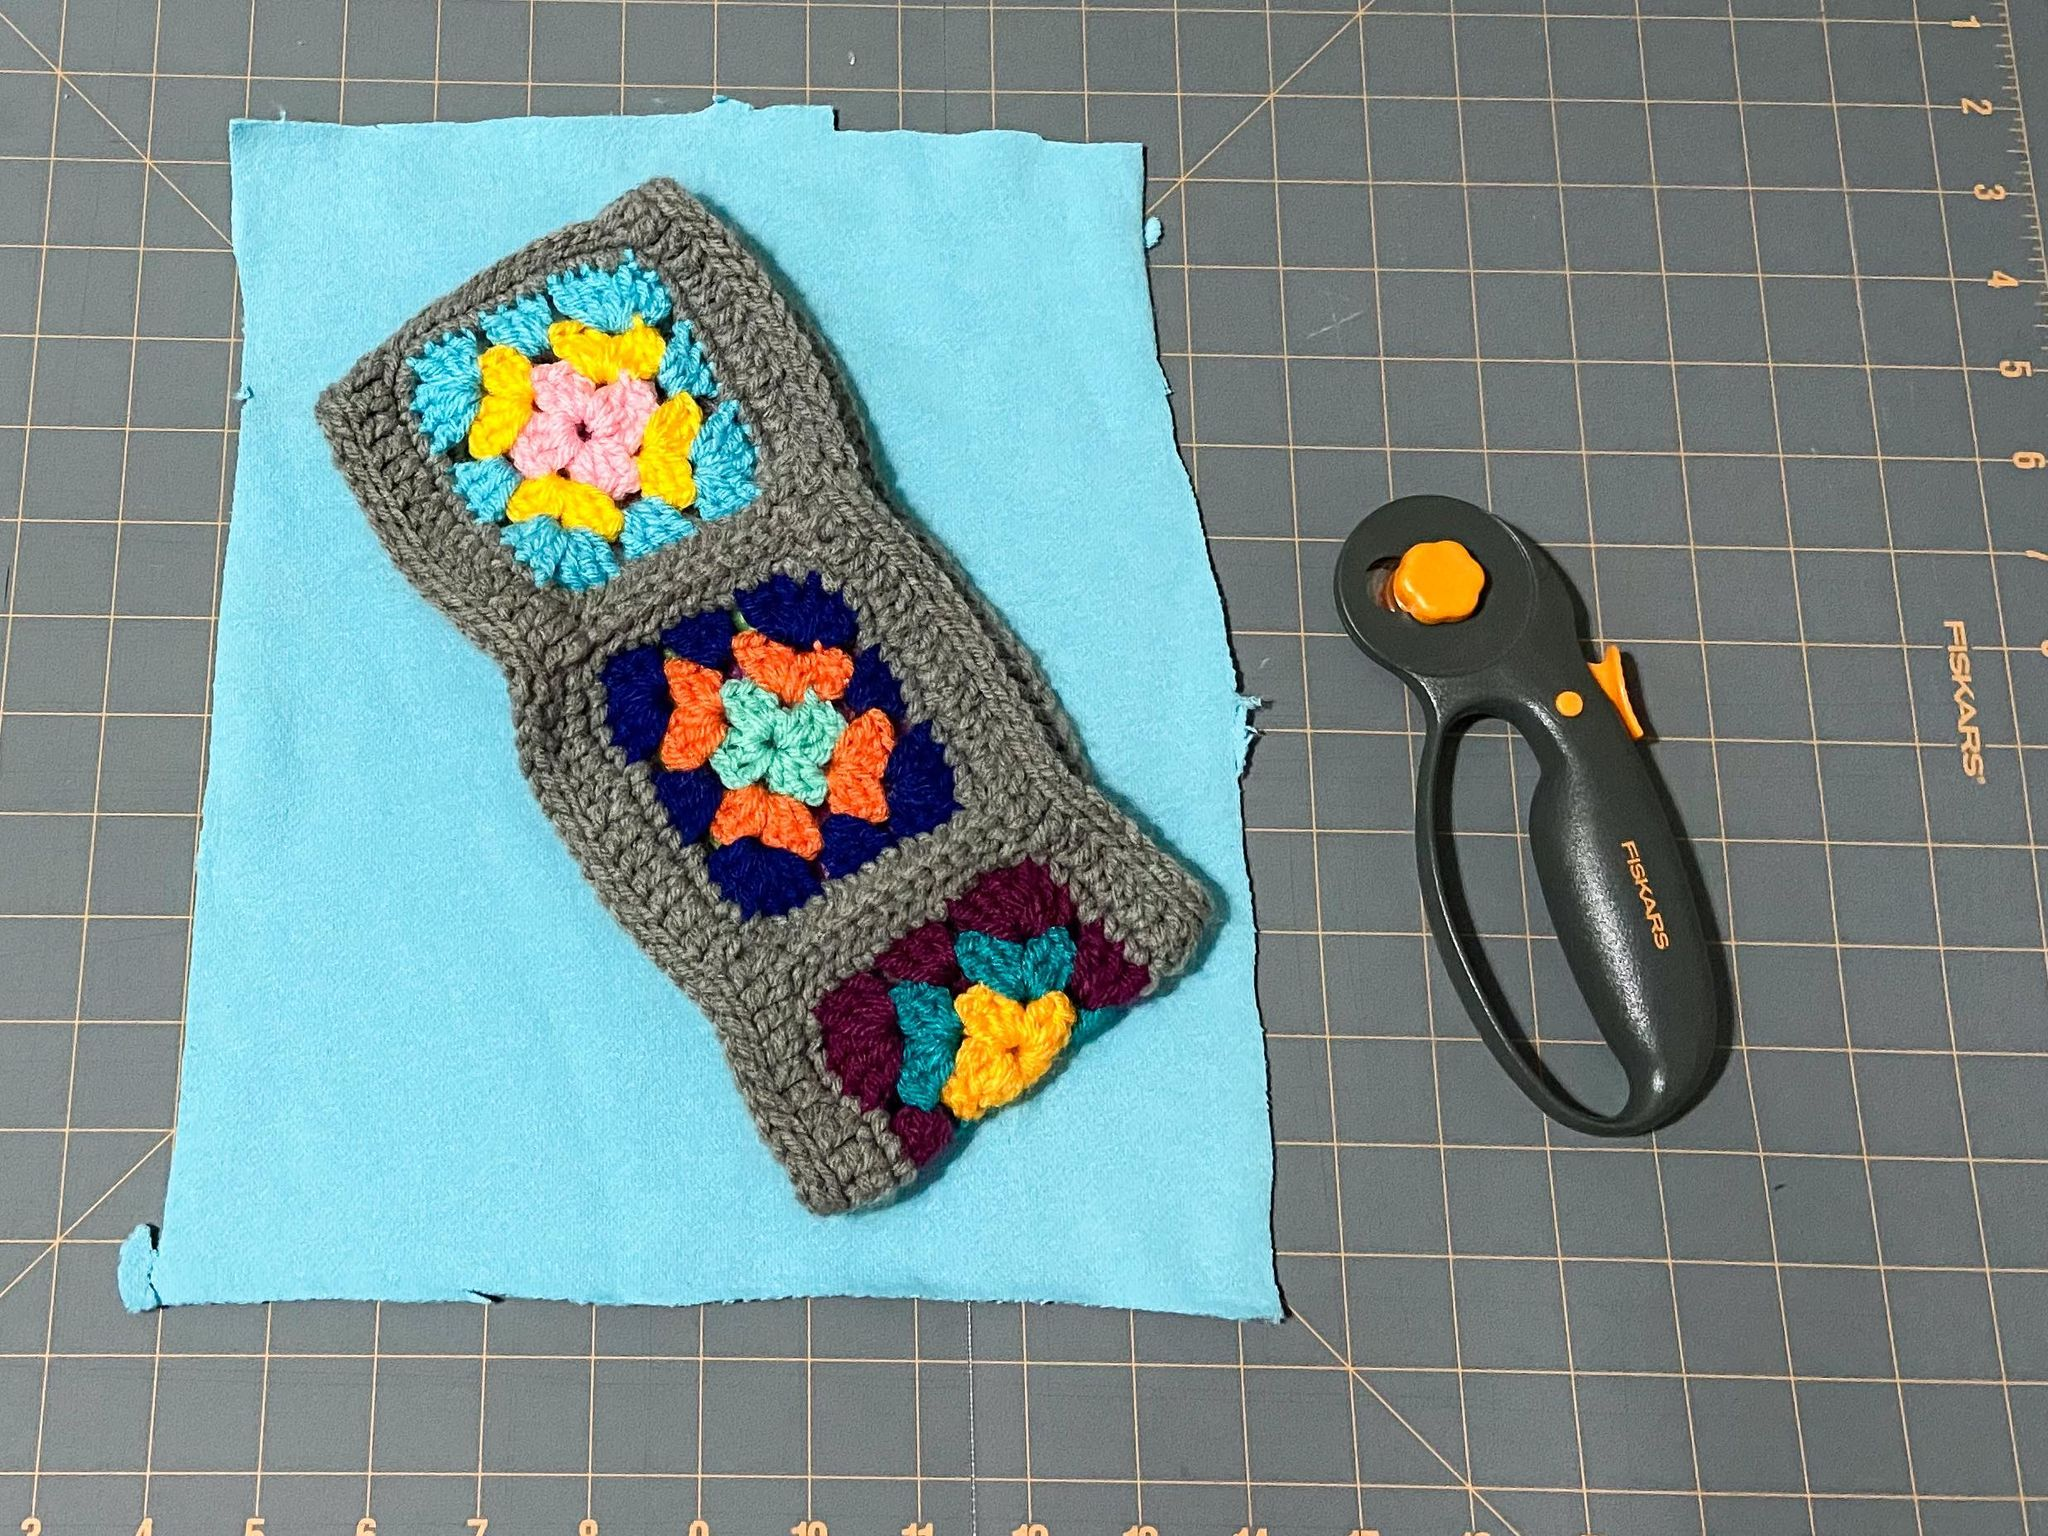
Step 3. Next, measure your fabric to the size of your headband. Remember, you’re going to want it to be slightly larger than the headband to account for your hem. After all, a hem allows you to have a nice clean edge.
Step 4. Pin your lining onto the earwarmer. This will keep everything in place as you work and allows you to make sure your edges are straight.
!
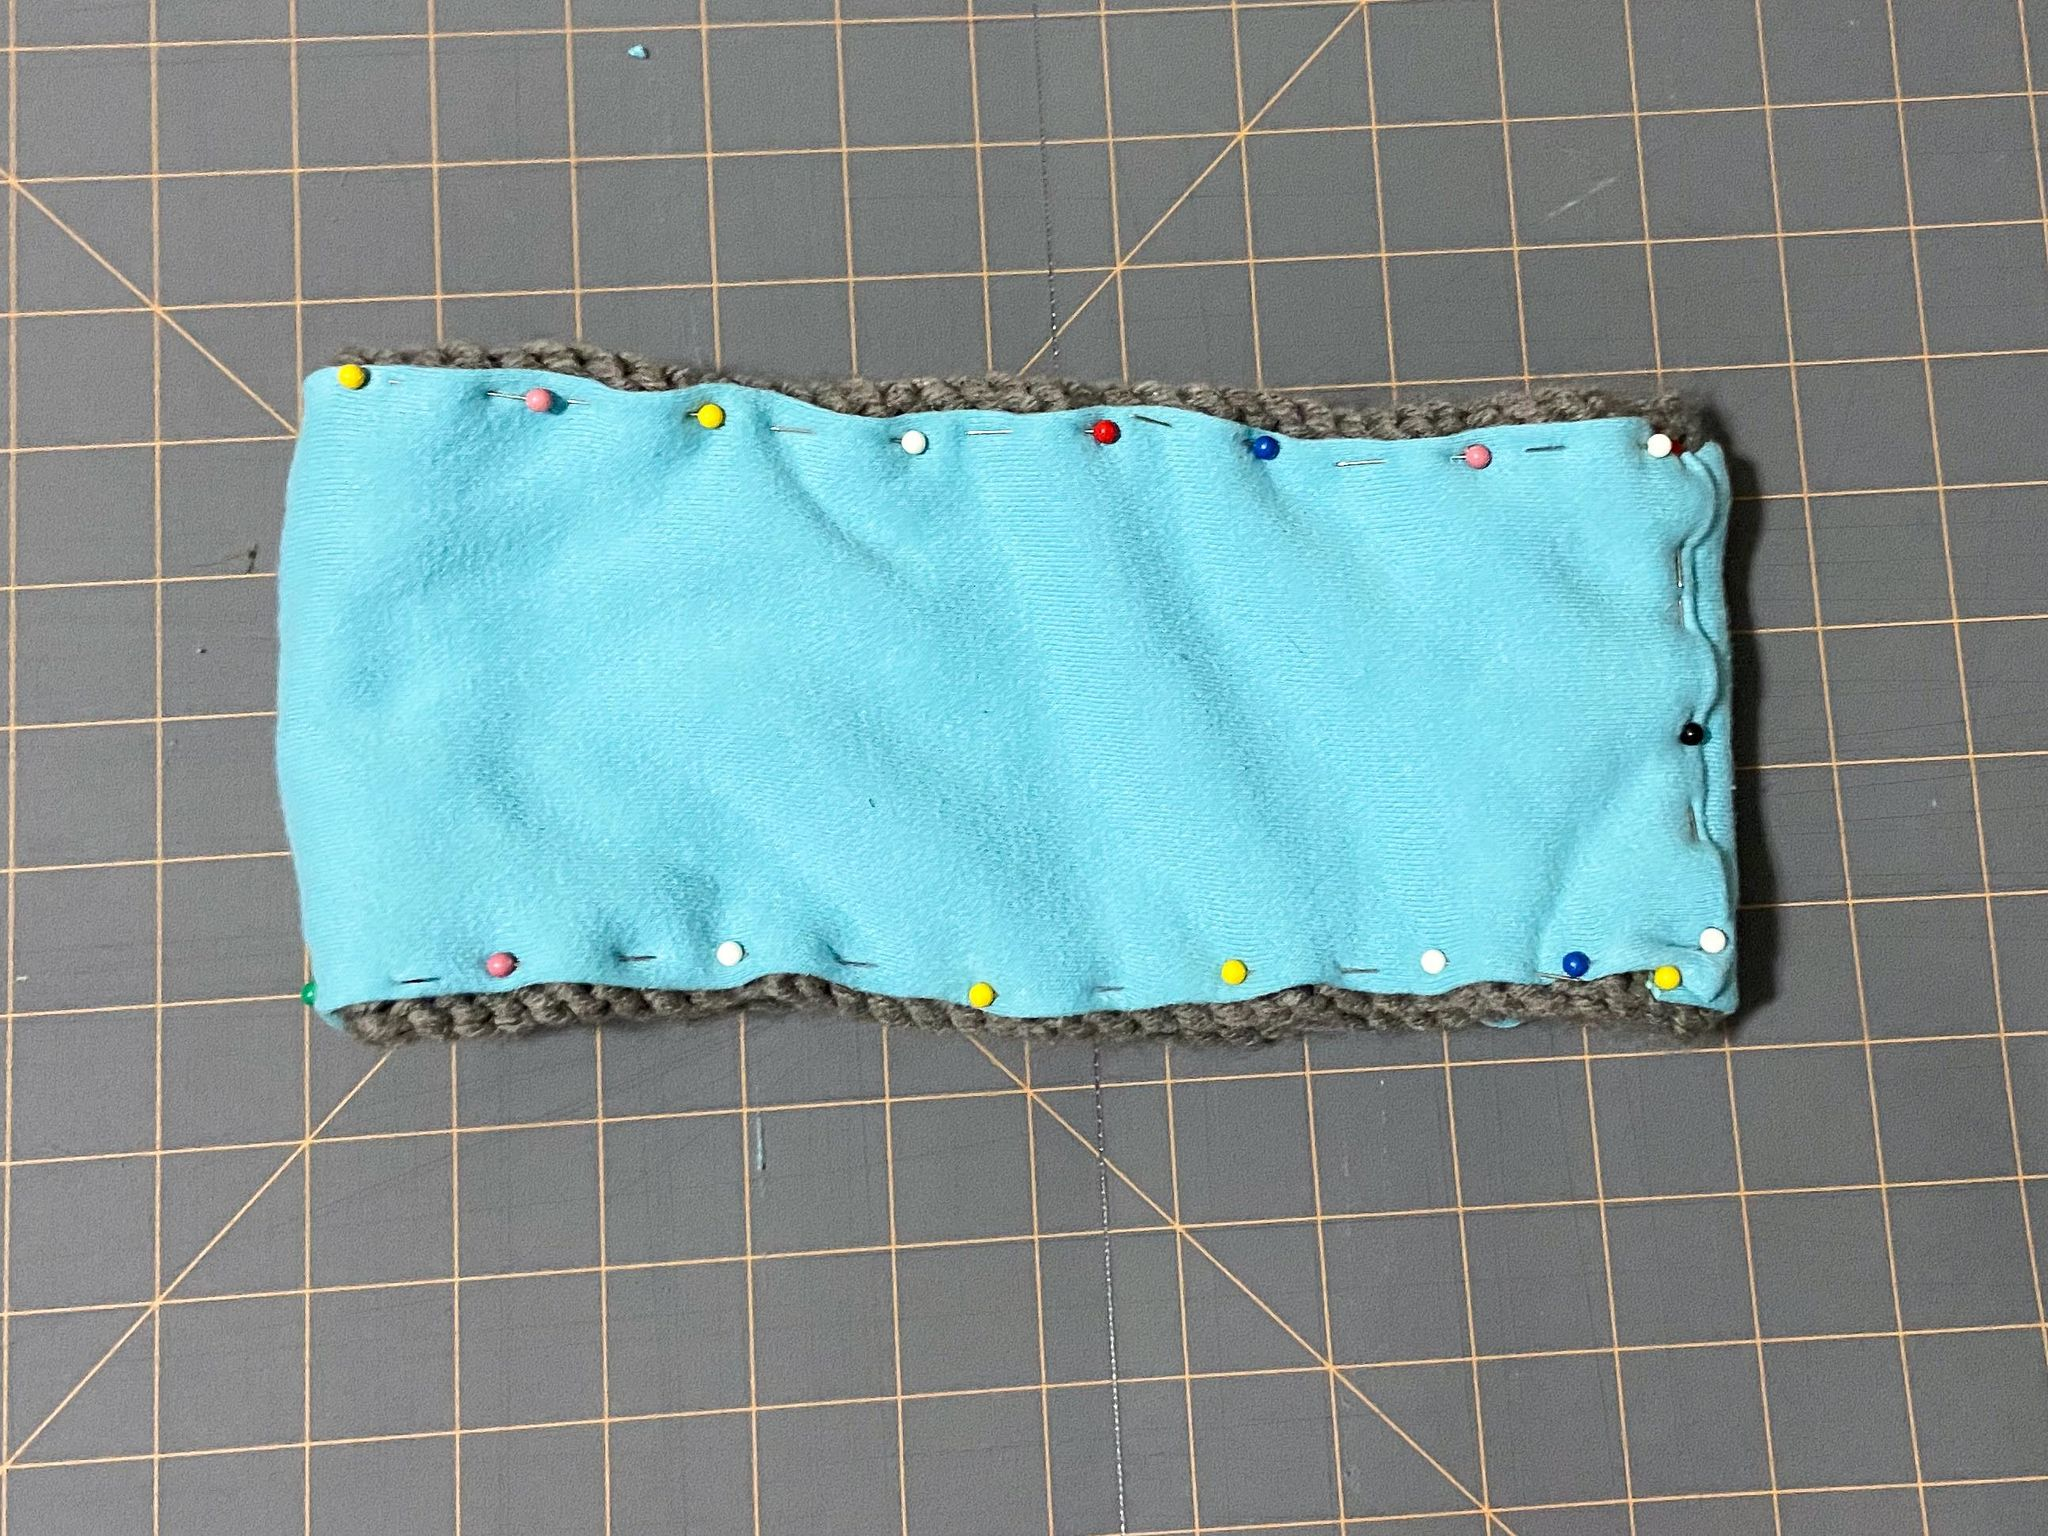
Step 5. Hand sew or machine sew your lining onto your earwarmer! Ta-da!

Crochet Motifs in the Round Video Instruction
Additional Videos and Patterns You Might Like
Now that you’re learning how to crochet motifs in the round, particularly granny squares, you might want to check out:
- Colorful Granny Square Blanket Free Pattern with Video Tutorial
- How to Crochet Granny’s Jewel Scarf
- Red Heart Sweet Granny Square Blanket
- Red Heart Granny Square Purse
- Granny Square Jacket Free Pattern
- Paton’s Granny Square Scarf
- Almost 100 Free Granny Square Crochet Patterns
- 49 Free Granny Square Crochet Blanket Patterns