Video Tutorial-How to Finish Intarsia Perfectly
When working an intarsia knit project you may find that managing your yarn and finishing your project seem a little overwhelming. I have put together a group of video tutorials to show you some tips and tricks along the way with the very talented intarsia designer, and my friend, Anne Berk. This video tutorial will show you how to finish intarsia perfectly. Following along with these videos and you will be ready to tackle you first project, or make your next project a little more polished.

*This post contains affiliate links. By clicking one of these links and making a purchase a small portion of that purchase will go to support the blog. The price that you pay does not change. The small commission I make allows me to keep bringing you free content like this. Thank you for your continued support.*
Finishing Intarsia Perfectly
One of the biggest complaints that I hear from knitters, and crocheters, is that they don't like having to weave in ends at the end of their project. It is important to all of us that our project looks finished well and that the ends don't come out with use and washing. Intarsia is a project that will have many ends when you finish your project, that is the nature of intarsia.
Some people swear that they can knit or crochet over their ends and that is sufficient. Let me tell you, that is NOT the case. If you just work over your ends you will be so sad the first time you wash your project and your ends start to pop out. Just crocheting or knitting over your ends does not give them enough of an anchor and allows them to fall out with agitation.
While working with yarn Anne realized that yarn is made up of a lot of air. She wondered if she could put the yarn inside of yarn to help secure the ends. Watch the video to see what special tool and technique that she uses to bury her ends. This is a great tip and you should never have an issue with ends coming out if you follow along with Anne.
This video also shows you how you can correct your intarsia stitches before you finish your project to make it look professions.
Video Tutorial How to Finish Intarsia Perfectly:
Purchase Anne's book:
Interested in learning more about Intarsia? Check out Anne's book called Annetarsia. Anne has created her own technique for intarsia that helps eliminate some of the common problems that knitters have with intarsia. Be sure to try out her book!
Other Intarsia Videos:
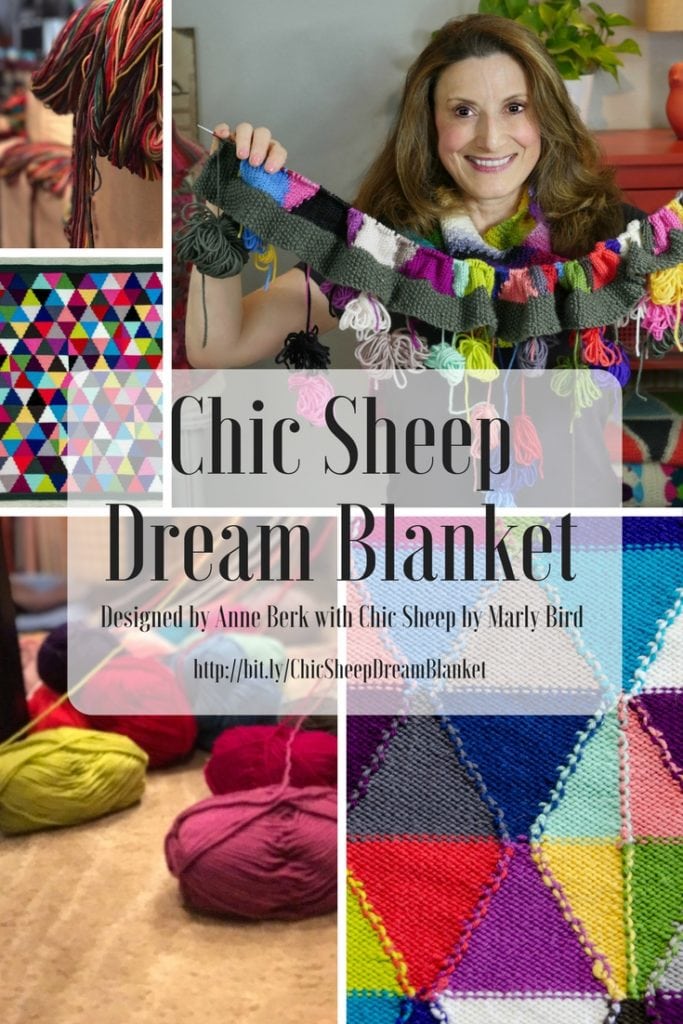
FREE Intarsia Blanket Pattern using Chic Sheep by Marly Bird:
When Chic Sheep by Marly Bird first launched Anne was kind enough to design a BEAUTIFUL intarsia blanket. This blanket uses EACH of the 24 colors in the Chic Sheep line. I absolutely love this blanket. Head over to the Chic Sheep Dream Blanket blog post to get the free pattern.
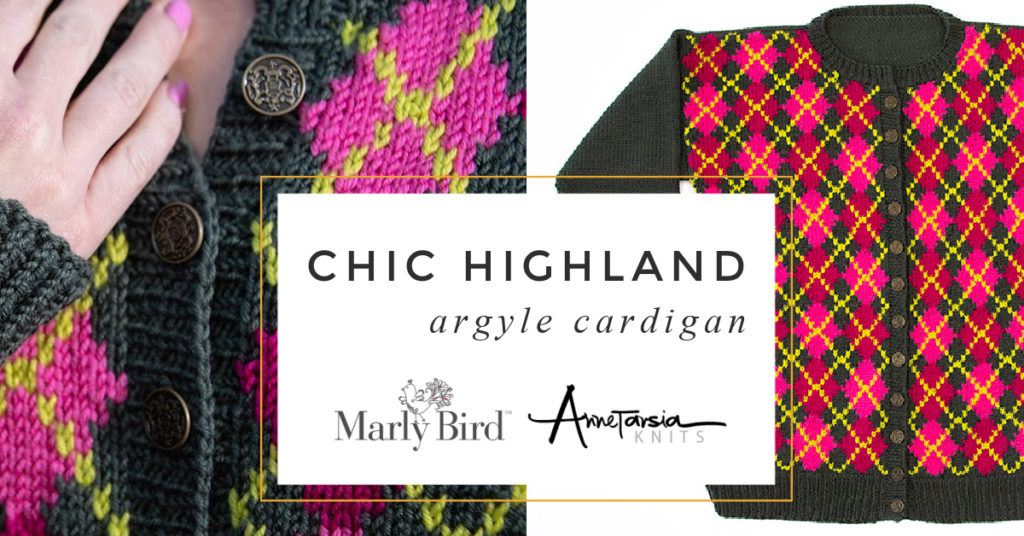
Anne has also designed a beautiful cardigan for the MarlyBird.com website as well. Check out the Chic Highland Argyle Cardigan pattern.
Frequently Asked Questions
What makes finishing intarsia “perfectly” challenging?
Intarsia generates many yarn ends… each color section has a start and end tail that needs to be woven in securely. Because the color sections are isolated (not carried across the fabric), every time a color starts and stops creates two ends. For complex designs with many small color sections, you might have dozens of ends to deal with. The challenge is weaving them in invisibly, securely, and without creating bulk… especially at color boundaries where you need to work the ends in specific directions to avoid them showing through from the right side.
What are the key steps for finishing intarsia ends?
A few important principles! Weave ends along the same row rather than diagonally into the fabric… diagonal weaving can pull and distort the colorwork. At color boundaries, weave ends INTO the color they belong to (the blue end goes into the blue section, not crossing into the red section). Work in multiple directions… a few stitches one way, then double back the other direction for security. Keep tension even so the weaving doesn't pucker the fabric. And always weave at least 4-6 inches for each end to ensure it won't come undone with wear and washing.
How do I prevent color bleeding between sections when weaving ends?
Strategic weaving direction is key! If you have a red end near a white section, always weave the red end into the red fabric only… never let it cross into the white area where it could show through. Weave along the back of the color boundary rather than through it. Some knitters use a needle to carefully guide the end along the backs of specific stitches. Checking the right side periodically as you weave ensures nothing is peeking through from the wrong side. It's careful, patient work but the result is a finished piece where the colorwork looks clean and crisp from the right side.
Should I weave in intarsia ends before or after blocking?
It depends! For knitting, many crafters weave ends before blocking because the wet-blocking process secures the woven ends firmly. Others block first to help the fabric settle, then weave in when the fabric is in its final relaxed state. For crochet intarsia, the same considerations apply. Either order can work… the most important thing is that the ends ARE woven in securely and the blocking helps the whole piece settle into its final shape. Never leave intarsia ends just tucked (not woven) because they'll work loose with wear.
What tools help with finishing intarsia?
A sharp-tipped tapestry needle in the right size for your yarn is essential. Smaller needles cause splitting for thick yarn; too large a needle creates visible holes in fine yarn. Good lighting so you can see exactly where your needle is going. Optionally, a small crochet hook for catching and guiding the needle in tight spaces. Some knitters use a threading tool to make it easier to thread fine yarn through small needles. And patience… good intarsia finishing is slow, careful work that pays off enormously in the quality of the final piece.