Tutorial for Easy Exquisite Cable Throw Knitting Pattern
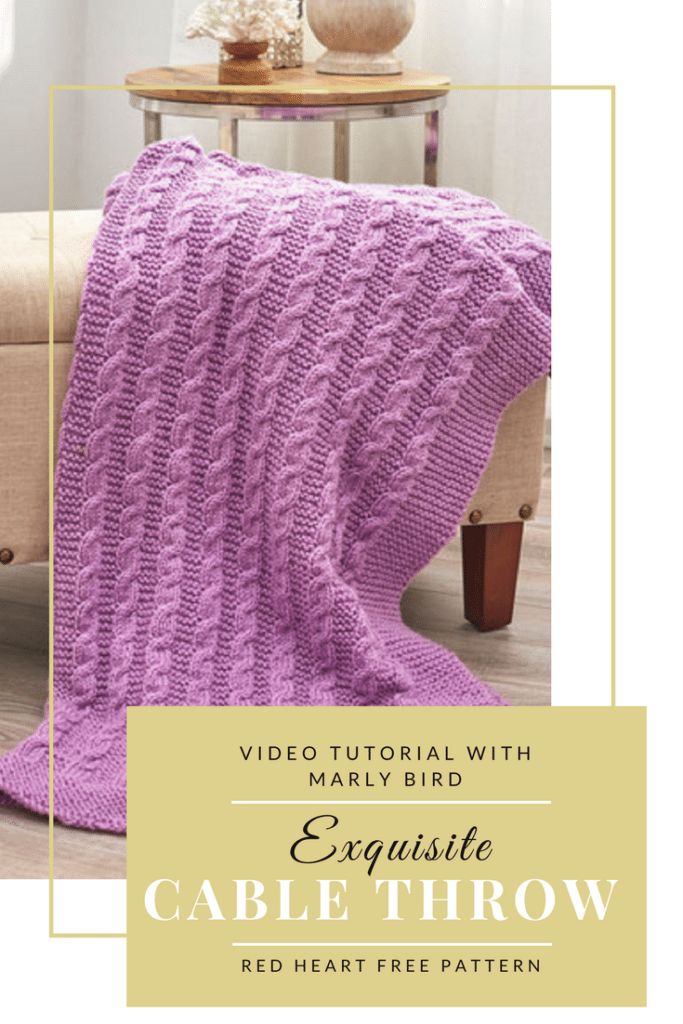
 Red Heart has a beautiful throw pattern that uses simple cables. Today I want to show you how to do the 4 stitch cable in the Exquisite Cable Throw Knitting Pattern. The classic knit cable pattern will never go out of style and is so comfy to wrap up with. Be sure to read through to the bottom of the post to see the video tutorial I put together for you.
*This post contains affiliate links. By clicking one of these links and making a purchase a small portion will go to support the blog. The price you pay does NOT change. Thank you for your support.*
About the Pattern:
When beginner knitters hear the word ‘cable’ they can sometimes get scared because they don’t know how to create them. I am here to tell you that the cables in this pattern are some of the simplest that you can find and are a great introduction into cables. Cables are made by moving the position of the stitches on your needle. By rearranging the stitches you get the twisted cable look.
In this pattern you will be working a 4 stitch cable pattern and garter stitch. There is a garter stitch boarder and it is worked on circular needles to accommodate the large number of stitches. Although the pattern calls for circular needles you will be working in rows.
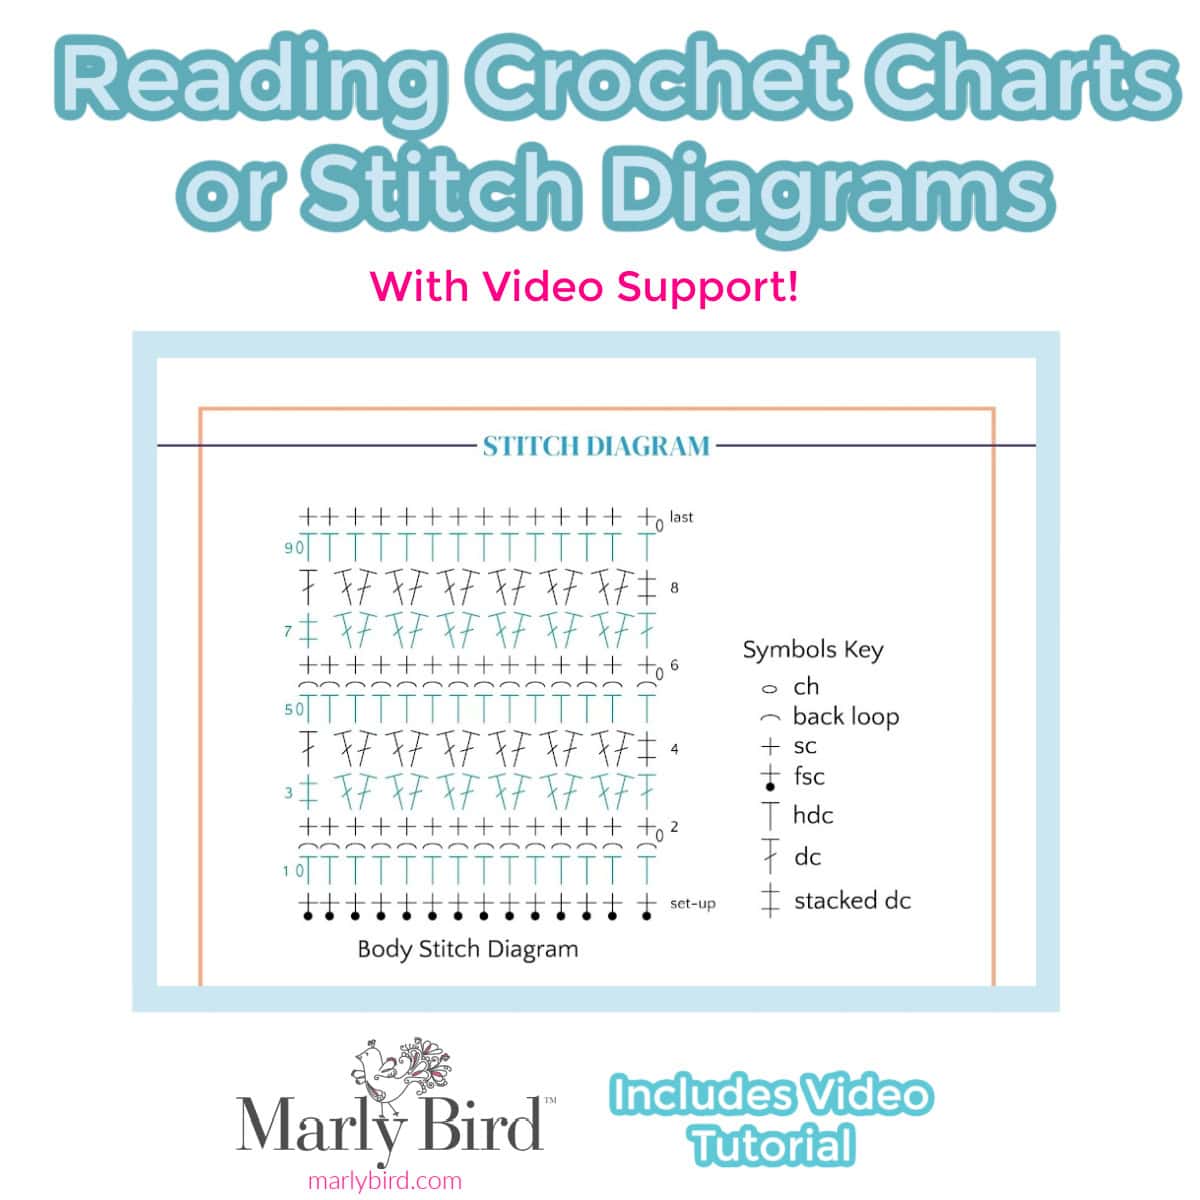
The Exquisite Cable Throw pattern has both written and charted instructions. You can work from either, which ever you feel more comfortable with. As a special BONUS for you in the video tutorial I show you how I work the cables in both the English (Throwing) and Continental style of knitting.
Exquisite Cable Throw Materials:
- RED HEART® Super Saver® Jumbo: 3 skeins 530 Orchid or RED HEART® Super Saver®: 6 skeins 530 Orchid
- Susan Bates® Knitting Needles: 5.5mm [US 9] 36″ circular needle
- Cable needle
- Yarn needle
- FREE Exquisite Cable Throw Pattern
Notes for successful cables:
As you start to work the pattern you will see that there is a 8 stitch and 8 row repeat in the pattern. In the stitch repeat there are 4 stitches of cable and 4 stitches of garter. Trying to keep track of where you are on in the pattern can require a lot of focus. To make it easier to know where you are I suggest that you use stitch markers.
 If you watch the video tutorial you will see how I use removable stitch markers to know what row should have the next cable. I also use stitch markers to mark the start and end of the board stitches. Another spot that I like to use stitch markers is to denote each time I need to change from the cable stitch to the garter stitch sections.
There are many different types of stitch markers that you can purchase but I like to make my own and make them unique to me. If you want to make your own stitch markers you can check out my other posts on how to make removable stitch markers and knitting stitch markers.
Exquisite Cable Throw Video Tutorial:
Categories: Free Patterns, Knitting, YouTube Video Tutorial


Garter Stitch is the border
Marly, thanks so much for this. I am itching to get started on it but can’t get the link to work. I can’t find it on ravelry either. Can you point me in the right direction. I am in France and using an ipad ???