The Best Planned Pooling Crochet Tutorial Video
When planned pooling first started really trending (2016/2017), it really interested a lot of people. However, even experienced crocheters found it challenging, It’s tough to figure out the math that allows for the correct yarn placement. I immediately loved the technique, and I wanted others to love it, too. Therefore, I created The Best Planned Pooling Crochet Tutorial. This video tutorial really breaks down how to do this argyle crochet technique.
Note: this post has been updated to reflect the most up to date planned pooling crochet tutorial information. You may have noticed that I’ve been updating all of my planned pooling posts lately. I’ve also put together a Total Beginner’s Guide to Crochet Planned Pooling which links to all related posts. Many people have expressed that they were able to learn this technique thanks to these posts, especially with assistance from my Yarn Pooling Made Easy book and this best planned pooling crochet tutorial video. I hope you find that to be true too.
*This post may include affiliate links. If you click one and make a purchase, I get a small percentage of the purchase. Your price never changes.
How I Learned What’s In This Planned Pooling Crochet Tutorial
I certainly didn’t invent planned pooling crochet. In fact, color pooling has accidentally happened in yarn crafting ever since multicolored yarns were invented. Then some savvy people figured out that you could channel that to plan out the color pools. This means you can create argyle and other similar patterns. I learned this from a few key places:
Knitting Planned Pooling
Yarn pooling used to always be a bad thing in both knitting and crochet. Colors in multicolored yarn would “pool” in strange ways that people didn’t expect or like. However, then designers realized that with some smart tweaks, they could plan out where the pools would occur. Therefore, they could use the pooling as a design advantage instead of a drawback. Thus planned pooling was born.
I had first known about planned pooling in regards to knitting. I learned from the amazingly talented Laura Bryant who wrote a book on it: Artful Color Mindful Knits. The book’s description includes:
“The author shows how to analyze the dye skein and reveal its color repeat, allowing the crafter to employ stitch gauge and stitch count to intentionally pattern the finished work. As a contrast, further strategies and stitch choices are shown that blend the colors to overcome unwanted pooling and create more gentle gradients.”
She shows this for both knitting and crochet with an emphasis on knitted planned pooling.
Crochet Planned Pooling
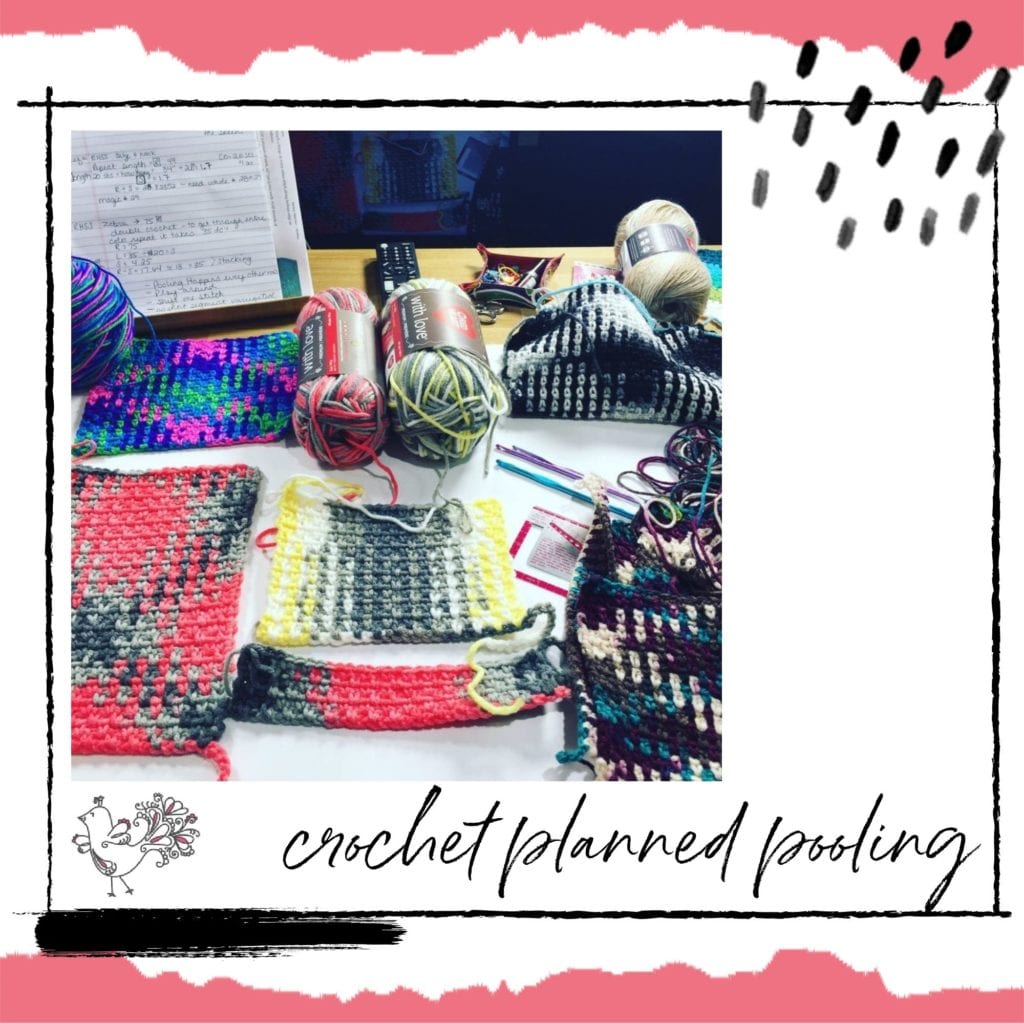
I first learned how to do the crochet planned pooling argyle through a blog post on the Red Heart website. That post is now over on Yarnspirations. First I learned the basics from this written planned pooling crochet tutorial, Then, I sat down and swatched and swatched and swatched. I did a lot of swatches to figure out the best way to do the technique. Moreover, I learned how it worked for the different colors. With a lot of practice, I learned how to get the look I wanted for each project.
Along with the many blog posts and videos out there I have found great support and fellow planned pooling lovers in the Planned Pooling with Crochet Facebook group. The admins in the group are fantastic. Plus, the members post so many wonderful projects that they have completed. It’s quite inspiring.
The Most Important Thing I Learned
It’s amazing how much I needed to put aside my years of knowledge and just do what I was told to do. Yet, I wasn’t following a pattern as there wasn’t one for me to follow, Instead, I simply did trial and error. I learned many things through swatching that helped me better perfect how I could teach others to do this technique.
The biggest of which is this: getting a yarn to automatically pool argyle for you without any adjustments is unlikely. More often than not, you will compensate the gauge/tension of a stitch to get the correct color placement in the ch-1 space (when using moss stitch, which I have found to be an ideal stitch for a beginner crochet planned pooling tutorial). Meaning, you may have to adjust the size of the stitch or the actual type of stitch you are using depending on the placement of the color needed to establish and maintain the planned pooling argyle pattern.
This is counterintuitive to what we usually do in crochet. But it’s critical.
Let’s Explore Color Placement
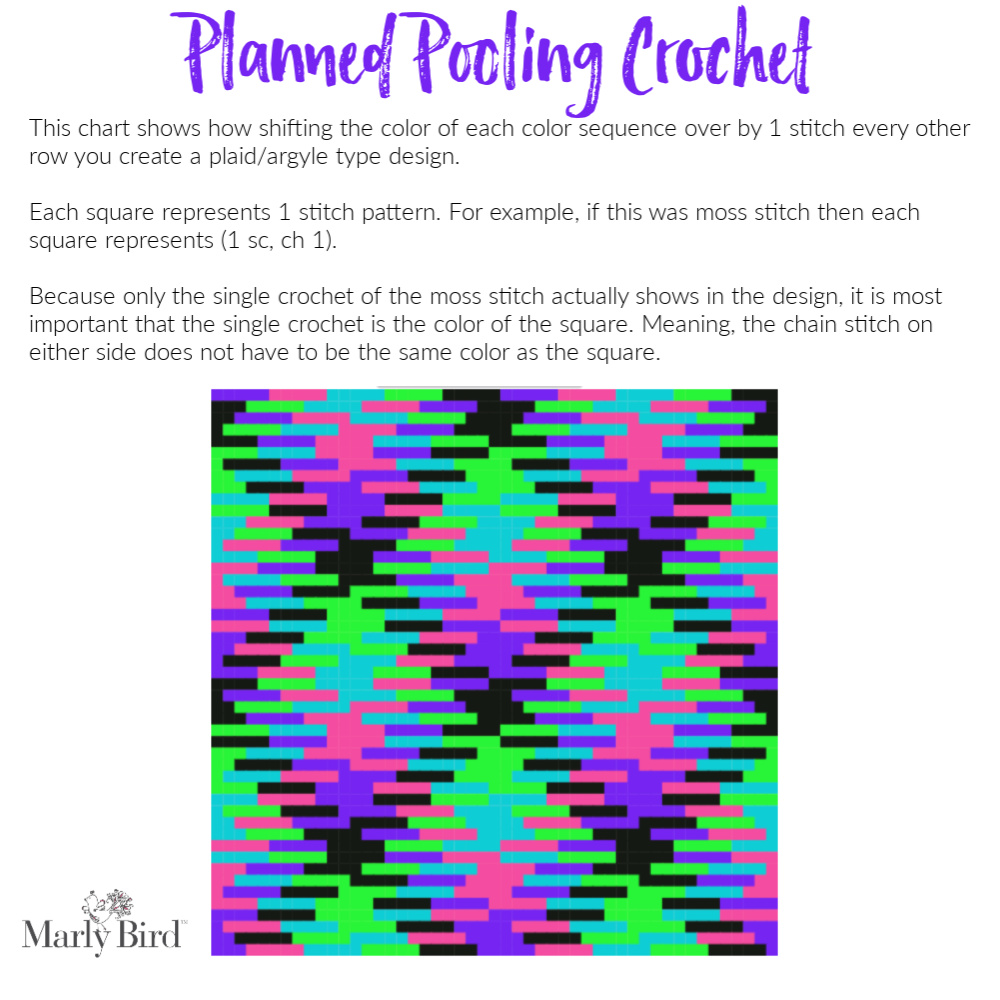
If you think of a planned pooling crochet chart showing you exactly where a color has to go to get an argyle look then you can begin to see what I mean by color placement. If you chart out the argyle with each square representing the Single Crochet stitch of the moss stitch (as that is the only stitch that is showing) then you can see EXACTLY where each color has to go.
Let’s think about this in different techniques. For example, if you were doing cross stitch, then you would place whatever color was indicated in the chart for the color in that space. Likewise, if you were doing fair isle knitting, then you would strand the color needed in that space -behind the other colors in place to make that stitch the correct color as indicated in the chart. And if you were doing argyle, then you would have bobbins of color dangling from the work and would use the correct color for that stitch as indicated in the chart. All of these are reasonable and possible options for using a color placement chart like this one.
BUT, we don’t want to do cross stitch, or strand our yarn, or do actual argyle, Instead we want to do PLANNED POOLING ARGYLE crochet where the yarn does the work for us. So, we work along in moss stitch and manipulate the yarn to make sure that when the color is supposed to change from one to another, it happens. Sometimes we do that by changing hook size and other times by changing a single crochet to a half double crochet or ch 1 instead of ch 2 on the turn.
Because the yarn is not made to automatically work into argyle and is sometimes inconsistent in the lengths of color, it is our job to make it work by manipulating it. The yarn does most of the work, but we have to make adjustments to control it.
Clear as mud, huh? Well, I’ve made this Best Planned Pooling Crochet video that will hopefully make it clearer for you.
Here’s Where to Start With Planned Pooling
Here are the things you’ll need to do to start.
The Yarn For Planned Pooling Crochet
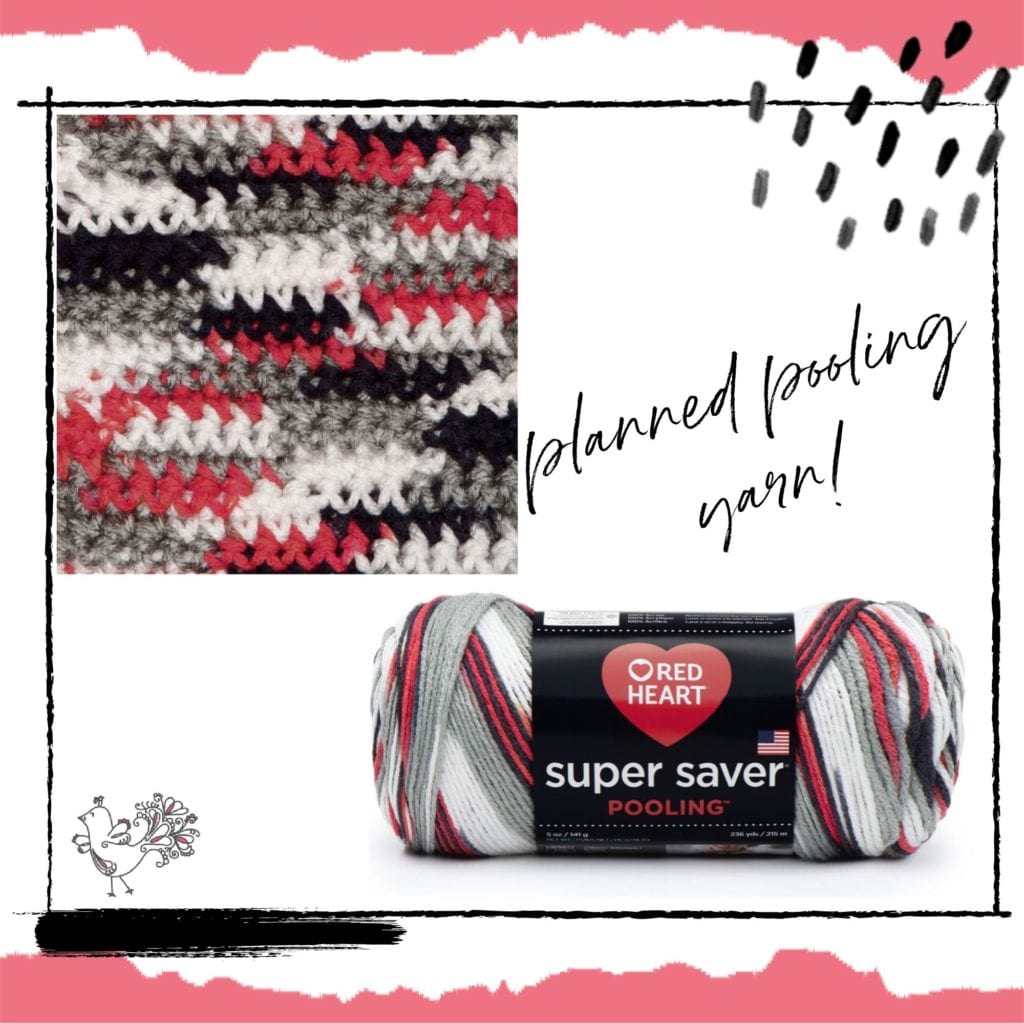
The first thing I want you to do is learn about the right yarn for planned pooling. When I first created this planned pooling crochet tutorial video, I shared a list of yarns from Red Heart that are supposed to work for Planned Pooling Argyle. Some of these are more difficult to pool than others but at least you have a starting point. And I suggested RHSS in Earth and Sky or Zebra color ways or With Love in Delightful or Fruit Punch.
However, since that time, I’ve actually worked with Red Heart to develop Super Saver Pooling yarn. This yarn is specifically designed for this technique. Therefore, you might want to start with it.
Watch the Best Planned Pooling Crochet Tutorial Video
Now it’s time to grab a crochet hook, pick up your variegated yarn, and watch the video below, In less than thirty minutes, you’ll be able to join me in the wonders of making planned pooling argyle crochet.
Many people have told me that this video is what helped them overcome the challenge of learning this technique and to be able to do it. Recently on Instagram @majobekhosi said, “I made a hooded cowl from your YouTube video and I love it.” And comments on the video itself include this from Denise Chavez: “I’ve been doing my swatches for 3 days now. And I think its finally turning out. I’ve changed my hook twice and I think I need to do it one one time. But I its coming along. I’m using the lemon drop color yarn from red heart.” Also, Princess Pea wrote:
“I’ve worked on this all night, and I finally have a swatch that resembles something like argyle! So, I’m going to get this down if it kills me! ???? I’m so glad that you showed your own multiple imperfect swatches toward the end, because now I don’t feel so inadequate. If you can’t get it perfect every time, then my newbie mess is more excusable. ???? Thank you for all of these tutorials, Marly. You’ve made planned pooling easy to understand. Of course application is not the same as theory, but I’ve got plenty of time to practice.”
Once you’ve learned the basics in the Best Crochet Tutorial Planned Pooling Argyle video, watch the follow up video, 10 Secrets to Perfect Planned Pooling.
Looking for more PLANNED POOLING ARGYLE PROJECTS?
Of course you are, you are ready to jump into the pool too! The best place to start, after those videos, is right here. You’ll find a series of gradually more challenging patterns and techniques through that post. Have fun with this amazing crochet technique!!





Very helpful how did you get the red heart antique to pool I’ve tried that one a lot of times any suggestions would be helpful