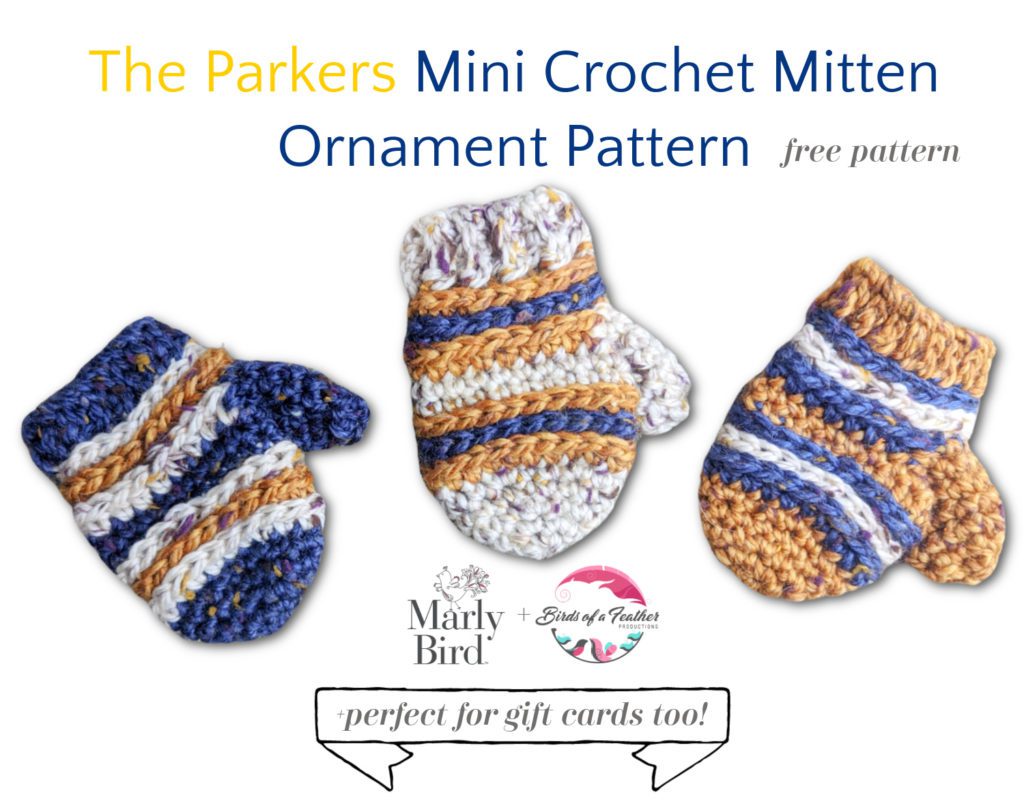
Mini Crochet Mitten Ornament || Free Pattern
Mini Crochet Mitten Ornament: The Perfect Handmade Gift Idea. Looking for a unique, handmade touch for your holiday decor or gift-giving? This Mini Crochet Mitten Ornament is a delightful way to spread cheer! Perfect as a tree ornament or a thoughtful gift card holder, this quick crochet project is ideal for teachers, coworkers, and anyone on your holiday list. With its adorable design and practical functionality, it’s sure to be a hit during the festive season.
Read more: Mini Crochet Mitten Ornament || Free Pattern
*THIS POST CONTAINS AFFILIATE LINKS. BY CLICKING ONE OF THESE LINKS AND MAKING A PURCHASE A SMALL PORTION COMES BACK TO THE BLOG. THE PRICE YOU PAY WILL NOT CHANGE. THANK YOU FOR YOUR SUPPORT OF THE BLOG.*
Why Crochet a Mini Mitten Ornament?
This crochet mini mitten pattern is more than just a charming holiday decoration—it’s a versatile gift idea! Here are some reasons to give this project a try:
What You Will Love
- Quick and Easy: Perfect for last-minute crafting, this pattern works up fast, even for beginners.
- Budget-Friendly: Use scrap yarn to create these mittens, making it a cost-effective gift option.
- Dual Purpose: Not only does it look adorable on a Christmas tree, but it also doubles as a creative gift card holder!
Whether you’re crafting for your child’s teacher, a secret Santa exchange, or your coworkers, these mini mittens add a personal touch to your holiday gifts.
Yarn and Hook for the Mini Crochet Mitten Ornament
For this project, you’ll need a worsted-weight yarn in your favorite holiday colors. Choose classic red and green for a traditional look or modern pastels for a trendy twist. A size G/6 (4.0mm) crochet hook is recommended to achieve a snug yet flexible fabric.
Pro Tip: What’s the best yarn for crochet ornaments? Acrylic yarns hold their shape well and are durable, ensuring your mitten ornaments last for years to come.
Here are some yarns we love:
- Brava Tweed – premium acrylic is enhanced with flecks of viscose Tweed to add depth to sweaters, blankets, and more while maintaining the durability and affordability you can expect from the Brava family.
- Herrschners Worsted 8 – Herrschners premium quality Worsted 8 Yarn contains 8 full ounces (489 yards) of worsted weight yarn for solids and multis! This 100% acrylic yarn is perfect for afghans, sweaters, home décor projects, and more.
- Herrschners Worsted Heathers ❤️ Marly Loves This Yarn – Bring a homespun appeal to your knit and crochet projects. Herrschners Worsted 8 Heathers contains premium quality yarn you expect from our Worsted family of yarns in a range of soft, heathered shades that bring at timeless look to your projects. Perfect for afghans, sweaters, home décor projects, and more.
- Wool of The Andes Tweed – upscale choice, this tweed combines a classic heathered palette with earthy-colored flecks of Donegal tweed–viscose and acrylic neps that are spun alongside the Peruvian Highland wool.
Creative Ways to Use the Mini Crochet Mitten Ornament
The Mini Crochet Mitten Ornament isn’t just for hanging on the tree—it’s a multifunctional project that brings charm and practicality to your holiday season. Here’s how you can use it:
- Tree Decoration: These mittens make adorable tree ornaments, adding a handmade, cozy feel to your holiday decor. You can customize the colors to match your tree’s theme, creating a cohesive and festive look that stands out.
- Gift Card Holder: Instead of the usual envelope, present your gift cards in one of these mini mittens. The handmade touch transforms a simple gift card into something thoughtful and memorable. It’s a wonderful way to make a small token of appreciation feel extra special.
- Advent Calendar Surprise: Create a series of mini crochet mittens and hang them as a festive advent calendar. Fill each mitten with small candies, trinkets, or handwritten notes for a daily dose of holiday joy. Kids and adults alike will love discovering what’s inside!
- Stocking Stuffer: These tiny mittens are the perfect size to tuck into larger stockings. Fill them with small treats or heartfelt messages for an extra layer of holiday cheer.
With endless possibilities, these mini mittens are a versatile project that will brighten your holiday celebrations!
More Handmade Holiday Gift Ideas
For crafters, making gifts for loved ones is more than just a holiday tradition—it’s a heartfelt way to show you care. There’s something incredibly special about giving a handmade gift, knowing that each stitch was created with love and intention. Whether it’s a cozy blanket, a pair of mittens, or a festive ornament like this one, handmade gifts have a way of connecting us to those we cherish most.
Adding a personal touch to your handmade gifts can make them even more meaningful. Consider attaching a personalized leather tag to your project to showcase your name, the recipient’s initials, or a special message. These small details elevate your gift into a keepsake that will be treasured for years to come. (Add your affiliate link here to help readers find custom leather tags for their projects.)
Looking for more inspiration? My blog is filled with crochet holiday patterns and quick-to-make gifts that are perfect for spreading joy. Explore patterns like snowflake ornaments, crochet stockings, and gift bags to round out your holiday crafting. Start a new tradition this year and give the gift of handmade love! 🎄

Expand Your Holiday Crafting with the Marly Bird Holiday Pattern Collection
Ready to take your holiday crafting to the next level? The Marly Bird Holiday Pattern Collection offers an exclusive set of beautiful knit and crochet patterns perfect for decorating your home, gifting to loved ones, or creating festive accessories.
Each pattern is thoughtfully designed and includes detailed instructions to make your crafting experience enjoyable and stress-free. From cozy hats and mittens to holiday decor and gift ideas, there’s something for everyone in this collection. Plus, all the patterns are conveniently housed in the Marly Bird House, making it easy to access everything in one place.
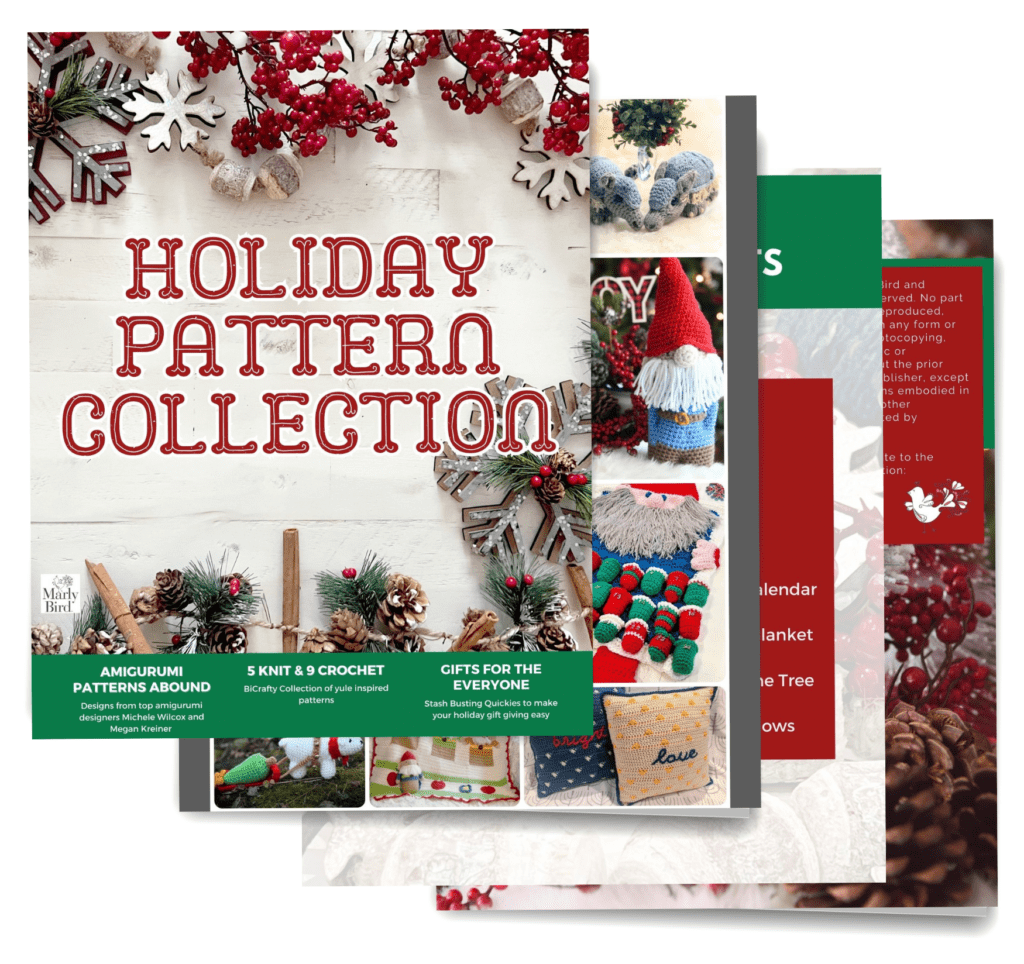
Don’t miss out—purchase the Holiday Pattern Collection today and add even more joy to your holiday season! 🎄✨
Ready to start crocheting? Gather your supplies, follow the free pattern below, and share your finished project with #marlybird and #mmmdi on Instagram. Don’t forget to join the Marly’s Minions BiCrafty Community on Facebook for more tips, inspiration, and holiday fun!

Now, grab your favorite yarn and crochet THE PARKERS MINI CROCHET MITTEN ORNAMENT this holiday season.

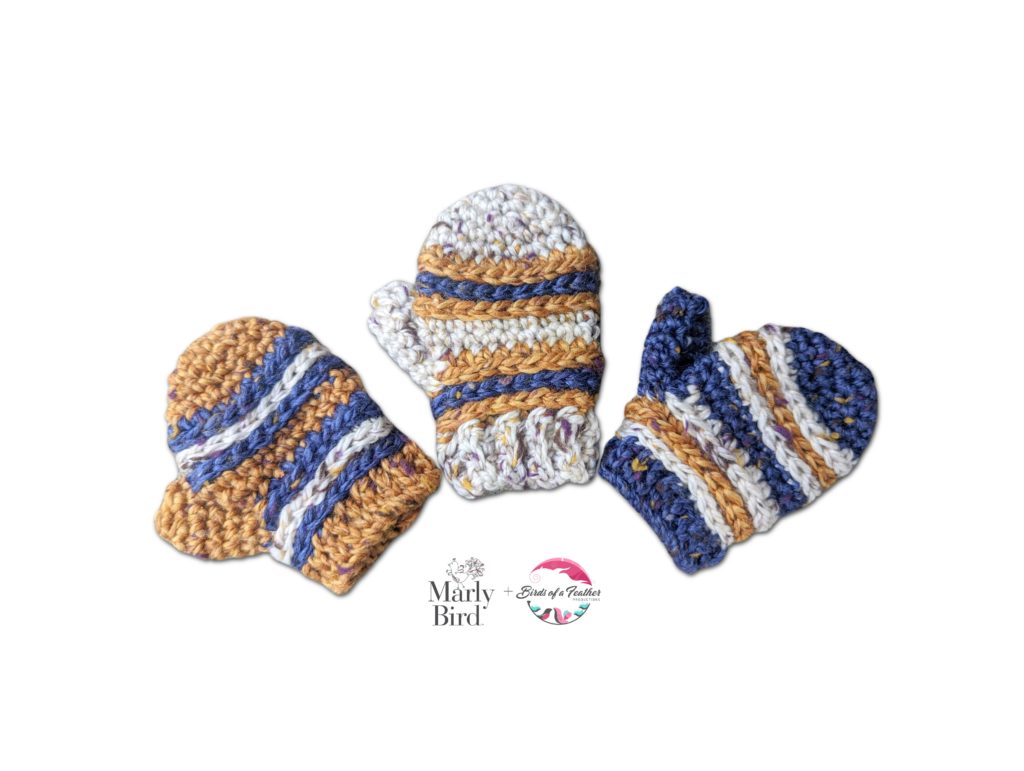
THE PARKERS MINI CROCHET MITTEN ORNAMENT
Designed by Marly Bird and Robyn Chachula
SKILL LEVEL
Adventurous Beginner
MEASUREMENTS
Finished Measurements
Mitten is 5” [12.5 cm] in circumference by 3.75” [9.5 cm] long.
Gauge
8 sts = 2” [5 cm]; use any size hook to obtain the gauge. Note: Gauge is not critical.
MATERIALS
Yarn
Color A: #27716 Cream, 25 yds
Color B: #27571 Carmel, 15 yds
Color C: #27576 Winter Walk, 10 yds
Hook
Size H/8 [5.0 mm] >> TooShay Crochet Hooks from Etsy <<
Notions
Tapestry needle, Stitch Markers
ABBREVIATIONS
BLO – Back Loop Only
Ch – Chain(s)
Hdc – Half Double Crochet
PM – Place Marker
RS – Right Side
Sc – Single Crochet
Sl st – Slip Stitch
St(s) – Stitch(es)
Tch – Turning Chain
WS – Wrong Side
Yo – yarn over
SPECIAL STITCHES
⭐️ 3rd Loop: Also known as middle or back bar. Horizontal strand located under the top 2 loops, created by the yarn over when making the hdc.
⭐️Single Crochet 2 Together (sc2tog): *Insert hook into indicated stitch, yarn over and pull up a loop; repeat from * in next stitch indicated, yarn over and draw through all 3 loops on hook. (1 decrease)
NOTES
- Project is worked in joined rounds. You can use sl st to join as written or an invisible join.
- Invisible join is created by removing free loop from hook, thread hook from back to front in first st, place free loop on hook and draw through stitch. Remove the hook from the free loop and replace in the opposite direction to start the next round, this will make sure your loop is not twisted.
- Mitten starts with a ch 2, but an adjustable ring can be substituted instead if you wish.
- Place a marker in the first stitch of each round.
- For this pattern only, you can change color AFTER you complete the stitch instead of when you have 2 loops left on your hook.

GROW
To Unlock Exclusive Subscriber Content click the Box below and join for free by simply adding your email and creating a password! If you are having troubles, clear your cache or reset your password or login to the Grow Publisher Portal.
>> Learn More About Grow Here <<
I’m thrilled to share this amazing pattern with you, many patterns on my blog are absolutely free! I kindly request that you don’t copy and paste or distribute this pattern. Prefer an ad-free experience? Buy a digital PDF pattern for a small fee from one of my online stores for a seamless crafting journey.
I appreciate your support and readership. You are the reason I can keep doing what I love and sharing it with others. So, thank you from the bottom of my yarn-loving heart! Disclosure: This post contains affiliate links, meaning I get a commission if you decide to make a purchase through my links at no cost to you.
Categories: Crochet, Free Patterns, Marly Bird Premium Patterns, Our Free Patterns, Pattern

