Marly Bird Garter Stitch Shawl Knit-along Section 1
The Marly Bird Garter Stitch Shawl Knit-along Section 1 is sponsored by Red Heart.
This is the very first KAL I’ve hosted that is based on my own pattern and includes a full set of HD videos of me demonstrating how to do each step of the shawl! You will find the full instructions for SECTION 1 below.
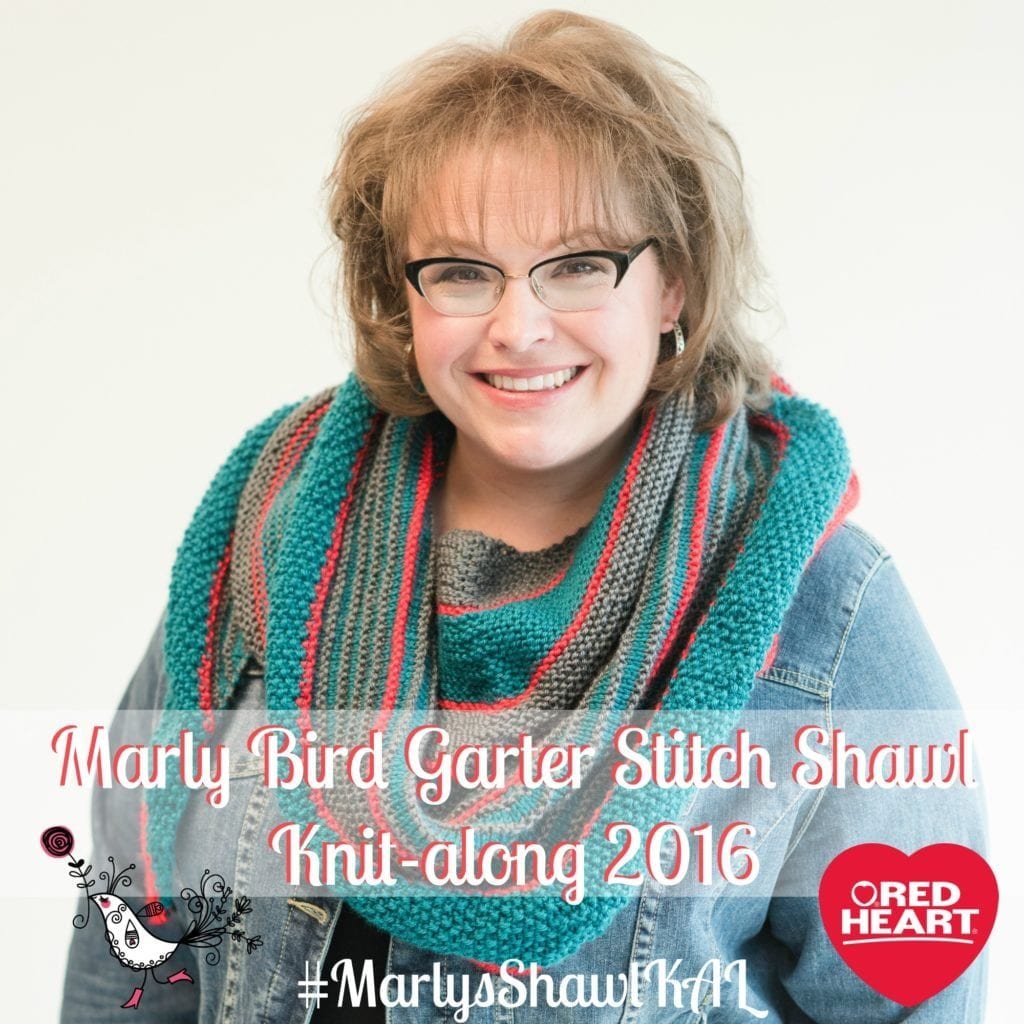
Once the KAL is complete the full pattern will be available at MarlyBird.com.
Queue it up and Like the Pattern on Ravelry
THE PROJECT
A SHAWL! Something that is rather simple, uncomplicated and gauge isn’t something that is super important. The project for this KAL is a rather easy shawl but it packs a lot of punch. There are many learning opportunities for me to teach you while you make this garter stitch shawl.
THE DATE
The official start date is March. 30, 2016 – April. 27, 2016. There will be one video released each week along with the pattern instructions for that section. You will find a full schedule at the end of this post with links as they are available.
THE COMMUNITY
There is a dedicated Facebook group for this KAL that is monitored by me and several of the WONDERFUL sampler knitters who tested this pattern for me. We are all there to help you with this project. Please join us!
THE PATTERN
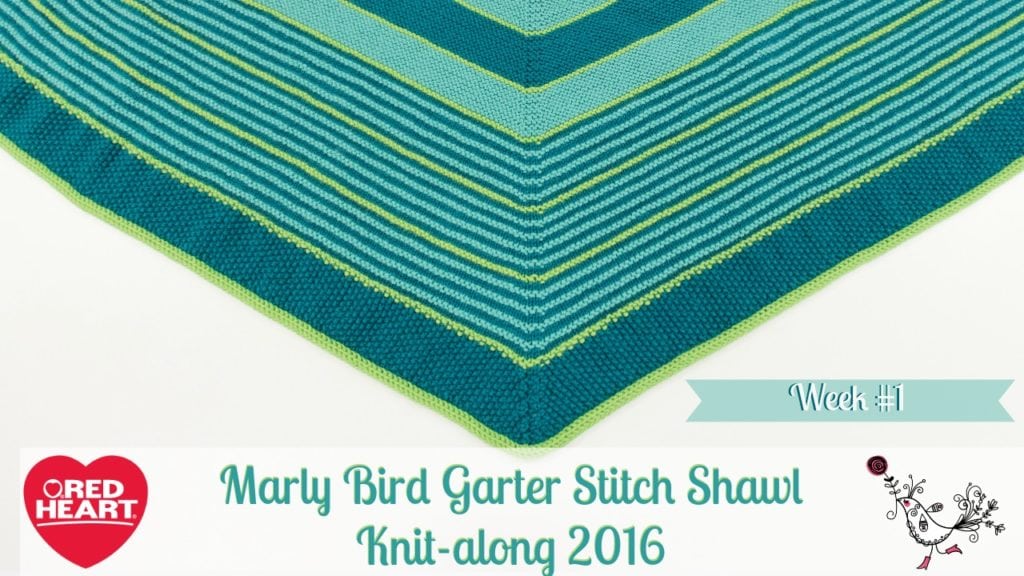
Below you will find the instructions for SECTION 1 of the Marly Bird Garter Stitch Shawl.
THE MATERIALS NEEDED ETA 4-3-16: please note the yarn amounts required for Color C has been changed to 2 balls.
THE GAUGE: 17 sts = 4″ (10 cm); 36 rows = 4″ (10 cm) in Garter st. CHECK YOUR GAUGE. Use any size needles to obtain the gauge.
SPECIAL STITCHES
kfb (Knit into front and back) = Knit next st but do not remove from needle, knit into back loop of same st and remove from needle.
Let’s Begin
SETUP
Using 24″ needles and with A, cast on 4.
Row 1 (wrong side): K1, kfb, kfb, k1 – 6 sts.
Row 2: K1, place marker, kfb, place marker, k1, place marker, k2, place marker, k1 – 7 sts.
Place a removable marker to this side of the shawl to signify the right side.
Row 3: K1, slip marker, kfb, kfb, slip marker, k1, slip marker, kfb, kfb, slip marker, k1 –11 sts.
GARTER STITCH SECTION
Row 1 (right side): K1, slip marker, kfb, knit to last 2 sts, kfb, slip marker, k1 – 13 sts.
Row 2: Repeat Row 1 – 15 sts.
Row 3: K1, slip marker, kfb, knit to 1 st before marker, kfb, slip marker, k1, slip marker, kfb, knit to last 2 sts, kfb, slip marker, k1 – 19 sts.
Row 4: Repeat Row 1 – 21 sts.
Repeat the last 4 rows 3 more times – 51 sts.
CONTINUE…
With B repeat Rows 1 and 2 – 55 sts.
With C repeat Rows 3 and 4 once, Rows 1–4 –4 times, then Rows 1 and 2 once – 105 sts.
With B repeat rows 3 and 4 once – 111 sts.
With A repeat rows 1–4 4 times – 151 sts.
With B repeat rows 1 and 2 once – 155 sts.
Video
Homework
Finish section 1 and be ready to start section two on April 6, 2016.
Once you finish your section be sure to post pictures to the facebook group as there will be a prize given away from RedHeart.com to one lucky person (who is randomly chosen) that has finished his or her homework during the week of March 30, 2016 – April 5, 2016 @ 11:59pm. Goodluck!
OH, One last thing!
Be sure to use the hashtag #MarlysShawlKAL when you post about it on social media
so we can find what you are saying 🙂
THE SECTION SCHEDULE
ETA: I will make a paid for PDF available soon but the free pattern will always be available here on the website.
New Knitter and want a little class? Well, check this out:
Categories: Knitting, Make-Alongs, Pattern, Uncategorized, YouTube Video Tutorial





Gracias, gracias, gracias
Excellent start for beginners – clear instructions written with stitch counts to make sure you are on the right track! a must for beginners!
All your information is very informative.
I would also like to know where you get the markers you use..
Thank you somuch
thank you, the markers I used come from a lovely lady who hand makes them. She has a different variety of items all the time so inventory might be low or high depending on when you look. Her website is: https://chappysartsandcrafts.com/store/items/index/5/jewelry_for_your_knitting_and_crocheting/
But you can always contact her via her website and say “Hey Chappy, I want the same kind of stitch markers Marly Bird loves!” and she will know exactly what they are 😉
Just a very minor point which nearly had me in trouble! I put this down to my eyesight which at 76 isn’t good – but the row that tells you how many times to repeat an instruction needs a small piece of punctuation to divide the numbers ” Rows 1-4 4 times” perhaps should read “Rows 1 – 4/ 4 times” Like i said only a minor thing but at a glance i read it as 44!
I can totally see what you mean and I will make an adjustment 🙂
I can’t hear the sound on the KAL Section 1 Youtube video
It is playing only in the left ear for some reason. I am working on that.
Hi Marly, I’ve started the shawl and I’m enjoying making it, but I have a question about the yarn. If the lighter blue in the very first section of the shawl is Color A, and the bottom seed stitch in the darker blue is Color C, it sure looks like I’ll need more of Color C than Color A to make this shawl since those last rows are the longest. Also there seem to be more stripes in the darker blue in the striped sections.
Are you sure it shouldn’t say 2 skeins of Color C, and only 1 skein of Color A? Or maybe I have the colors mixed up. Which color is the seed stitch section, Color A or Color C?
you are absolutely correct! I had the same feeling and asked my sample knitters over and over if the yarn amounts were correct. Well, turns out they were getting my letters mixed up and YES, they did use 2 balls of COLOR C! I’ve made the change on the pattern details page and everywhere else I can think of. In the meantime, you have a choice, you can go and get another ball of color C and make section 3 in color C –OR– you can make section 3 in Color A and it will look lovely! I will show you this on the third video.
I am choosing to use this mix up as a teaching tool. It is a pain, yes, but if you get lemons make lemonade 🙂
I’ve already started and live it. I favorited on Ravelry but have no clue how to rate it and add a picture.
Thanks for the information.
Could you please tell me how to post a picture of the shawl. I have been doing it
On Facebook. Is that right?
If I happen to be off count do I have to rip back.
do I increSe at the. Enter spine on every row?
Vivienne
posting on facebook is perfect 😉 you increase down the spine on row 3 only (or in other words, every other right side row). If you get off count and can rip back easily then I suggest that.
Thank you very much for your advice.
I ended up with 155 stitches and I am finished with week one.
Hope it looks right. Vivienne
What does ETA stand for? Could you clarify the weight yarn , (3, 4 etc)used and the yardage of each color, thank you. I have a lot of yarn but want to make sure I have enough of each color. Can’t wait to get started.
ETA stands for “Edited to Add”. The weight of the yarn is a 4. If you click on the name of the yarn it will take you to RedHeart.com for more information.
Hi, I a anxious to start but I have a question, could you clarify the weight yarn used ex; 3, 4, etc. and the total yards for each color needed? i am trying to use some of the yarn I have and want to make sure I have enough of each color
I would also like to know where you get the markers you use. Thanks
Ugh foiled again by knitting Going along just great and all of the sudden dropped stitches and went from bad to worse in trying to pick them up. Have to completely start over.
Great lesson. I have learned so much. You are great. Could you please tell me the chart is you posted.
Hi I am a first time knitter (been crocheting forever and day). I am going along fine on this project but had to put to down in the first section now I am lost as to what row I am on. Can you provide the stitch count for each of the rows?
Hi Leah,
If you are part of the Knit-along group on Ravelry you will find a spreadsheet that has all the stitch counts included.