How to Knit and Purl (Knitting Lessons for Crocheters,…
We're happy to have you back at BiCrafty Boot Camp: Knitting Lessons for Crocheters. In Lesson One we learned how to slip knot, cast on and knit stitch. In Lesson Two, we learned the knitting basics of garter stitch and casting off, including a video tutorial for all of it. Now we're going to learn how to knit and purl. Actually, we already know how to knit, but we're going to add the purl stitch, which is the other core foundational stitch in knitting. And once we know how to do that, we'll be able to knit stockinette stitch.
If you haven't signed up for the BiCrafty Boot Camp newsletter then do that right now. When you do, you get emails reminding you that the next lesson is ready, announcements about our live videos, and more.
Crocheter's Edge
As a crocheter, you've got an edge up on the knit and purl stitch because you're already used to working a similar stitch in slightly different ways. For example, if you know how to front post crochet and back post crochet then you know how to work the exact same hand movement in a slightly different manner. This is the same idea.
Purl stitch is the opposite of knit stitch; in fact, a stitch looks like a purl on one side and a knit stitch on the other. Remember the quarter example in the video from lesson 2?
If the backside of a knit stitch is a purl, then the backside of a purl is a knit. Therefore, if you want to work Garter stitch flat (not in the round) you can either knit every row or all purl every row. Choose your favorite and get this wonderful stitch.
Do You Need To Know The Purl Stitch?
As a crocheter, if you can single crochet then you can make anything that's square or rectangular with that one stitch. The other stitches are just a combination of yarn overs and where to put the stitch. As you have progressed with your crochet, so too have you progressed with your knowledge of the different crochet stitches.
The same is true with knitting. Now that you can cast on, knit, and bind off you are a knitter. And yes, with the knit stitch you can make many things. But, if you add a purl stitch to your repertoire then the entire knitting world opens up for you!
As always, it is very important that you PRACTICE and keep practicing all the stitches. You need to create that muscle memory. YOU GOT THIS!
What Is Purl Stitch?
There are two key foundational stitches in knitting: knit stitch and purl stitch. They're essentially opposites of one another.
Purl Stitch vs Knit Stitch
Remember that in knit stitch, the yarn is at the back of the work. So the big difference we start with when learning how to knit and purl is that in purl stitch the yarn is at the front of the work. Additionally, in knit stitch, you're coming at the loop with the right hand needle from the left side. In contrast, with purl stitch, you're coming at the loop from the right side.
How to Purl Stitch
So, you basically do the same thing that you do with knit stitch. However, you insert the needle from right to left.
Here's how to purl stitch:
Here are the written instructions:
- We already have our knit rows from our first lessons. Hold the needle with the knit stitches on it in your left hand (same as you would if you were going to knit another row.)
- Use the left hand's pointer finger to pull the working yarn down, towards the bottom of the knit fabric, creating some tension to work with.
- Insert the point of the right hand needle into the first stitch from the right side to the left side.
- Lift up the pointer finger with the working yarn on it, wrapping the yarn around the needle counter clockwise.
- When you come back around with that yarn, press the pointer finger down again, creating that same type of tension.
- Move the right hand needle to bring the stitch off of the left needle and on to the right needle. And that's purl stitch. You just go in, around, out, and off. Stitch by stitch. Continue it across the row.
If you want to practice, you can create a purl garter stitch swatch. Just make one row of purl stitches after another. When you finish a row, move the right hand needle to your left hand so that the yarn is all in your left hand and purl again.
What Is Stockinette?
Once you know how to knit and purl, you can work the classic knit technique known as stockinette. Stockinette stitch is simply alternating rows of knit stitch and rows of purl stitch. As a crocheter, imagine that you work a row of single crochet then a row of double crochet, repeating that again and again to make a crochet square. That's comparable to stockinette stitch in that you're going to alternate two stitches you've learned – a row of knit stitch then a row of purl stitch.
Knitters Tip for Crocheters
Stockinette stitch curls at the edges. It just happens, so don't freak out when it does. As an experienced crocheter but new knitter, you might immediately think that you're doing something wrong – perhaps with your tension – when you see it start to curl up. However, that's not true at all. Stockinette stitch can and does curl up. It's supposed to with this stitch. It's okay!
It is also important that the curl will not block out in stockinette. You will have to add a border of some kind to a stockinette fabric to keep it flat. Coincidentally, a crochet border/edging would look nice.
Twisting Purls is a common mistake that beginner knitters make. This occurs when the yarn is wrapped around the right hand needle clockwise vs counter clockwise when purling, thus seating the stitch on the needle with the back leg forward instead of the front leg forward. When this happens, the following row if difficult to knit through the front leg and when it is, the resulting stitch is twisted. It is important to recognize these twisted stitches and fix what is causing them. **Marly will be going over this in this weeks Live Class**
A Marly reminder: if you can learn to crochet then you can learn to knit. In fact, learning crochet might be harder. In crochet, there are so many different places you can insert the hook, often accidentally, to create mistakes. In knitting, you just work into the row that's on the needle. You've got this. Practice.
How to Knit Stockinette
Here's how to knit stockinette stitch:
- Cast on any number of stitches.
- Knit one row.
- Purl one row.
- Knit one row.
- Purl one row.
- Etc.
This Week's Pattern
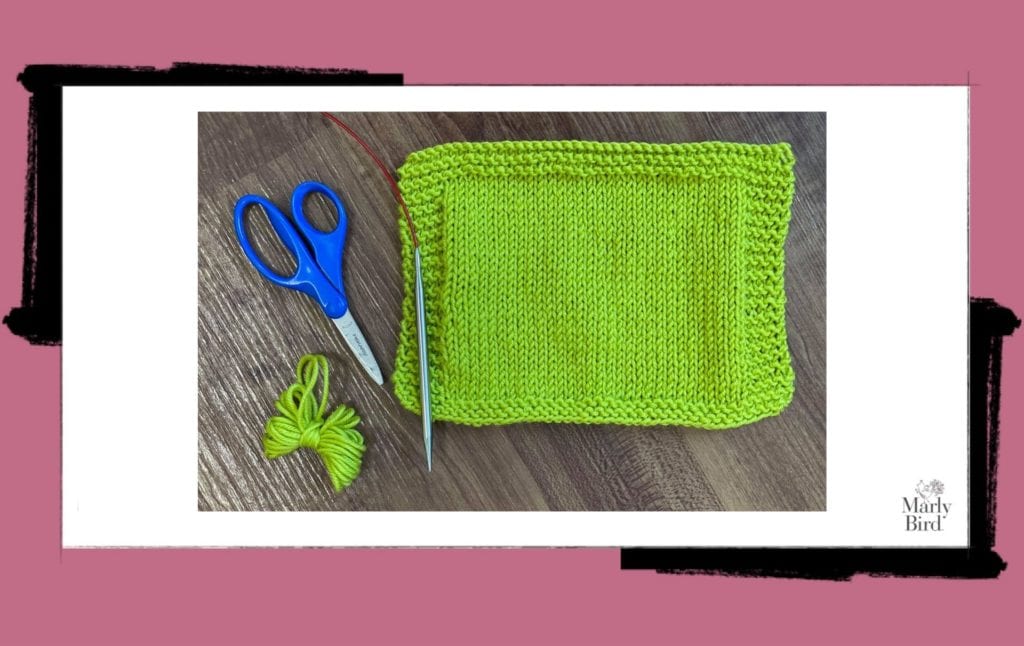
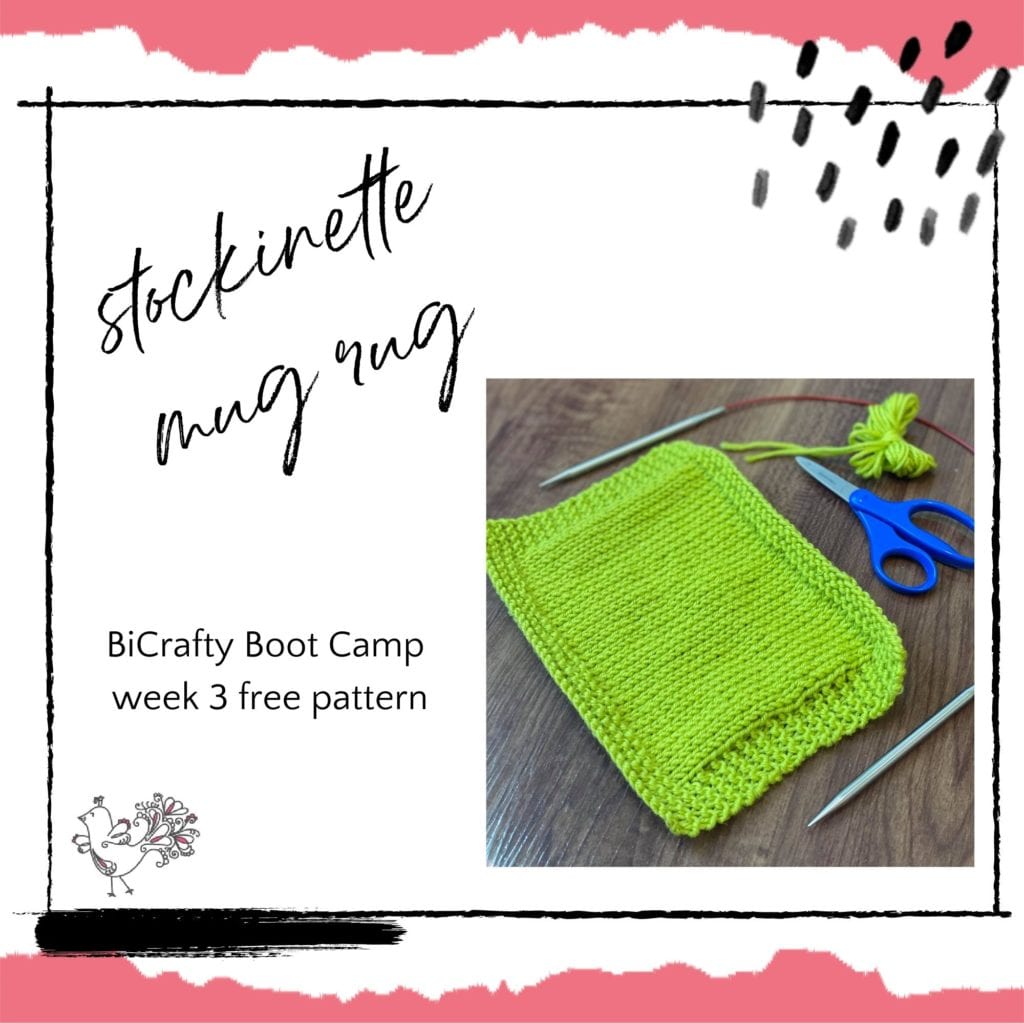
I thought it would be fun to make some Beginner Knit Mug Rugs. Over the next couple weeks we will add to this collection of mug rugs by making some with stripes, lace and texture. But for now we are going to get some stockinette stitch ones made.
As you learned, stockinette naturally curls so it is important that we have a border around a piece so it will lay flat. Because of that, these mug rugs have a garter stitch border. That means, you get to combine all your learned knitting skills with this weeks homework.
Let’s make some Beginner Knit Mug Rugs
Yarn: Any worsted weight yarn (sample in Chic Sheep)
Needles: Size 8 (5mm)
Notions: Stitch markers, tapestry needle
Notes: Mug Rug comes in two sizes because I know there are some of us who like our BIG cups of coffee ☕️. Just like in crochet patterns, the larger of the two sizes is in parentheses. When given two numbers, follow the number that coincides with the size knit mug rug you are making.
Beginner Knit Mug Rugs Pattern Stockinette
Using the long tail cast on, CO 25 (35) sts. (Reminder: We covered the long tail cast-on in week one.)
Rows 1-4: Knit
Row 5 (WS): Knit 5, place a marker, [move the yarn between the needles from back to front] purl to last 5, place a marker, [move the yarn between the needles from front to back] knit 5.
Row 6 (RS): Knit
Row 7 (WS): Knit to marker, slip marker, [move the yarn between the needles from back to front] purl to marker, slip marker, [move the yarn between the needles from front to back] knit to end.
Repeat rows 6 & 7 until piece measures 4 (5)” [10 (12.7)cm] from cast on edge, ending after a RS row.
Last 4 rows: Knit
Bind off.
Additional Patterns and Video Tutorials For Stockinette
At this stage of BiCrafty Boot Camp, you might be interested in these videos:
- Knitting Backwards Made Easy: Learn how to create stockinette stitch without any purl stitches!
- Beginner Knitting with Marly and Marly's Mom: Marly's Mom learns how to knit stockinette stitch.
Or these patterns:
- Striped Stockinette Knit Hat Free Pattern
- How to Knit Wonderful Big Stitch Throw, a free pattern that uses just knits and purls with video tutorial
- Red Heart Simple Knit Fingerless Mitts
Frequently Asked Questions
I'm a crocheter learning to knit… is the purl stitch going to be super hard?
Honestly… you've already got an edge up on it! Since you know how to do things like front and back post stitches in crochet, you're used to doing the same hand movement in different ways. The purl stitch is just the opposite of the knit stitch, so it's a similar idea. You got this!
Do I really *need* to learn the purl stitch if I can already knit?
Yes! If you can already cast on, knit, and bind off, you're a knitter, and you can make lots of things. But… adding the purl stitch to your knitting toolbox? That's when the whole knitting world really opens up for you! Practice makes perfect, so keep at it.
What's the main difference between knitting and purling?
So here's the thing… they're basically opposites! When you knit, your yarn is at the back of your work. But for purling, the yarn needs to be at the front. Also, when you insert your needle, you come at the loop from the left side for knitting, but you come at it from the right side for purling.
I'm seeing my stockinette stitch curling at the edges… is something wrong?
Oh, don't freak out! That's totally normal. Stockinette stitch just does that… it's supposed to curl! It can be a bit surprising when you're used to crochet, but it's not a tension problem or anything you're doing wrong. It's just a feature of the stitch.
My purls look… twisted. What am I doing wrong?
Ah, that's a common mistake beginner knitters make! You might be wrapping your yarn clockwise instead of counter-clockwise when you purl. This seats the stitch funny on the needle, and makes it tricky to knit into later. Keep practicing that counter-clockwise wrap!
Categories: BiCrafty Bootcamp Learn to Knit, Knitting, Our Free Patterns