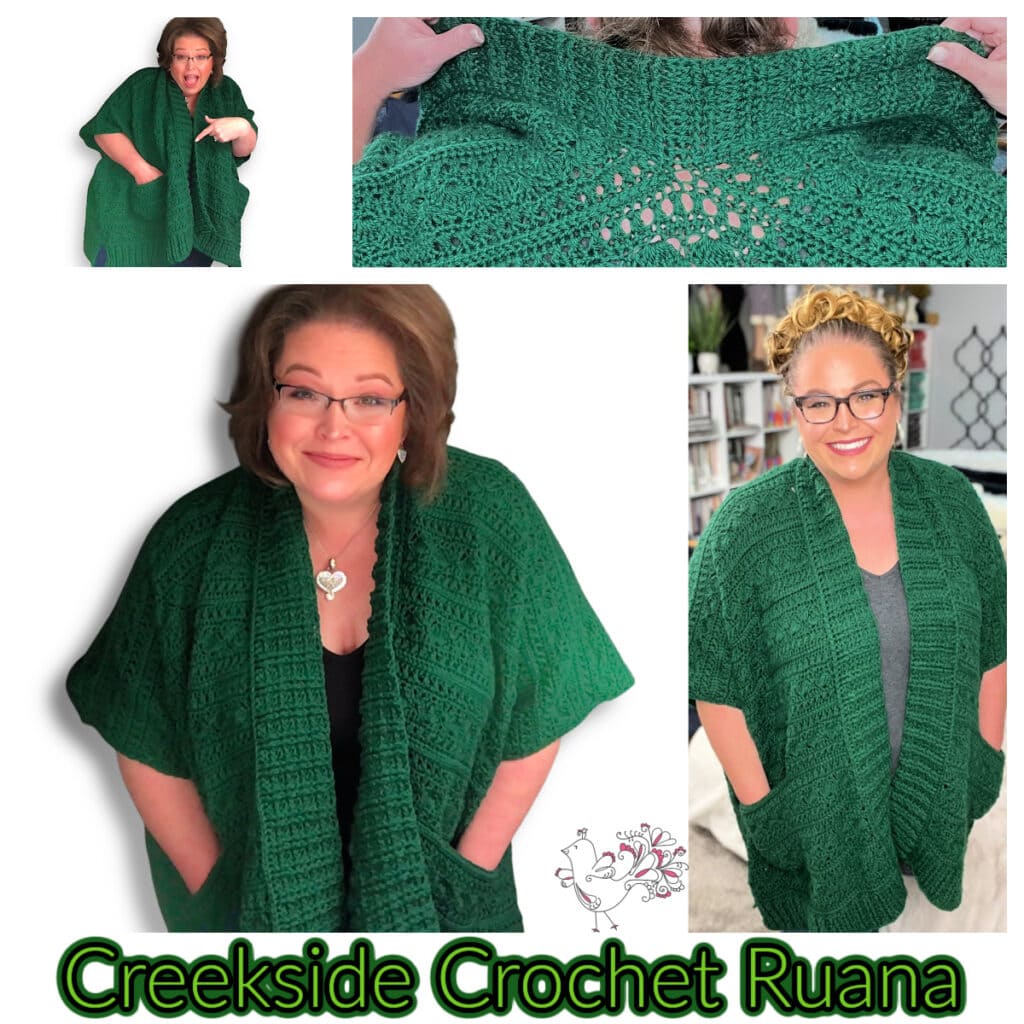
Comfy and Convenient! Crochet Ruana Pattern with Pockets
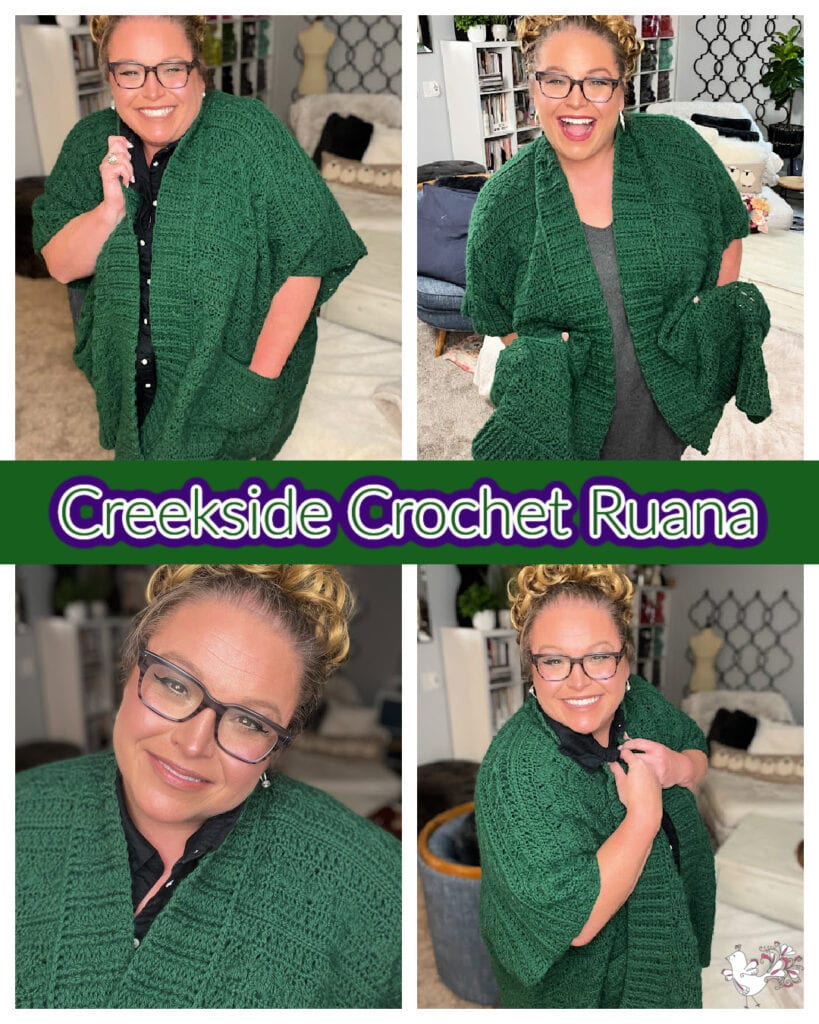
Get ready to elevate your wardrobe with this stylish and functional crochet ruana pattern with pockets. Inspired by the 2020 Turkey Trot Make-Along, this ruana combines the beloved stitch pattern of the crochet pocket shawl with the versatility of a ruana design. It’s the perfect blend of cozy and convenient, and I’m thrilled to share it with you!
Affiliate Disclosure: This post contains affiliate links. To learn more please visit my privacy policy here💖
Such a Fun Stitch Pattern with a Free Pattern
This stitch pattern is an absolute delight! I fell in love with it during the 2020 Turkey Trot CAL, where it made the crochet pocket shawl truly stand out. Its unique texture is both eye-catching and enjoyable to work with, making it ideal for this crochet ruana pattern. To make your crafting experience seamless, I’ve included a brand-new video tutorial that demonstrates the stitch pattern step by step.
To make sure you have everything you need to crochet this stunning ruana, I’m including a brand-new video tutorial that walks you through the stitch pattern step by step (coming soon). That way, whether you’re an advanced beginner or a seasoned crocheter, you’ll feel confident tackling this project.
A Crochet Twist on a Knit Ruana Design
One of my favorite things about bicrafty make-alongs is bringing the crochet and knit communities together. Sometimes, we make nearly identical projects in our respective crafts; other times, the projects are slightly different. For the 2020 Turkey Trot, the crocheters made a pocket shawl, while the knitters created a ruana. Both are fantastic, but let’s be honest: as a crocheter, you might have wished you could also have that ruana design. I know I did, so I decided to make it happen!
If you’re a crocheter who’s always wanted to learn to knit so you can join the KAL portion of make-alongs, check out my FREE BiCrafty Boot Camp. It’s never too late to become bicrafty!
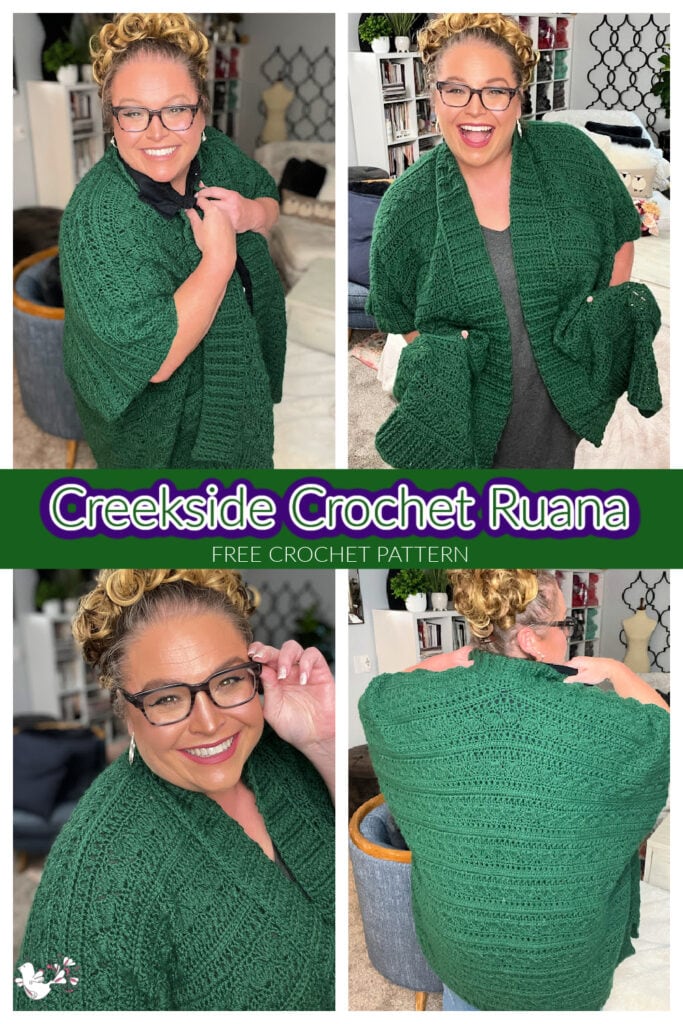
What You Will Love About This Crochet Ruana
Highlights You’ll Enjoy:
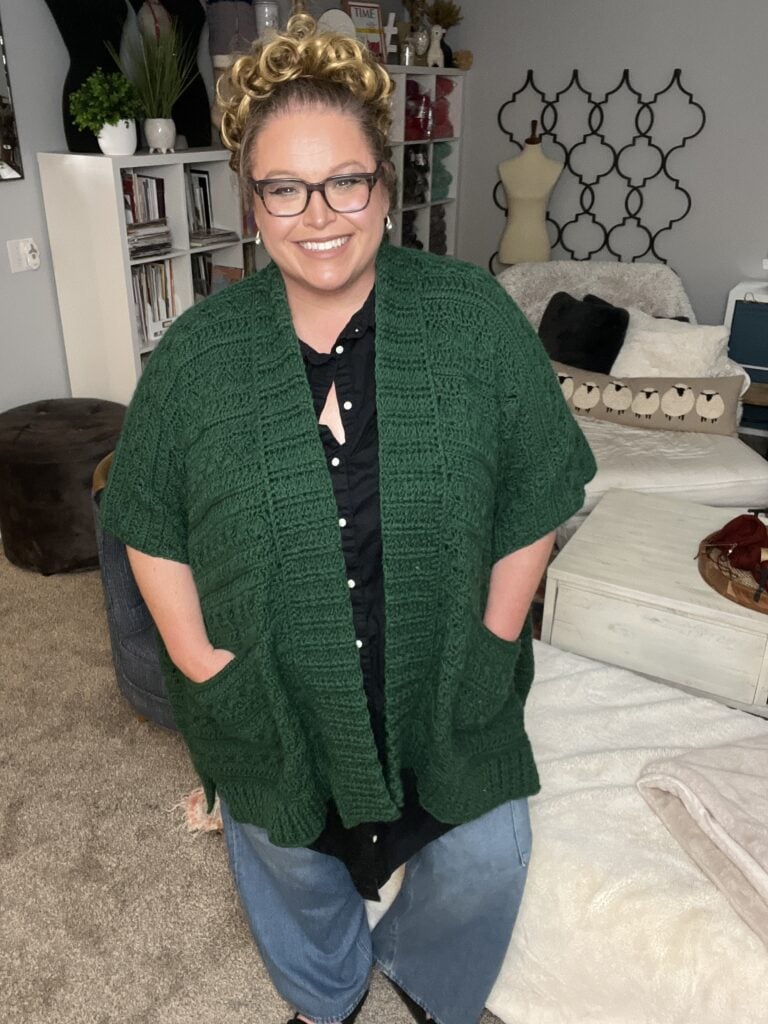
- Versatile Design: The ruana’s short sleeves make it a fantastic layering piece for all seasons.
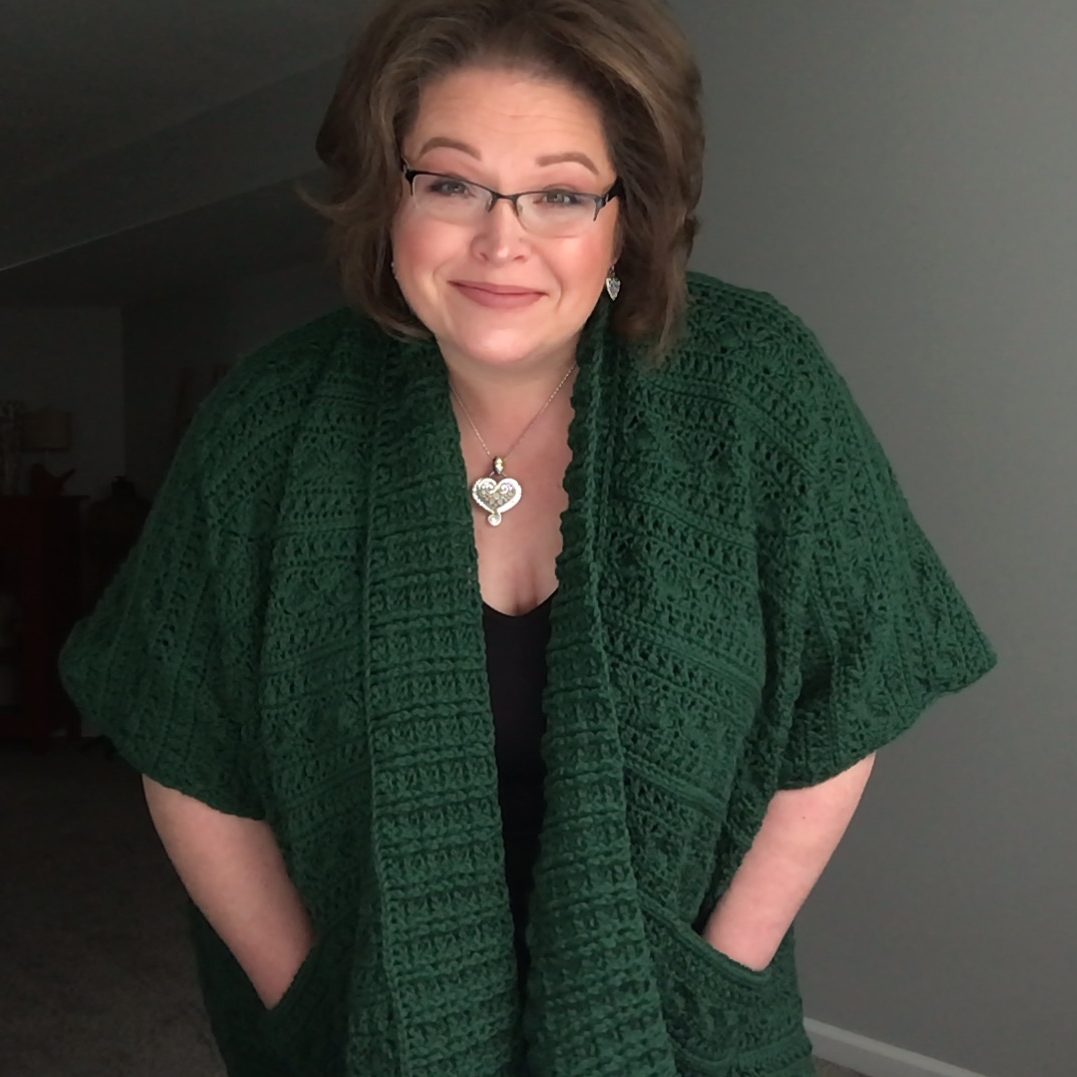
- Functional Pockets: Big pockets add extra convenience—perfect for carrying essentials or keeping your hands cozy.
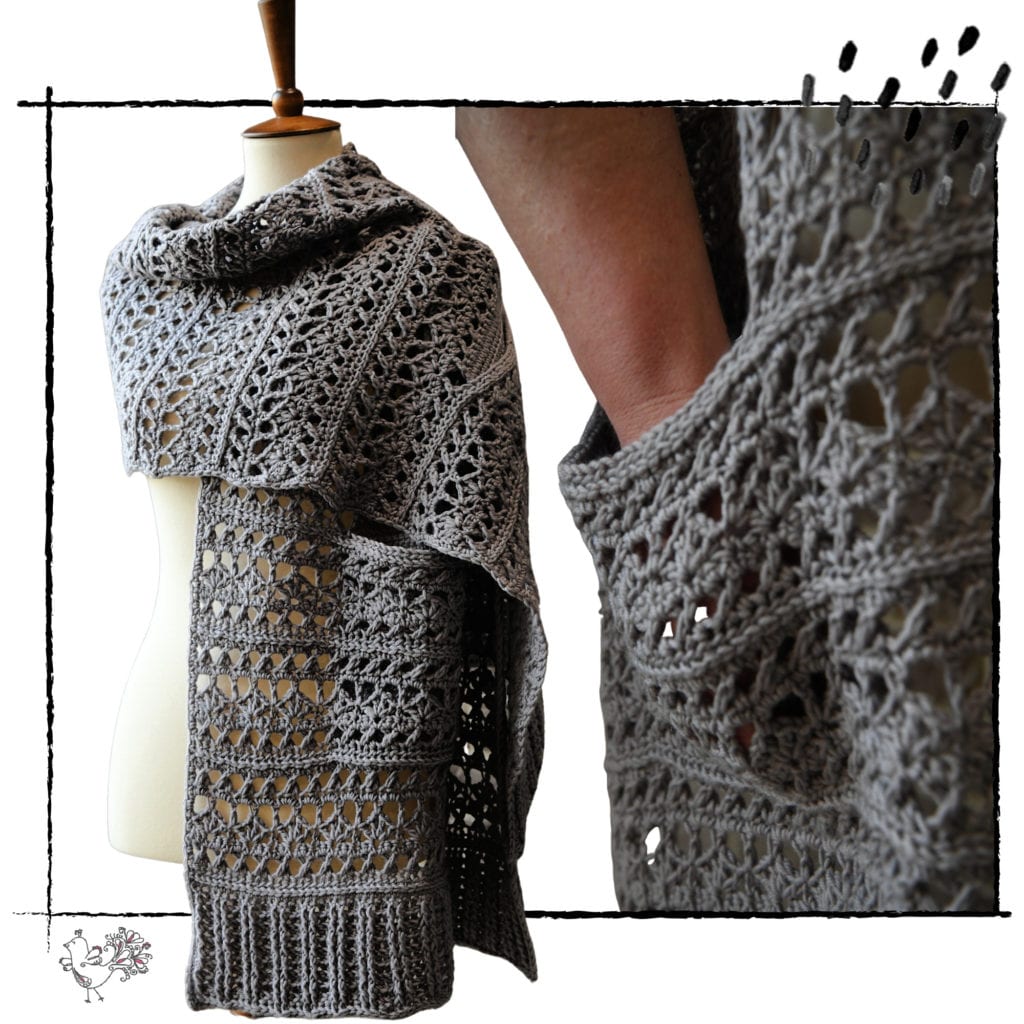
- Unique Stitch Pattern: The delightful texture from the Turkey Trot pocket shawl makes another appearance here, adding charm and character to your ruana.
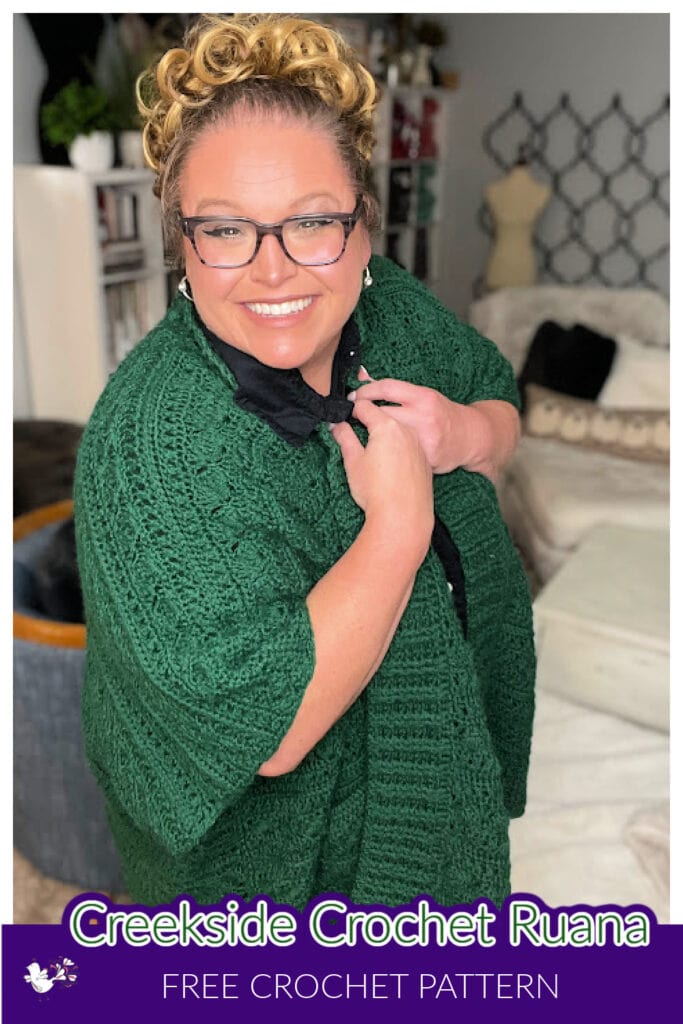
- Bold Color Options: While the sample is made in a stunning green, you can customize the color to suit your personal style.
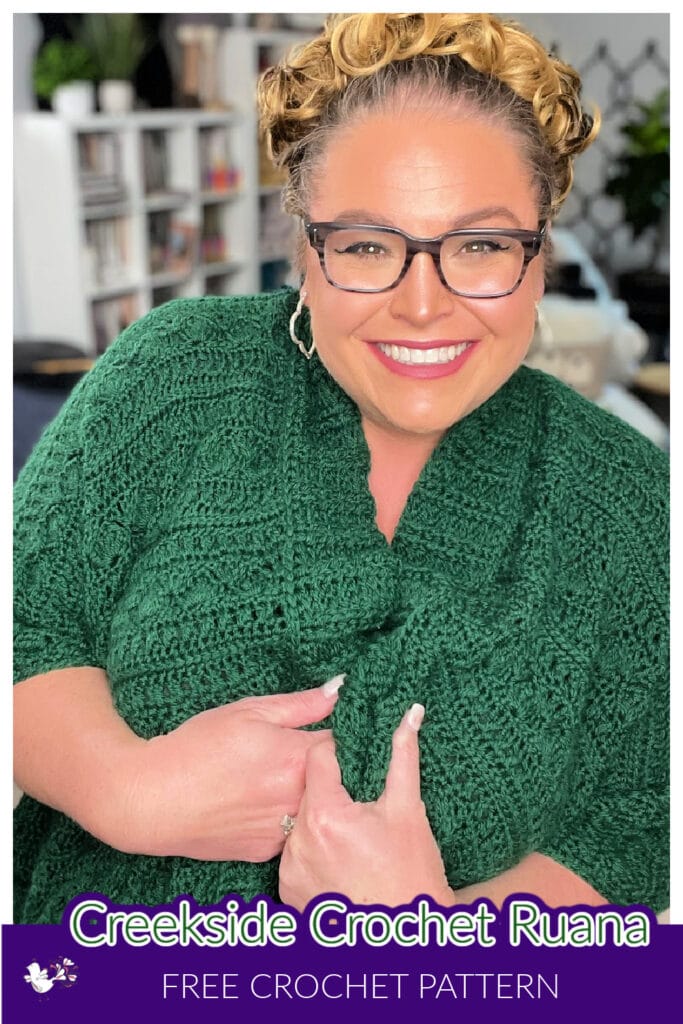
Key Features of the Crochet Ruana Pattern
Easy-to-Follow Instructions
The pattern includes step-by-step guidance, making it perfect for advanced beginners looking to expand their skills.
One-Piece Construction
The ruana is crocheted in one piece, minimizing seaming and simplifying the assembly process.
Size Inclusivity
Available in multiple sizes, this pattern ensures a comfortable fit for a wide range of body types.
Why You’ll Adore Crocheting This Ruana
- Customization: Choose your favorite yarn and color to make a piece that’s uniquely yours.
- Skill Development: Improve your crochet techniques with this engaging stitch pattern and garment construction.
- Satisfaction: Experience the joy of creating a beautiful, functional piece with your own hands.
A Pop of Color and a Personal Touch
Let’s talk about this gorgeous green! When I posted teaser photos on social media, so many of you commented on how great it looks. Thank you! Fun fact: I almost never wear green (or a certain shade of red) because they were my high school colors, and I got a little tired of them. But enough time has passed, and now I’ve realized this color is fabulous—and it’s flattering on so many people. Of course, if green isn’t your thing, you can choose another color. But I’m betting this bold green will win you over.
Click the link below to grab your copy and enjoy uninterrupted crafting!
Related Patterns You Might Enjoy
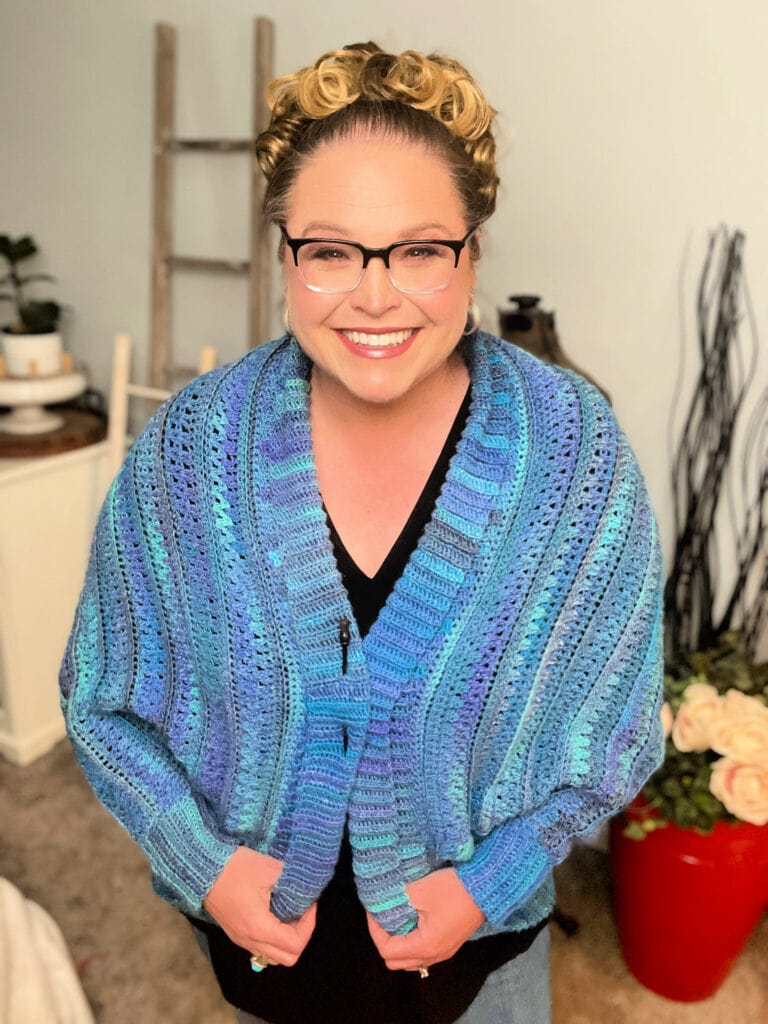
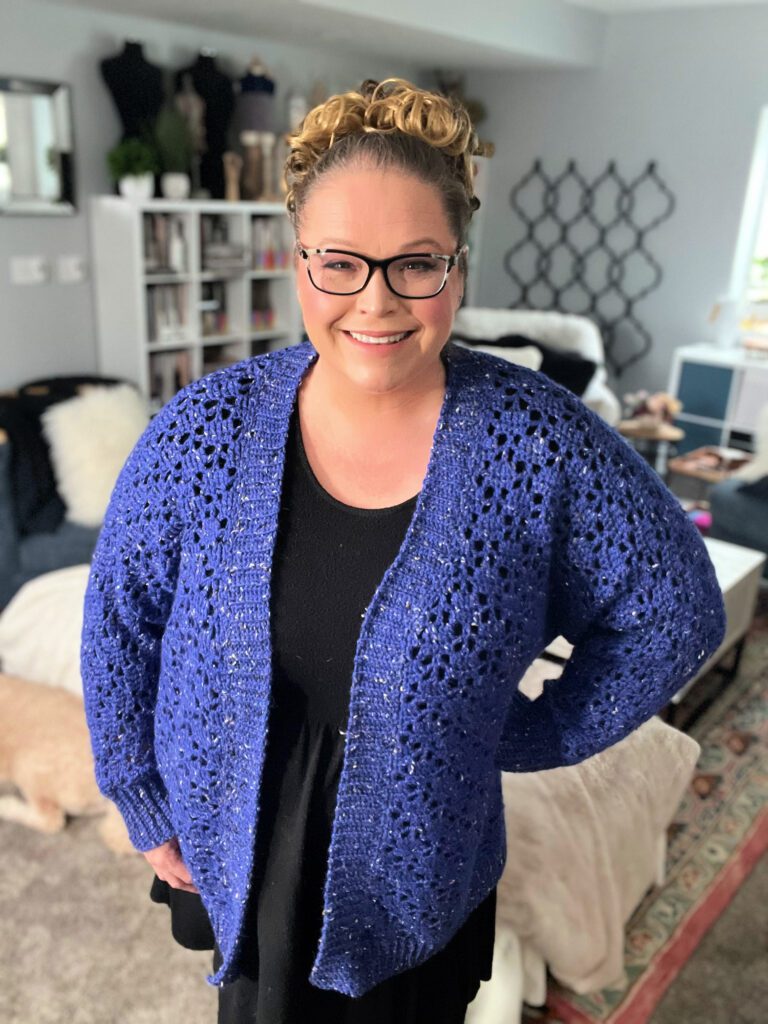
- You Are Valued Cocoon Cardigan: An easy crochet cocoon cardigan, offering an oversized and cozy design. Available as a free crochet cocoon cardigan or as an ad-free pdf.
- Aurora Lace Crochet Cardigan: A beginner-friendly pattern featuring effortless style all made in one piece. Available as a free crochet cardigan pattern or as an ad-free pdf.
- Spectrum Stitch Swoncho: Colorwork at its best! Full pattern with video tutorials to help you make this masterpiece project!
Free Crochet Ruana Pattern – With Grow
And now, the part you’ve been waiting for—the free pattern! Keep scrolling and you will find the free pattern so you can get started on your own comfy and convenient crochet ruana. You will have to be a part of the Grow Program.

GROW
To Unlock Exclusive Subscriber Content click the Box below and join for free by simply adding your email and creating a password! If you are having troubles, clear your cache or reset your password or login to the Grow Publisher Portal.
>> Learn More About Grow Here <<
I’m thrilled to share this amazing pattern with you, many patterns on my blog are absolutely free! I kindly request that you don’t copy and paste or distribute this pattern. Prefer an ad-free experience? Buy a digital PDF pattern for a small fee from one of my online stores for a seamless crafting journey.
I appreciate your support and readership. You are the reason I can keep doing what I love and sharing it with others. So, thank you from the bottom of my yarn-loving heart! Disclosure: This post contains affiliate links, meaning I get a commission if you decide to make a purchase through my links at no cost to you.
Enjoy creating this wonderful piece, and don’t forget to share your progress with the hashtag #marlybird and in the Marly’s Minions BiCrafty Community on Facebook. Happy crocheting!
Free Crochet Cardigan with Pocket Pattern – Creekside Crochet Ruana Pattern Details
Designed by Marly Bird
MEASUREMENTS
To Fit Sizes
S-XL (2XL-5XL)
*the smaller of the two sizes is more of a one size fits all, and the larger size is a little bit larger
Finished Measurements
S-XL — 41” x 26″ (104.1 x 66 cm) folded in half
2XL-5XL — 44.5” x 32.5” (113 x 82.6 cm) folded in half
Gauge
15 linked dc = 4” (10 cm); 14.5 sts x 10 rows in ribbing pattern = 4 x 3″ (10 x 7.6 cm); 3 shells x 8 rows in shells stitch pattern= 5.125 x 3.25” (13 x 8.3 cm), CHECK YOUR GAUGE. Use any size hook to obtain the gauge.
MATERIALS
Yarn
Worsted Weight
- The amounts are an estimated amount (because I don’t know what yarn YOU are using) so to make sure you have enough for the project, have at least the yardage listed for the size you are making
- Size S-XL: 2400yds
- Size 2XL-5XL: 3000 yds
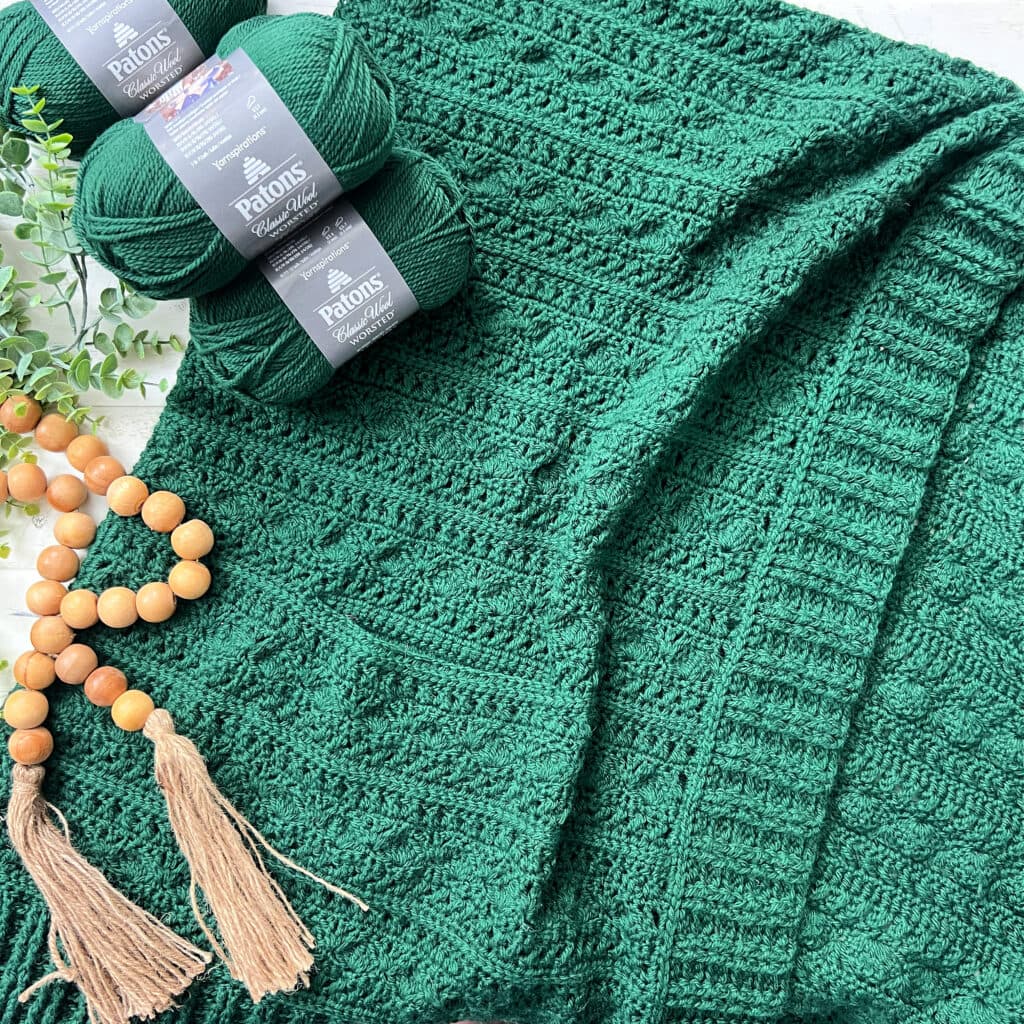
- Sample made with : Patons “Classic Wool” (100% wool; 194 yds [177m], 3.5 oz [100g]): Pine
Crochet Hook
I/5.5mm or size to obtain gauge
NOTIONS
SPECIAL STITCHES / TECHNIQUES
Stacked Double Crochet (Stacked Dc): (Do not ch 1 prior to making the first sc) Sc in first stitch, insert hook in between two legs of the base, yarn over and pull up a loop, yarn over and draw through 2 loops on hook.
Shallow Front Post Half Double Crochet (shallow fphdc): Yarn over, insert hook from the front of the work under the top 2 loops (“v” of the stitches) of indicated stitch to back the back of the work and out the front of the work through the top 2 loops of the next stitch not around the post of designated stitch, and yarn over and pull up a loop, yarn over and draw through all 3 loops on hook.
X-Stitch-back: skip 1 st, dc in next st, working behind dc just made, dc into the skipped stitch
X-Stitch-front: skip 1 st, dc in next st, working in front of dc just made, dc into the skipped stitch
Linked DC: Insert hook into 2nd ch from hook, yarn over and pull up a loop, insert hook into 3rd ch from hook, yarn over and pull up a loop, [yarn over and draw through 2 loops on hook] twice (first linked dc made), *insert hook into horizontal bar (sliding hook from top to bottom of stitch, not to the back of the stitch) of previous linked dc, yarn over and pull up a loop, insert hook into next ch, yarn over and pull up a loop, [yarn over and draw through 2 loops on hook] twice; repeat from * across to end. When working next row, ch 3, insert hook into 2nd ch from hook and first st to pull up loops.
STITCH DIAGRAM
Click the link below to grab your copy and enjoy uninterrupted crafting!
Only available in the Ad-Free PDF! Get it now for an uninterrupted crochet experience.
SCHEMATIC
The crochet stitch diagram for the Creekside Crochet Ruana are only available in the ad-free pdf of the pattern. Grab the pdf and get an uninterrupted crafting experience.
NOTES
- Sizes are written for the smallest size. If changes are necessary for larger sizes the instructions will be written thus ( ).
- For a petite larger size follow the stitch count for the larger size but row count for the smaller size.
- For a tall smaller size follow the stitch count for the smaller size but the row count for the larger size.
- Work both fronts at the same time with separate balls of yarn (at the same point of color if not using a solid) to ensure matching sides.
VIDEO TUTORIAL
- Shallow post stitches: https://www.youtube.com/watch?v=lFv7cLC7_mc
- Linked Double Crochet: https://www.youtube.com/watch?v=LP1d29Bgv0I
CREEKSIDE CROCHET RUANA PATTERN
POCKETS
Ch 32
Row 1: Linked dc (see special stitches and video tutorial) across chains, turn — 30 linked dc
Row 2: Linked dc in each dc across, turn — 30 linked dc
Continue until piece measures 7” (17.78 cm). Fasten off and set aside.
Creekside Crochet Ruana Pattern Body
Size 2XL-5XL Set up Row 1 (RS): Ch 1, sc in first st, 2 sc in next st, *sc in next st; repeat from * across to last 2 sts, 2 sc in next st, sc in last st, turn — 80 sts
Row 1 (WS): Ch 2, skip first st, shallow fphdc in each st across, hdc in last st, turn — 74 (80) sts
Row 2 (RS): Stacked dc (see special stitches) in first st, *x-stitch-back (see special stitches) over next 2 sts; repeat from * to last st, dc in last st, turn.– 36 (39) x-sts
Row 3 (WS): Ch 1, sc in first st, sc2tog over next 2 sts, sc in each st to end, turn.– 73 (79) sts
Row 4 (RS): Ch 1, sc in first st, *skip 2 sts, (2 dc, 3 tr, 2dc) in next st, skip 2 sts, sc in next st; repeat from * across, turn. — 12 (13) repeats
Row 5 (WS): (Stacked dc, ch 1, dc) in first st, *skip 3 sts, sc in next st, skip 3 sts, (dc, ch 1, dc, ch 1, dc) in next st; repeat from * to last 8 sts, skip 3 sts, sc in next st, skip 3 sts, (dc, ch 1, dc) in last st, turn.
Row 6 (RS): Ch 1, sc in each st and ch-1 space across to last ch-1 sp, 2 sc in last ch-1 sp, sc in last st, turn. — 74 (80) sc
Row 7 (WS): Stacked dc in first st, *x-stitch-front (see special stitches) over next 2 sts; repeat from * to last stitch, dc in last st, turn. — 36 (39) x-sts
Row 8 (RS): Ch 1, sc each st to end, turn. — 74 (80) sc
Repeat Rows 1-8 twice more
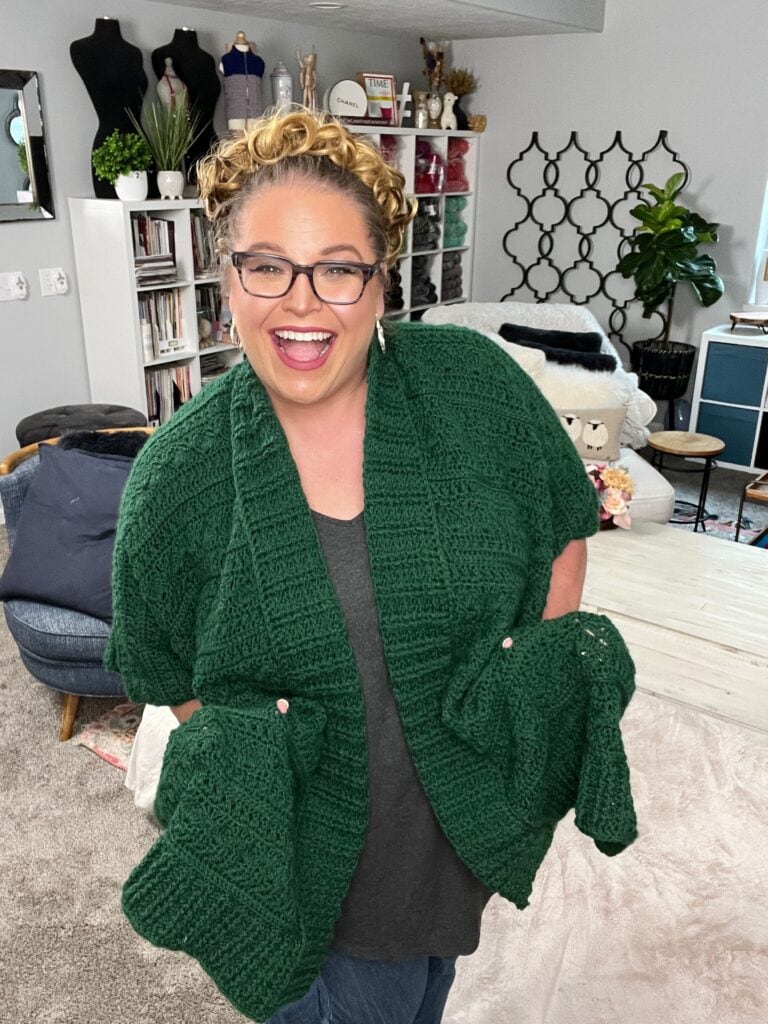
Add Pocket
Row 1 (WS): Ch 2, skip first st, shallow fphdc in each st across, hdc in last st, turn — 74 (80) sts
Mark the center 30 sts.
Row 2 (RS): Stacked dc in first st, x-stitch-back over next 2 sts across row to marker, skip the next 30 sts between markers on project and continue in x-stitch-back pattern across 30 sts of pocket (with the pocket held to the WS), after 2nd marker, continue in x-stitch-back pattern to last stitch, dc in last st, turn. –36 (39) x-sts
Row 3 (WS): Ch 1, sc in first st, sc2tog over next 2 sts, sc in each st to end, turn.– 73 (79) sts
Row 4 (RS): Ch 1, sc in first st, *skip 2 sts, (2 dc, 3 tr, 2dc) in next st, skip 2 sts, sc in next st; repeat from * across, turn. — 12 (13) repeats
Row 5 (WS): (Stacked dc, ch 1, dc) in first st, *skip 3 sts, sc in next st, skip 3 sts, (dc, ch 1, dc, ch 1, dc) in next st; repeat from * to last 8 sts, skip 3 sts, sc in next st, skip 3 sts, (dc, ch 1, dc) in last st, turn.
Row 6 (RS): Ch 1, sc in each st and ch-1 space across to last ch-1 sp, 2 sc in last ch-1 sp, sc in last st, turn. — 74 (80) sc
Row 7 (WS): Stacked dc in first st, *x-stitch-front over next 2 sts; repeat from * to last stitch, dc in last st, turn. — 36 (39) x-sts
Row 8 (RS): Ch 1, sc each st to end, turn. — 74 (80) sc
Row 9 (WS): Ch 2, skip first st, shallow fphdc in each st across, hdc in last st, turn — 74 (80) sts
Row 10 (RS): Stacked dc in first st, *x-stitch-back over next 2 sts; repeat from * to last st, dc in last st, turn.– 36 (39) x-sts
Repeat Rows 3-10 twice (four) times more, then Rows 3-8 once more.
Fasten off one panel, leave yarn attached on other panel, turn.
Note: If you would like to make a petite large, only repeat Rows 3-10 twice before Rows 3-8 once more. If you would like to make a taller small, repeat Rows 3-10 four times before Rows 3-8 once more.
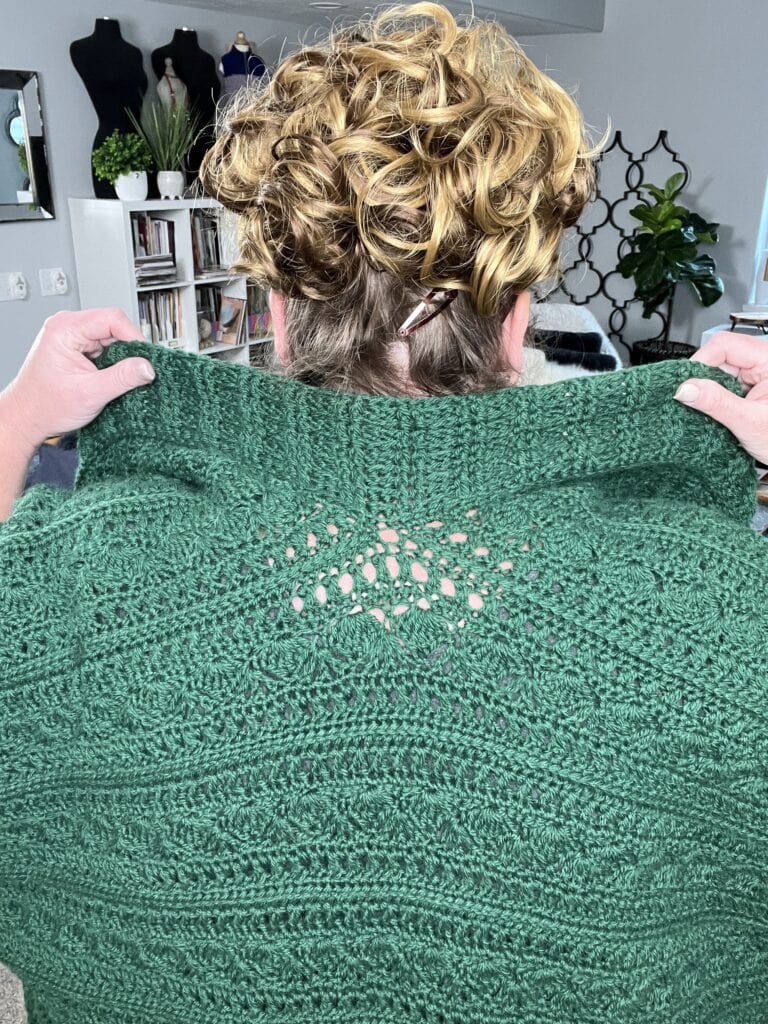
BACK PANEL
Row 1 (WS): Ch 2, skip first st on right front panel, shallow fphdc in each st across, hdc in last st of right front panel, hdc in first st of left front panel, skip next st, shallow fphdc in each st across, hdc in last st, turn. — 148 (160) sts
Row 2 (RS): Stacked dc in first st, *x-stitch-back over next 2 sts; repeat from * to last st, dc in last st, turn.– 73 (79) x-sts
Row 3 (WS): Ch 1, sc in first st, sc2tog over next 2 sts, sc in each st to end, turn.– 147 (159) sts
Row 4 (RS): Ch 1, sc in first 2 sts, *skip 2 sts, (2 dc, 3 tr, 2dc) in next st, skip 2 sts, sc in next st; repeat from * across to last st, sc in last st, turn. — 24 (26) repeats
Row 5 (WS): Stacked dc in first st, (dc, ch 1, dc) in next st, *skip 3 sts, sc in next st, skip 3 sts, (dc, ch 1, dc, ch 1, dc) in next st; repeat from * to last 9 sts, skip 3 sts, sc in next st, skip 3 sts, (dc, ch 1, dc) in next st, dc in last st, turn.
Row 6 (RS): Ch 1, sc in each st and ch-1 space across to last ch-1 sp, 2 sc in last ch-1 sp, sc in last 2 sts, turn. — 148 (160) sc
Row 7 (WS): Stacked dc in first st, *x-stitch-front over next 2 sts; repeat from * to last stitch, dc in last st, turn. — 73 (79) x-sts
Row 8 (RS): Ch 1, sc each st to end, turn. — 148 (160) sc
Row 9 (WS): Ch 2, skip first st, shallow fphdc in each st across, hdc in last st, turn — 148 (160) sts
Repeat Rows 2-9 five (seven) times. Repeat Rows 2-8 once. Do not fasten off.
Note: If making a petite large size, repeat Rows 2-9 five times before repeating Rows 2-8 once. If making a taller small size, repeat Rows 2-9 seven times before repeating Rows 2-8 once.
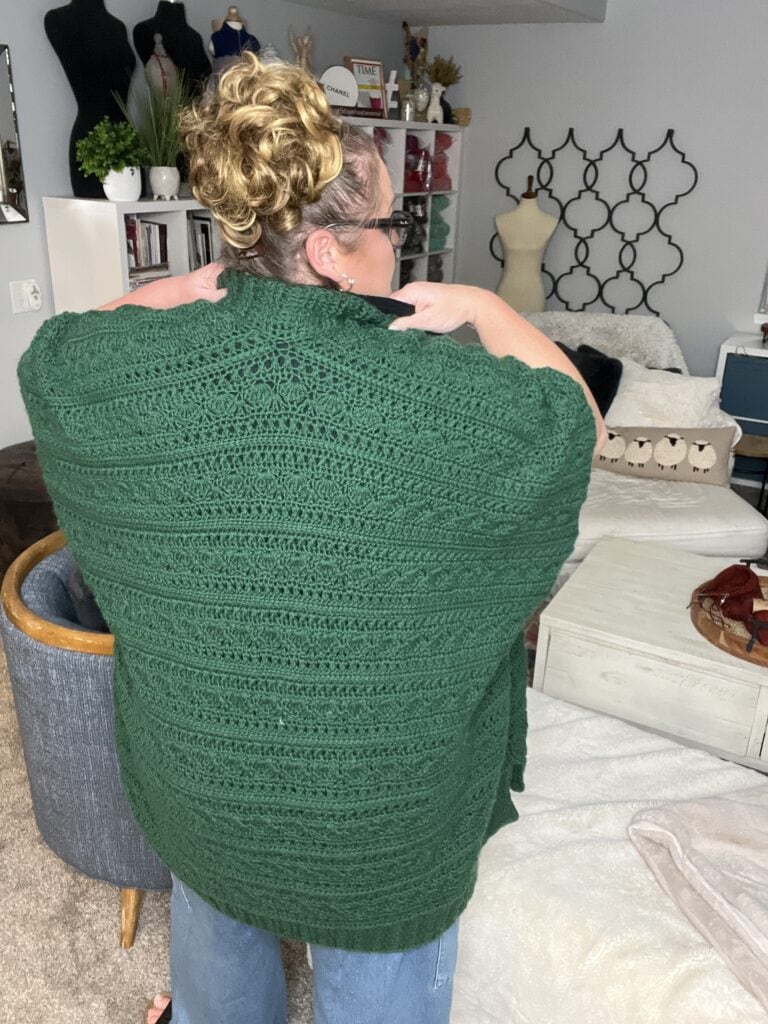
Back Ribbing
Row 1 (WS): Ch 2, skip first st, shallow fphdc in each st across, hdc in last st, turn — 148 (160) sts
Row 2 (RS): Ch 2, bpdc around next hdc, *fpdc around next 2 hdc, bpdc around next 2 hdc; repeat from * to last 2 sts, fpdc around next hdc, hdc in top of tch, turn.
Rows 3-9: Ch 2, bpdc around next st, *fpdc around next 2 sts, bpdc around next 2 sts; repeat from * to last 2 sts, fpdc around next st, hdc in top of tch, turn.
Row 10: Ch 1, sc each st to end, turn
Row 11: Ch 1, skip first st, shallow fpsc in each st across, sc in last st, turn. Fasten off.
SIDE SEAM
Side Edging
Join yarn to side edge with sl st, ch 1, sc evenly across edge to opposite side, fasten off, weave in ends. Repeat on the other edge.
Joining Panels
With RS facing each other, skip 3” (7.6 cm) from bottom edge, join yarn to bottom side edge with sl st, ch 2, remove hook, thread hook through first st on other panel, replace free loop on hook and pull through st, *hdc in next st on panel, remove hook, thread hook through next st on other panel, replace free loop on hook and pull through st: repeat from * for 13 (17)” [33.02, 43.18] cm (measured from the bottom edge, seam is 16 (20)” [40.6, 50.8 cm). Fasten off.
With tapestry needle, whipstitch pocket in place.
COLLAR EDGING
Row 1 (RS): Join yarn with a sl st to bottom edge of front panel, ch 1, sc across front panel and down opposite front panel to opposite bottom corner (in a multiple of 4 (skip sts on neck if you have extra sts), turn — multiple of 4 sts.
(Note: You will need a multiple of 4 sts along the collar edging at the end of Row 1 for the post stitches to work out for the rest of the edging.)
Row 2 (WS): Ch 2 (counts as hdc), skip first st, shallow fphdc in each st across front panel and down opposite front panel, hdc in last st on bottom corner, turn.
Row 3 : Ch 2, bpdc around next hdc, *fpdc around next 2 hdc, bpdc around next 2 hdc; repeat from * to last 2 sts, fpdc around next hdc, hdc in top of tch, turn.
Rows 4-11: Ch 2, bpdc around next st, *fpdc around next 2 sts, bpdc around next 2 sts; repeat from * to last 2 sts, fpdc around next st, hdc in top of tch, turn.
Fasten off at end of Row 11. Weave in ends.
Wrap Up
This crochet ruana is more than just a project—it’s a chance to craft something truly special that combines comfort, style, and functionality. Whether you’re layering it for warmth or showing off its beautiful stitch pattern, this ruana is sure to become a wardrobe favorite. Don’t forget to explore the ad-free PDF for an enhanced crocheting experience, and share your progress with our wonderful community.
Your BiCrafty Bestie, Marly Bird

You Might Also Like:
Categories: Crochet, Free Patterns, Marly Bird Premium Patterns, Our Free Patterns, Pattern, Uncategorized






looked at the pattern on Ravelry and don’t see a back view. Please tell me is the back the same length as the front? Thanks
Yes, the back is the same length as the front. There are two photos on the blog post of the back.
Is there anyway to add length to the sleeves? I am cold natured, and take blood thinners and freeze in public places, need long sleeves
I like to wear long sleeves.