
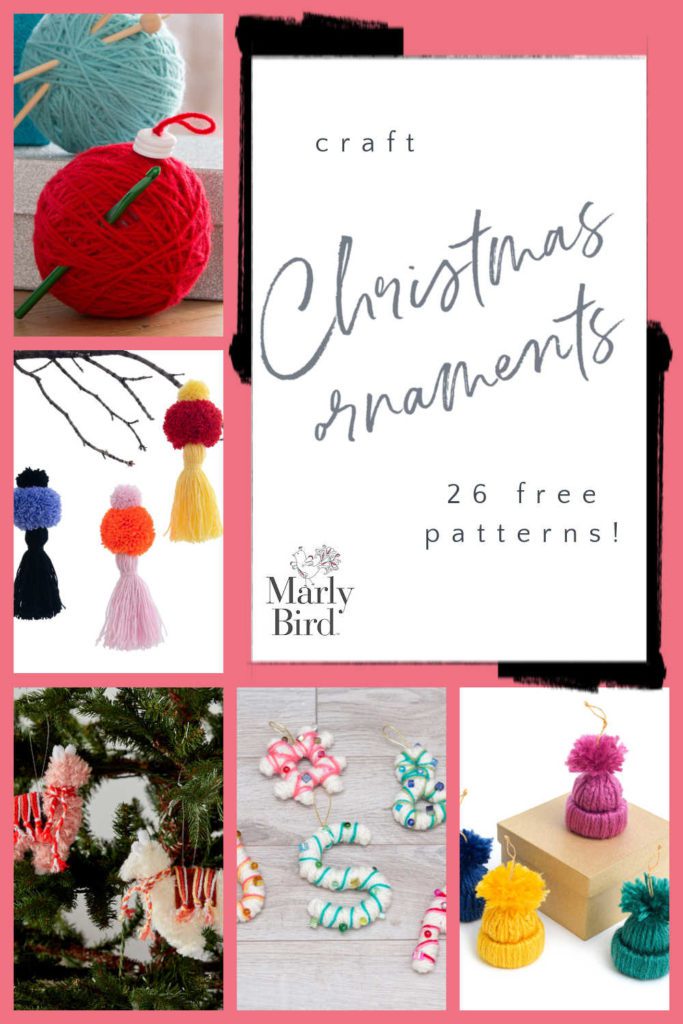
Easy Christmas Decor: 26 Yarn Scrap Ornaments for Kids…
Yarn scrap Christmas ornaments are so perfect for holiday crafting. You get to use up your yarn scraps, which perhaps you've been saving all year long. The projects are quick so you get instant gratification; hang them on the tree within hours of starting the project. Plus, they're easy enough for kids to make, so crafting yarn scrap Christmas ornaments is something that the family can do together. If you're spending a lot of time at home this holiday season, then this can be a wonderful way to pass the day.
As a bonus, you'll have those ornaments for years to come, always remembering how you made them together by hand. And if you really enjoy making them, they also make terrific, affordable little gifts for everyone that you know. So, today we've rounded up 26 fun yarn Christmas ornaments patterns and projects for you.
Yarn Scrap Christmas Ornaments: Tips
When making yarn scrap ornaments there really are no limitations. Combine weights and colors together to make something unique.
The one caveat to that ‘rule' is that I would caution using the color green. Many times I have found beautiful ornaments that are primarily green. When you take them home and put them on your tree they get lost because the tree is also green. Now, if you have one of those cool silver, white, or pink artificial trees or even one of the purple and blue real trees then you might avoid those colors instead.
When you are making ornaments be sure to think about how you will attach it to the tree. Do you need to make a connector, will you be able to use an ornament hook, will it just rest in the tree? This is one of the questions that you should answer before you get started.
*This post contains affiliate links. By clicking on one of these links and making a purchase a portion will go to the blog. The price you pay will not change and the small commission I receive helps me to keep brining you free content and giveaways on the blog. Thank you for your continued support.*
5 Easy Craft Yarn Ornaments Projects
We'll start with five yarn scrap ornaments projects that you can find on the Yarnspirations site. All of them are easy. None require knit and crochet skills.
1. Little Yarn Hats Ornaments
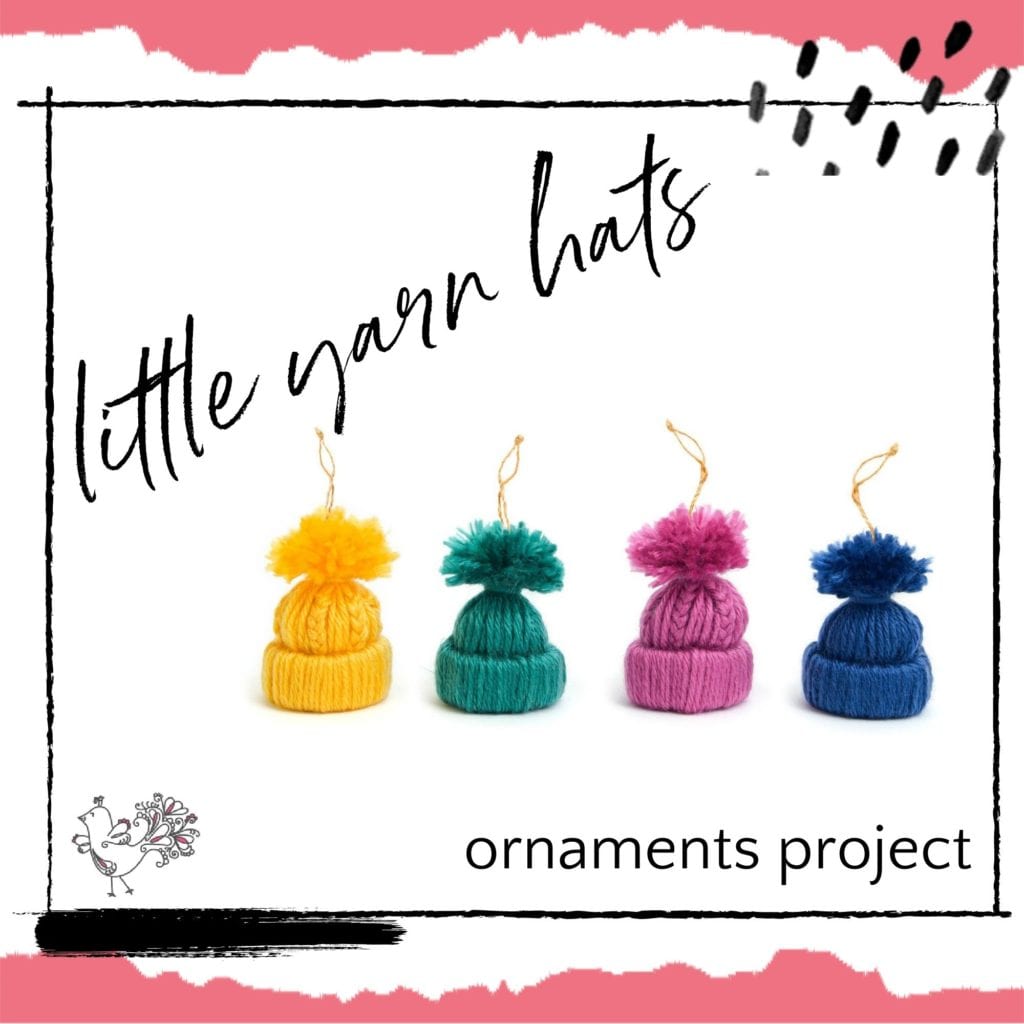
These look like they might be knit or crocheted but you don't actually need needles or hooks to accomplish this easy, quick, fun project.
2. Red Heart Crafty Ornaments
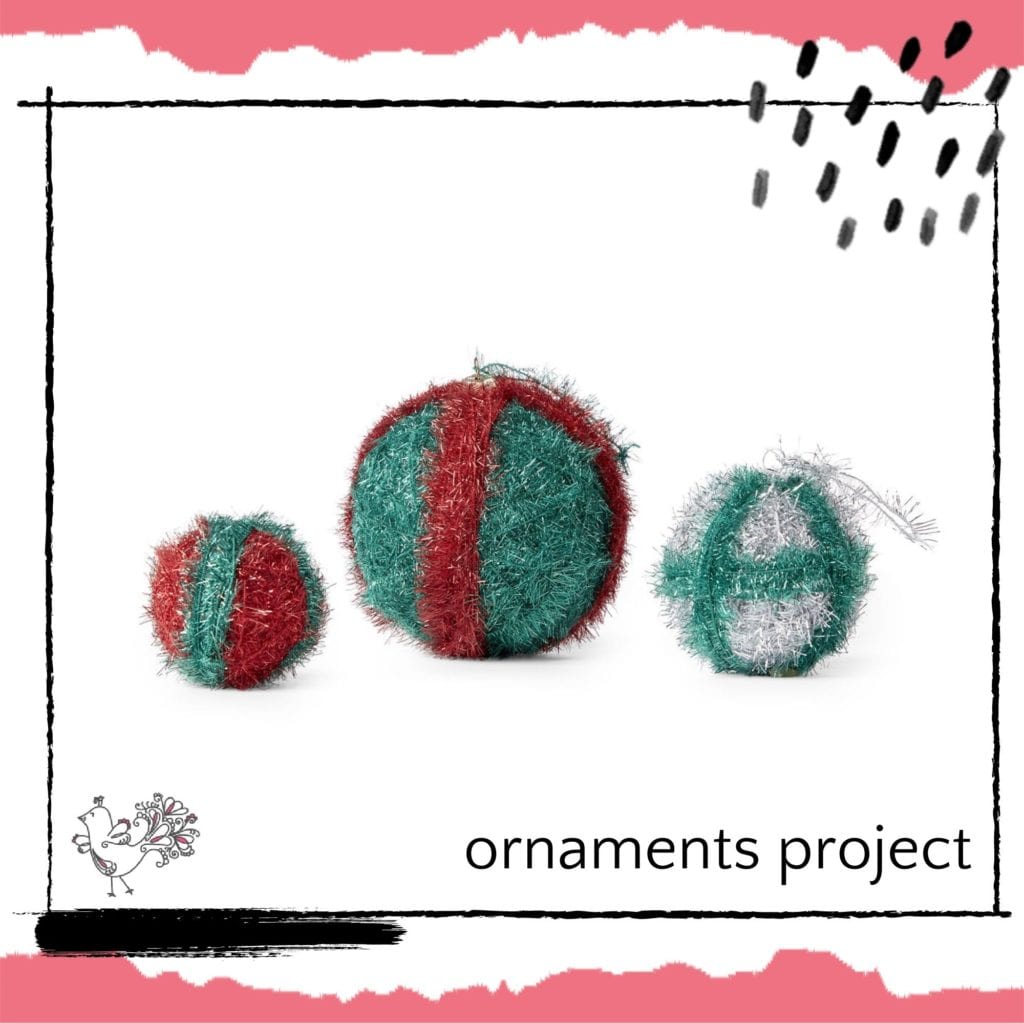
Wrap sparkly yarn around styrofoam balls to make these adorable (and super simple!) Christmas ornaments. Of course, you can use the same concept with any other scrap yarn that you might have on hand.
3. Red Heart Snowman Ornaments
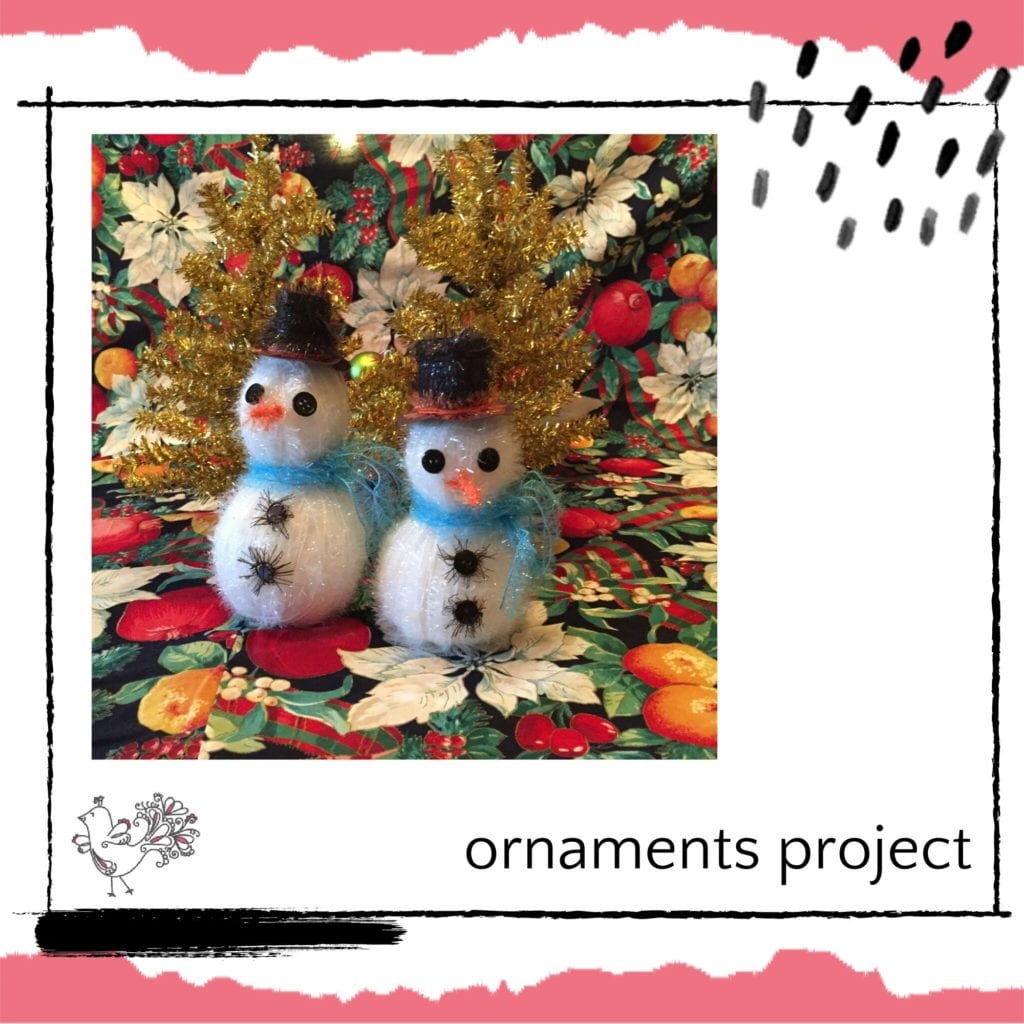
A little bit of sparkly yarn, some black construction paper, and some craft glue make up the bulk of all that you'll need to create these adorable winter ornaments.
4. Red Heart Llama Ornaments
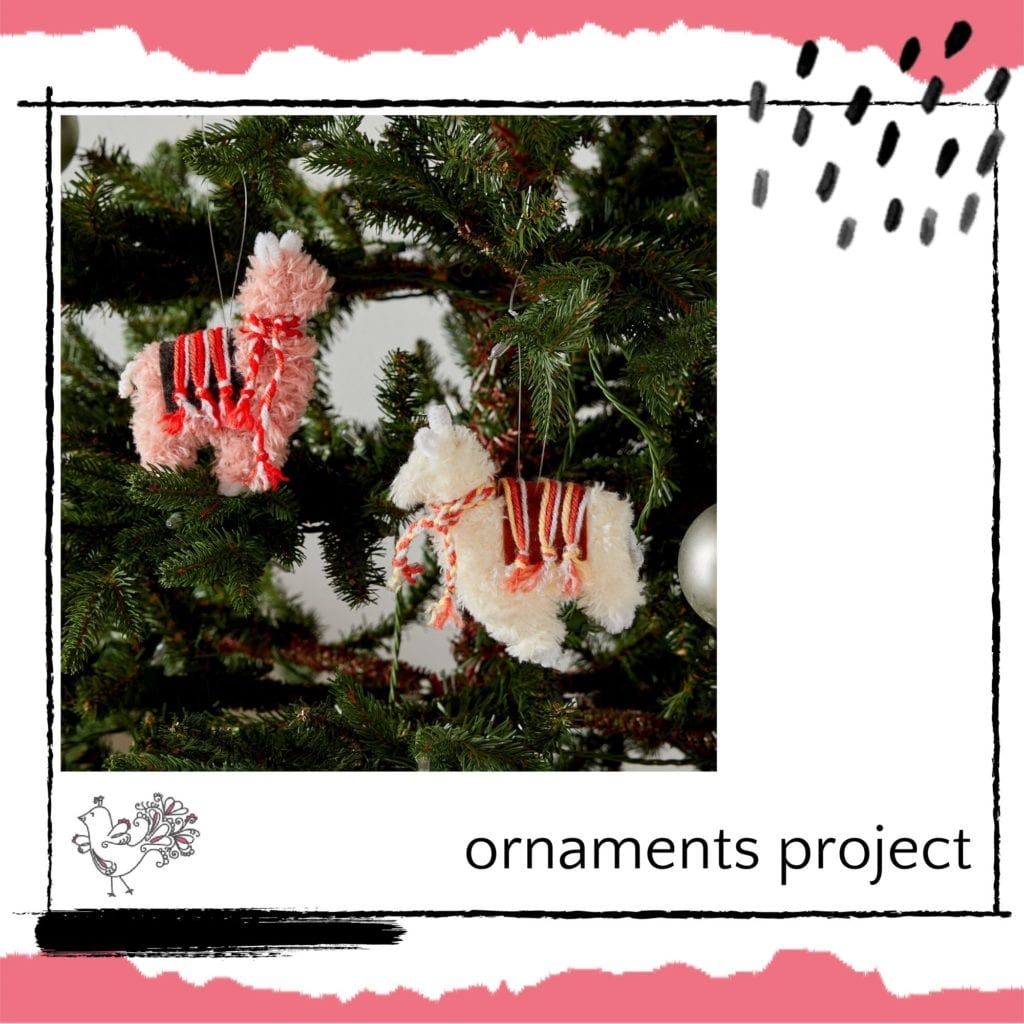
Llamas have been trending as a holiday theme the past few years and they continue to be a popular choice. Kids have a lot of fun making these. They're designed to use a little bit of Hygge Fur yarn for the best effect but you can use yarn scraps that you have on hand if you wish.
5. Red Heart Everyday Ornament
Make this now and use it for the holidays. Then use it all of the rest of the year as well. It makes for versatile decor!
2 Easy Scrap Yarn Ornaments Projects for Kids
Here are two scrap yarn Christmas ornaments for kids to make, which were originally published on the blog in 2018.
Yarn Scrap Christmas Ornament #1:
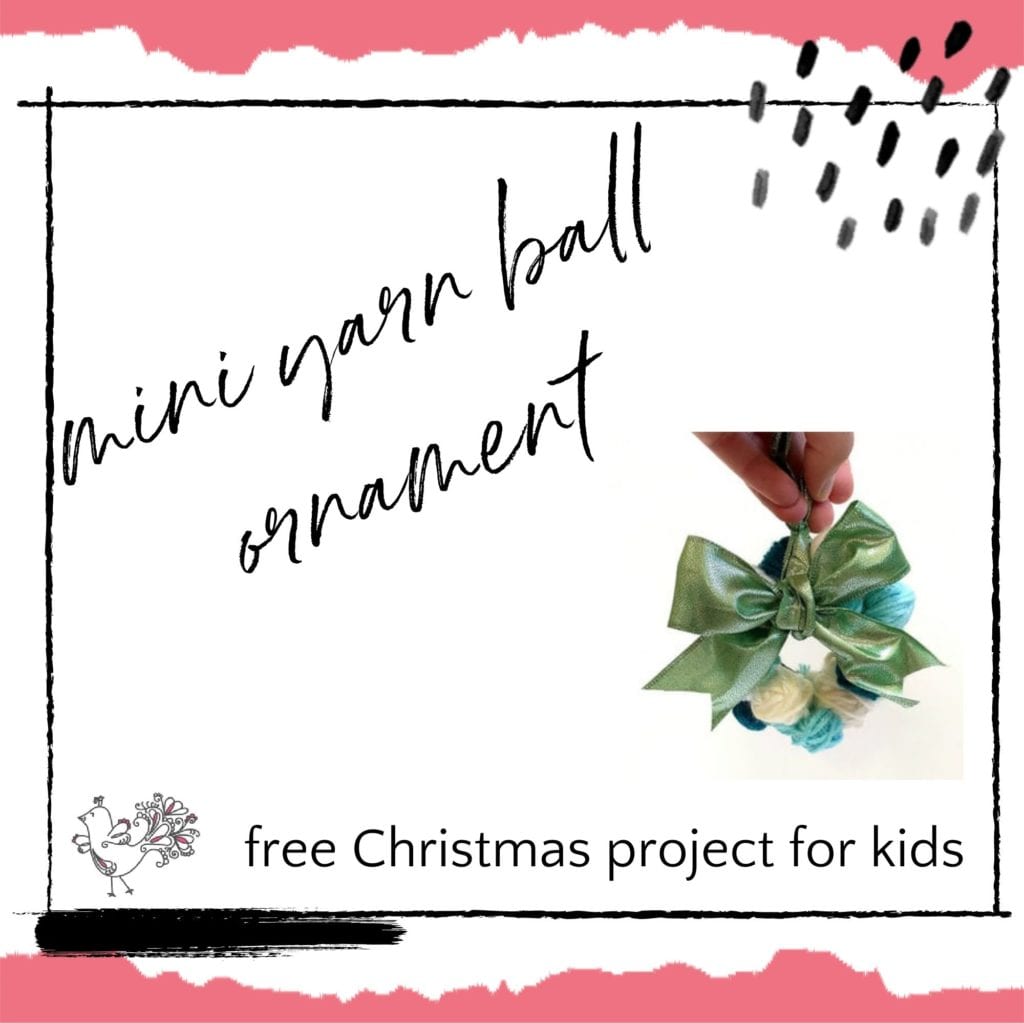
This yarn scrap Christmas ornament will be a wreath made out of mini wound yarn balls. This is a super quick and easy ornament. As you finish a ball of yarn, if there is just a small amount left over, then don't throw it out. Wind it into its own ball and save it to make these ornaments when you have enough. You will need a hot glue gun to hold the balls together. I used a piece of ribbon to be able to hang it on my tree.
Supplies:
- Yarn scrap balls
- Glue gun
- Cardboard
- Scissors
- Ribbon
Start off by making a wreath shape with your cardboard. I used cardboard to give it some more structure but you could make this without a backing if you like. The cardboard also gives you a place to put the year and the name of the person who made the ornament if you are going to be giving it away or using it in a swap.
Next, I selected the colors that I wanted for my wreath. Have fun with this, make it rainbow colored or pick a theme (blue and white) like I did. Once I rolled my yarn balls I started to put some glue on the back to keep them from unraveling.
I started off by placing one round of balls on the cardboard and then started to fill in the space and add some height to the wreath with another round. Be careful that you don't burn yourself with the glue as it works it way through the project.
Once you are finished you will need a way to hang it on your tree. I put a piece of ribbon around the whole thing and tied a knot to give it a place to hang on my tree. Then I took another piece of the same ribbon and tied a bow to give it the true wreath look. Try putting in small knitting needs or use yarn to attach it to the tree.
Yarn Scrap Christmas Ornament #2:
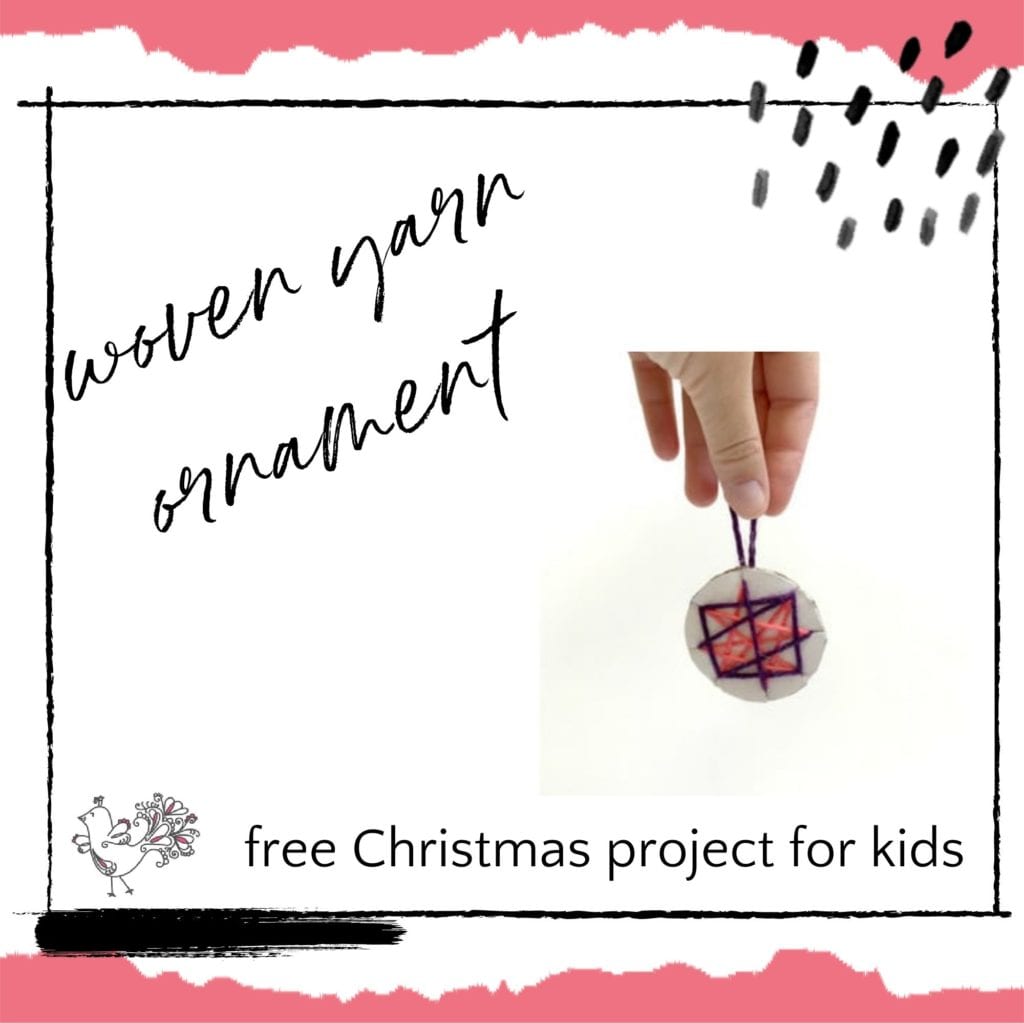
This is a small woven cardboard ornament. This is one of the best projects to get kids involved with. It is also a great way to decorate your packages this Christmas so it serves not just as there decor but also with this other function.
Supplies:
- yarn
- cardboard
- hot glue gun
- decorative paper
- scissors
By cutting the cardboard in a circle and putting slits evenly spaced you can weave your yarn around to make many patterns. Experiment with making your slits further apart or closer together to get different effects in your patterns.
After weaving my yarn around I used hot glue to secure the ends to the back of the ornament. I took an extra piece of yarn and tied a knot at the bottom making a loop. I also glued this to the bag to make a hanger for the ornament. Because it looked sloppy on the back with the ends I cut a circle from scrapbooking paper slightly smaller than my ornament size. Again, using the hot glue, I attached the paper to the back.
By adding the paper you now have somewhere that you can write the year it was made or if using it as a tag you could write who the package is to or from.
If you don't want to to do the weaving you could also cut out shapes and wrap the yarn around the shape. The hot glue will help ensure that your ends don't fall out when you hang it on your tree.
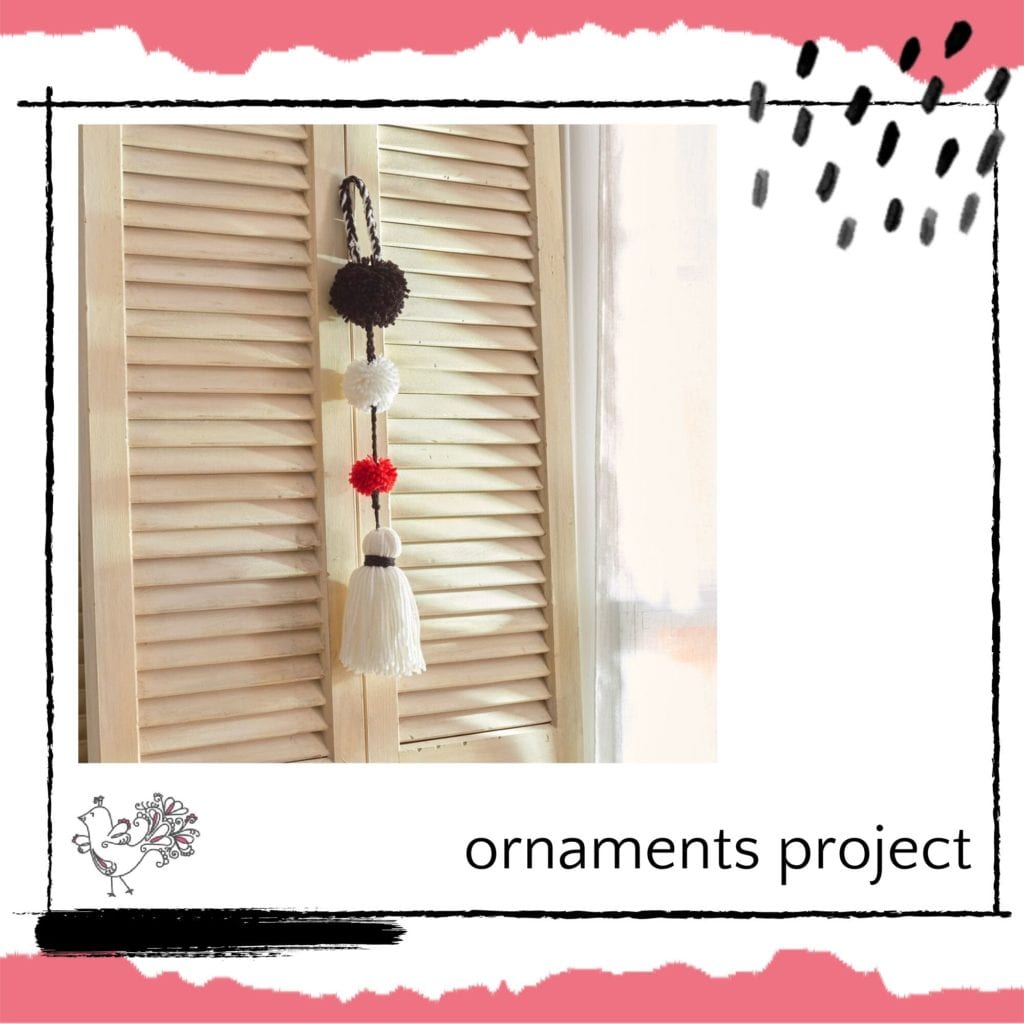
11 More Yarn Scrap Crafty Ornaments
These additional crafty ornaments from Yarnspirations can all be made with yarn scraps.
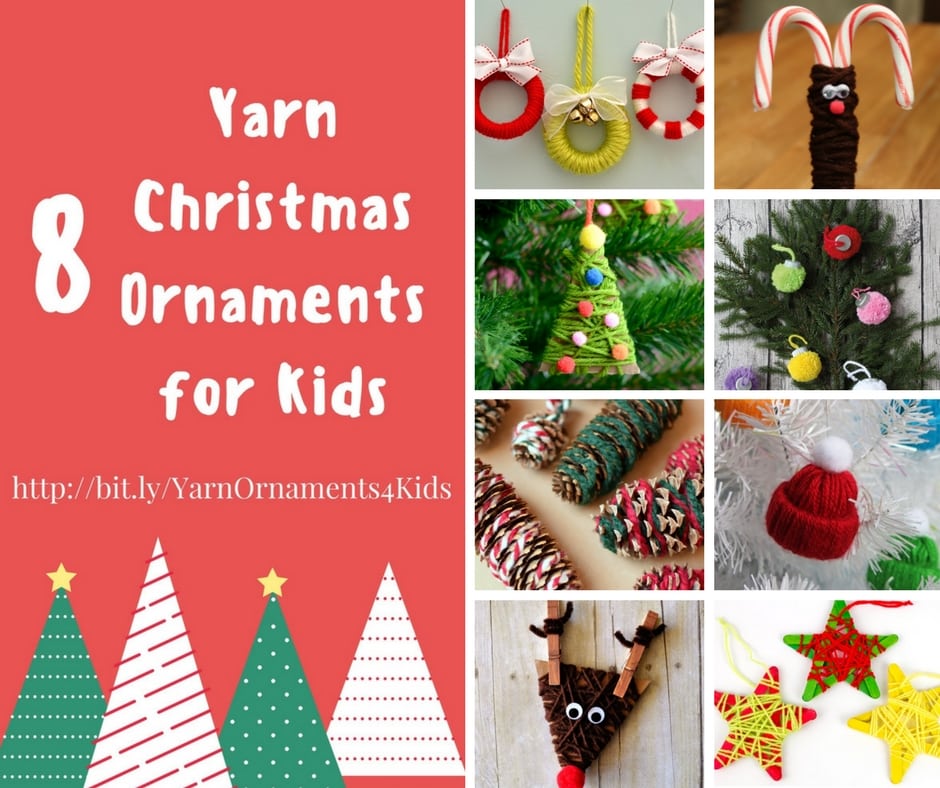
8 More Yarn Christmas Ornaments for Kids
This was one of our most popular Christmas posts on the blog. It has eight additional yarn Christmas ornament projects for kids that you might enjoy working on. Click on the image below to get to the post:
You Might Also Like:
- Hobby Ideas for Yarn Lovers (YarnThing Podcast)
- Retro Christmas Ornaments (book review)
- Free Snowflake Patterns to Knit and Crochet
- Festive Yarn Wrapped Ornaments
- Free Crochet Christmas Ornament Patterns
- Free Knit Christmas Ornament Patterns
Frequently Asked Questions
Can I really use any yarn scraps for these ornaments?
Honestly… yes! You can combine different weights and colors of yarn to make something totally unique. Just a little heads-up though, I'd be a bit careful with using too much green, especially if you have a traditional green tree… it might just blend in!
Do I need to know how to knit or crochet to make these?
So here's the thing… nope! All of the five projects I start with on Yarnspirations don't require any knitting or crochet skills at all. They're designed to be super accessible, even if you don't have those crafting skills.
What's the deal with avoiding green yarn?
Well, it's just a little tip to make your ornaments pop! If you put a primarily green ornament on a green tree, it can get a bit lost, you know? … But if you have one of those super cool non-traditional colored trees, like silver or purple, then you might be fine using green.
Are these ornaments good for kids to make?
Yes! Absolutely. This post has a bunch of ideas that are perfect for getting kids involved in the holiday crafting fun. The little woven cardboard ornaments, for example, are great for little hands to help with.
Can I use these yarn scrap ornaments for anything besides my own tree?
Oh, for sure! Not only do they make your tree look extra special and handmade, but they also make really sweet and affordable gifts for people. Plus, making them together is a lovely way to create memories you'll cherish for years.
Categories: Dibble Dabble Inspiration


This is such a great idea! Every year in August, I always do a yarn clean out/assessment of my stash and try to find ways to use up the odds and ends. I also make a ‘yarn theme’ Christmas tree decoration for my best friend every year. These patterns will be well used, and saved for the future! Thank you!