Making of the Chic Log Cabin Crochet Blanket:
The Chic Log Cabin blanket is my newest FREE pattern on the blog. It was made with my 100% Merino Wool yarn, Chic Sheep by Marly Bird™. I designed this blanket to use a sample from my latest Stitches class and it turned out so beautiful that I knew I had to share it with everyone. Hear more about the creation of the Chic Log Cabin Crochet Blanket.
*This post contains affiliate links. By clicking on one of these links and making a purchase a portion will go to the blog. The price you pay will not change and the small commission I receive helps me to keep brining you free content and giveaways on the blog. Thank you for your continued support.*
Chic Sheep Log Cabin Crochet Blanket:
Although this is my design I don’t always have time to make the sample for every single thing. Particularly when it comes to blankets and garments. They are time consuming, as you all know, and when I need multiple colors made or sizes or even just to have projects done quickly I reach out to my team of wonderful contract knitters and crocheters.
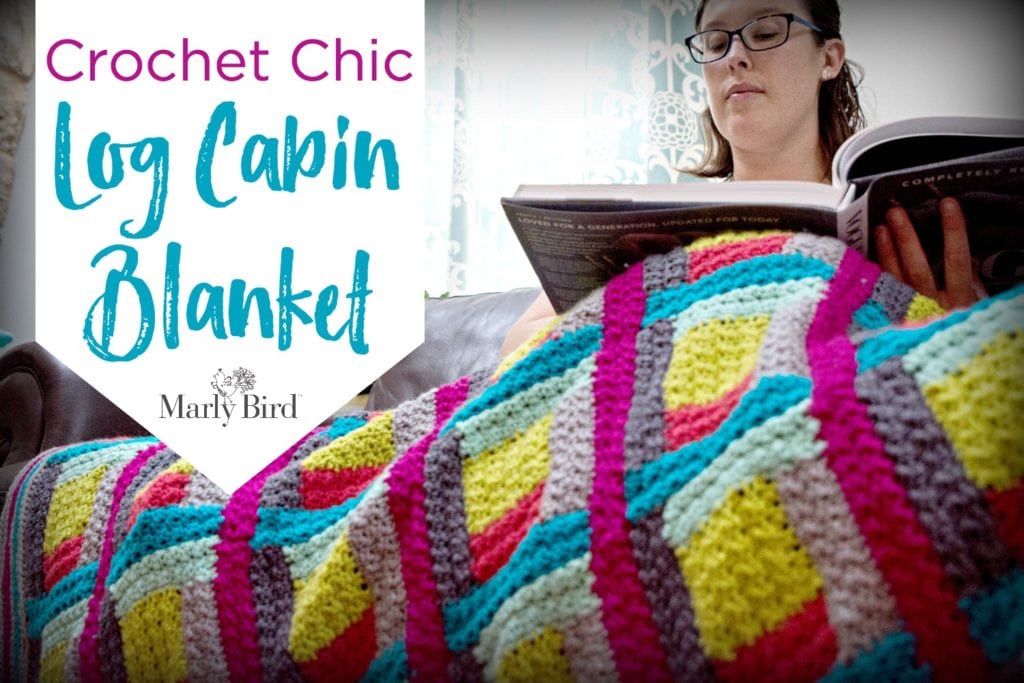
This beautiful blanket was made by my Social Media Director, Katelyn. She has talked to us before about being a contractor for me and what is involved in the process. If you are interested in learning more about that head over to that post. I have asked her to come on the blog today and talk about the makings of this blanket and to share some tips and tricks with you about working with Chic Sheep and this technique.
Don’t forget to get your FREE copy of the pattern on the blog or head to my Ravelry Store to purchase the PDF version that is ad free.
Making the Chic Sheep Log Cabin Blanket Sample:
When Marly first told me that she needed a blanket made I pondered if I really had time to make one. Then she said that it was going to be worked up in Chic Sheep and I said yes without even checking my schedule. Although I work for Marly and she is the creator of Chic Sheep I really do love it and would love it even if I didn’t personally know her.
I will be honest, I had never attempted the Log Cabin crochet technique before this project. Marly does the technique a little bit different than most other designers. For starters she doesn’t just use single crochet. Marly’s favorite stitch combination is a single crochet followed by a double and then offsetting that in the next round. This creates some awesome texture and warmth for this blanket. My kids loved that I was working on it and only asked me about 200 times if the blanket was for them!
Tip-Using your swatch for research:
To work this blanket I stared by planning out the color sequence that we were going to use. When starting this pattern Marly wanted me to take a look at some different ways of working the colors. Although it was extra work, I could use those blocks that we weren’t using for the blanket as little doilies for on my desk.
If you take a look at the FREE pattern you will see that Marly gave a few suggestions on how to put the colors together. Really you can mix and match whatever you like to get something so unique. Play around with the block placement/orientation to get a new look. Don’t be afraid of the swatch for this pattern!
Tip-Picking your Color Sequence
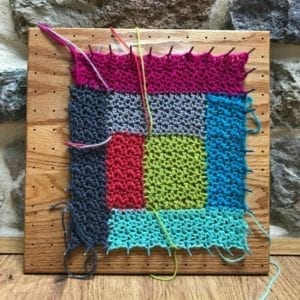
Once I did that and knew how many blocks I would need to make the blanket I got to work making all of the centers. For me I wanted something that was ‘easy’ to take with me to work on. Rather than having to carry seven different colors, plus some back up yarn just in case, I worked on one color at a time.
Once I finished the center color, green tea, I worked on all of the next sections. By taking this approach I could carry one color of yarn with me (about three balls) and then my squares. For me this was much easier.
After I finished all of my squares, all 49 of them, I started to put them together. Rather than having this feel like a daunting process I separated all of the blocks into stacks of seven. There were to be seven blocks in each row so that is all that I carried with me at one time. I didn’t have to count how many I was putting together because I had already counted them out. Once all of the blocks were together I could start sewing the rows together.
Tip-Weaving in your Ends
Let’s take a minute and get real honest. When working this project there were a lot of ends, and I mean A LOT. Using seven colors for the blanket meant that each square had fourteen ends to weave in. Then there were the ends for each of the strips that were put together. I hear it all the time to work in your ends as you finish each block but I didn’t follow that advice, and it was okay.
Tip-Blocking:
Another topic that comes up often and its necessity questioned is blocking. Guess what, for this project your blocking includes finishing the blanket and throwing it in the washer. Once it comes out you can lay it flat to dry and you can start using it.
Yes, 100% merino wool can technically go into the dry. Red Heart does caution about doing this as it will wear on the fiber and may cause the project to have a shorter life span.
About Chic Sheep
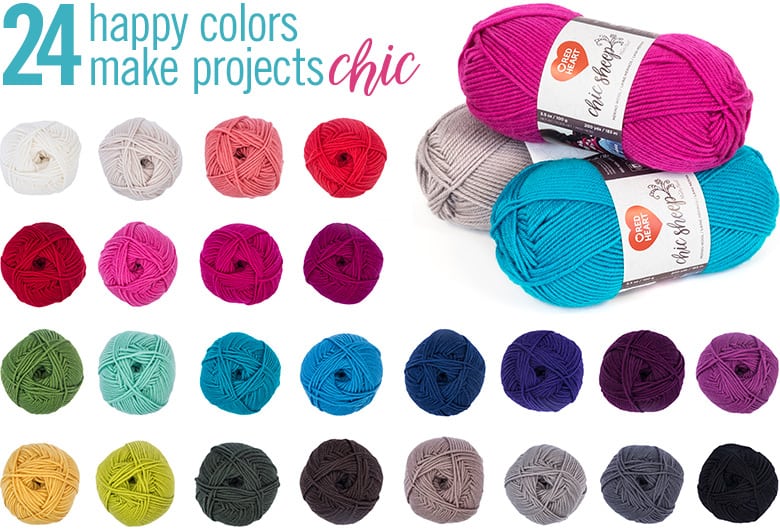
All of this talk about Chic Sheep and I don’t know if we covered what it is, just incase you don’t know. Chic Sheep by Marly Bird™ is the first 100% Merino Wool yarn from Red Heart. Designed from the ground up with love by Marly.
Consisting of 24 different colors you will be able to put together almost any color combination you could want.
** edited to add: this yarn as sadly been discontinued but a great substitute is the Swish Worsted by WeCrochet





Thanks Katelyn for letting us know of your experience making the Log Cabin throw. I happen to have the same blocking board pictured above. I have the long pegs to stack & weigh them so blocking wouldn’t be too much of an issue for me. Still, good to know one doesn’t need to block each piece. I am interested in make this but I think I would like to explore making it in Tunisian Crochet. Wondering how the pattern would be translated into that needlecraft?