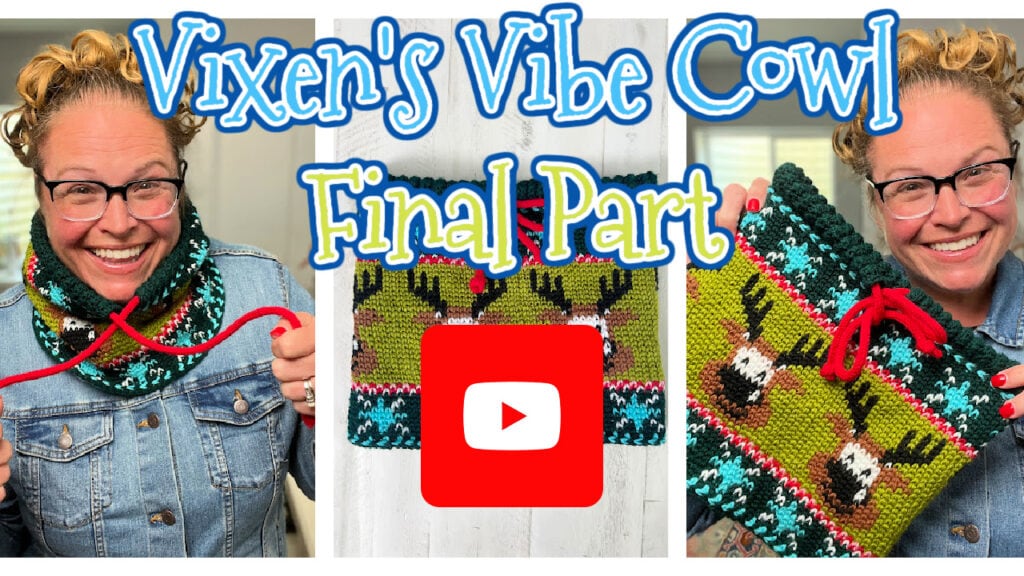
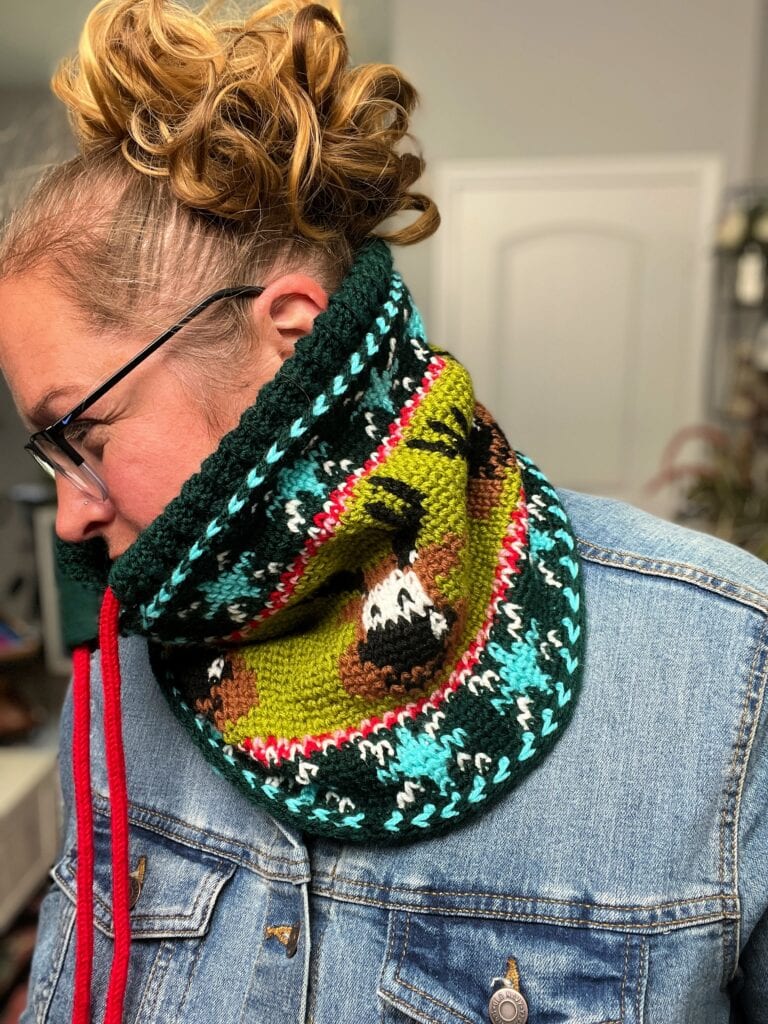
🎉 Sleigh the Holiday Make-Along – Final Edging for the Vixen’s Vibe Crochet Cowl! 🧶
We’ve made it to the final part of our festive crochet adventure—and friends, this is where you truly make your Vibe your own! Whether you’re feeling flirty and functional or sleek and structured, your edging choice is the bow on top of your beautifully stitched gift to yourself. 🎁

🪄 Two Finishing Options—Choose Your Vibe!
You’ve got two fabulous finishing options to wrap up your Vixen’s Vibe Crochet Cowl:
🎀 Option 1: Single Crochet Finish (My Pick!)
This simple round of single crochet gives your cowl a polished edge without adding extra bulk. It helps the cowl sit just right around your shoulders and neck—cozy, comfy, and not too tight. If you’re into that effortless drape and snug-but-not-squeezy fit, this is the finish for you. (It’s what I chose!)
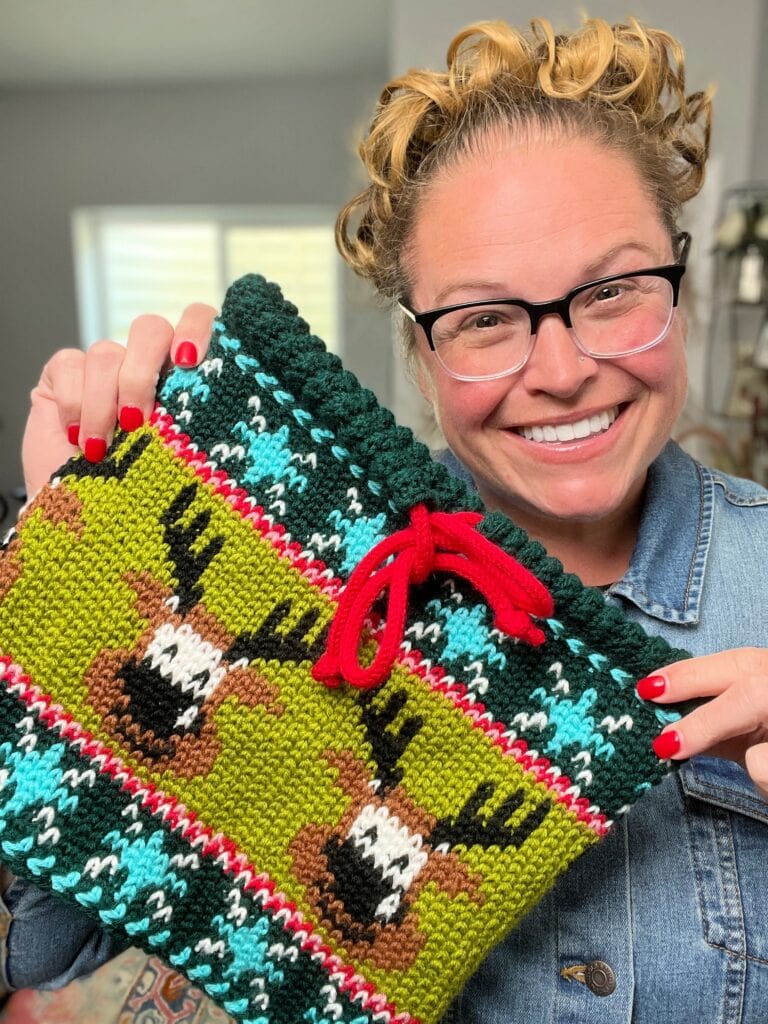
🧶 Option 2: Second Drawstring Casing
Want to cinch the bottom edge too? Go for another drawstring casing! This version mirrors the top and gives you adjustable coziness. It’s a great choice if you want to keep out the chill or just love the look of a gathered edge.
There’s no wrong answer—just stitch what feels right for your holiday vibe. ❤️💚
🧵 Drawstring Details
You’ll make two drawstrings for this cowl—one for the top casing and one for the optional bottom casing.
While you can absolutely crochet your I-cords the old-fashioned way, I used my Prym Knitting Mill to crank out two perfectly even cords in no time. It’s quick, it’s fun, and it makes me feel like a little yarn machine. If you’ve got one, now’s the time to bust it out and let it sleigh! 🛷
FINISHING
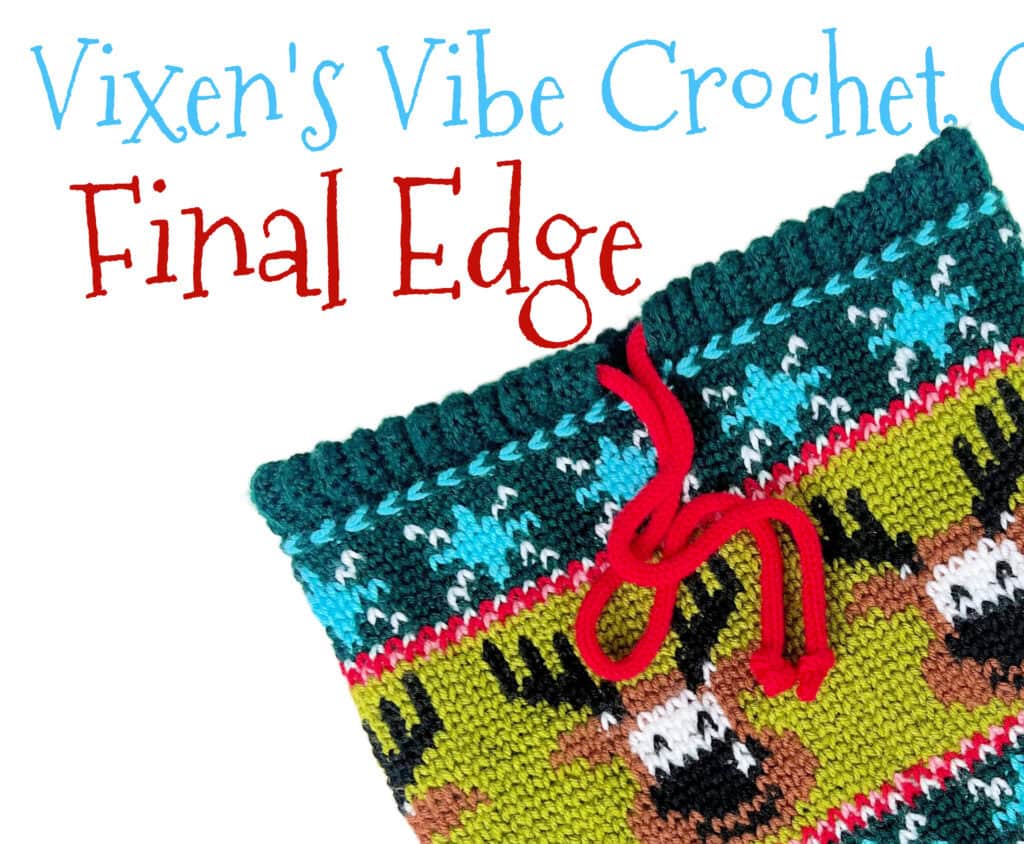
Final Edging
Round 1: With color A and color H (changing colors every other stitch), ch 1, hdc in each sc around, join to first hdc.
Round 2: With color A, ch 1, sc in the third loop of each hdc around, join to first sc.
Place a removable marker in the first stitch.
Fasten off.
Final Edging – Optional Ribbing
Made flat then joined to cowl.
With color A, chain 10.
Set-up Row: Sc in 2nd ch from hook and in each ch across, turn — 9 sc.
Row 1: Ch 1, sc in the back loop only of each sc across, turn.
Repeat Row 1 for 98 rows total.
Fold ribbing in half widthwise (creating a casing for an i-cord drawstring)
Set-up Row: Ch 1, place 98 sc along the edge working through both the ribbing fabrics (1 stitch in each row of ribbing for 98 total stitches) until all ribbing stitches are connected
Once the ribbing is complete, match up the joined edge of the ribbing to the bottom edge of the cowl at the marked stitch. Working on the wrong side of the cowl, whip stitch the ribbing to the cowl. Because there are 100 stitches on the cowl and 98 stitches around the ribbing, there will be 2 stitches on the cowl unworked for the drawstring opening.
Fasten off. Weave in all ends.
Simple Knit i-Cord
This tool is very useful for a knit i-cord and makes a great looking drawstring.
Available at KnitPicks: https://tidd.ly/4lOdtc5
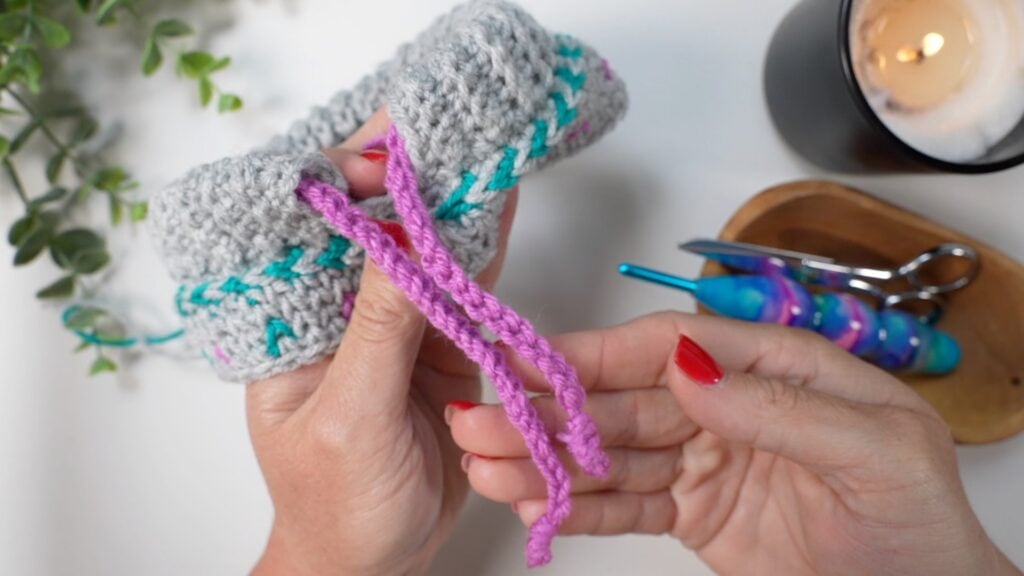
Simple Crochet Cord
With color F (or any color of your choice), make a tail that is at least 3 times the length of the total length you want the drawstring to be when finished.
Position the yarn with a slip knot on the hook
Right handed crocheters: long tail to the left of the hook and the working yarn to the right
Left handed crocheters: long tail to the right of the hook and the working yarn to the left
Proceed to make the chain stitches as follows: Watch Video for Help
Step 1: Yarn under the hook with the tail, yarn over the hook with the working yarn, pull the working yarn through both loops on the hook (the loop made with the tail and the slip knot loop on the hook). One loop remaining on hook.
Step 2: Yarn under the hook with the tail, yarn over the hook with the working yarn, pull the working yarn through both loops on the hook (the loop made with the tail and the remaining loop on hook). One loop remaining on hook.
Repeat step 2 until drawstring is as long as desired. Fasten off.