Turkey Trot 2021 Knitting Day 4
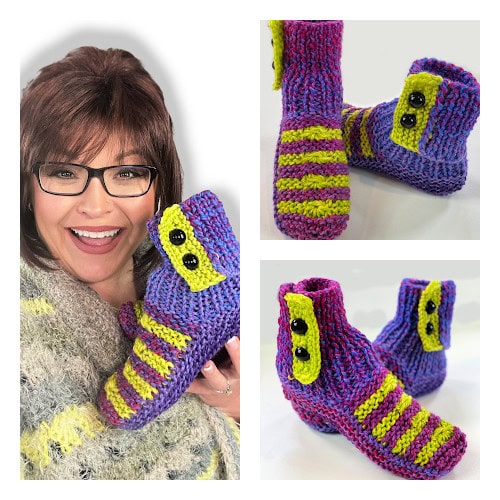
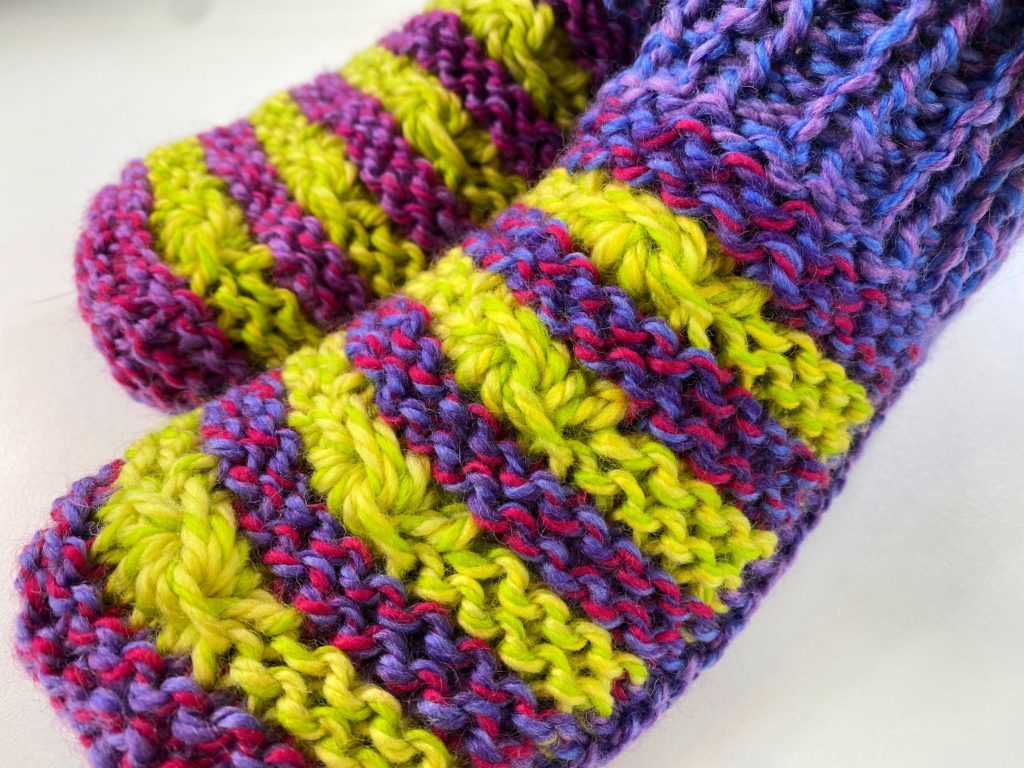
Day 4 of the Turkey Trot Mystery Make Along 2021 and we have SLIPPERS!
Let’s finish these puppies up and get them on our feet!
TURKEY TROT 2021 KNITTING
Designed by Marly Bird and Robyn Chachula
SKILL LEVEL
Intermediate
MEASUREMENTS
To Fit Size
S (M, L)
Finished Measurements
Cuff circumference 6½ (7, 7¼)” [16.5 (18, 18.5) cm]; Cuff is very stretchy
Foot length from bottom of cuff to toe 7 (9, 11)” [18 (23, 28) cm]
Gauge
23 sts x 18 rows = 4” [10 cm] in 1 x 1 Ribbing unstretched
MATERIALS
Yarn
Knit Picks Chroma Tweed Bulky (70% Superwash Merino, 30% Nylon, 127 yds / 100 g, CYCA#5 Bulky)
Color A: # Lupine 2 hanks
Color B: # Go Go Boots 2 hanks
How to choose the right colors?
- Self-striping yarn + solid: Let the striping yarn create shifting color patterns.
- Neutral + bright: The neutral can showcase a vivid color.
- Dark + light: Creates high-contrast striping.
- Warm + cool: Warm colors can seem to advance while cool colors recede from the eye.
Needles
Size 10 [6 mm] 24” [61 cm] or longer circular needles and set of double-pointed needles, or size needed for gauge
Notions
Tapestry needle, stitch markers, 4 buttons approx 3/4” [2 cm] in diameter (optional), fake leather (optional)
ABBREVIATIONS
Approx – Approximately
K – Knit
K2tog – Knit Two Stitches Together (decrease)
LHN – Left Hand Needle
M1 – Make 1 (increase)
P – Purl
P2tog – Purl Two Stitches Together (decrease)
PM – Place Marker
PSSO – Pass Slipped Stitch Over
RHN – Right Hand Needle
Sl – Slip
SLM – Slip Marker
St(s) – Stitches
Tbl – Through the Back Loop
Wyib – With Yarn in Back
Wyif – With Yarn in Front
Yo – Yarn Over
SPECIAL STITCHES AND TERMS
Knitwise: As if to knit. When slipping a stitch knitwise, insert the right-hand needle into the stitch from front to back, as if you’re going to knit the stitch. This will turn the stitch around, as opposed to slipping a stitch purlwise (inserting your right-hand needle from back to front) which doesn’t turn the stitch.
K2tog (Knit Two Together) Insert tip of RHN from front to back into next 2 sts on LHN at the same time, and knit them together, resulting in 1 stitch.
K2tog tbl (Knit Two Together Through Back Loop or Leg) With needle tips pointed at each other, insert tip of RHN between the legs of the next 2 stitches on LHN at the same time, point RHN out through the back of the work rather than pointing it to the front as you would in a p2tog, yo and knit the back legs of these 2 stitches together, resulting in 1 stitch.
M1 (Make 1 Increase): With tip of LHN, pick up the horizontal strand between sts from front to back. Knit this strand through the back loop or leg thus, twisting it into a loop in the process.
P2tog (Purl two together): Insert tip of RHN as if to purl into front loops of next 2 sts on LHN at the same time, and purl them together, resulting in 1 stitch.
Sl 1 (Slip 1): Insert tip of RHN as if to purl in next stitch on LHN and slip it off LHN and onto RHN.
Star Stitch: (worked over 5 stitches and is a two row process)
- (WS): * Insert RHN in next stitch as if to purl, yo RHN twice, pull double yo through stitch; repeat from * 4 times more.
- (RS): * Insert RHN into the first loop of the double yo as if to knit and slip off LHN, letting the second loop of the double yo fall off. This will create an elongated loop on the RHN; repeat from * 4 more times. Insert the LHN into the front leg of the 5 elongated loops on the RHN, Yo the RHN and pull up a loop but do not let the 5 elongated loops drop from the LHN yet! ** Yo the RHN and insert into the back leg of the 5 elongated loops again, yo the RHN and pull up a loop but do not let the 5 elongated loops drop from the LHN yet (3 loops on RHN); repeat from ** once more. There are now 5 loops on the RHN. Now you can let the 5 elongated loops drop from the LHN. A Start Stitch has been made.
Yo (Yarn Over): Bring the yarn over the right-hand needle from front to back.
PATTERN STITCHES
1 x 1 Ribbing
Row 1 (RS): Sl 1 wyib, * p1, k1; repeat from * to end.
Row 2 (WS): Sl 1 wyif, * k1, p1; repeat from * to end.
Repeat Rows 1 and 2 for 1 x 1 Ribbing.
SCHEMATIC
NOTES
- Make two.
- The instructions for days 2-3 are for those working with or without buttons.
- Directions are for size S; changes for sizes M, & L are in parentheses. When only one number is given then that number applies to all sizes.
- Be sure to pay close attention to the instructions as each size will work a different number of rows, thus making day 2 length different for each size.
VIDEO TUTORIAL
PURCHASE THE AD-FREE PDF’S
This year we will be releasing the Ad-Free PDF patterns prior to the event.
They will be available the week of the event. Links will be provided here for you to purchase the full pattern.
Simply click the images below to purchase the ad-free pdf’s.
*Note, the cover images do not show you what the project is but the pattern will have ALL THE DETAILS about the patterns! DO NOT SPOIL THE MYSTERY FOR OTHERS!
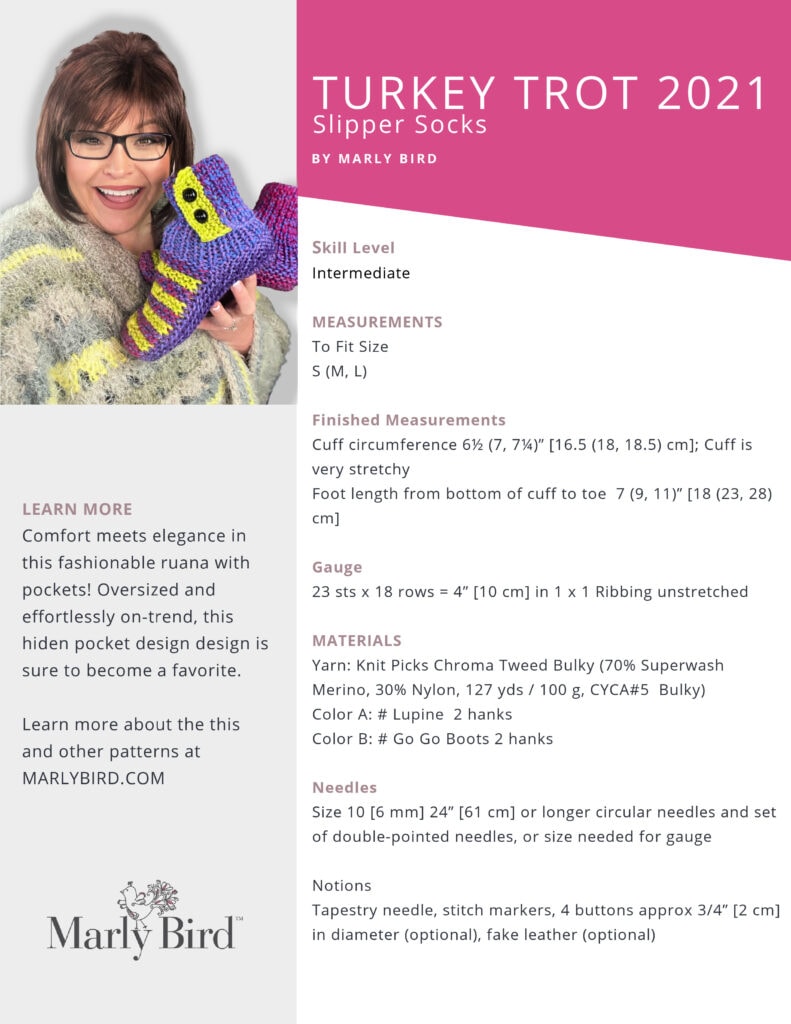
TURKEY TROT KNITTING 2021 PATTERN
DAY 4
Read through all instructions before beginning!
At this point there are a total of 15 sts on the needles.
Remove the markers when they appear.
Next row 1 (WS): Sl 1 wyib, k5, [k2tog tbl] twice, turn — 13 sts.
Next row 2 (RS): Sl 1 wyif, k4, k2tog, p2tog, turn — 11 sts.
Next row 3 (WS): Sl 1 wyib, k3, [k2tog tbl] twice, turn — 9 sts.
Next row 4 (RS): Sl 1 wyif, k2, k2tog, p2tog, turn — 7 sts.
Next row 5 (WS): Sl 1 wyib, k1, [k2tog tbl] twice, turn — 5 sts.
Next row 6 (RS): Sl 1 wyif, k2tog, p2tog, turn — 3 sts.
Next row 7 (WS): Sl 1 wyib, k2tog tbl, psso, turn — 1 st.
Fasten off leaving a 20” [51 cm] tail or longer to seam.
Use mattress stitch to sew up the back heel and cuff.
If using buttons, leave the bound off 10 stitches of the “flap” un seamed.
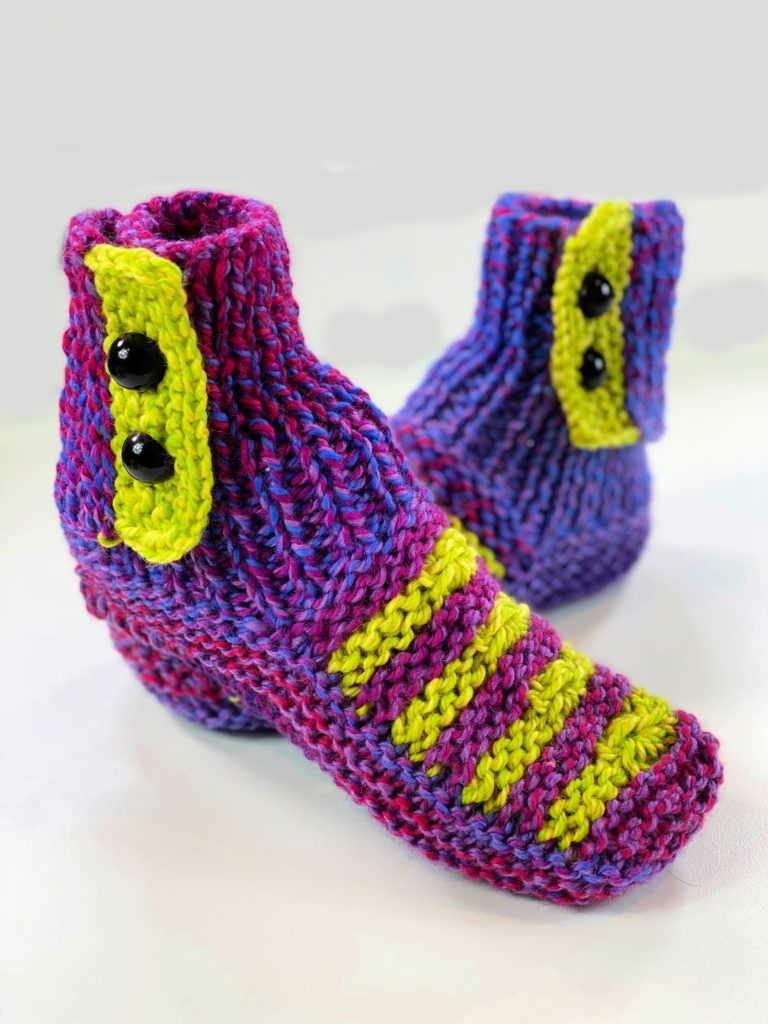
Button band (optional)
With color B and WS of the flap facing, pick up and knit 15 sts.
Row 1 (RS): Sl 1 wyib, knit to end.
Row 2 (WS): Sl 1 wyif, k13, p1.
Row 3 (RS): Sl 1 wyib, knit to end.
Row 4 (WS): Sl 1 wyif, k3, bind off 2 sts, k2, bind off 2 sts, k2, p1.
Row 5 (RS): Sl 1 wyib, k3, yo twice, k3, yo twice, k4.
Row 6 (WS): Sl 1 wyif, k3, knit front leg of yo, knit back leg of yo, k3, k front leg of yo, knit back leg of yo, k3, p1.
Row 7 (RS): Sl 1 wyib, knit to end.
Row 8 (WS): Sl 1 wyif, k13, p1.
Bind off all sts.
FINISHING
Weave in all loose ends.
Optional Leather Sole
Cut sole out of leather. With sharp needle, stitch sole to bottom of slipper.
Or purchet the suede slipper soles from Fiber Trends (as seen in the video for day 4)
Sew buttons opposite buttonholes.
