Multiple Sequence Planned Pooling Crochet
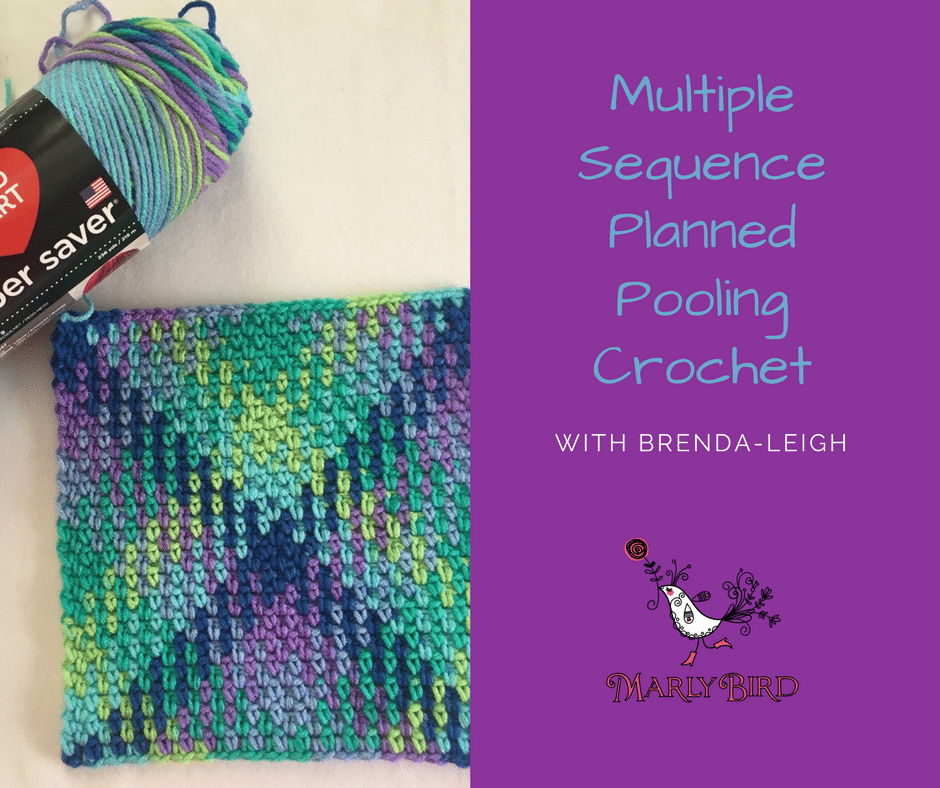 Today we have a special guest that is going to be telling you all about Multiple Sequence Planned Pooling Crochet. In this tutorial you will see how to work planned pooling over multiple color sequences and how to make the pooling work as you imaged. Please welcome Brenda-Leigh to the blog to teach us about multiple sequence planned pooling crochet.
 Multiple Sequence Pooling:
One of the most common questions we see 0n the Facebook Planned Pooling with Crochet page is “Why can I do one sequence, but when I try to do three (four, five, six or more), it doesn’t work? What am I doing wrong?”.
Hopefully, you’ll find the answer today!
This tutorial assumes you know how to successfully pool one full color sequence. If you’re still learning how to do a single sequence, please take the time to watch Marly’s terrific video series on her YouTube Channel.
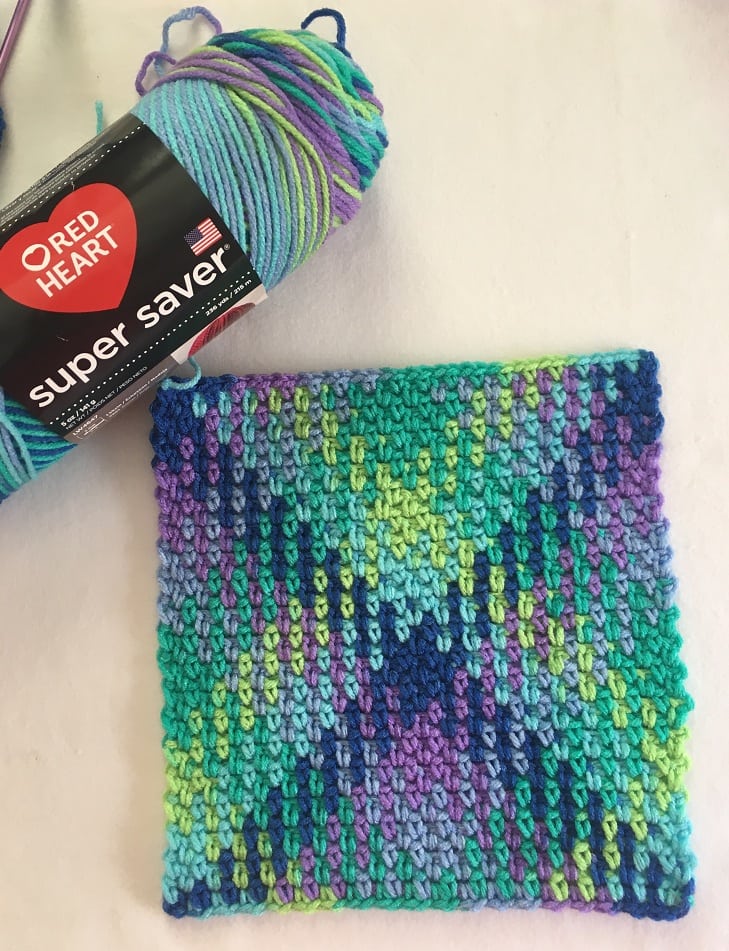
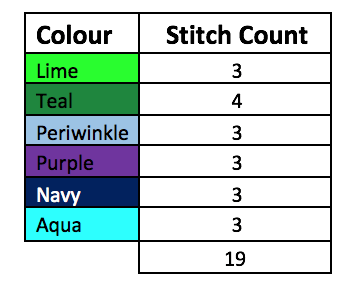
You can see from my swatch using Red Heart Super Saver in Wildflower, my stitches per color. I then use these counts to make a planning chart.
Red Heart Super Saver Wildflower Planning Chart:
I know from my single sequence swatch that I need 19 stitches to complete one sequence. For this tutorial, I am going to demonstrate two sequences, but the process works for as many sequences as you need to achieve the desired width of your project. Let’s get started with Multiple Sequence Planned Pooling.
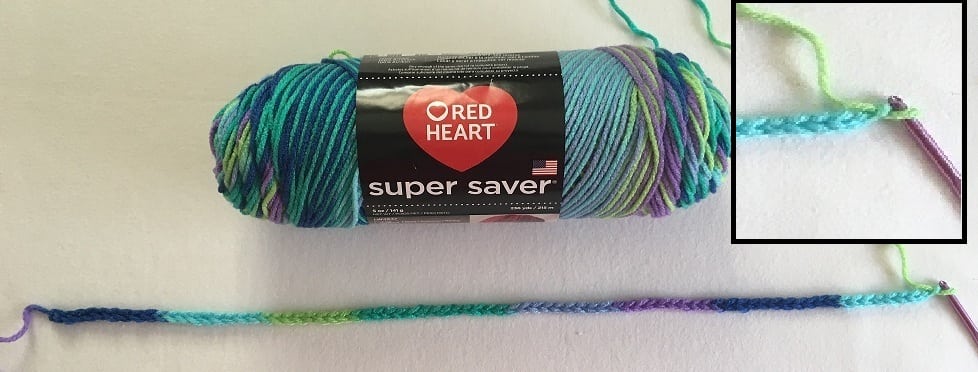
To do two sequences, I will need 38 stitches (19 sts x 2 sequences). To work in moss stitch, I need 2 chains for each full stitch. The last stitch in the row doesn’t get a chain one, so you need 75 chains to complete two sequences. (38 stitches x 2 chains/stitches – one chain). I also need to add three stitches for the initial turning chain. Total chain required is 78.
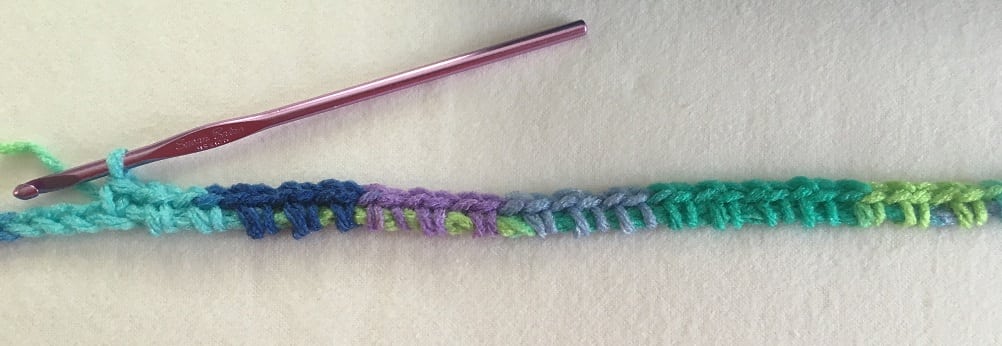
For your first time, I suggest you chain 78, then continue with as many as you need to start at a distinct color change. You can undo your slip knot later and take out the few extra chains. Notice the loop on my hook is lime, so that will be the first color in my sequence.
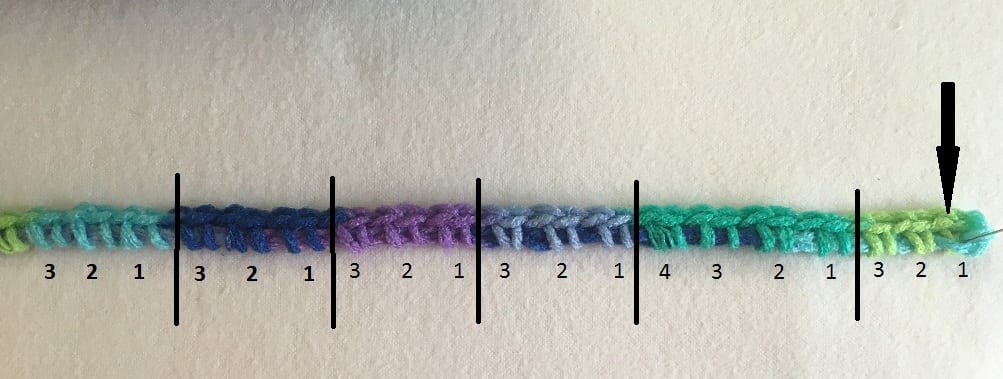
Now I am going to work through the first sequence making sure I maintain the stitch counts in my planning chart. I prefer to work around the starting chain (see Marly’s 10 Secrets to Perfect Planned Pooling in Crochet to learn how to do this), but you can work into the chain if you prefer. The important thing here is to maintain the stitch count as determined in the planning chart. You may have to work a little looser than normal to achieve this, but don’t worry, it will be worth it in the end.
The thick black arrow is pointing to the first lime stitch. I like to work the first stitch into the chain (rather than around the chain) to lock that end of the work.
Here is my second sequence and I have made sure to maintain my stitch count here as well. This is the most common mistake we see in working multiple sequences. You must have the same stitch count in all of your sequences on Row one in order for your work to pool properly.
Note: Notice at the end of the row, I have also worked the last stitch into the chain. I spread my stitches out along the chain to do this, but you don’t have to. I highly recommend that until you are sure how wide your piece will be, you leave that last stitch around the chain so it can be moved along if needed.
I am now ready to start row two and you can see I have the lime yarn ready to make my firsts stitch on row two. I know you have probably heard that at the end of row one, you remove or add one stitch before turning. I find that I have fewer tension adjustments needed by not removing or adding a stitch.
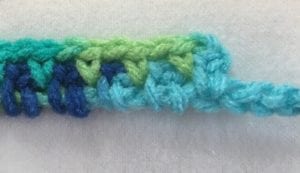 Here you can see the first three stitches on row two are lime, which is exactly how row one started.
As I continue to work across row two I am making sure to keep my stitch counts the same as they are in row one and in my planning chart. You might notice I have mentioned stitch counts a few times.
In rows one and two we don’t have other rows to look to for an offset, so this is all you to have get your pool set up for success!
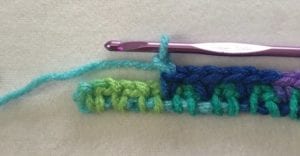 You can see here as I approach the end of row two, I have the aqua ready for the final three stitches.
I’ve loosened my tension on the aqua to ensure the lime is used for the turning chains and the first two stitches of row three. You can see the last aqua stitch of row two has one leg that is lime – this is the only place where I let that go.
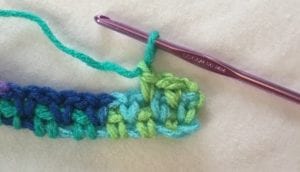 Now that you’ve reached the beginning of row three and your stitches have shifted over (offset) by one stitch from 2 rows below, stitch count is no longer as important as stitch placement. From here each row compares to the last one worked in the same direction as the one you are working. That is each odd row compares to the previous odd row and each even row compares to the previous even row. So 3 looks to 1, 5 looks to 3, 7 looks to 5 etc. Row 4 looks to 2, 6 looks to 4, and 8 looks to 6 and so on.
You can see on my hook I have a teal loop and you can see the first teal stitch will place on top of the last lime stitch in row one. This is exactly how you want it to work; as each new color appears on your hook, you look to the stitch immediately below the one you are working into to ensure it is starting one stitch before it did on the previous odd/even row.
I will continue to work across row three, making sure that each new color lands one stitch before it did on row one. One place I have seen a few people question is when you get into rows three and beyond and the colors start to cross. When you look at the row you are working into and it has the same color you are working with, it can easily confuse your eyes.
Here you can see I am working with the lime and if I look at row two it looks like my offset is wrong. When this happens, don’t panic – make sure you are looking at the correct row. I often go back to the previous color and count myself over to make sure I have the correct row.
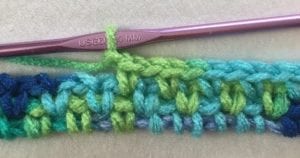 Once I have worked through that lime color I can easily see it is actually falling exactly where I want it to.
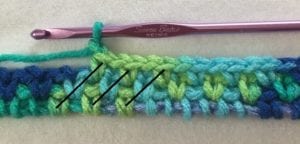 As you continue working your project take care at the end of each row.
This shows the last stitch of row three, which does not yet offset with anything. When you work row 5, it will be your guide to where the first lime needs to land.
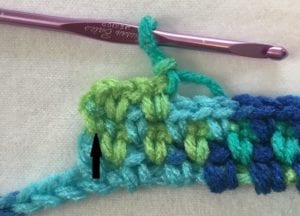 This is the same stitch from the other side. Again, you can see it has no “buddy” stitch to offset with yet. However, if you look at row four, you can see the first two lime stitches are properly offset with the lime in row two. The next stitch will be teal and it starts one place ahead of the first teal in row two.
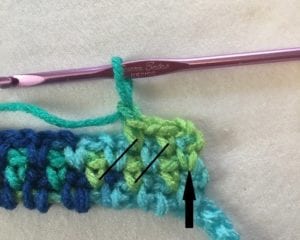 At this point, you are well on your way to a successful multiple-sequence planned pooling project. If you are not yet a part of our Facebook family, we would love to see your projects on our page.
Happy Pooling!
Who is Brenda-Leigh:
My name is Brenda-Leigh and I taught myself how to knit when I was seven using a book. Shortly after I began knitting my mother wanted to learn as well so I taught her. It was a great bonding experience to be able to show her something I had learned.
When I was eleven I taught myself how to crochet and my first project was a pineapple doily made with crochet thread.
I’ve continued with both over the years and have recently fallen in love with crochet. When planned pooling became popular last fall, I caught on right away and have had to opportunity to teach others. Since that early experience with my mother, I’ve loved being able to teach others and witness their success. Nothing makes me happier than giving someone that “aha!” moment.
You can find me on Ravelry as CrochetbyAlexina.
Marly Bird’s Planned Pooling Posts:
Thanks so much to Brenda-Leigh for sharing with us her method of Multiple Sequence Planned Pooling Crochet. If you want to learn more about Crochet Planned Pooling you can view my other posts on how to use the moss stitch.
- The Best Crochet Planned Pooling Argyle Tutorial
- 10 Secrets to Perfect Planned Pooling in Crochet
- Planned Pooling-Finished Starting Chains
- How to create Crochet Planned Pooling Argyle Charts
You can also head to my YouTube Channel to see all of the tutorial videos I have for Crochet Planned Pooling Argyle.
Yarn Pooling Made Easy by Marly Bird:
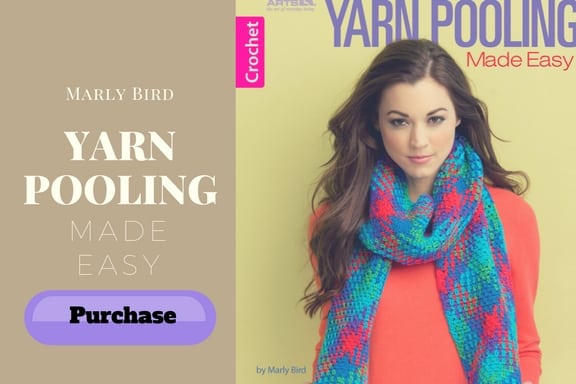
Did you know that Marly has published a book on Planned Pooling Crochet? In this book, published by Leisure Arts, you will find 10 beautifully designed patterns that you can create using Red Heart yarns.



Thanks for the break down on pooling! I’ll be checking out your videos and other information. I have some odd skeins I bought along with other yarn through people de-stashing I didn’t know what I was doing to do with. Now I have some great ideas!
So glad that you found this helpful. Be sure to post pictures to my Facebook page if you do make something with planned pooling!
Sure glad I found you (again!) and now know where to be when in need of information. I am not always knitting or crocheting for long periods of time and then forget and need to refresh memory. Tag! You’re IT! Thank you!
What size hook did you use in your demo? Can the pooling technique work with any size hook?