Marly Bird Granny Square Motif Cardigan Section 4 Cuffs and Seaming
The Marly Bird Granny Square Motif Cardigan Section 4 Cuffs and Seaming
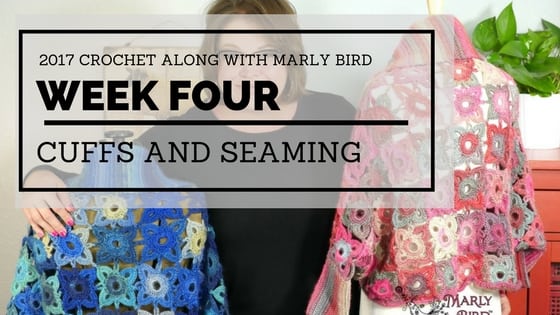
This week marks section 4 of the Marly Bird Granny Square Motif Cardigan Crochet-along. We are heading into the home stretch of the cardigan and I am so proud of all of the photos you have been sharing. For those of you not quite here with us, keep going, it will be worth it in the end.
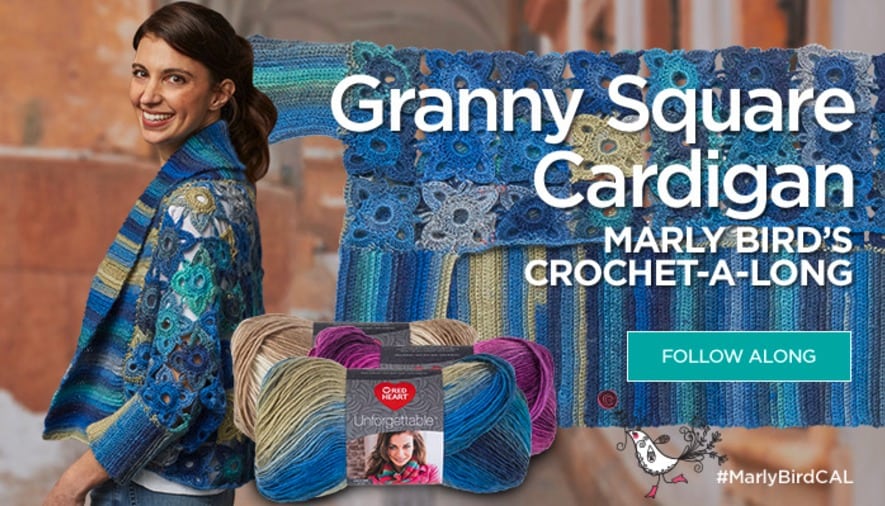
Once the CAL is complete the full pattern will be available at RedHeart.com
Queue it up and Like the Pattern on Ravelry
*This post contains affiliate links. By clicking one of these links and making a purchase a portion will go to the blog. The price you pay will not be changed. Thank you for your support of the blog.*
Find all the CAL details you need on the announcement page here https://marlybird.com/announcing-2017-crochet-along-marly-bird
THE DETAILS
Marly Bird Granny Square Motif Cardigan MATERIALS:
- RED HEART® Boutique Unforgettable®:, Art. E793, available in 3½ oz (100 g), 270 yd (247 m) balls; 6 (9, 11) balls [sample shown in Regatta 3968]
- Susan Bates® Crochet Hook: 4 mm [US G-6]
- Susan Bates® split lock stitch markers
- Bent Tip Tapestry needle
MEASUREMENTS
Directions are for size S/M; changes for sizes L/XL and 2X/3X are in parentheses.
Cocoon measures 48 (56, 64)” (122 (142, 163) cm) in width including cuffs, and 21½ (25, 28½)” (55 (64, 72) cm) in length not including collar.
Please make a note that the schematic only shows the dimensions of the body of the garment, it does NOT include cuffs or collar!
Need help choosing which size to make? Not a problem, I can help with that. CLICK HERE
GAUGE
1 Motif = 3½ x 3½” (9 x 9 cm); 20 sts= 4” in ribbing pattern CHECK YOUR GAUGE. Use any size hook to obtain the gauge.
SPECIAL STITCHES
Picot – Ch 3, slip st in last dc made
PATTERN
Below you will find the Marly Bird Granny Square Motif Cardigan Section 4 Cuffs and Seaming instructions.
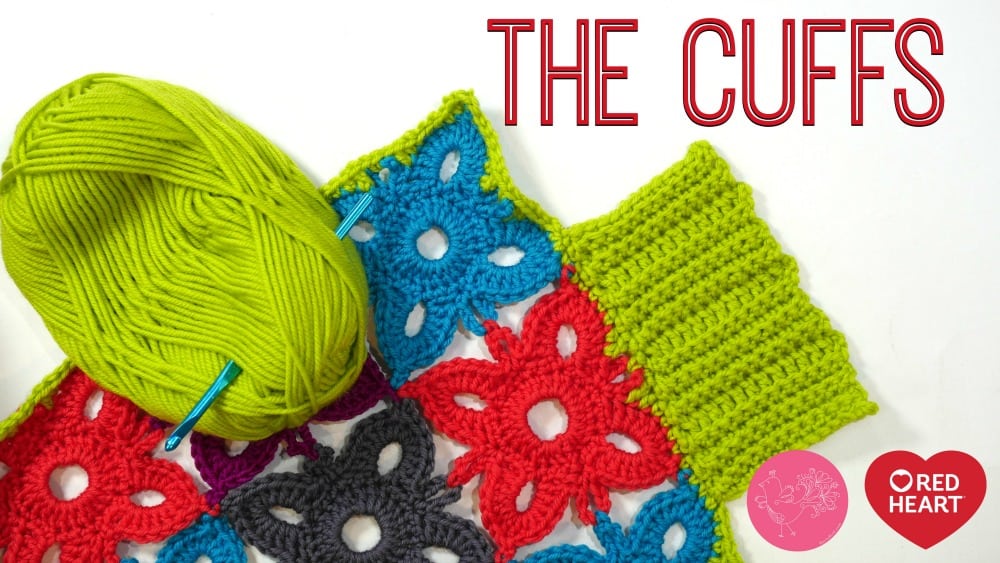
The gauge for the ribbing portion is 20 sts = 4″ [20 cm]. This is important to know incase you choose to adjust the width of the ribbing on either the cuffs or the collar.
Ribbed Cuffs
Mark center 9″ (23 cm) on each short edges of Body.
Ch 26 (28, 30).
With WS of body facing.
Row 1 (WS): Sc in 2nd ch from hook and in each ch to end, slip st in marked st and in next st on Body, turn – 25 (27, 29) sc.
Designer Note: It is very easy to get off track with the number of stitches you have in this section. I HIGHLY recommend counting your stitches every row, and/or place a marker at the end of the row to ensure that you work the stitches to the very end. Trust me, I’ve had to rip out too many times because I ended up doing several rows with a stitch too many or a stitch short.
Row 2 (RS): Skip 2 slip sts, sc in back loop of each sc to end,
turn.
Row 3 (WS): Ch 1, sc in back loop of each sc to end, slip st in each of next 2 sts on Body, turn.
Rows 4 and 5: Repeat Rows 2 and 3.
Row 6 (RS): Repeat Row 2.
Row 7 (WS): Ch 3 (counts as a dc), dc in back loop of each sc to end, slip st in each of next 2 sts on Body.
Repeat Rows 2-7 until you reach the second marker.
Fasten off. Weave in ends.
Repeat these instructions for the second cuff.
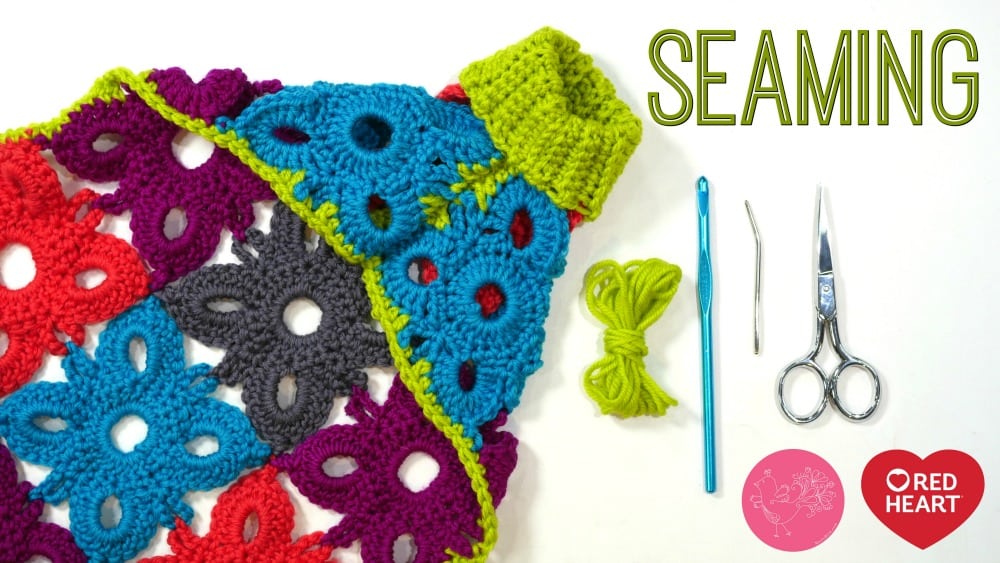
Seaming
After both cuffs are complete, fold Cocoon according to schematic with RS facing and sew sides together from Cuff edge to corners with a slip stitch. Make sure the seam is on the WS of the cardigan.
ABBREVIATIONS:
ch = chain; dc = double crochet; sc = single crochet; st(s) = stitch(es); * or ** = repeat whatever follows the * or ** as indicated.
Videos
Marly Bird Granny Square Motif Cardigan Section 4 Cuffs and Seaming Right Handed:
Marly Bird Granny Square Motif Cardigan Section 4 Cuffs and Seaming Left Handed:
Homework
Be sure to finish up the Cuffs and Seaming before next week. We will be working on the Collar next!
Once you finish your section be sure to post pictures to the facebook group as there will be a prize given away from RedHeart.com to one lucky person (who is randomly chosen) that has finished his or her homework during the week of September 27, 2017 and October 3, 2017 @ 11:59pm MDT. Good luck!
Edited to add (Oct. 1, 2017)

CROCHET ALONG SCHEDULE:
Each week on Wednesday during the CAL you will be able to get the new section of the pattern here on my blog. At the end of the CAL you will be able to get the full pattern in PDF form for FREE on the Red Heart website. Even after the CAL the information will be available for FREE on my blog.
Along with the new written pattern each week there will be a video released to help explain the new section. Be sure to subscribe to my YouTube channel to be sure you are notified as soon as the video goes live.
Introduction Wednesday, August 30
Learn about the CAL and get your materials ready to get started
Week 1 Wednesday, September 6
Selecting the your size, and motif construction (Right Handed) & (Left Handed)
Week 2 Wednesday, September 13
Join as you go motifs
Week 3 Wednesday, September 20
Edging (Right Handed) & (Left Handed)
Week 4 Wednesday, September 27
Cuffs and seaming
Week 5 Wednesday, October 4
Collar
Week 6 Wednesday, October 11
Finishing, styling, altering, and how to use this as blueprint
CROCHET ALONG GIVEAWAYS:
We can’t finish this post without talking about the giveaways that are available throughout the CAL. I bet you are glad that you made it this far in the post to hear about this!!!
Each week Red Heart will be offering a $25 prize package to one lucky person who posts a photo of their progress in the Facebook group.
Only photos posted in the Facebook group will be counted as an entry for the giveaway.
After the final video is released you will have one week to finish and post your final project photo to be entered to win a $50 prize package from Red Heart! Best of all there will be 3 winners selected from the finished projects.
To enter: Post your picture of your in-progress sweater in the Facebook group before Tuesday at 11:59pm Mountain Time (my time zone) to be entered. Winners will be announced on Wednesdays.
Week 1: Post your progress picture by Tuesday, September 12; 1 winner of a $25 prize pack announced Wednesday, September 14
Week 2: Post your progress picture by Tuesday, September 19; 1 winner of a $25 prize pack announced Wednesday, September 20
Week 3: Post your progress picture by Tuesday, September 26; 1 winner of a $25 prize pack announced Wednesday, September 27
Week 4: Post your progress picture by Tuesday, October 3; 1 winner of a $25 prize pack announced Wednesday, October 4
Week 5: Post your progress picture by Tuesday, October 10; 1 winner of a $25 prize pack announced Wednesday, October 11
Week 6: Post your completed sweater picture by Tuesday, October 17; 3 winners of $50 prize packs announced Wednesday, October 18
OH, One last thing!
Be sure to use the hashtag #MarlyBirdCAL when you post about it on social media
so we can find what you are saying 🙂
Follow Marly:
Categories: Crochet, Make-Alongs, Pattern, Uncategorized, YouTube Video Tutorial











One cuff made and starting the second. My husband will no doubt hear me counting to 27 in my sleep.
i really need help with the cuff. The body is 10×12 .a d i’m not really sure where to start the cuff. can you please help me.