Making Christmas Cards with Yarn
It’s Katelyn here, I am taking over the blog post for today to share with you something that I do every year for the holiday. I love to be crafty and while I spend most of my time knitting and crocheting I do like to dabble in some other crafts as well. One of the things that I try to do each year is make our own Christmas cards, and when possible I add yarn! Check out these Christmas cards I made the other year and make up a batch to send out to your list this year!
Disclosure: This page may contain affiliate links which help me cover the cost of publishing my blog. Should you choose to make a purchase, at no additional cost to you, I may earn a small percentage of the sale.
Making Christmas Cards with Yarn:
The idea for this Christmas card all started when I was working on some snowflake garland, a FREE Red Heart pattern, and thought that I could use the pattern in a smaller scale for a great embellishment. I held on to that idea and remembered it when I was starting to make my Christmas cards.
I always have on hand a pack, or two, of the card blanks that you can get at your local craft store. I really like the 3×5 version, which is what I used in this sample, but you could gladly use the 5×7 as well. Cutting three stripes of holiday scrapbooking paper I was able to cover the front of the card. I made my stripes equal in size and used three different papers. To get the paper to stick to my card I used double sided tape. Checking out the scrapbook isle there are tons of different materials that you can pick up but I went with tape since it was easy and something that I already had. When it needed a little something extra on the front to give it a finished feel I remember the snowflakes that I had just made.
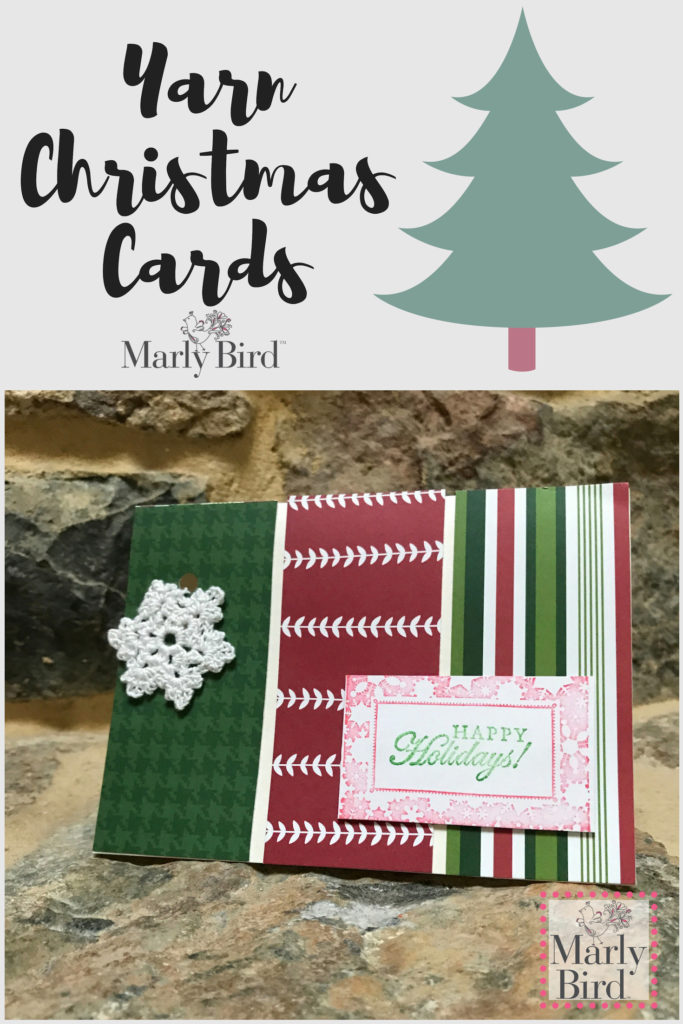
The snowflake pattern calls for worsted weight yarn and I knew that would be too large to put on a card. I grabbed some crochet thread in white and started to work the same snowflake pattern on a much smaller scale. After making all of my snowflakes I punched holes into the front of the card so that I could tie the snowflake to the card. Glue would work to hold your crochet embellishments to the front of your card but I wanted them to be removable. I added an ornament hook into each card so that they could cut off their snowflake and hang it on the tree if they wanted to.
Grabbing some of my holiday stamps I put “Happy Holiday’s” on the front of the card and then another stamp on the inside to sign our names. Check your scrapbook isle to see what other things you could put on the front of your card. NOTE: keep in mind that the card can’t be too heavy or thick or it won’t go through the machine at the post office and you will have to pay more than just one stamp. How do I know? One year I wanted to put a pompom (a small finger wrapped one) on top of a tree to be my star only to find out it was going to be over a $1 to send them out in just postage! Take your sample card to the post office and ask them if it will cost more to ship it. Otherwise you will get all of your cards returned or the burden will be put on the person receiving the card to pay the extra money before they can have it delivered. Don’t forget if you are making your own cards to put the date on the back just incase anyone hangs on to them!
Materials:
- 3×5 Card Blanks (you could also use 5×7)
- Scrapbook paper
- Double Stick Tape
- Paper cutter (or ruler and scissors)
- Crochet thread
- Size B crochet hook
- Holiday Stamps
- Hole punch
- Other embellishments
Other Card Ideas:
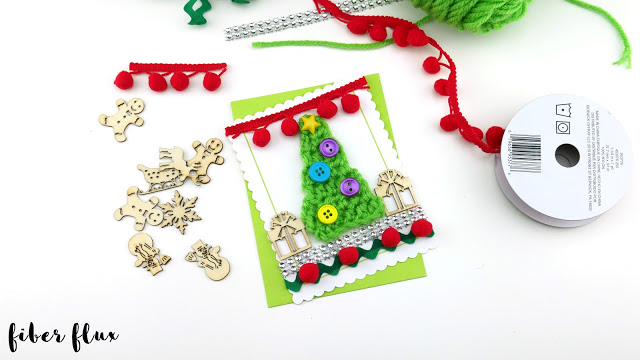
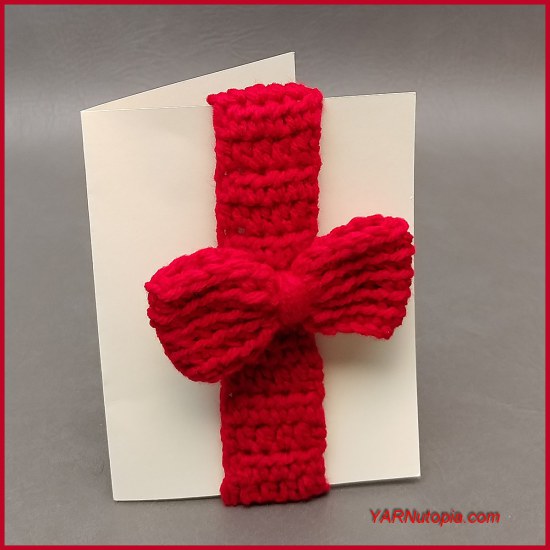
Looking for some other card ideas? Check out these blog posts from some of the Red Heart Joy Creators.
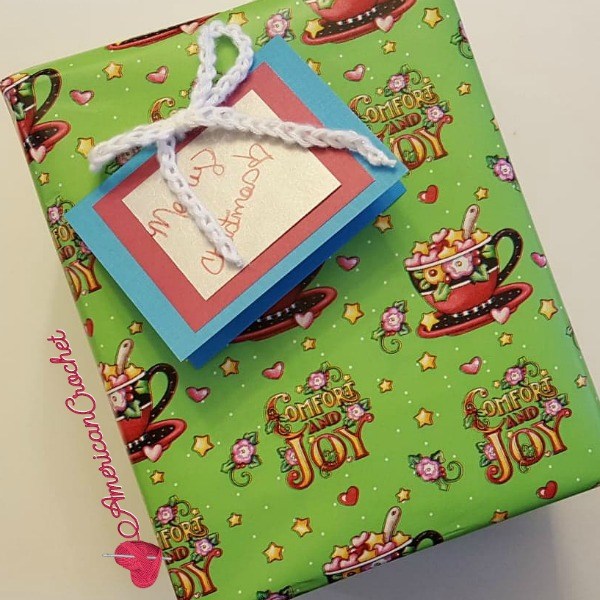
American Crochet- Holiday Gift Tag
Also on the Blog:
Categories: Crochet, Dibble Dabble Inspiration

