
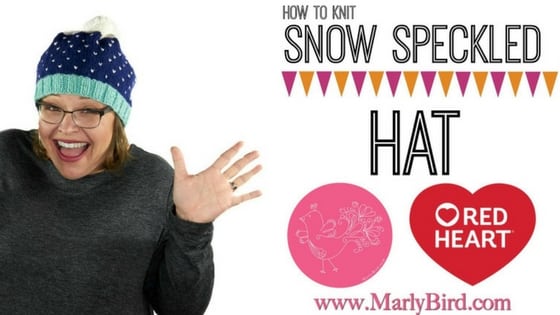
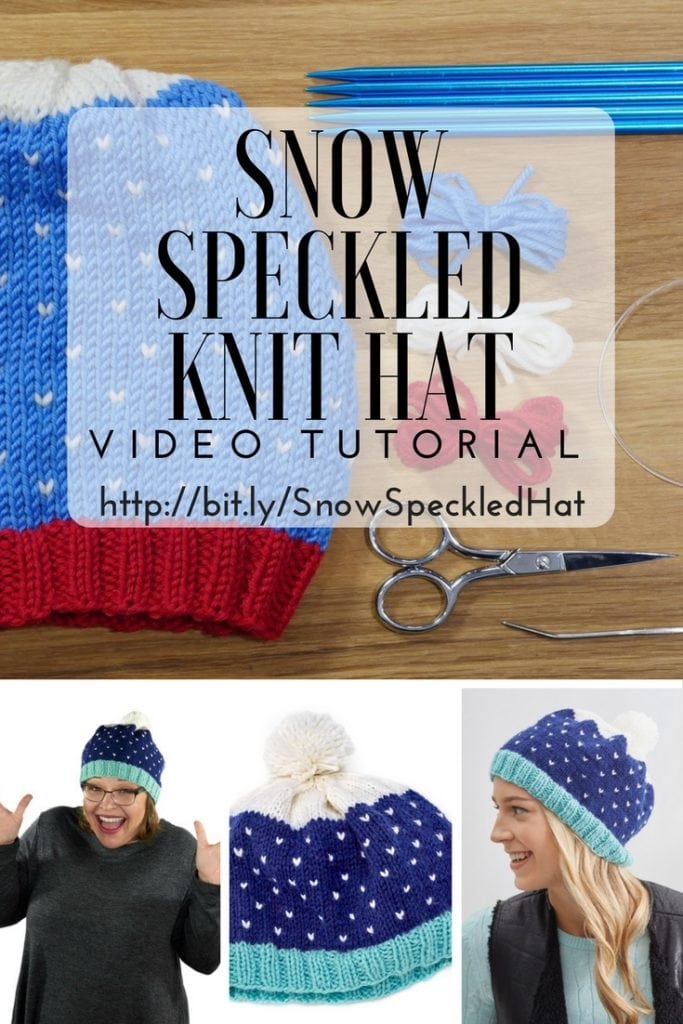
Knitting the Snow Speckled Fair Isle Hat with a Video Tutorial
Learn a new technique making this beautiful Snow Speckled Fair Isle Hat. It is a free pattern from RedHeart.com and there is a free video tutorial on the Marly Bird YouTube Channel!
You will learn:
- How to do the long tail cast on,
- Join to work in the round,
- How to use circular needles,
- How to do 2 x 2 ribbing,
- How to tighten up the knits and purls,
- How to change colors,
- How to knit stranded (fair isle) knitting,
- How to shape a hat,
- How to use double pointed needles,
- How to finish the final stitches on the top of a hat,
- and how to weave in ends.
*This post contains affiliate links. By clicking on one of these links and making a purchase a small portion of your purchase will go to the blog, while the price you pay does not change. Thank you for your support of the blog.*
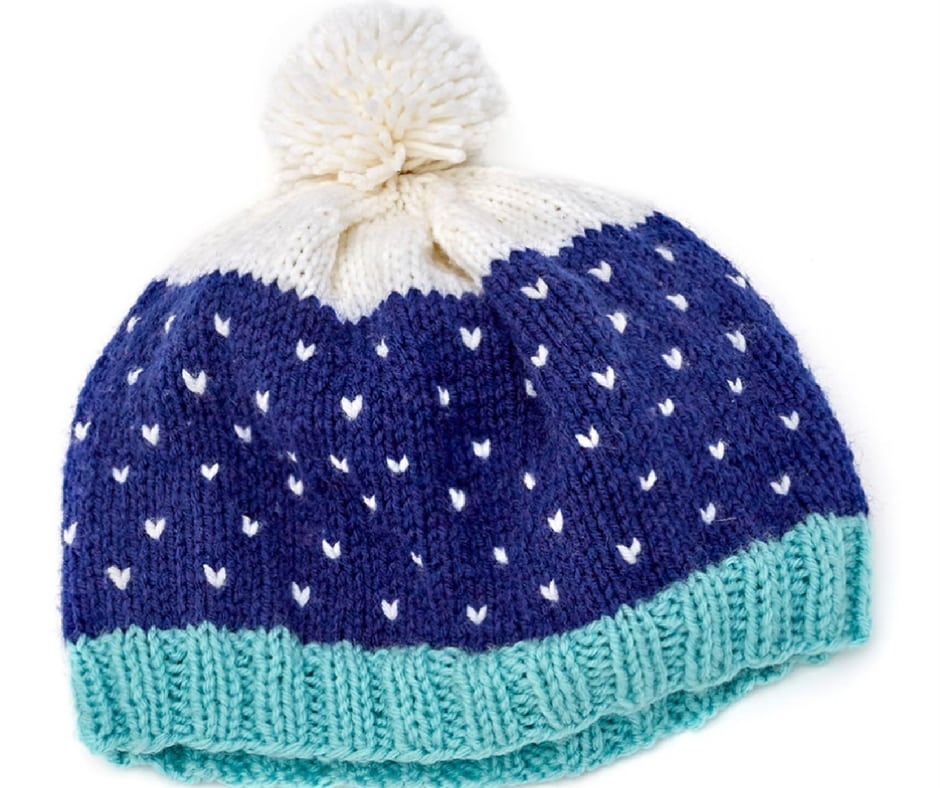 Snow Speckled Fair Isle Hat:
The simple speckled pattern of this Fair Isle Hat is the perfect project to get started on your Fair Isle journey. This pattern really gets me into the Holiday and winter season. Join me as I walk you through how to knit Fair Isle and how to complete this beautiful hat in time for the cold weather that is coming.
In my video I demonstration how to work Fair Isle with one hand, dropping and picking up the working yarn. As I work through the pattern I also show you how to work this Fair Isle Hat using two hands. This is my preferred method and makes the process much quicker for me.
Fair Isle Knitting:
Fair Isle knitting is one of the techniques that I see people very interested in but also very timid about. Breaking it down fair isle a style of knitting that traditionally uses only two colors per row. Typically it makes a geometric pattern in the knitting. Unlike intarsia the unworked color of the row is carried along the wrong side of the project as a float.
Because you will be carrying the yarn on the wrong side of the project you will want to make sure that you don’t pull the yarn too tight. Pulling to hard on the yarn could cause your stitch in the row below to disappear.
Snow Speckled Fair Isle Hat Materials:
- Downloaded Copy of the the Snow Speckled Hat by Erin Kate Archer
- RED HEART® Super Saver®: 1 skein each 505 Aruba Sea A, 387 Soft Navy B and 311 White C
- Susan Bates® Circular Knitting Needles: 4.5mm [US 7] 16″ (40.6cm) long
- Susan Bates® Double-Pointed Knitting Needles: 4.5mm [US 7]
- Stitch marker or make your own stitch markers
- Yarn needle
Designer Tips:
For my sample in the video I used my NEW yarn Chic Sheep, which will be available online from JoAnn’s and Red Heart in November. I also used the recommended size 7 circular needles.
In the video you will see that I made a sample in the adult medium size, casting on 80 stitches. What you didn’t see is that I didn’t do what I tell everyone that they should do, I didn’t swatch! Do as I say and not as I do or you could end up like me and have a smaller than intended hat when you finish.
As I worked with my worsted weight Chic Sheep yarn and my size 7 needles I was getting 21 stitch per 4 inches compared to the pattern calling for 16 stitches per 4 inches. Read below for some tips on knowing what your swatch is telling you.
When you start this pattern you will work in a 2 by 2 ribbing. As you work and transition between the knit and purl stitches be sure to give an extra tug on the last stitch to help keep the knit rows looking clean.
Working through this pattern you will be using DPN (double point needles). My biggest tip when using DPNs is to make sure that you pull the first and last stitch tight as you transition between needles. This will help to eliminate the ladder that some people get in their projects.
Gauge Swatch:
Making a gauge swatch is always important to understand how the yarn will behave with your needles. What happens to the swatch after you block it will tell you a lot about how it will act while wearing the piece.
Although many people skip making a gauge swatch, when making something that needs to fit like our hat it is best to test your materials first. If I would have done so I would have know that my hat was going to come out too small.
As mentioned above my gauge was 21 stitch per 4 inches but the pattern only wanted 16 stitches per 4 inches. Looking at the calculations you will see that my 21 stitches puts 5 extra stitches in every 4 inches. This may not seem like a lot in only a 4 inch swatch but over the whole project those stitches will add up to multiple inches.
In order to correct my swatch I should have gone up to a larger needle size and made a second swatch. By going to a larger needle my stitches will also become larger. This means that I will be getting fewer stitches to the same amount of space, getting me closer to the 16 stitches per 4 inches called for in the pattern.
If you were getting a number smaller than the 16 stitches called for you would need to decrease your needle size to work more stitches into your swatch.
Pom Pom:
Pom Poms are everywhere! This had includes a pom pom in the pattern but for my sample I did not include one. If you are interested in learning how to make your own pom pom you can watch my previous video showing you how to make your own.
How to make pom poms with the Clover Pom Pom Maker.
Video Tutorial:
Also on the Blog:
Categories: Free Patterns, YouTube Video Tutorial


How did you join the yarn to make it in the round?