
The toe and foot are complete, we mastered german short row heel, now let’s work on the leg and cuff! This is part 3 of 3 of the My First Toe Up Knit Sock pattern by Marly Bird. This free toe up knit sock pattern is part of the 2020 sock-along event that is meant to teach you the basics (and some valuable tips) for making toe up socks.
The sock-along is for knitters and crocheters. That’s right, you can also make toe up crochet socks! Looking for the My First Toe Up Crochet Sock by Rohn Strong? Get crochet toe up sock pattern here!
PURCHASE THE AD FREE PDF
I usually don’t make the Ad Free PDF available for purchase until an event is over. But many of you have asked for it to be provided early so…here is the knit version 🙂

Thanks for your support!
Just a reminder, the pattern will always remain free here on my website and you do not need to purchase the Ad Free PDF to participate in the sock-along or to get the pattern. But I understand having it makes it easier to follow along.

MEASUREMENTS
FINISHED MEASUREMENTS
To Fit Size
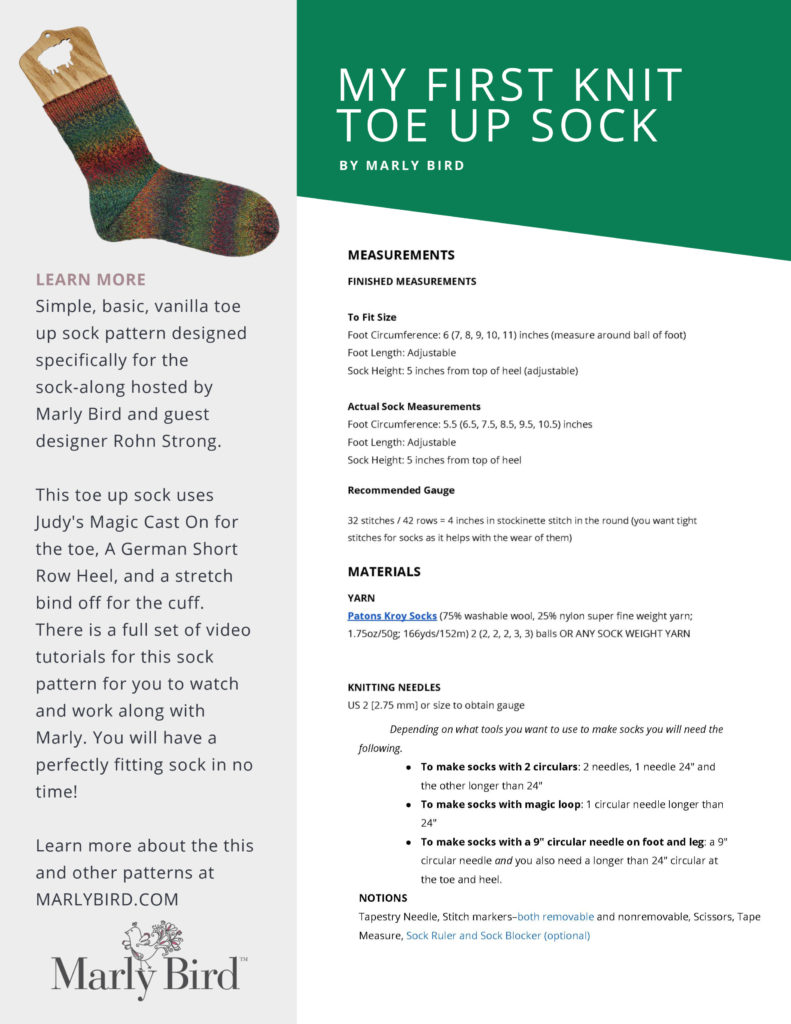
Foot Circumference: 6 (7, 8, 9, 10, 11) inches (measure around ball of foot)
Foot Length: Adjustable (measure from heel to toe)
Sock Height: 5 inches from top of heel (adjustable)
Actual Sock Measurements
Foot Circumference: 5.5 (6.5, 7.5, 8.5, 9.5, 10.5) inches
Foot Length: Adjustable
Sock Height: 5 inches from top of heel
Recommended Gauge
32 stitches / 42 rows = 4 inches in stockinette stitch in the round (you want tight stitches for socks as it helps with the wear of them)
MATERIALS
YARN
Patons Kroy Socks (75% washable wool, 25% nylon super fine weight yarn; 1.75oz/50g; 166yds/152m) 2 (2, 2, 2, 3, 3) balls OR ANY SOCK WEIGHT YARN
NOTE: we will talk about how to make the socks the same size and Marly wants to make sure the larger sizes have a nice length at the leg which is why they require 1 ball more.
KNITTING NEEDLES
US 2 [2.75 mm] or size to obtain gauge
Depending on what tools you want to use to make socks you will need the following.
- To make socks with 2 circulars: 2 needles, 1 needle 24″ and the other longer than 24″
- To make socks with magic loop: 1 circular needle longer than 24″
- To make socks with a 9″ circular needle on foot and leg: a 9″ circular needle and you also need a longer than 24″ circular at the toe and heel.
NOTIONS
Tapestry Needle, Stitch markers–both removable and nonremovable, Scissors, Tape Measure. Sock Ruler and Sock Blocker (optional)
❤️Check out special deals and great items in our Sock Must Have Round Up❤️
SPECIAL ABBREVIATIONS
GSR: German Short Row
LLM1: Left Lifted make-one (M1) increase
PM: place marker
RLM1: Right Lifted make-one (M1) increase
SM: slip marker
W&T: wrap and turn
SPECIAL STITCHES
GSR: these short rows are worked in such a way that you get a ‘double stitch’ in place of a traditional w&t short row.
- GSR Right side: bring the yarn to the front BETWEEN the needles, slip the stitch from the left needle to the right needle purlwise with the yarn in front pull the yarn to the back of the work OVER top of the right needle. This will distort the stitch making it look as if there are 2 stitches instead of 1. This is called the ‘double stitch’. With yarn in back begin knitting.
- GSR Wrong side: Slip the stitch from the left needle to the right needle purlwise with yarn in front, pull the yarn to the back of the work OVER TOP of the right needle. This will distort the stitch, making it look as if there are 2 stitches instead of 1. This is called the ‘double stitch’. Don’t forget to bring the yarn to the front BETWEEN the needles to begin purling.
Continue in this fashion as specified in your pattern, creating your ‘doubled’ stitches.
To finish the short rows simply knit or purl the double stitch together.
LLM1: Insert left needle tip into the left leg of the second stitch directly under the stitch on the right hand needle (the grandmother stitch), knit it through the back leg. (1 stitch increased)
RLM1: Insert right needle tip into the right leg of the stitch directly under the stitch on the left hand needle (the mother stitch), lift the leg onto the left hand needle and knit it. (1 stitch increased)
W&T: Knit row—with yarn in back, slip next st purlwise onto right hand needle, bring yarn to front of work, return slipped st to left hand needle, bring yarn to back of work, then turn work. Purl row—with yarn in front, slip next st purlwise onto right hand needle, bring yarn to back of work, return slipped st to left hand needle, bring yarn to front of work, then turn work.
Hide Wraps: Knit row—Pick up the wrap from the front with the right hand needle and knit together with the stitch it wraps.
NOTES
Whether working on 2 circulars or on magic loop, the stitches are always divided on two needles. Needle 1: instep stitches; Needle 2: sole stitches. When the end of one needle has been reached, rotate the work so the stitches just worked are on the bottom. Move the bottom stitches to the cord and the unworked stitches to the next needle and continue on to work in the round.
⭐️ indicates extra explanation of instructions
???? indicates video tutorial available
PATTERN CONTINUES HERE
???? If you need part 1 of the 3 part instructions click here.
???? If you need part 2 of the 3 part instructions click here.
LEG AND CUFF
???? Watch video for part 3, leg and cuff: https://youtu.be/9211lm9R_4Q
Continue knitting all stitches around the sock until leg measures 8” [20.3 cm] or desired length of leg before 1” [2.54 cm] cuff.
⭐️The leg length measurement is customizable. Note: The beauty of toe up socks is once the foot and heel are complete, you can use up all the remaining yarn on the leg of the sock.
⭐️The leg of the sock should have some negative ease or it will slouch down into the shoe when worn.
Once the leg measures desired length, work 1×1 ribbing for 1” [2.54 cm].
Bind off using the stretchy bind off as follows
- Work 2 stitches on left hand needle in pattern
- Insert left hand needle into front leg of 2 stitches on right hand needle
- Knit the stitches together. Leaves one stitch remaining on right hand needle
- Work next stitch on left hand needle in pattern
- Repeat from #2 to last stitch of round.
- Fasten off.
Weave in ends.