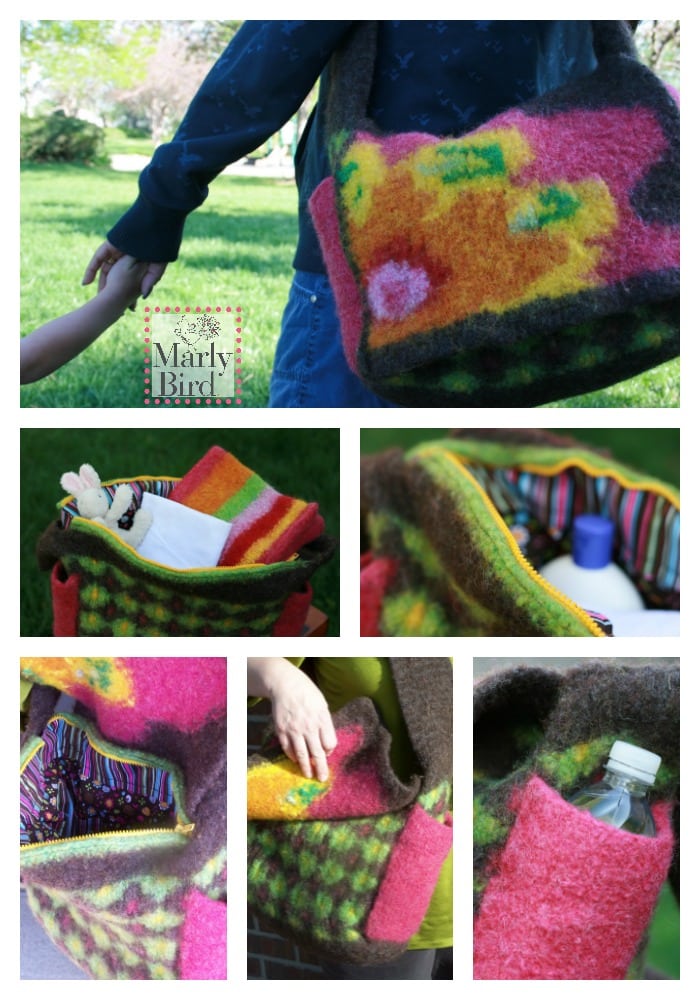
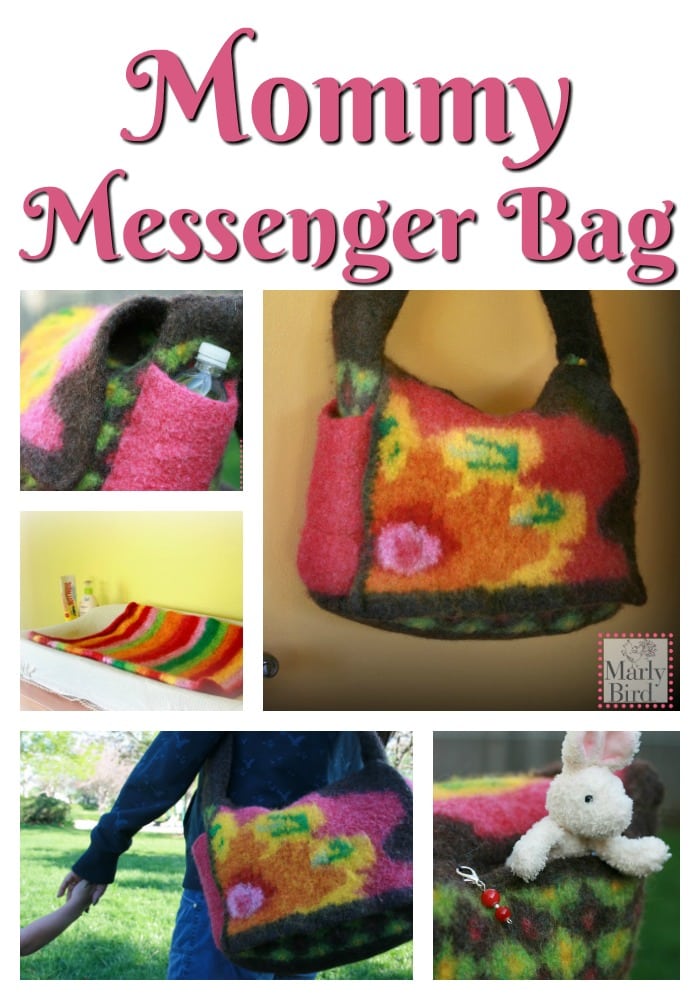
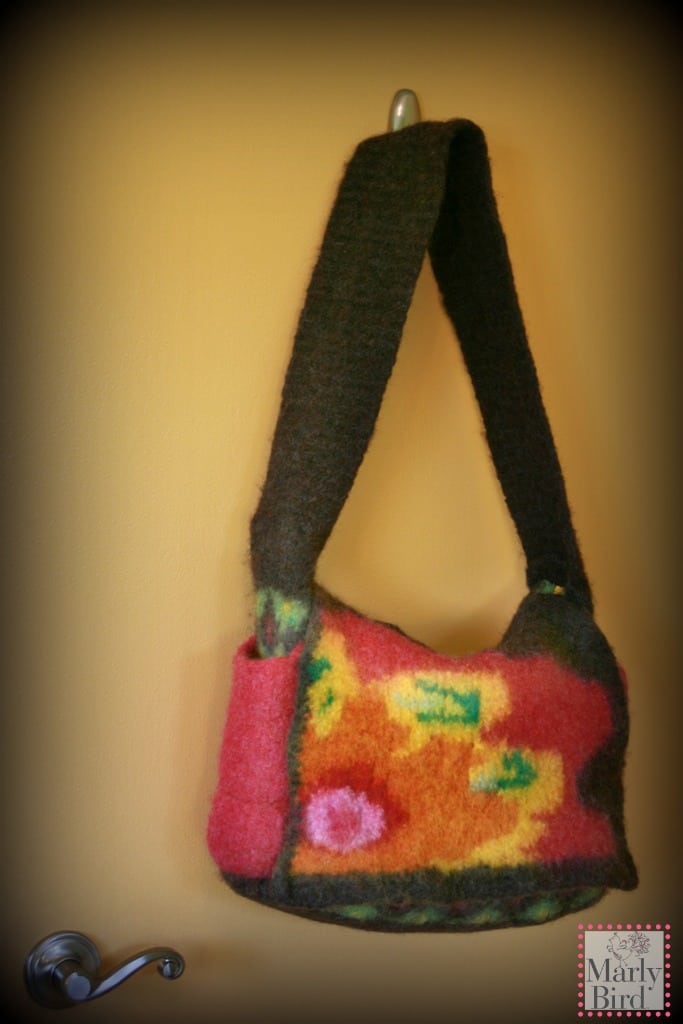
Knit Mommy Messenger Bag
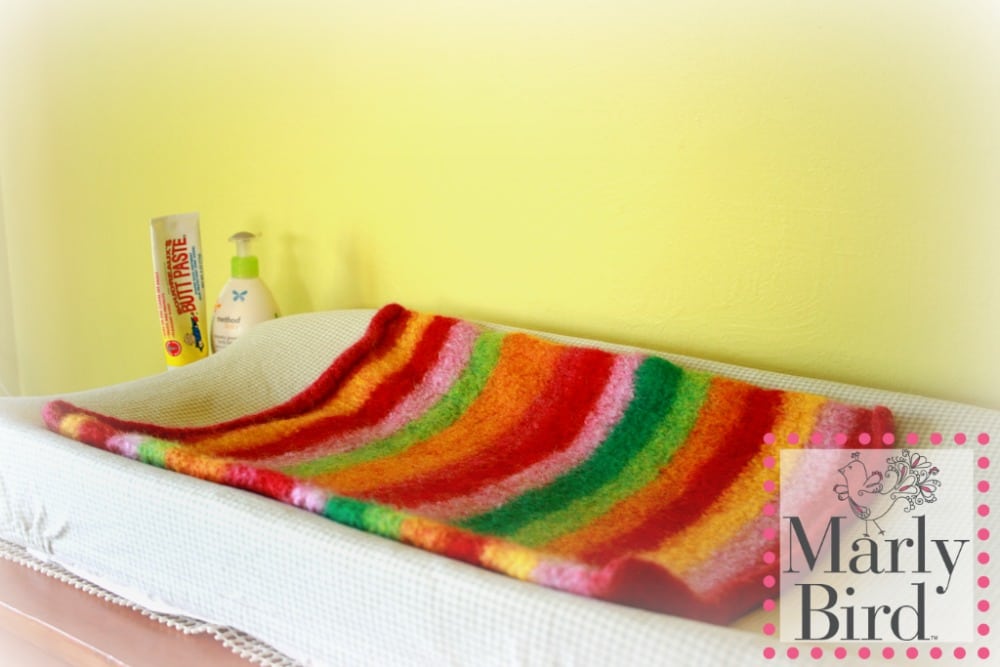
I even made a diaper changing pad to go with the bag!
I hope you will give this bag a try and be sure to share with me your results! #MarlyBird on social media
Queue it up and Like the Pattern on Ravelry
A paid for version of the pattern will be available on Ravelry soon for those of you who want a pattern without ads.
*This post contains affiliate links. By clicking one of the links and making a purchase a small portion will go to support the blog. The price that you pay is not changed. Thank you for your support of the blog.*
Need help with knitting? You can find help with basic knitting, fair isle knitting and intarsia on the MarlyBirdYouTube Channel. By the way, have you subscribed to my YouTube Channel yet?
Free Knit Pattern Mommy Messenger Bag
FINISHED MEASUREMENTS
Post-felted: Width: 16.5 inches; Height: 12 inches
MATERIALS
Yarn–Kraemer Yarns Mauch Chunky [60% New Zealand Wool 40% Domestic Wool; 120 yards/110m per 100g skein];
- 3 balls: #y1010 Walnut (MC), #y1006 Kiwi (CA)
- 2 balls: #y1030 Rhubarb (CB)
- 1 ball: #y1012 Butternut (CC), #y1009 Pumpkin (CD), #y1024 Cotton Candy (CE), #y1007 Strawberry (CF), #y1013 Water Chestnut (CG), #y1017 Cucumber (CH), #y1026 Apricot (CI)
Needles–US #13/9.0mm 40 inch circular needle, single straight needle for 3-needle bind off
Hook–US N/9mm
Notions
- Stitch markers
- Yarn bobbins
- Tapestry needle
- 16 inch Heavy duty zipper, or size to fit
- 9 inch All purpose zipper, or size to fit
- 2 magnetic snaps for flap(optional)
- 2 yards fabric for lining
- 1 heavy duty shower liner
- Matching thread
- Invisible Thread
- Sewing needle
- Crochet Cotton
GAUGE
12 sts and 14 rows = 4 inches in St st pre-felt
PATTERN NOTES
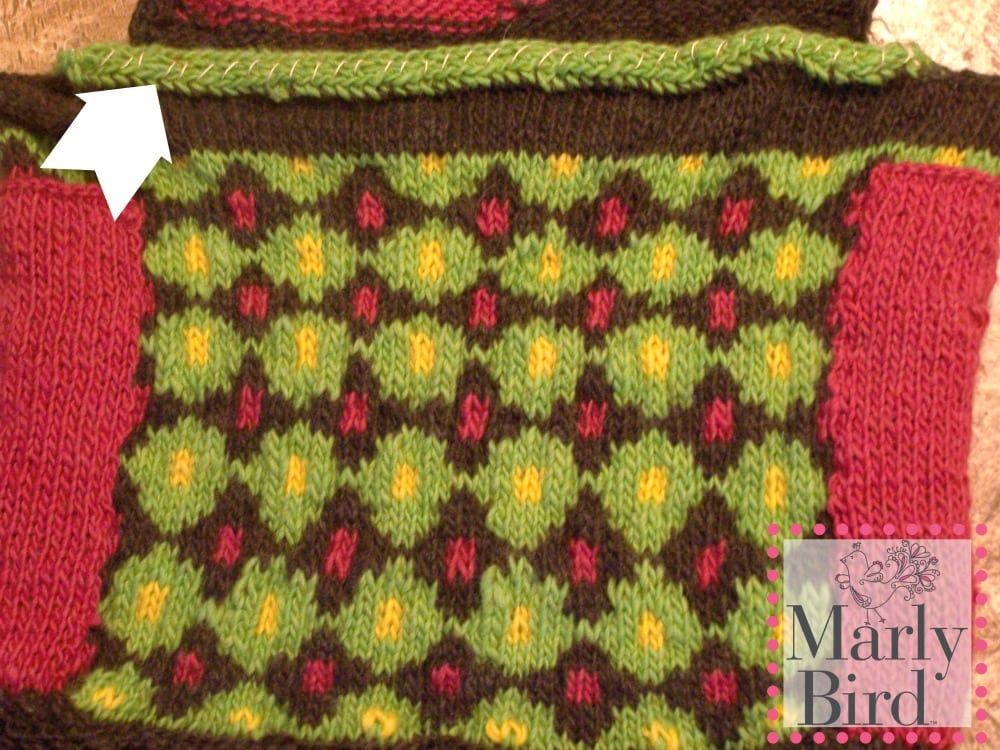
Body of bag is worked using fair-isle technique.
Flap of bag is worked using intarsia technique.
Knit Mommy Messenger Bag PATTERN
Bottom of Bag
Using MC, cast on 60 sts.
Work in garter stitch for 40 rows (20 ridges).
Bind off all sts knitwise.
Body of Bag
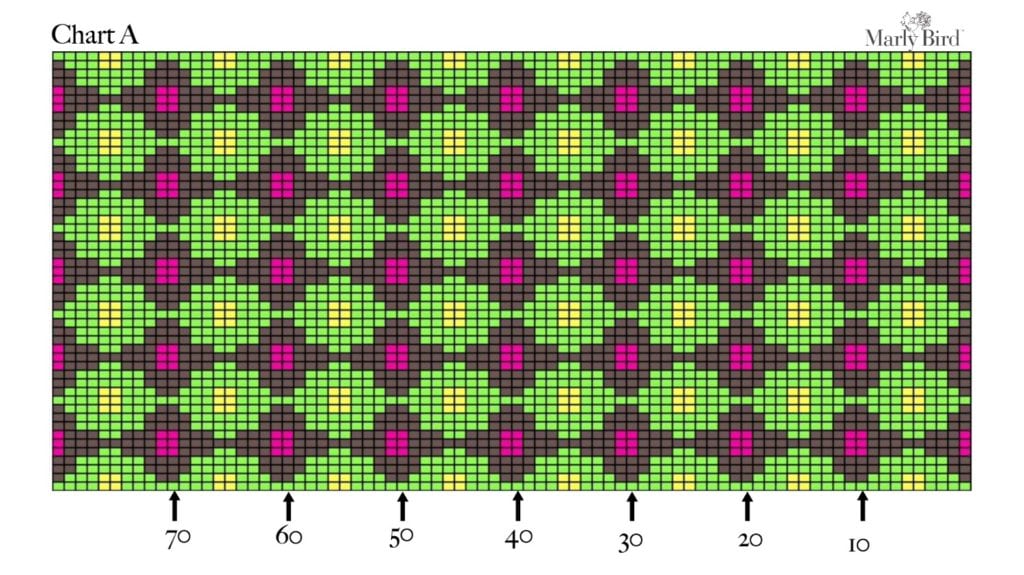
Using MC and beginning on long side of bag, * pick up 60 sts, pm, working across short side, pick up 20 sts, pm; repeat from * once more: 160 sts.
Working in St st, follow Chart A.
When last round of chart is complete, using MC knit 5 rnds.
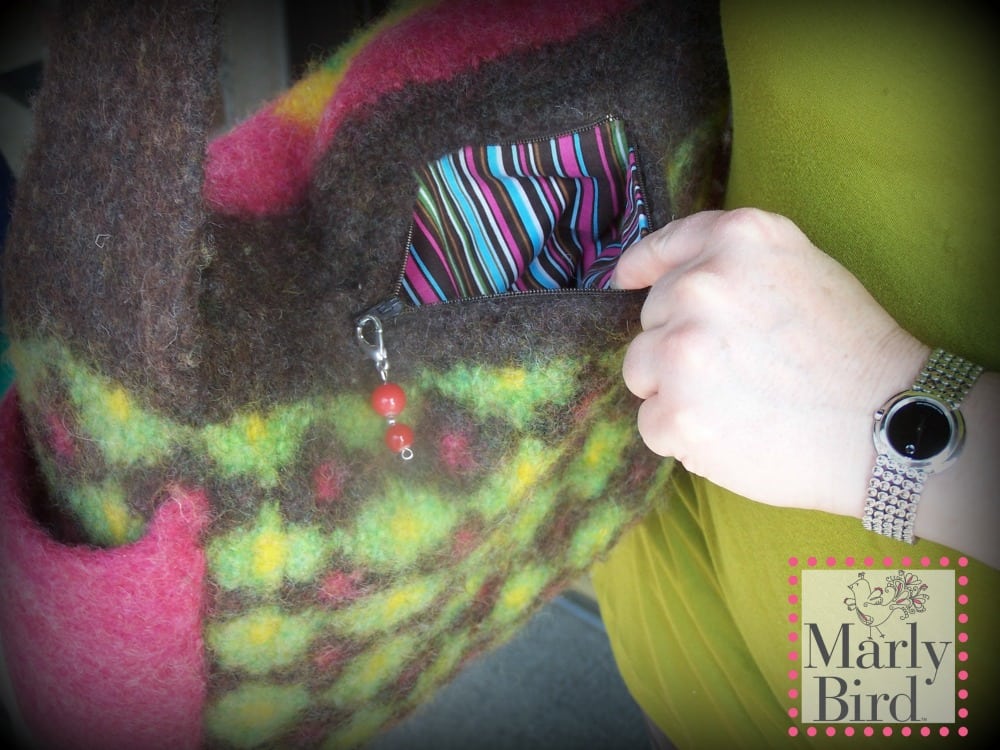 Outside Zipper Pocket Opening
Rnd 1: K15, bind off next 30 sts, knit around.
Rnd 2: K15, cast on 30 sts, knit around.
Rnd 3: Knit around.
Rnd 4: Purl around.
Bind Off Rnd: * With CB, cast on 3 sts and place on left needle; [k2, K2tog (last st of CB and first st of MC from bag); slip the 3 sts just completed back onto the left needle] across to marker (I-cord bind off); bind off I-cord sts; with MC, bind off all sts to next marker; repeat from * once more.
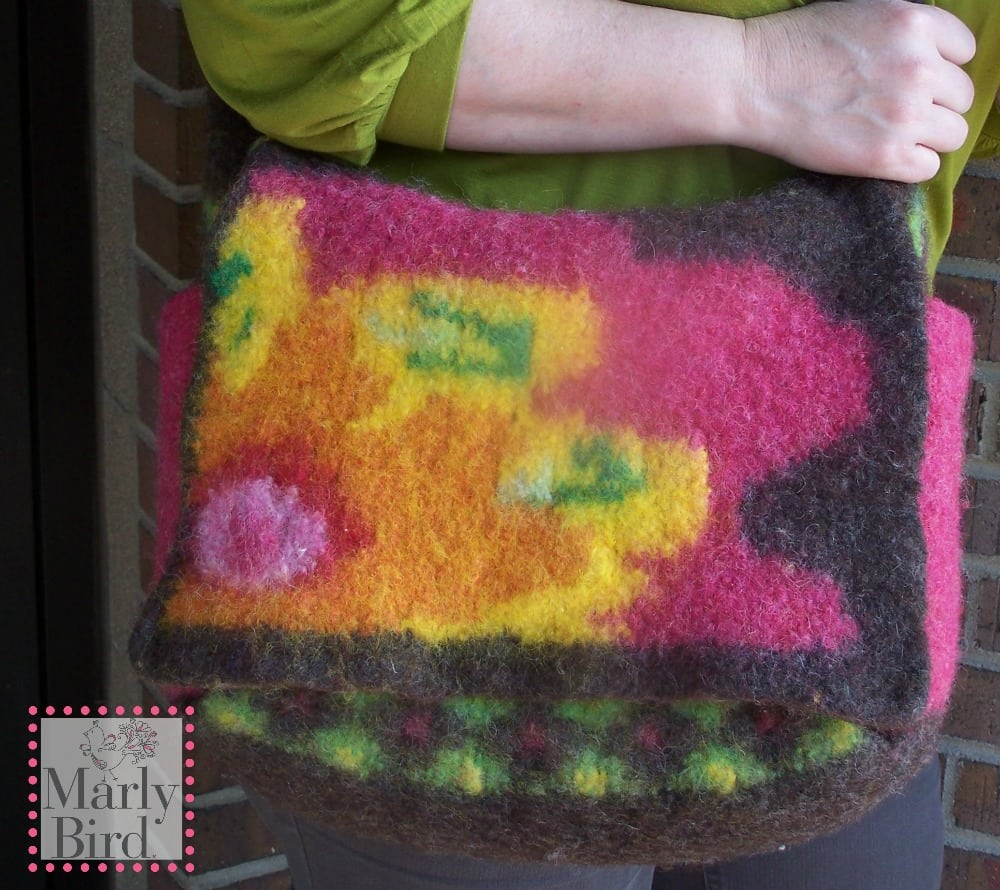 Flap
Flap
Using MC, pick up 54 sts in purl rnd, centered on long side of bag above zipper pocket opening.
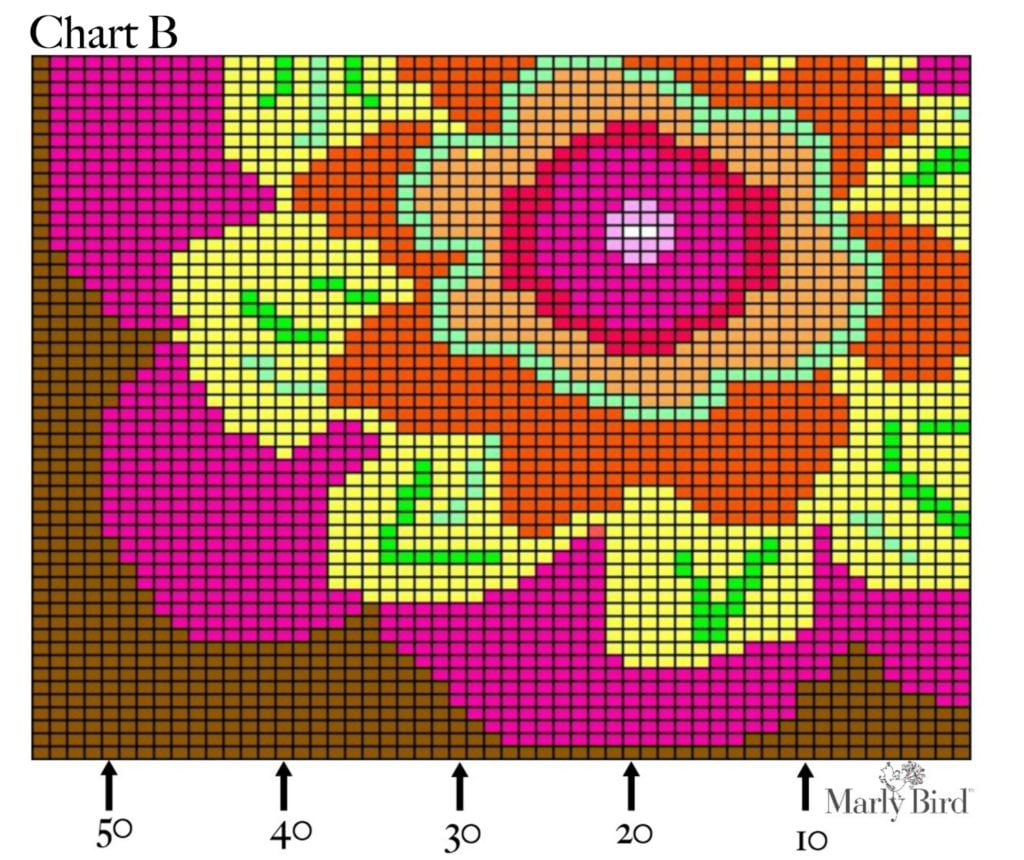
Working in St st, follow Chart B.
With MC, knit 2 rows
Bind off all sts knitwise.
With MC, work a single crochet edging around flap.
 Outside Bottle Pockets
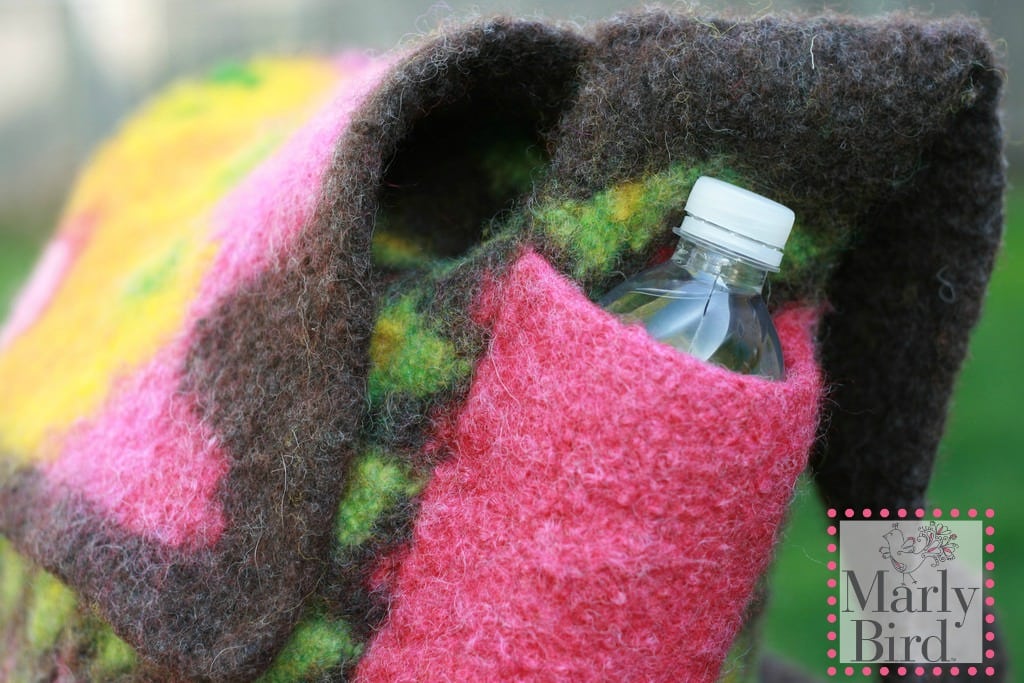
Using CC, pick up 20 sts along bottom edge of one short side of bag. Work in St st until piece measures 15 inches or until 3 inches shorter than bag, ending with a WS row.
Next Row: K2tog, knit across to last 2 sts, K2tog.
Bind off all sts knitwise.
Using CC, stitch the pocket to the side of the bag.
Repeat on opposite short side.
 Strap
Strap
Using MC, pick up 20 sts along the top of the short side where bound off. Work in Garter st until strap measures 40 inches; set aside.
With second strand of MC, pick up 20 sts along the top of the opposite short side.
Next Row: Knit one row.
Use 3-needle bind off to join ends of strap.
 Changing Pad
Using double strands of any left over color, cast on 50 sts. Work in St st, changing colors every 5 rows until the piece measures 30 inches.
Bind off all sts knitwise.
With MC, work a single crochet edging around flap.
Felting Preparation
Weave in all ends.
Use crochet cotton yarn to sew the top of the bag under flap together to help prevent over-stretching in the wash. Sew the pocket opening in the back of the bag. Do not sew side pockets to bag.
Felt
Place bag and changing pad in separate mesh laundry bags or pillows.
Set washing machine to hot wash, cold rinse, and longest cycle. Add small amount of mild detergent.
Place bags and a pair of jeans in the washer.
Run through wash cycle until pieces have felted to desired size, checking frequently. Run rinse cycle then remove the tote from washer (DO NOT USE SPIN CYCLE).
Remove cotton thread from bag openings, cutting if necessary.
Shape bag by placing dry towels on the inside or over something of similar shape and size. I used a trash can that was the perfect size. 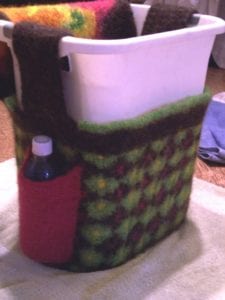
Shape side pockets with water bottles.
Allow to dry completely.
Knit Mommy Messenger Bag FINISHING
Bag Lining
When bag is dry, lay it flat on a double thickness of fabric. Leaving a 2 inch seam allowance on all sides, trace around the body of the bag (the body is the only portion being lined). Cut both thicknesses of fabric along tracing line. At this point you may want to add pockets to the lining.
Pin the two fabrics together with right sides facing. Using matching thread, seam up the sides and bottom of the lining leaving the top open and un-sewn. Press seams open.
Square the bottom of the lining by setting the lining down on its bottom end, allowing the corners to be pushed out. With a measuring tape, measure 3 inches (or the width of the base of your bag) across the bottom part of the triangular corners. Press the corners along this line, then fold them to bottom and press again. Tack to the bottom.
Fit the lining to the tote. With the tote wrong side out, place the sewn lining over the body of the tote with the right side facing out (like putting a pillow case over a pillow). Fold the top edge of the lining down to the edge of the i-cord bind off and pin the wrong sides of the lining together along the fold. Remove lining and press the folded edge together along pinned line.
Mini Pocket
 Cut a piece of fabric 12 inches long and the 1 inch wider than the width of the pocket opening at the back of the bag. With right sides facing, fold fabric with one side 1 inch longer than the other. Seam the sides of the pocket. Fold the opening of the pocket down one quarter of an inch with the wrong sides facing and press the folded edge. With the bag wrong side out, pin the pocket to the opening of the bag with the longer edge to the top of the pocket. Using matching thread and needle sew the pocket into place.
Once the pocket is in place, put the lining back over the bag and pocket. Pin the lining to the bottom edge of the I-cord bind off. Using invisible nylon thread and a sewing needle, backstitch the lining to the edge of the I-cord bind off of the bag. Turn bag right side out.
Zipper
Pin the longer zipper to the I-cord bind off. Using invisible nylon thread, backstitch the zipper in place.
Pin the shorter zipper to the inside of the pocket opening. Use invisible nylon thread and backstitch the zipper in place.
Lining Changing Pad (optional)
Fold the shower curtain liner in half twice (quadrupling the layers). Place the felted changing pad on top of curtain and mark 1” extra around the pad. Cut out the rectangle from the liner. Fold each side of the liner in approximately 1.25 inches towards the wrong side. Then pin the wrong side of liner to the wrong side of pad. Using sewing needle and thread that matches the pad, sew the liner to the pad. The pad is now water-proof.
