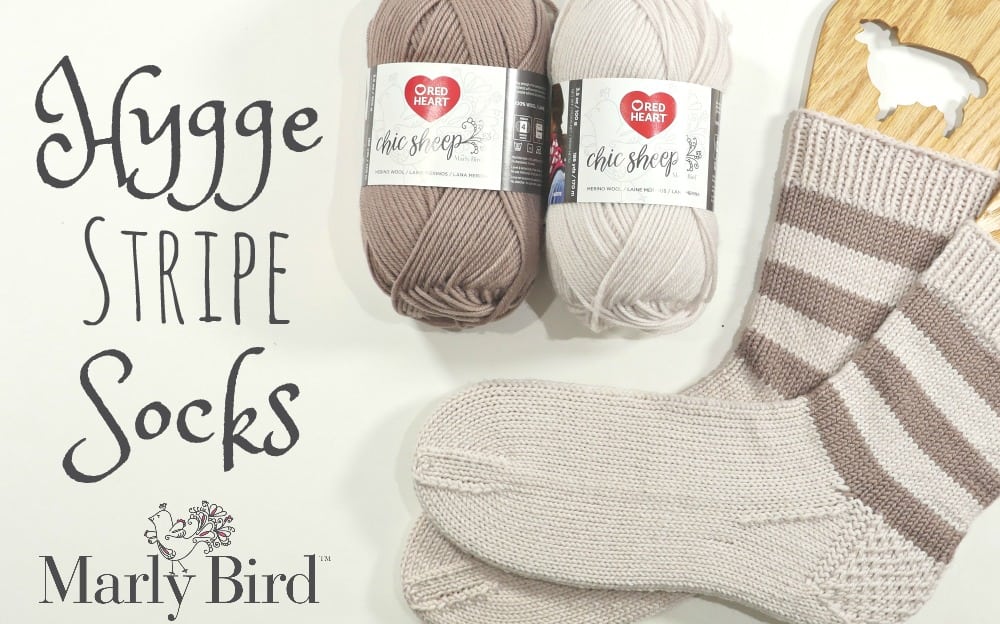
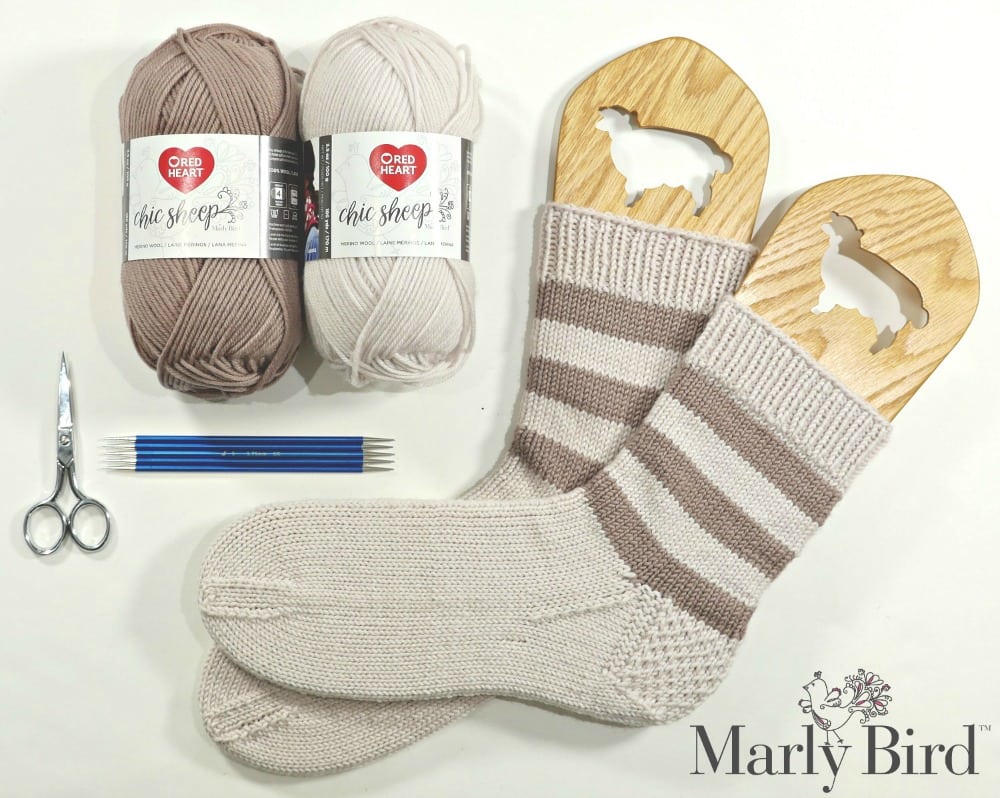
Hygge Stripe Socks with Chic Sheep by Marly Bird
Queue it up and Like the Pattern on Ravelry
*This post contains affiliate links. By clicking one of the links and making a purchase a small portion will go to support the blog. The price that you pay is not changed. Thank you for your support of the blog.*
Need help with knitting? You can find help with basic knitting, fair isle knitting and intarsia on the MarlyBirdYouTube Channel. By the way, have you subscribed to my YouTube Channel yet?
Hygge Stripe Socks with Chic Sheep by Marly Bird Finished Sock measures approx.
7 (8, 9)” [17.7 (20, 22.8) cm] circumference around foot.
Hygge Stripe Socks with Chic Sheep by Marly Bird MATERIALS
- Color A: Linen–2 balls
- Color B: Suede–1 ball
Needles–US #5/3.75mm set of 5 double pointed needles
Notions
- Removable Stitch marker
- Tapestry needle
- WIP Tube (as seen in video)
- Wooden Sock Blockers (as seen in video)
Hygge Stripe Socks with Chic Sheep by Marly Bird GAUGE
24 sts = 4″ (10 cm) Stockinette st. CHECK YOUR GAUGE. Use any size needles to obtain the gauge.
(4 Medium) RED HEART® Chic Sheep by Marly Bird™, Art. R170 100% Merino Wool available 3.5 oz (100 g), 186 yd (170 m) balls
Hygge Stripe Socks with Chic Sheep by Marly Bird NOTE
Watch Marly’s “My First Knit Socks on Double Pointed Needles” video series along with this pattern for thorough step-by-step instructions: https://www.youtube.com/watch?v=F2U8cJlMQIU
Cut yarn at the color change and weave in tails; do not carry yarn!
Hygge Stripe Socks with Chic Sheep by Marly Bird SPECIAL STITCHES
Ssk (slip, slip, knit) = Slip next 2 sts knitwise to right needle, insert point of left needle through front of sts, knit these sts together through back loop.
Hygge Stripe Socks with Chic Sheep by Marly Bird ABBREVIATIONS
k = knit; k2tog = knit next 2 sts together; p = purl; p2tog = purl next 2 sts together; st(s) = stitch(es); * or ** = repeat whatever follows the * or ** as indicated.
Hygge Stripe Socks with Chic Sheep by Marly Bird
PATTERN
Cuff
With Color A and using long tail cast on, cast on 40 (48, 56) sts onto 4 double pointed needles [10 (12, 14) sts on each needle].
Join round being careful to not twist cast on edge.
K 1 round. Mark fabric under last needle of round to indicate start of rnd.
Next round: * K1, p1; repeat from * around.
Repeat the last round until Cuff measures 2″ [5 cm].
Leg
Rnds 1-7: Change to Color B, continue evenly in Stockinette st (knit every across every needle of every round) for 7 rnds.
Rnds 8-14: Change to Color A, continue evenly in Stockinette st for 7 rnds.
Repeat rounds 1-14 once more then rnds 1-7 once again.
Leg of sock measures approx 6″ (15 cm) including Cuff at this point.
Heel Flap
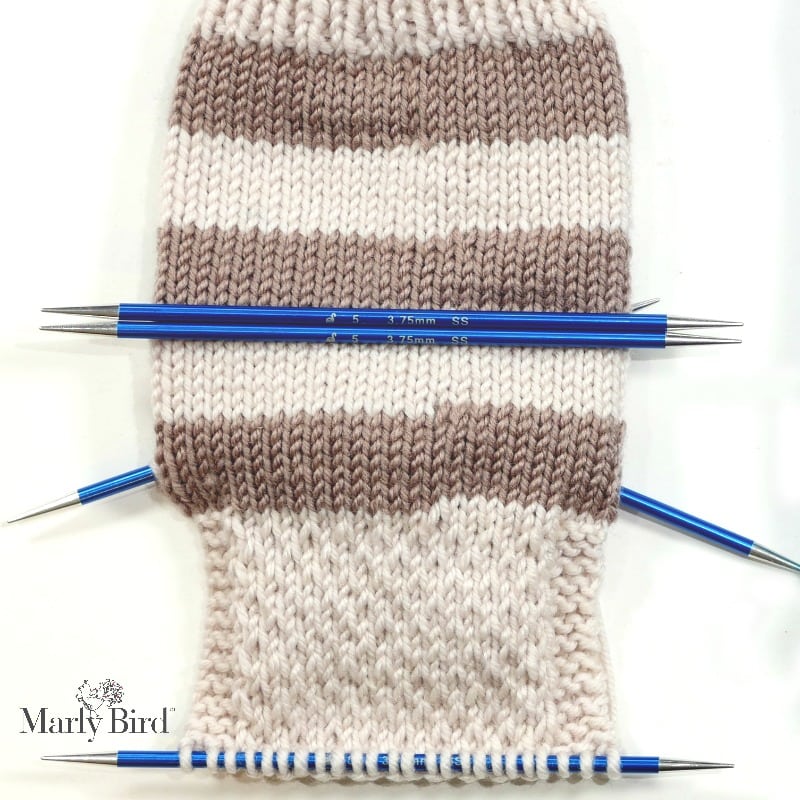
With color A, using Needle #4, knit across all sts on Needle #1.
You now have a total of 20 (24, 28) sts on one needle (these are the Heel sts) and the remaining sts 20 (24, 28) sts divided between the 2 remaining needles.
Turn work to face the wrong side, and begin working back and forth in rows across Heel sts only as follows:
Row 1 (wrong side): K3, p to last 3 sts, k3.
Row 2: K3, * with yarn in back slip 1 purlwise, k1; repeat from * to last 3 sts, k3.
Row 3: K3, p to last 3 sts, k3.
Row 4: K3, * k1, with yarn in back slip 1 purlwise; repeat from * to last 3 sts, k3.
Repeat these rows until 20 (24, 28) rows have been complete, ending on a row 4. There will be 10 (12, 14) Garter st ridges at each edge worked in Heel Flap.
Heel Turn
Row 1 (wrong side): Purl 11 (13, 15), p2tog, p1, turn – 19 (23, 27) total Heel sts, counting both Heel needles.
Note: Leave remaining sts unworked on left needle when turning.
Row 2: With yarn in back slip 1 purlwise, k3, ssk, k1, turn – 1 st decreased.
Note: There will be a small gap between the sts that form the Heel turn and the yet unworked sts on the needle.
Row 3: With yarn in front slip 1 purlwise, p to 1 st before gap, p2tog, p1, turn – 1 st decreased.
Note: The p2tog will close the gap.
Row 4: With yarn in back slip 1 purlwise, k to 1 st before gap, ssk, k1, turn – 1 st decreased.
Note: The ssk will close the gap.
Repeat Rows 3 and 4 until 12 (14, 16) total Heel sts remain.
All Heel sts are now on 1 needle. Slip half the Heel sts purlwise onto a spare needle.
Gusset
Note: if you don’t watch ANY video but one, I highly suggest that you watch this one video to see how to do the gusset.
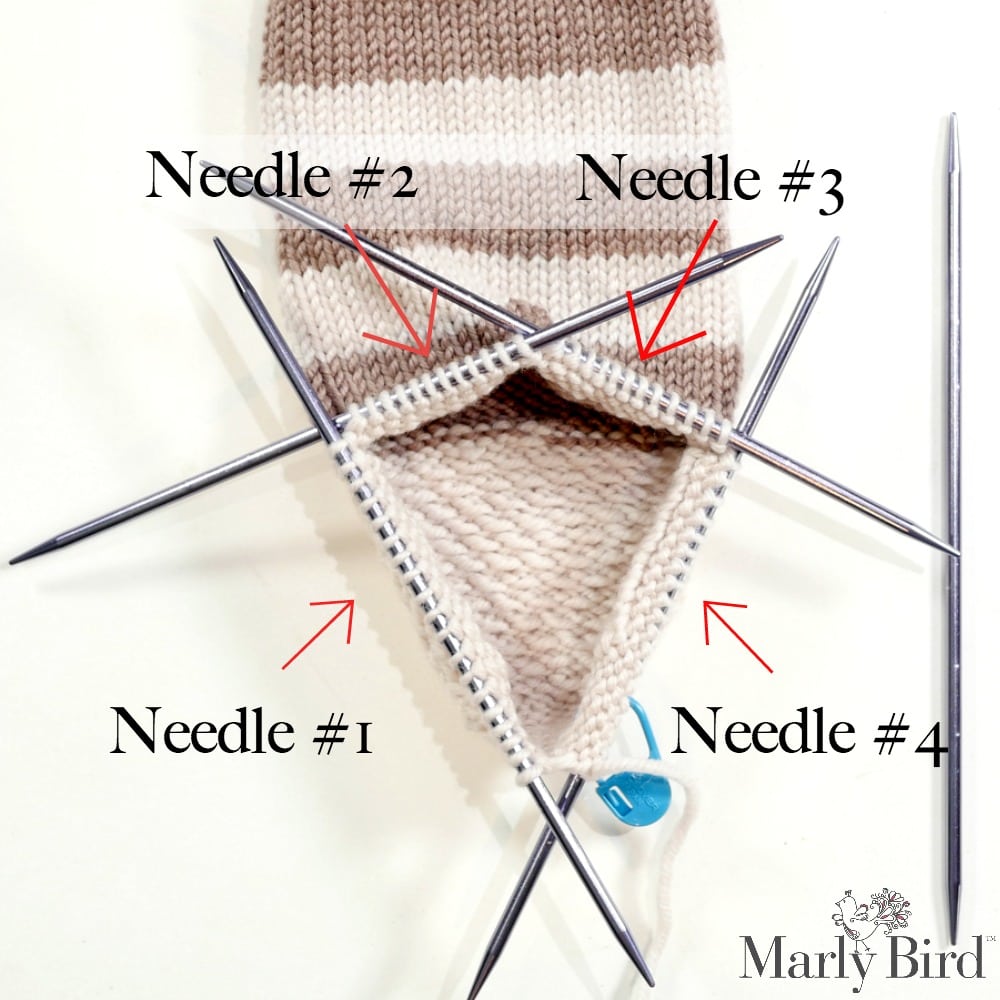
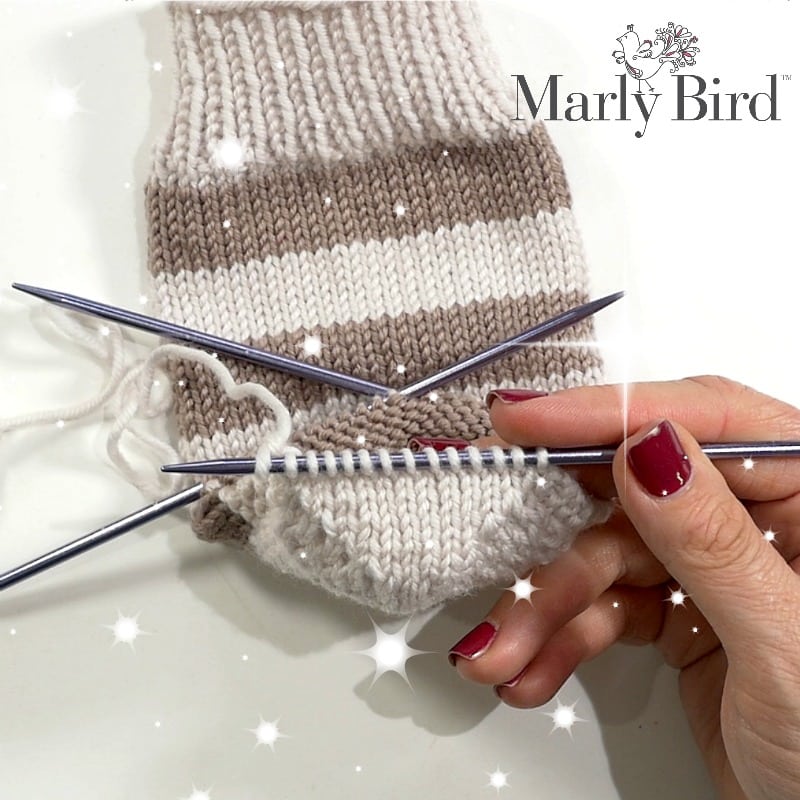
We now want to divide the stitches remaining on the heel flap onto two needles so that we can work in the round again. Do this by slipping half the number of stitches remaining onto a spare needle which is needle 5 at this point.
Pick Up Round for Gusset:
Needle 1: Using the needle to the left of the center heel (this is now needle 1), pick up and knit 10 (12, 14) sts from the side of the heel flap, then pick up 2 stitches at the top of the gusset (see video for help)
Needles 2 and 3: work across in stockinette stitch
Needle 4: using the spare needle, pick up 2 sts at the top of the gusset and 10 (12, 14) stitches down the side of the heel flap, then, WITH THE SAME NEEDLE, knit the remaining stitches on needle 5.
Now you have 4 needles with stitches on them and a 5th needle as the spare needle you use as your right hand needle– 18 (21, 24) sts on each Needle #1 and #4, 10 (12, 14) sts on each Needle #2 and #3.
Move marker to fabric just under Needle #4 to indicate start of rnd.
The beginning point of the round is NOW the center of the heel, so if you have been using a stitch marker to mark the 4th needle or the last needle of the round then you will want to move the marker to the needle on the needle to the right of the center heel (see image).
The goal now is to get all the needles to have the same number of stitches as they did when you cast on. Therefore, we will be decreasing the stitches on needles 1 and 4 every other round until all the they have 10 (12, 14) sts on them just like needles 2 and 3.
Set-up round:
Needle 1: Knit to the last 2 sts, ssk.
Needles 2 and 3: work across tin stockinette stitch
Needle 4: k2tog, knit to the end of the round.
Now you have 1 less stitch on needles 1 and 4 and you have eliminated (or drastically reduced) the gap at the top of the gusset.
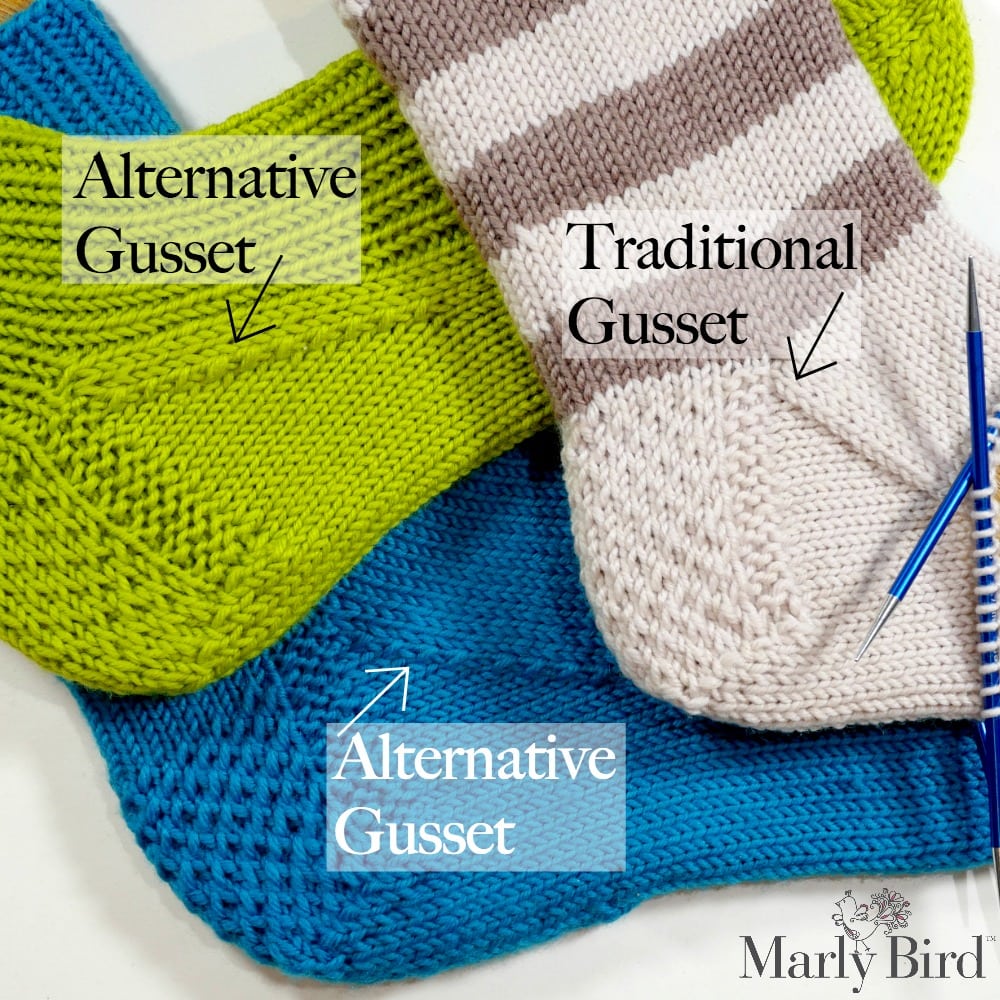
Next, choose either the traditional gusset or the alternative gusset for the next section, but choose only one! Either one will get the job done but you have a choice of how you want your socks to look.
TRADITIONAL GUSSET–the gusset decreases form an uninterrupted stockinette stitch line down the gusset (as seen on the Hygge Stripe Socks with Chic Sheep by Marly Bird)
Round 1:
Needle 1: Knit to the last 3 sts, k2tog, k1.
Needles 2 and 3: work across in stockinette stitch
Needle 4: K1, ssk, knit to the end of the round.
Now you have 1 less stitch on needles 1 and 4.
Round 2: Knit all stitches
Repeat rounds 1 and 2 until there are 10 (12, 14) sts on each needle, 40 (48, 56) sts total.
OR
ALTERNATIVE GUSSET–the gusset decreases are more visible and are a design feature (as seen on the blue or green socks)
Round 1:
Needle 1: Knit to the last 3 sts, ssk, k1.
Needles 2 and 3: work across in stockinette stitch
Needle 4: K1, k2tog, knit to the end of the round.
Now you have 1 less stitch on needles 1 and 4.
Round 2: Knit all stitches
Repeat Gusset Rounds 1 and 2 until there are 10 (12, 14) sts on each needle, 40 (48, 56) sts total.
Foot
Work evenly in Stockinette st around all needles until Foot measures 1½ ” (5 cm) less than desired Foot length measuring from the back of the heel. Or, here are some approximate measurements for different heel to toe lengths and shoe sizes
| Shoe Size Women | Heel to Toe Length in inches(approx) | Shoe Size Men | Heel to Toe Length in inches (approx) | |
| 5 | 7 | 6 | 7 1/2 | |
| 6 | 7 1/4 | 7 | 7 3/4 | |
| 7 | 7 1/2 | 8 | 8 | |
| 8 | 8 | 9 | 8 1/4 | |
| 9 | 8 | 10 | 8 1/2 | |
| 10 | 8 1/4 | 11 | 8 3/4 | |
| 11 | 8 3/4 | 12 | 8 3/4 | |
| 12 | 9 | 13 | 9 1/4 | |
| 14 | 9 1/2 | |||
| 15 | 9 3/4 | |||
| NOTE: sock should have negative ease, typically you want a finished sock length to be about 1/2 inch (1.27cm) shorter than the foot. |
Toe
Round 1:
Needle #1: Knit to 3 sts before end of needle, k2tog, k1.
Needle #2: K1, ssk, knit to end.
Needle #3: Knit to 3 sts before end of needle, k2tog, k1.
Needle #4: K1, ssk, knit to end.
– 1 stitch decreased on each needle, 36 (44, 52) sts total.
Round 2: Knit around.
Repeat Rounds 1 and 2 until there are 5 (6, 7) sts on each needle, 20 (24, 28) sts total.
Repeat Round 1 only until there are 10 (12, 14) sts total.
Knit across Needle #1 only. Working yarn is now at side of toe.
Slip all sts from Needle #1 purlwise onto Needle #4–5 (6, 7) sts on needle #4 now.
Slip all sts from Needle #3 purlwise onto Needle #2–5 (6, 7) sts on needle #2 now.
All sts are now on 2 needles and set up for grafting.
FINISHING
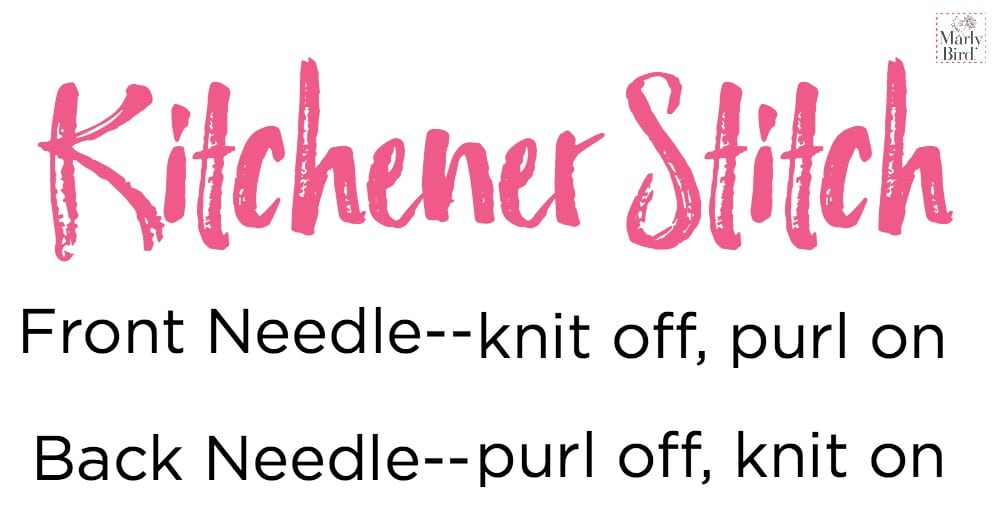
Graft Toe sts together using Kitchener st as follows:
Hold both needles together in your left hand, with wrong sides facing inward. Cut a long tail from the working yarn (about 4 times the width of the fabric to be joined), and thread tail into yarn needle.
Step 1: Insert yarn needle purlwise into first st on front needle and pull it through, leaving st on the knitting needle.
Step 2: Insert yarn needle knitwise into first st on the back needle and pull it through, leaving st on the knitting needle.
Step 3: Insert yarn needle knitwise into first st on front needle and pull it through, then drop this st off knitting needle.
Step 4: Insert yarn needle purlwise into first st on front needle and pull it through, leaving st on the knitting needle.
Step 5: Insert yarn needle purlwise into first st on the back needle and pull it through, then drop this st off knitting needle.
Step 6: Insert yarn needle knitwise into first st on the back needle and pull it through, leaving st on the knitting needle.
Repeat steps 3-6 only, pausing to pull sts taut and neaten the seam after every couple of inches. Be sure to always pause after a step 6 so as to not lose your place.
When 2 sts remain, work step 3, then step 5, then fasten off.
Weave in all loose ends.
Must Have Books for the Sock Enthusiast:
4. Ann Budd’s book, The Knitter’s Handy Book of Patterns: https://amzn.to/2HtI37H

