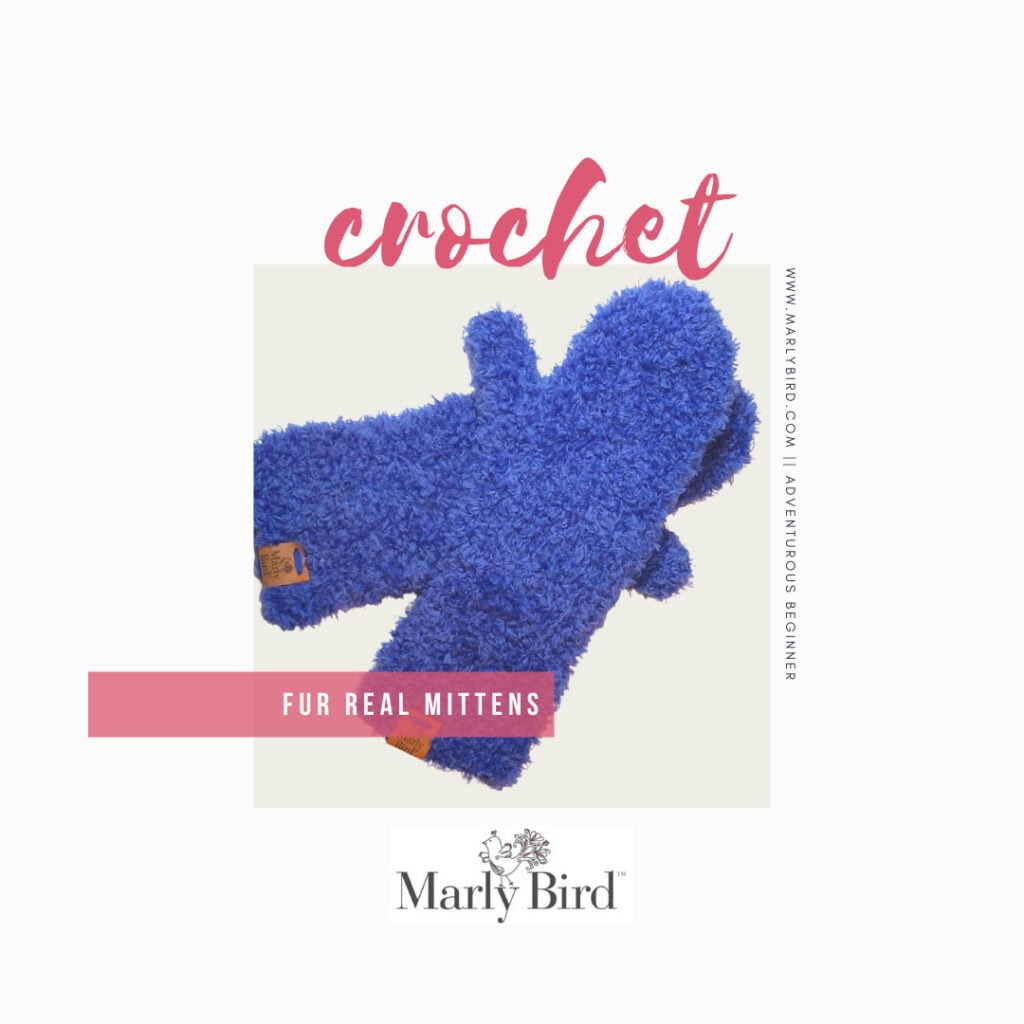
Fur Real Crochet Mittens
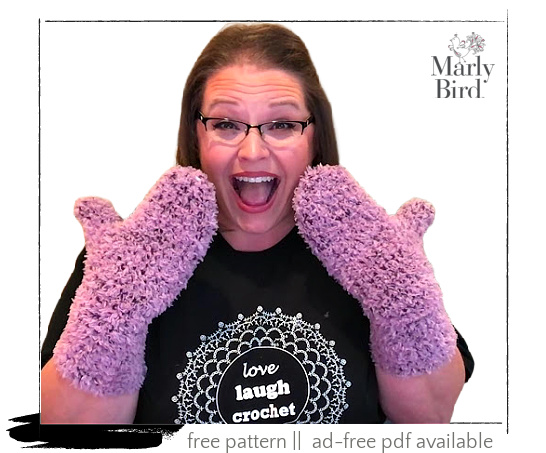
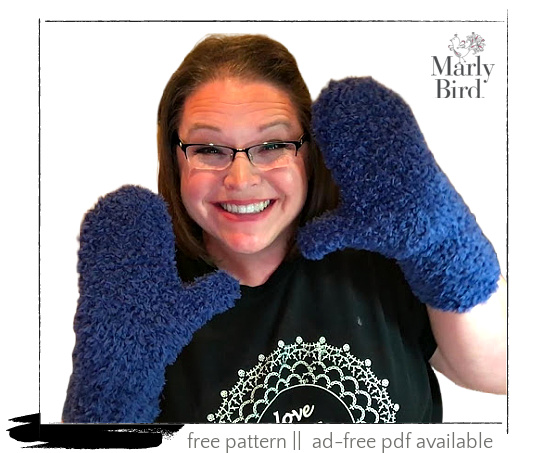
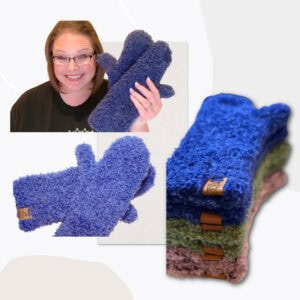
Cozy, cute and comfortable mittens made with faux fur yarn. The Fur Real Crochet Mittens pattern is an easy pattern that allows the fun faux lux or go for faux or hygge fur yarn to be the star.
From start to finish, these crochet mittens took me only 3 hours to make. I needed a fast project during the holiday season so I grab my faux fur yarn and a matching worsted weight acrylic and used this stitch pattern. Needless to say, these made the perfect quick crochet gift to make and the recipients LOVED them!
???? Like this project? Don’t forget to like it and queue it up on Ravelry
*This post contains affiliate links. By clicking on one of these links and making a purchase a portion will go to the blog. The price you pay will not change and the small commission I receive helps me to keep bringing you free content and giveaways on the blog. Thank you for your continued support.*
FUR REAL CROCHET MITTENS
SKILL LEVEL
Adventurous Beginner
MEASUREMENTS
To Fit Size
S (M, L, XL)
Adult palm size 7 (8, 9, 10)” [17.8 (20.3, 22.9, 25.4) cm] in circumference
Finished Measurements
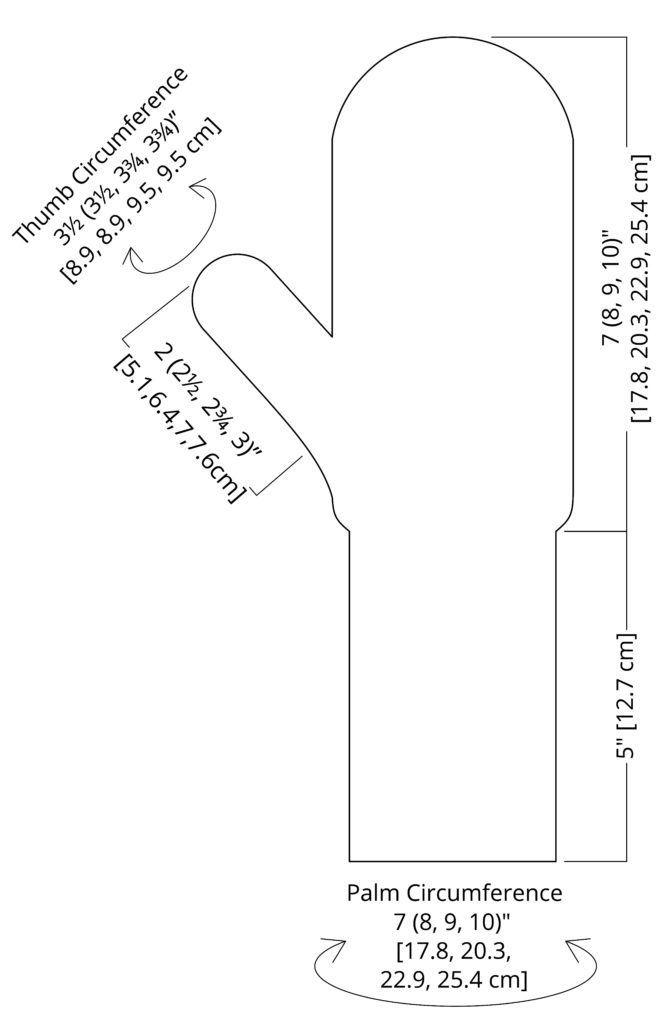
7 (8, 9, 10)” [17.8 (20.3, 22.9, 25.4) cm] around palm and long-not including cuff.
Gauge
16 sc = 4.75” [12.1 cm]; use any size hook to obtain the gauge.
MATERIALS
Yarn
Red Heart Hygge Charm (97% acrylic, 3% other fibers, 432 yds / 395 m, 7 oz/ 198 g, CYCA 4 worsted)
Color A: 1 ball for all sizes
Red Heart Hygge Fur (100% nylon, 260 yds / 238 m, 7 oz/ 200 g, CYCA 5 bulky)
Color B: 1 ball for all sizes
Hook
Size K/10.5 (6.5 mm)
Notions
Tapestry needle
ABBREVIATIONS
Approx – Approximately
Beg – Beginning
Ch – Chain(s)
Cont – Continue(ity)
PM – Place Marker
RS – Right Side
Sc – Single Crochet
Sc2tog – Single Crochet Two Together
St(s) – Stitch(es)
WS – Wrong Side
SPECIAL STITCHES
Single Crochet 2 Together (sc2tog): *Insert hook into indicated stitch, yarn over and pull up a loop; repeat from * in next stitch indicated, yarn over and draw through all 3 loops on hook. (1 decrease)
SCHEMATIC
NOTES
- Hold two strands of yarn together throughout. 1 strand of color A and 1 strand of color B.
- It is highly recommended that both mittens are worked at the same time. Work each section for one mitten then work the same section for the other mitten. This will help keep both mittens the same size. You do NOT need two balls of each color to do this but it does make it easier. See final pages of this pattern for photos.
- Two yarns are held together throughout the mitten.
- Better to make the stitches tight vs loose for a warm mitten.
- Cuff is made flat.
- Body of the mitten and thumb are crocheted in continuous rounds. Use a marker to indicate the first stitch of the round.
- Directions are for size S; changes for sizes M, L, XL are in parentheses. When only one number is given then that number applies to all sizes.
VIDEO TUTORIAL
to be added
FUR REAL CROCHET MITTEN PATTERN
CUFF
Chain 19 (21, 23, 25).
Row 1 (WS): Sc in 2nd ch from hook and in each ch across, ch 1, turn — 18 (20, 22, 24) sc.
Row 2 (RS): Sc in each sc across, ch 1, turn.
Row 3 (WS): Sc in each sc across, ch 1, turn.
Repeat rows 2 & 3 until cuff measure approx. 5” [12.7 cm], or until desired length, ending after row 2.
Next Row (WS): Sc in each sc across, do not turn.
1st FINISHING
With the WS facing, turn the cuff 90 degrees so the tail and the working loop are on top.
Fold the cuff in half with short edges together so the RS face each other (or so the working loop is in front).
Working through both short edges of the cuff, slip stitch seam the cuff together.
Work towards the tail/foundation chain edge.
Turn the cuff to the RS out. Be sure to keep the working yarn free and untangled from the cuff.
Continue to work around the cuff for the body of the mitten.
MITTEN BODY
Ch 1.
Set-up round 1: Evenly place 24 (27, 31, 34) sc around the foundation edge of the cuff. When working along the foundation edge, work the sc into the free loop of the foundation ch from the original row 1 of the cuff. Do not join with a slip stitch, work in continuous rounds (see notes) — 24 (27, 31, 34) sc.
BE SURE TO MARK THE FIRST STITCH OF THE ROUND!
Next rounds: Sc in each stitch around until body measures approx 3.5 (4, 4.5, 5)” [8.9 (10.2, 11.4, 12.7) cm], or until the body measures to the thumb joint crease (the point on the hand where the thumb separates from the palm…the medical term is metacarpophalangeal joint crease).
THUMB OPENING
Round 1: Sc in next 15 (18, 22, 25) sc, sc2tog over next 2 sc, ch 4, skip next 6 sc, sc2tog the next stitch with the first stitch of the round. Mark the first stitch of round 2 as the start of the round — 16 (19, 23, 26) sc + ch-4 sp
Round 2: Sc in each sc around to ch-sp, 4 sc in ch-4 sp, sc in last sc — 20 (23, 27, 30) sc.
MITTEN TOP
Next rounds: Sc in each stitch around until full body measures approx 6.75 (7.75, 8.75, 9.75)” [17.1 (19.7, 22.2, 24.8) cm], or until the mitten top measures to the top of the ring finger.
Designer Note: if you want a fingerless mitten, work until the mitten top is desired length. Fasten off.
MITTEN TOP SHAPING
Round 1: Sc2tog over next 2 sc 10 (11, 13, 15) times, sc in next 0 (1, 1, 0) sc — 10 (12, 14, 15) sc.
Round 2: Sc in each stitch around.
Round 3: Sc2tog over next 2 sc 5 (6, 7, 7) times, sc in next 0 (0, 0, 1) sc — 5 (6, 7, 8) sc.
Fasten off.
Leave long tail for seaming.
THUMB
Set-up round 1: Join yarn with a slip stitch in chain edge of thumb opening. Ch 1, sc 12 (12, 13, 13) sts around the thumb opening. Do not join with a slip stitch, work in continuous rounds (see notes) — 12 (12, 13, 13) sc.
Next rounds: Sc in each stitch around until thumb measures approx. 2 (2.5, 2.75, 3)” [5.1 (6.3, 7, 7.6) cm] or until thumb reaches just before the top of the thumb.
Designer Note: if you want a fingerless mitten thumb, work until the thumb is desired length. Fasten off.
Final round: Sc2tog over next 2 sc 6 times, sc in next 0 (0, 1, 1) st — 6 (6, 7, 7) sc.
Fasten off.
2nd FINISHING
For both the mitten top and the top of the thumb, do the following.
Thread the tail onto a tapestry needle. Pull the tail through the front loop of each stitch around the top. Pull like a drawstring to close.
Weave the tail in on the WS of the mitten.
Optional: add tag to the cuff of the mitten.

