Crochet Waistcoat Stitch
(BiCrafty Bootcamp: Beginner Crochet Lessons for Knitters: Lesson 12)
Welcome back to BiCrafty Bootcamp: Beginner Crochet Lessons for Knitters. Last week, you had the excellent opportunity to work on a quick crochet hat project. This week, we're embarking on a slightly larger project. We're going to make a crochet bag using beautiful colorwork. Before we actually get into the pattern (next week), we need to learn the basics of the crochet stitch techniques that we use in the design. So, this week, in particular, you're going to learn the crochet waistcoat stitch. You might also see this called the Split Single Crochet Stitch (splsc).
Learning New Crochet Colorwork Techniques This Week
Just to clarify, this week we'll learn new techniques. Then, next week, you'll get the actual crochet pattern. I created a crochet pattern recently for Yarnspirations that uses the techniques we're working with for the bag. Therefore, in this week's video lesson, I'll show you how to work these techniques using that pattern.
And, of course, this means that you can crochet that pattern for fun if you like. Note, however, that we aren't working on these crochet patterns in this week's lesson. Instead, we're using the colorful crochet charts in these patterns to learn the techniques we need to work on our crochet bag. So, you'll see the pattern, but we'll scroll down to the colorwork chart to use that instead of the written instructions. This week's written instructions are below!
The Crochet Pattern In This Week's Lesson
Therefore, in the video, you'll see me working on a crochet hat and mittens pattern set called the Shannon Crochet Set. The hat and mittens are each made to fit an average adult. Both the hat and the mittens use the crochet waistcoat stitch. As you can see from just looking at that crochet pattern set, this allows you to do fantastic colorwork. It's almost like Fair Isle knitting, but you use your crochet skills instead.
Used In This Week's Lesson: Crochet Waistcoat Stitch
Split single crochet (which we abbreviate splsc) is the main stitch you'll learn in this pattern. You'll also learn how to decrease in this stitch. As you might have guessed, now you're learning increases and decreases. The abbreviation for this is Spltsc2tog. In other words, you decrease by stitching two of the split single crochet stitches together. So, that's how you decrease crochet waistcoat stitch.
Also, in this lesson, we'll work with back loop and back post crochet stitches. As you know from our lesson on crochet stitch anatomy, you can work basic crochet stitches into different parts of the stitch from the row below. We've done this previously using double crochet stitches. However, you can also work them with single crochet stitches. So, you'll work single crochet through the back loop only (scbl) and single crochet around the back post (scbp.)
What's great about this part of crochet is that you can easily make a wide range of different textures and fabrics while working with the same basic crochet stitches. You already know how to make a single crochet stitch. Therefore, you can do all of these stitches. It's all about where you insert the crochet hook to make the stitch.
Split Single Crochet or Crochet Waistcoat Stitch
Although it's a beautiful crochet stitch pattern, you might not often see split single crochet stitches referenced. However, as you'll see in today's instructional video, it's a simple technique. To complete it, you insert your crochet hook between the two strands of the vertical V in the middle of the single crochet.
To reiterate, you'll work in the V of the body, not the V at the top that you usually work into. Then, you complete the stitch as usual. You'll likely find it makes a whole lot more sense when you see it in the video.
Another tip: you already learned how to work stacked double crochet stitches, right? You're inserting the hook into the same spot to make a split single crochet or crochet waistcoat stitch.
Split Single Crochet Video Tutorial
Here's this week's complete BiCrafty Bootcamp video lesson for you:
Materials for This Week's Lesson
If you think that you might eventually want to make the Crochet Shannon Hat and Mitts set instead, then here are those materials:
Yarn
You'll use just one donut for this project! Yes, for the whole set. So, order one Caron® Big Donut O’Go yarn in your preferred colorway. (Or, get a few, since you could definitely gift this hat and mitt set to many different people in your life this year.)
Crochet Hooks
For this project, you'll use two crochet hooks: Sizes U.S. G/6 (4 mm) and U.S. H/8 (5 mm) crochet hooks or sizes needed to obtain gauge. (Recommended: WeCrochet Hook or ergonomic TooShay Crochet Hook)
Optional
Notions: Locking stitch markers from WeCrochet, Chenille, and tapestry needles for weaving in ends
Notes
As you crochet the starting chain for this project, make sure that you create a loose chain. Additionally, crochet loosely as you work your single crochets. You'll be working into the post, and that's a lot easier with a loose stitch.
To change color, work to last 2 loops on hook and draw new color through last 2 loops, then proceed in new color.
Written Instructions for Crochet Waistcoat Stitch
We'll follow the colorwork chart in the Crochet Shannon Hat and Mitts pattern. However, we're going to use different written instructions. Here they are:
Ch 28. (Note that at first, in the video, I said chain 30. However, chain 28 is correct.) Join with a sl st to work in the round.
Round 1: Ch 1. Sc in each st around. Join with sl st.
Round 2: Ch 1. Splsc in next stitch and each stitch around. DO NOT JOIN WITH SL ST. You'll just begin working the next round in a spiral. This is optional, and you may see splsc worked in the round with or without the join.
Round 3: *Splsc, scbl. Repeat from * around.
Rounds 4-6: Repeat round 3.
Round 7: *Splsc with color A in next 3 st, Splsc with color B in next st. Repeat from * around. Note that you're carrying the unused color, working over it as you go.
Round 8: *Splsc with color B in next st, Splsc with color A in next 3 st. Repeat from * around. End with an extra Splsc in color B for final stitch.
This creates the pattern. However, you could add some additional rounds to the pattern. Then, you could repeat the first rounds for ribbing at the top. This would create a cup cozy. This isn't necessary, but it could be a fun project for you to practice. It'll get you ready for this week's crochet bag project.
Week 12 (cont'd) Colorful Crochet Market Bag
We started Week 12, working on learning the stitches and how to do color work. Now, we'll work on our Colorful Crochet Market bag!
Yarn
WeCrochet CotLin (70% Tanguis Cotton, 30% Linen, 123 yds / 50 g, CYCA #3 DK)
This bag is a colorful project! Here's what you'll need for the whole project. Color A (main color): 6; Color B: 1 ball; Color C: 1 ball; Color D: 1 ball; Color E: 1 ball; Color F: 1 ball ; Color G: 1 ball
Crochet Hooks
Size G/6 (4.0 mm) or H/8 (5.0 mm)
Optional
Notions: Locking stitch markers from WeCrochet, Chenille, and tapestry needles for weaving in ends
Purse handles: We will be making a bag this week, so you can also purchase purse handles for this! Check out this awesome small business. I love to get those!
You Might Also Want to Check Out
Here are some other designs that use the crochet waistcoat stitch or split single crochet:
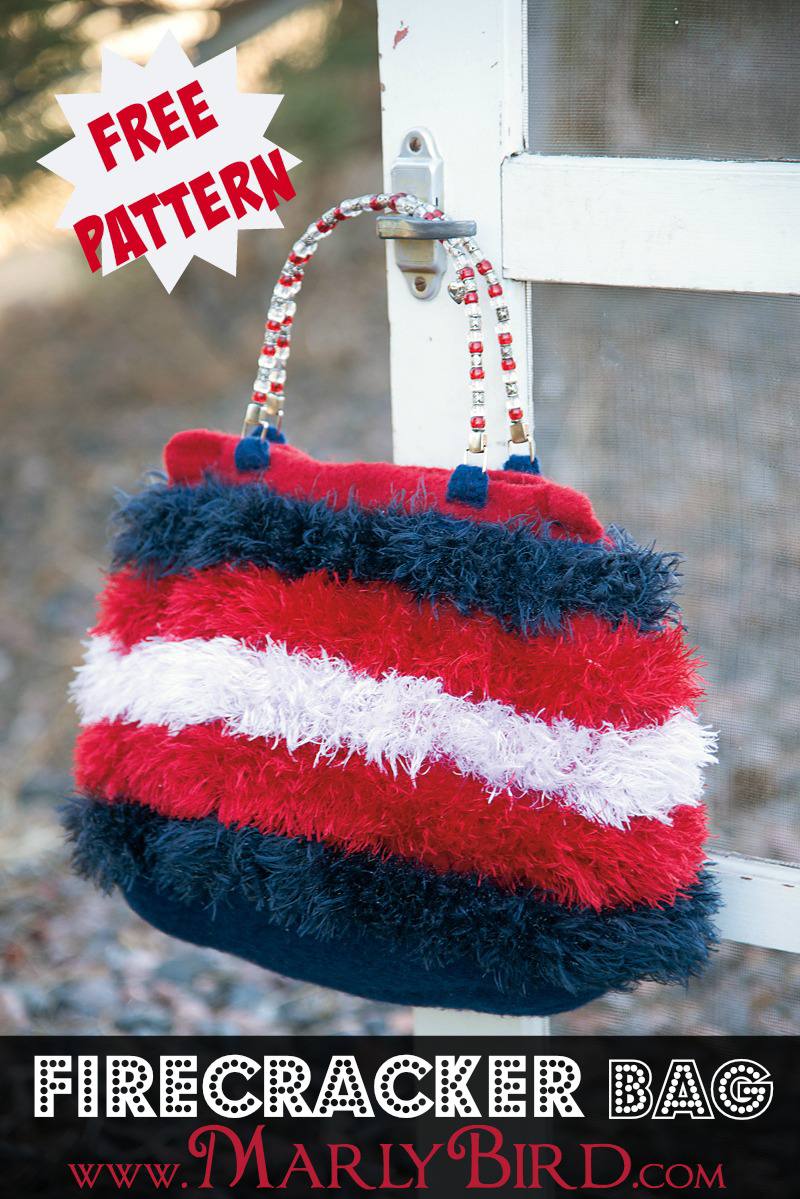
- Crochet Easy Split Tote
- Crochet Kitty Hat
- Marly Bird 3-in-1 Knit and Crochet Handwarmers
- Bernie Sanders Inspired Crochet Mittens – I actually used scbl in this one but could have used splsc instead
Shoutout to Briana K Designs. She's worked extensively with the split single crochet stitch and has taught me many of the tips I use.
Frequently Asked Questions
What is the crochet waistcoat stitch sometimes called?
Honestly… you might also see it called the Split Single Crochet Stitch, or splsc for short. It's a really neat stitch for colorwork!
How do I make the waistcoat stitch?
So here's the thing… you insert your hook between the two strands of the vertical V in the middle of the single crochet, not the top V like usual. Then you just complete the stitch like normal!
Can I use this stitch for colorwork?
Yes! It's almost like Fair Isle knitting but with crochet. It allows you to do some really fantastic colorwork, which is perfect for projects like the bag we're making.
What other stitches will I learn in this lesson?
Well, besides the waistcoat stitch, you'll also learn how to decrease in this stitch (Spltsc2tog) and work single crochet stitches into the back loop only (scbl) and around the back post (scbp).
What yarn and hooks do I need for the hat and mittens pattern?
For the Shannon Crochet Set, you'll need one donut of Caron® Big Donut O'Go yarn and crochet hooks in sizes U.S. G/6 (4 mm) and U.S. H/8 (5 mm).