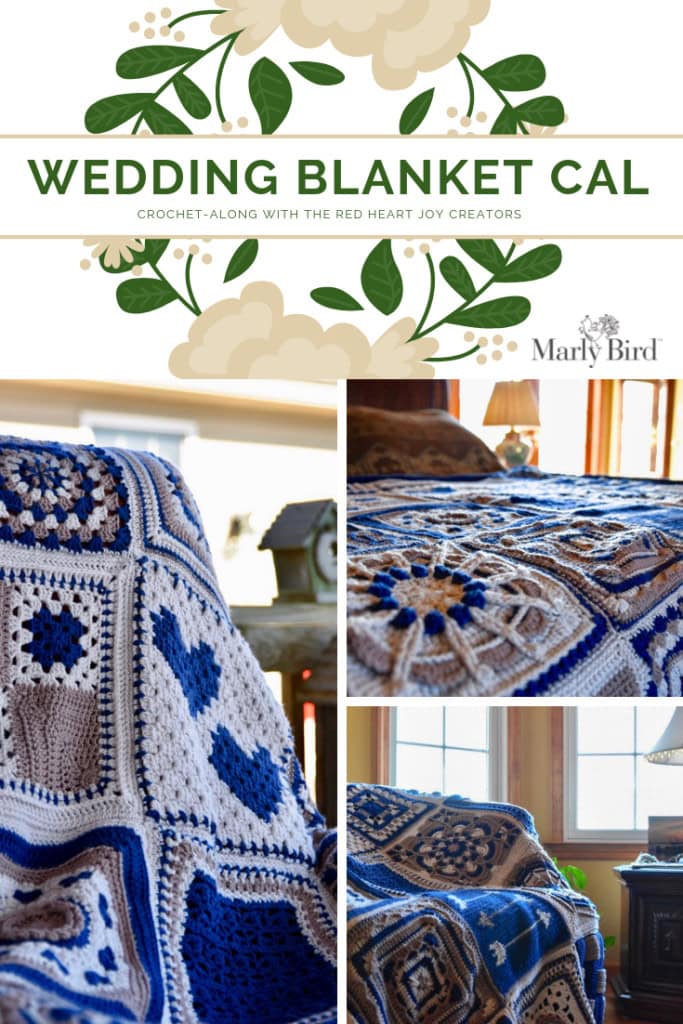
Wedding Blanket Finishing and Border
Thanks for sticking with us through 24 beautiful squares in our Wedding Blanket crochet along. If you are working along with us you are ready for joining your squares and putting your border on. In this post we will be talking about the ways to join the squares and give you the pattern for the border.
*This post contains affiliate links. By clicking on one of these links and making a purchase a portion will go to the blog. The price you pay will not change and the small commission I receive helps me to keep bringing you free content and giveaways on the blog. Thank you for your continued support.*
Learn about the Crochet Along
On the Red Heart team we have a wonderful leader of the Joy Creators, named Ally. Ally got married in May and we wanted to do something very special for her. I got the Joy Creators together and we each made a square to put together to make a wedding blanket for Ally and her husband.
Now that we have all of these squares we wanted to share them with all of you and put together this community crochet-along. You will need to check the blog posts of the individual designers to know what your material requirements are. Through the project we all used Chic Sheep by Marly Bird™ to create and heirloom project for Ally.
Want to join in on the fun and make your own heirloom blanket? Get started with the first square and the 23 other squares by going to the main blog post. There you will see a link to each of the squares that are included in the blanket.

Blocking Your Squares
Once all of your squares are finished you should block them. Why do we need to block squares of a blanket? Blocking is essential to help get each of the squares in the same shape and size. Blocking is preparation for the next step, joining.
You might have noticed that some of your squares are a little smaller than others, or they might not be perfectly straight. Blocking these squares will help you in the next step where you will be joining your squares.
If you used Chic Sheep, like we did, for your blanket you will want to wet block and pin your squares lightly. What does that mean? It means that you should put your squares in a water bath (room temp water) for about 20 min. They can stay in longer than that but at least 20 min to fully saturate them with water.
After their water bath you will take them out and squeeze out the extra water. DO NOT RING THEM OUT!!! Ringing the square to get the water out will cause them to get distorted. Squeeze out as much as you can by hand and then roll it in a towel to get the remainder out.
Pin your square to a 12″ x 12″ form and allow them to dry. I recommend doing this before you weave in your ends, but you can do it after as well.

Joining Your Squares
Now that your squares have been blocked you can join them together. Throughout the CAL you were putting the same color as the last row of single crochet. This was done to help with the seaming. It tells you what row you will be using and it also keeps them all the same color to match up better.
Grab your finished squares and lay them out in the order that you like. Follow our sequence or make your own. Putting this blanket together will take some time and patience but will totally be worth it.
Using the mattress stitch method I joined together each of the blocks across the row. Once I had long stripes of squares together I joined them across the long way, also using the mattress stitch.
There are many ways that you can join your squares together. I prefer the mattress stich method but you could use anything that you like. Remember that this is a large blanket and will be heavy. Be sure to pick something that will be able to withstand the weight as you use the blanket.
Looking for ways to join your squares? Use this video tutorial that I did on joining squares to help you join yours. After joining your squares weave in your ends and get ready for the border.
Working the Blanket Border
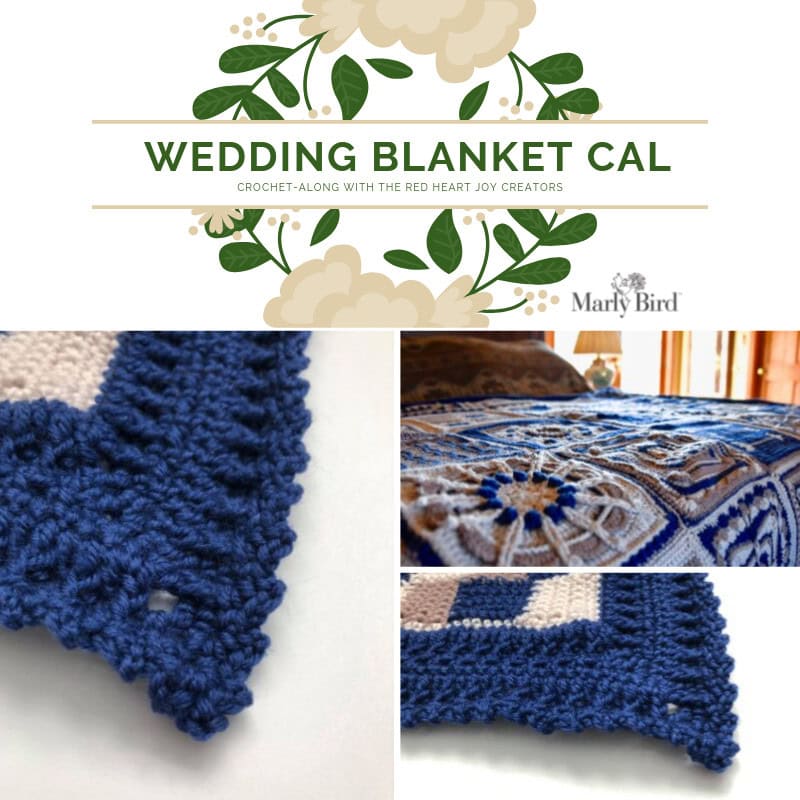
The border of the blanket is the last step to have a completed heirloom crochet blanket. Completing the border will take three balls of Chic Sheep by Marly Bird™ in VIP.

Since there were so many beautiful squares in this crochet-along I wanted to make sure that the border was just as beautiful. I searched through the Red Heart archives and found a great border to use to finish this pattern.
Red Heart has a great crochet sampler blanket called the Checkerboard Textures Throw with an amazing border. The sizing of the border and stitch count ended up working out perfectly. Be sure to download the Checkerboard Textures Throw pattern from the Red Heart website to add your final border.
Categories: Crochet, Make-Alongs


