
How to Knit Stripes (Knitting Lessons for Crocheters,…
Have you been enjoying BiCrafty Boot Camp: Knitting Lessons for Crocheters? If you've been following along then you've learned how to cast on, knit, purl, work stockinette stitch and cast off. It's not too late to join in – details here. If you're all caught up then it's time for our next free weekly lesson. Get ready to learn how to knit stripes. We'll also learn how to weave in ends.
Crocheter's Edge
We're learning two things this week, First, we're learning how to knit stripes. In essence, this means that we're learning how to join new yarn in knitting. And second, we're learning how to weave in our ends. As a crocheter, you already know what these terms mean. Therefore, you're ahead of the game compared to a newbie yarnie.
Changing to a new color (or new ball) of yarn in knitting is going to pretty much the same as it is in crochet. You're going to add the new color at the start of the new row. In crochet, you might have to add the color one loop ahead of where you want it to start showing; in knitting, you don't have to worry about this. (Remember how in crochet you have to chain one (or more) to start the row but in knitting you don't? That explains why.)
If you're going to carry the new color of yarn up the sides, then you want to make sure that you're alternating colors every two rows, not every row. This is the same as crochet. After all, if you turn your work, you can't start with the new color because the yarn won't be there, right? It'll be on the other end of the row. So, alternate every two rows (or multiples of two) if you're carrying the yarn up the side as you go. This should all be familiar from crochet striping. Learning how to knit stripes is very similar to learning how to crochet stripes.
As you'll see in a moment, weaving in ends in knitting is a little bit different than in crochet. However, the basic gist of it is familiar to you. Like with crochet, if you're working with two contrasting yarn colors, you want to be careful about how you weave in the ends because you don't want the darker color to show through the lighter colored stitches on the front side of the work.
Building Knitting Muscle Memory
We're going to continue using the knit and purl stitches that you've already learned. It's good to practice these a lot when you're first learning how to knit. After all, you're working on building up that muscle memory. If your hands still feel like they aren't quite getting the motion right, just keep at it! Learning how to knit stripes adds some new skills while repeating those same stitches.
How to Change to New Yarn in Knitting
In order to learn how to knit stripes, you need to end off one color at the end of a row. Then you need to start the next row with the new color. Tie Color B to Color A with a loose knot. Push that knot right up to the very edge of the beginning of the row you're about to start working. Note: you don't want knots like this in your work because they can come loose over time. We do this to stabilize the yarn for working the new color. When the work is complete, we will untie all of those knots and properly weave in all ends.
When you join the new yarn, you might find that the initial loop is a bit loose. Don't worry; this happens when you're switching to a new ball of yarn. Knit a few more stitches without worrying about it. When you're midway or more down the needle, you can tug on the yarn tails to make the tension of that first stitch match the other stitches on the needle if you need to.
When you join the new yarn, make sure to leave a long tail just like you would at the start of a project. You want about four – six inches of yarn tail to weave in because that length makes the weave-in more secure.
We already discussed above that you want to change colors every other row if you're carrying the yarn up the sides. Additionally, it's critical to make sure that you're changing colors on the right side of the work. With most crochet stitches, this doesn't matter. However, in knitting, it makes a difference. That's because when you're knitting garter or stockinette stitch, the new color will appear below the row you want it to on the back side of the work. So let's say that you've knit rows of black then you've switched to white – what you'll see on the back (wrong) side of the work is your rows of black, then the bumps of white, then a line of black before your rows of white. However, on the right side, you'll just see rows of black followed by rows of white.
How to Weave in Ends in Knitting
There are several different ways to weave in your ends when you're knitting. Just like in crochet, you can weave them in as you go or you can weave them in after the fact. There's a time and a place for each. Weaving them in as you go is the method in knitting that's most similar to that in crochet, although it ends up being a lot more secure. That said, simply knitting or crocheting over your ends isn't enough. The first time you wash your knits, those ends will peak out, and you'll wish you'd taken the time to secure them better in the first place.
Let's start with this video:
We'll show this in detail in next week's live video.
Knitter's Tips for Crocheters
As aforementioned, you want to make sure that you change colors on the right side of the work. Therefore, you might want to use a stitch marker to mark the right side of the work as you begin a project. This is the same as it would be if marking the right side of a single crochet project using a stitch marker.
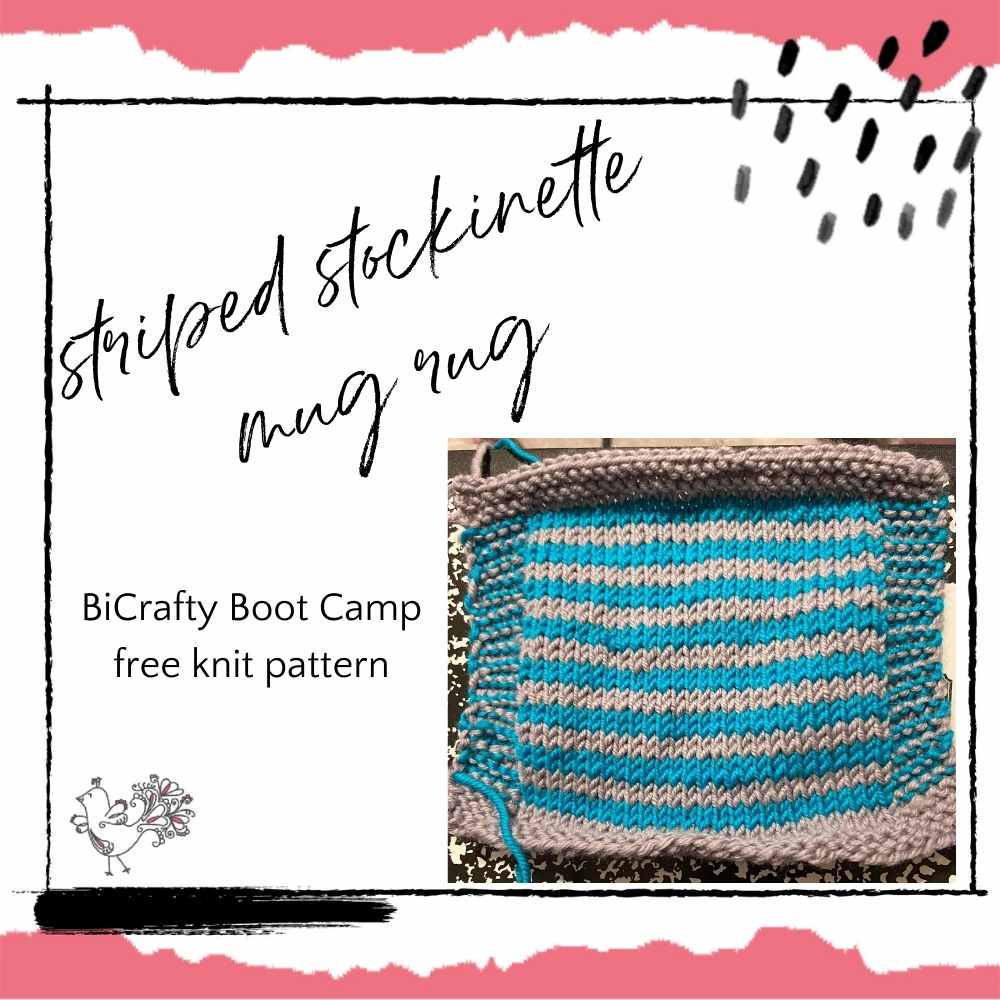
This Week's BiCrafty Boot Camp Mug Rug Pattern
I thought it would be fun to make some Beginner Knit Mug Rugs. Over the next couple weeks we will add to this collection of mug rugs by making some with stripes, lace and texture. But for now we are going to get some stockinette stitch ones made.
As you learned, stockinette naturally curls so it is important that we have a border around a piece so it will lay flat. Because of that, this weeks mug rugs have a garter stitch border, just like last weeks. We will use Stockinette stitch and Stripes to make a fun rug. It is time to combine all your learned knitting skills with this week's homework.
Materials
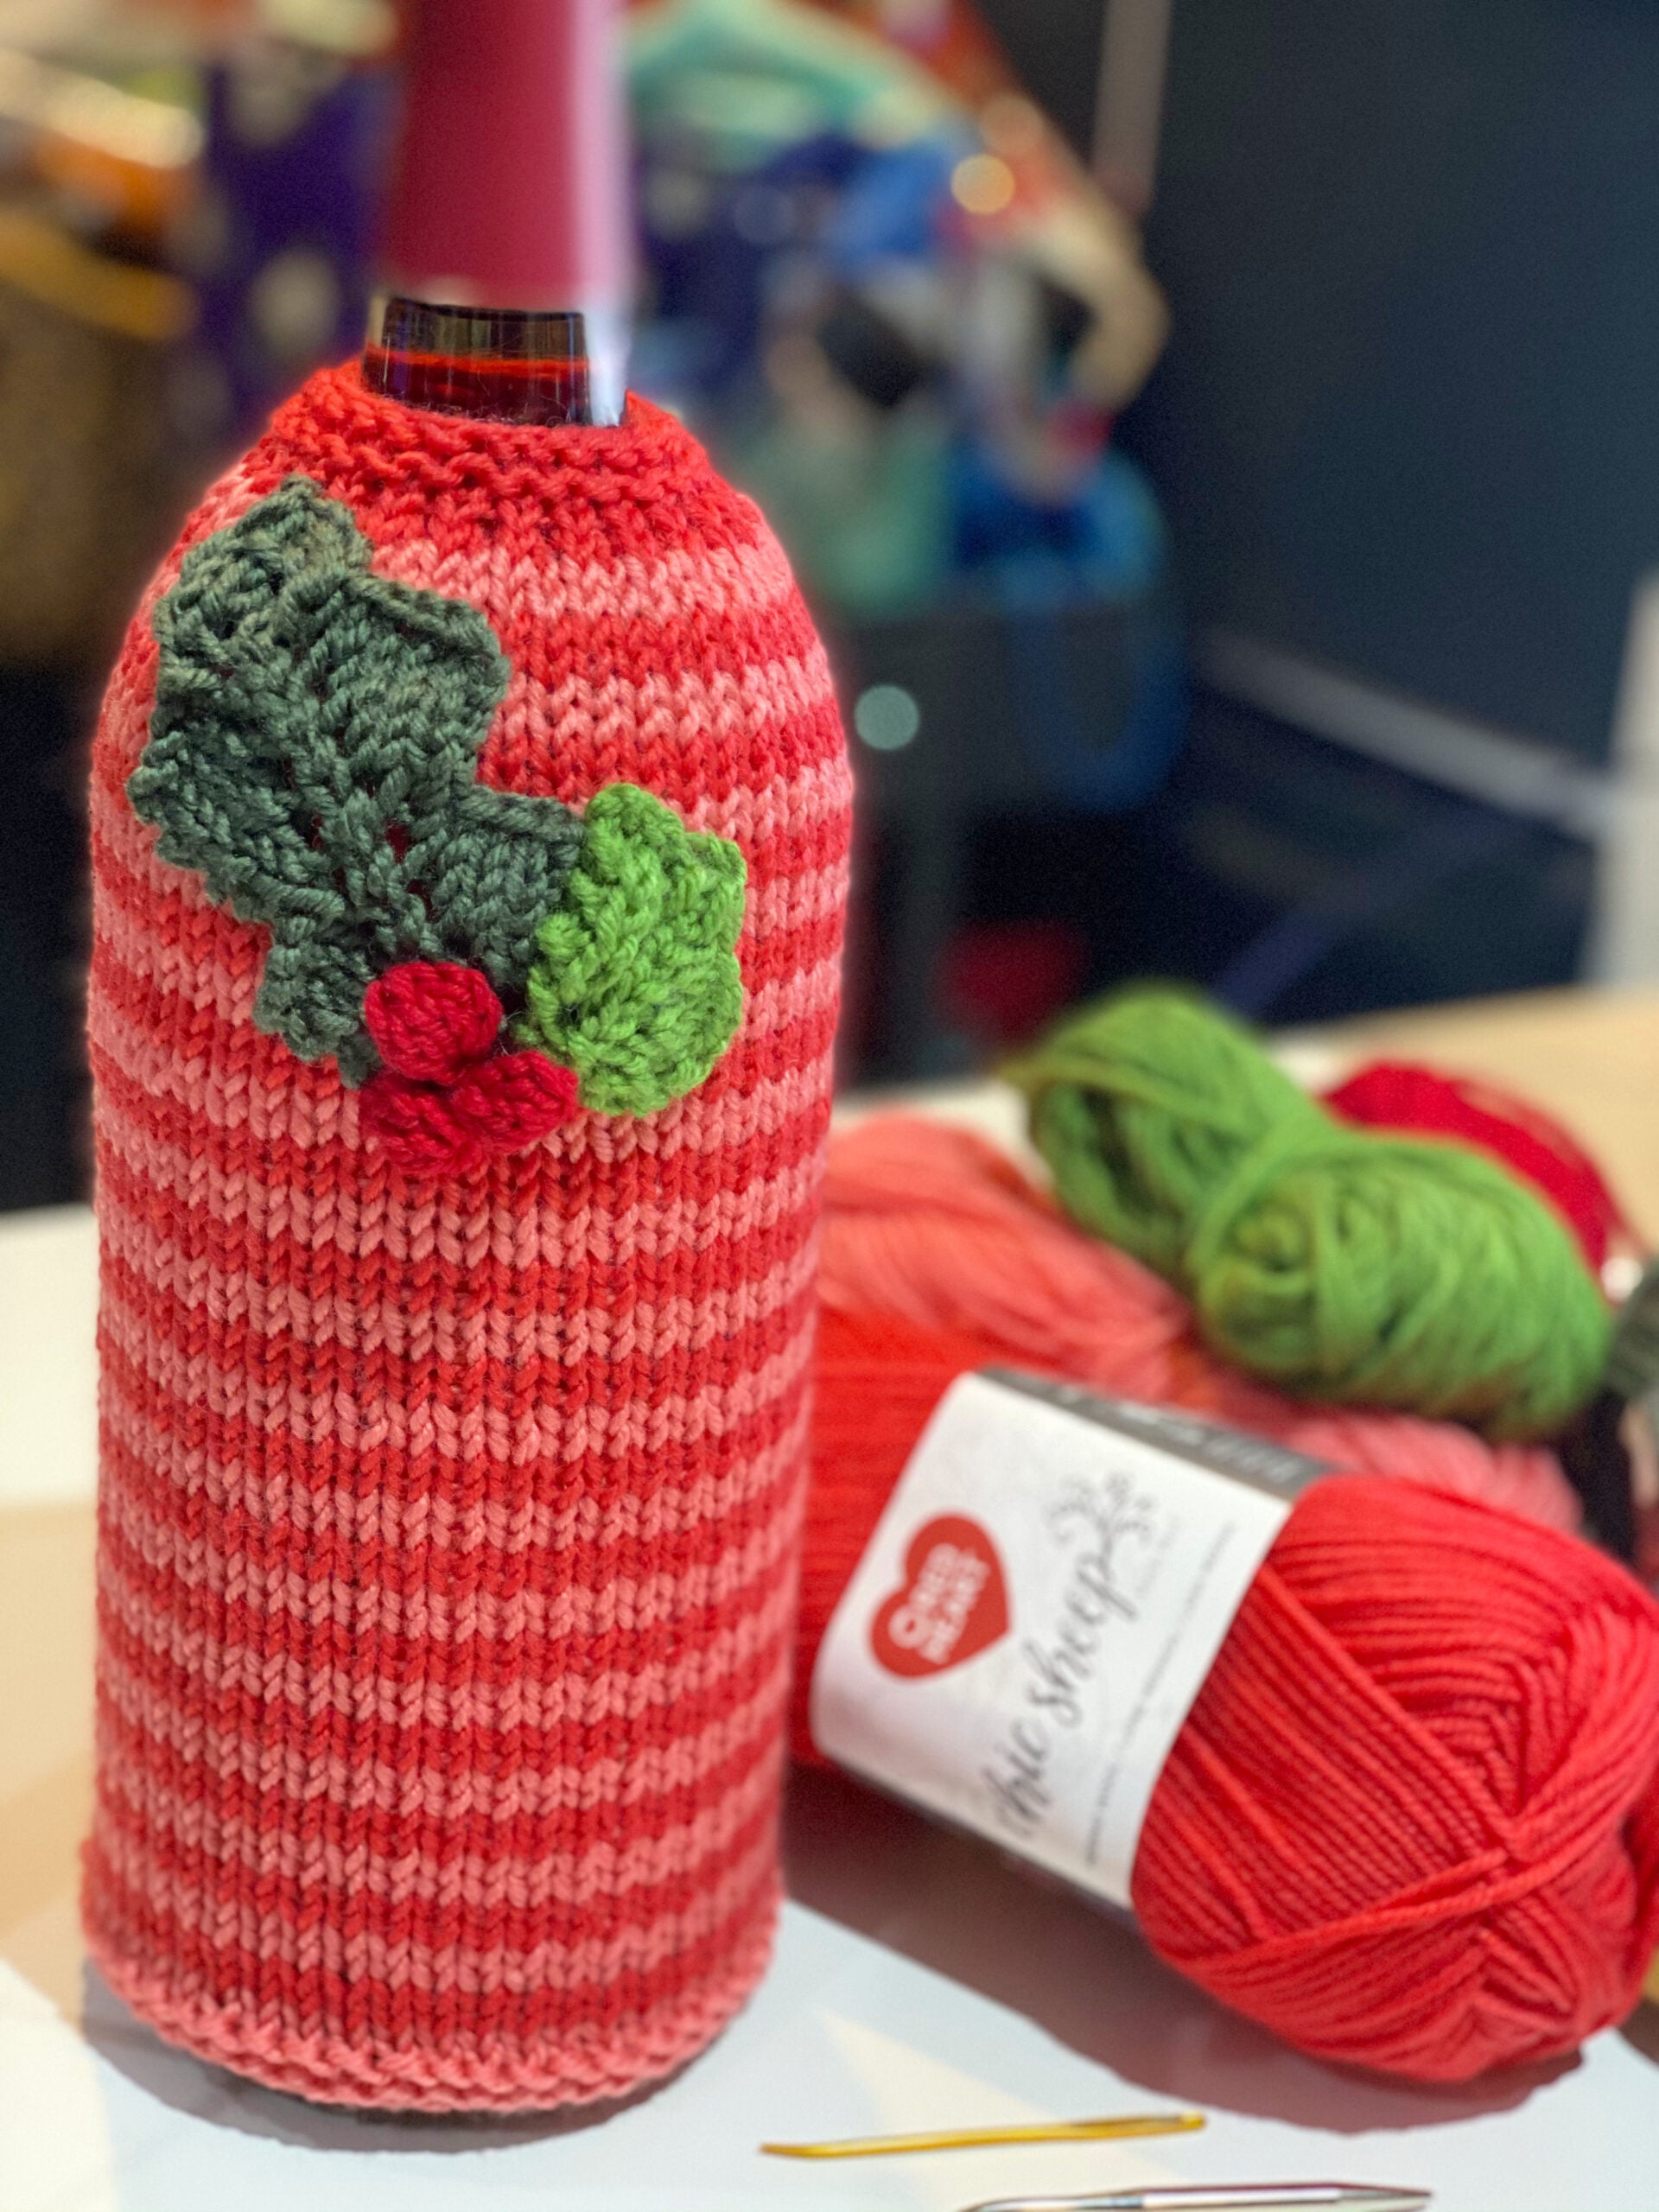
Yarn: Any worsted weight yarn (sample in Chic Sheep) in two colors.
Needles: Size 8 (5mm)
Notions: Stitch markers, tapestry needle
Notes: Mug Rug comes in two sizes because I know there are some of us who like our BIG cups of coffee ☕️. Just like in crochet patterns, the larger of the two sizes is in parentheses. When given two numbers, follow the number that coincides with the size knit mug rug you are making.
Beginner Knit Mug Rugs Pattern Stockinette with Stripes in two colors
With color A, using the long tail cast on, CO 25 (35) sts. (Reminder: We covered the long tail cast-on in week one.)
Rows 1-4: Knit
Row 5 (WS): Knit 5, place a marker, [move the yarn between the needles from back to front] purl to last 5, place a marker, [move the yarn between the needles from front to back] knit 5.
With color B
Row 6 (RS): Knit
Row 7 (WS): Knit to marker, slip marker, [move the yarn between the needles from back to front] purl to marker, slip marker, [move the yarn between the needles from front to back] knit to end.
**NOTE: No need to cut the yarn, simply carry it up the side of the work. Be sure to NOT PULL THE FLOAT TOO TIGHT along the side.**
Rows 8 & 9: With color A, repeat rows 6 & 7
Rows 10 & 11: With color B, repeat rows 6 & 7
Rows 12 & 13: With color A, repeat rows 6 & 7
Rows 14 & 15: With color B, repeat rows 6 & 7
Rows 16 & 17: With color A, repeat rows 6 & 7
Rows 18 & 19: With color B, repeat rows 6 & 7
Rows 20 & 21: With color A, repeat rows 6 & 7
Rows 22 & 23: With color B, repeat rows 6 & 7
Rows 22 & 23: With color A, repeat rows 6 & 7
**NOTE: IF YOU WANT YOUR MUG RUGS TO MATCH IN SIZE AND YOU NEED TO DO FEWER OR MORE ROWS, MAINTAIN WITH THE TWO COLOR SEQUENCE UNTIL THE STOCKINETTE PORTION OF THIS MUG RUG MATCHES THE ONE FROM LAST WEEK**
Last 4 rows: Knit
Bind off.
VIDEO: We will also have a video tutorial for this week's lessons coming soon.
Additional Patterns and Video Tutorials You're Ready For
At this stage of BiCrafty Boot Camp, you might want to watch these extra videos:
- Beginner Knitting with Marly Bird and Marly's Mom: Lesson 3 Changing Colors – The stuff Marly's mom says in the first few minutes of this video really resonated with Kathryn so if you're feeling a bit frustrated with knitting, watch this. And of course the video shows how to change colors to knit stripes, but remember that Marly's mom learned English knitting instead of contintental.
- How to Knit Easy and Quick Absolute Beginner Chunky Scarf – the video for this chunky knit scarf pattern shows you how to add a new ball of yarn and weave in ends so it's a perfect complement for this week's lesson
And check out these knitting patterns:
- Bernat Fading Stripes Knit Blanket – a simple garter stitch knit blanket with color changes for colorful striping
- Bernat Pinstripe Knit Afghan – this is a two-color striped afghan made with knits and purls
- Lily Sugar ‘n Cream Scrubbing Stripes Knit Dishcloth Pattern
- Lily Sugar n Cream All Charged Up Chunky Knit Placemats
Frequently Asked Questions
How do I switch yarn colors when knitting stripes?
Honestly… you join the new color at the start of a new row. It's pretty much the same as in crochet, just make sure you're starting on the right side of your work!
I'm new to knitting, will this be hard?
So here's the thing… if you've already been crocheting stripes, you're going to find this super familiar! You're just building on those skills you already have.
What's the best way to weave in ends when knitting stripes?
Yes! Weaving in ends can be a little different than crochet, but the main idea is the same. Just be careful that darker colors don't peek through lighter ones … you want it to look super neat!
How often should I alternate colors for stripes?
If you're carrying your yarn up the side, you'll want to alternate colors every two rows, or any multiple of two rows. This keeps your stripes looking even and clean.
I'm a crocheter, is this lesson really for me?
Absolutely! This lesson is part of “BiCrafty Boot Camp,” designed especially for crocheters learning to knit. You'll learn how to knit stripes and weave in ends, skills you'll recognize from crochet!
Categories: BiCrafty Bootcamp Learn to Knit, Knitting, Our Free Patterns


Please if it were possible, could you please make it a standard practice to write the blog pages so that the links open up a new tab? It will really make it so much easier for us. I would appreciate it. Thank you. Now to find another US 8 needle so I can keep working on the projects. Thank you for all the work you do for us. This is a fantastic class. I didn’t know how different knitting continental was from English.