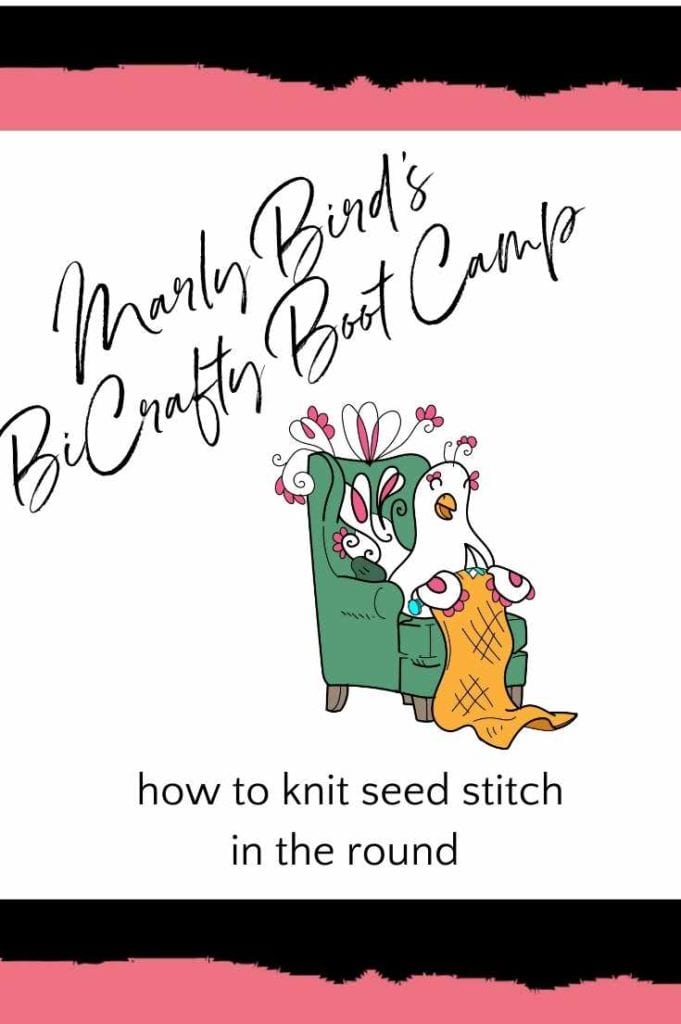
How to Knit Seed Stitch in the Round (Knitting Lessons…
Welcome back BiCrafty bootcampers! Last week we began working on a knit cowl in the round. We're going to continue on that today while learning a new stitch pattern: the seed stitch. You'll learn how to knit seed stitch in the round. Of course, you can also knit seed stitch in rows. This builds up your knitting stitch vocabulary so you can create items with new texture now!
Crocheter's Edge
The great thing about learning seed stitch as your next skill is that you may already have a sense of what it is from crochet. Crochet also has seed stitch and the texture is strikingly similar to knit seed stitch. In both knitting and crochet, you might see seed stitch go by a variety of names. However, the stitch pattern is the same.
In crochet, you alternate single crochet and double crochet across the row or in the round. Then you do the opposite for the next row or round, so that you'll double crochet in each single crochet and single crochet in each double crochet. The result is a terrific texture.
The main difference in the knit and crochet seed stitch texture is that you're using stitches of different heights in the crochet version but same height stitches in the knit version. If you can do this in crochet, then you're going to easily figure it out in knitting as well.
How to Knit Seed Stitch
Obviously, we don't have single and double knit stitches. What we do have, however, is knits and purls.
If you were working seed stitch in rows, then you would K1, P1 across the row. Then you'd do the same thing in the next row. And the next and the next. In other words, how to knit seed stitch is to knit your purls and purl your knits when working K1, P1.
When working in rounds, you do the same thing: knit into your purls, purl into your knits. However, because you're working in the round, not turning your work from one needle to the next, you have to do it a little bit differently. You have to K1, P1 in round one then P1, K1 in round two and so forth.
You already learned K1, P1 last week. However, for ribbing, you knit your knits and purled your purls. For seed stitch, you knit your purls and purl your knits. Otherwise, the concept is the same. Here's a video for you:
How to Knit Seed Stitch in the Round
Of course, since we're working in the round for this cowl, you have to learn how to knit seed stitch in the round. So, just to be really clear we'll recap:
- First, in round one, you K1, P1.
- Then in round two, you P1, K1.
- Then you repeat those two rounds .
- Knit the purls, purl the knits. You've got this!
Knit to approximately the same number of inches of fabric as you did for the ribbing in the first part of the cowl. So if you did about 1.5″ of knit ribbing then you'll now do about 1.5″ of seed stitch. This is a really flexible pattern, so a little more or a little less is totally fine.
If you're still confused about why the pattern is slightly different when worked in rows than in the round, be sure to watch last week's Live Video which covers that topic. You can also read an article about it here.
Knitter's Tips for Crocheters
This might help you out:
BiCrafty Boot Camp Knit Cowl Pattern: Part 2, Seed Stitch
MATERIALS: You'll need one ball of Chic Sheep for the hat and two balls of Chic Sheep yarn for the cowl. We're using Size 8 (5 mm) 24″ circular knitting needles.
It's time to start knitting the next texture in your sampler stitch cowl knit in the round. You'll continue working just above the K1 P1 base you created last week. Here are those instructions:
- Pick up your work where you left off last week. You should have 140 stitches live on your circular needles.
- Since you were previously working K1, P1 ribbing, you're ready to go. Begin with a round of P1, K1.
- Follow with a round of K1, P1.
- Continue alternating rounds of P1, K1 and rounds of K1, P1.
Here's this week's video:
Additional Videos and Patterns You're Ready For
At this stage of BiCrafty Boot Camp, you might be interested in these videos:
- How to Knit the Bird Seed Cowl. While this isn't knit seed stitch, it's got enough in common with it that you might want to check it out now.
And you might want to check out these patterns:
- Bernat Knit Striped Pillows. These are simple knit seed stitch pillows.
- Free Knit Cowl Pattern (a good teacher's gift plus you work seed stitch in the round)
- Bernat Seed Stitch Blanket. Note that you begin each row with a K1 before you do the K1, P1.
- 14 Seed Stitch Patterns in Knit and Crochet
And you're almost ready to work on a hat so check out the Knit Seed Stitch Chic Hat pattern. Get 50% off of that pattern through 5/19/21 with promo code seedstitch.
Frequently Asked Questions
What is the seed stitch in knitting?
Knit seed stitch alternates single knit and purl stitches in a staggered pattern… each stitch is worked opposite to what it appears to be (knit the purls, purl the knits). This creates a bumpy, pebbly texture that lies flat without curling, looks the same on both sides, and has a beautiful organic quality that's more interesting than plain stockinette. It's also called moss stitch in some traditions (though technically moss stitch has a slightly different repeat). Seed stitch is one of the fundamental knitting textures that every knitter should know.
How is seed stitch different when knitting in the round vs. flat?
This is where it gets a little tricky! In flat knitting, the seed stitch repeat shifts by one stitch on every row (because when you turn, what was a knit faces you as a purl). In the round, you're always looking at the right side… so to maintain the alternating pattern, you have to knit one stitch and purl the next, alternating every round AND shifting the pattern offset every round. This is why seed stitch in the round requires a bit more attention than seed stitch flat. The post explains this carefully and is specifically designed to teach crocheters this technique.
This is Lesson 7 for crocheters learning to knit… should I take the previous lessons first?
Ideally yes! Marly's BiCrafty Bootcamp knitting series builds sequentially… each lesson builds on skills from previous ones. If you're learning the seed stitch, you should already be comfortable with basic knit and purl stitches, working in the round, and the skills covered in lessons 1-6. That said, if you specifically want to understand seed stitch and already have some knitting background, this lesson can stand alone as a technique reference. The series as a whole is the most effective learning path for a crocheter picking up knitting from scratch.
What projects use seed stitch?
Seed stitch is incredibly versatile! Hat brims in seed stitch look beautiful… the texture has great visual interest and the non-rolling quality means no border needed. Bag accents and border treatments. The body of hats and cowls for texture variety. Garment accents and pocket edges. Seed stitch scarves and cowls are classic… the flat, reversible fabric is perfect for accessories that show both sides. It's particularly nice for baby items because the texture is gentle and non-pilling with a soft yarn. And it makes beautiful button bands on cardigans.
What's the difference between seed stitch and moss stitch?
They're often used interchangeably but some traditions distinguish them! In US terminology: seed stitch typically means K1, P1 alternating and staggered every row. Moss stitch sometimes means K1, P1 worked the same way for two rows before staggering (creating a slightly different visual). In UK terminology, “moss stitch” is often what Americans call “seed stitch” and what Americans call “moss stitch” might be different still. The terminology is genuinely confusing! When in doubt, look at the stitch pattern chart or first-row instructions in the pattern to see exactly what's being asked for.