How to Corner to Corner Crochet
(BiCrafty Bootcamp: Beginner Crochet Lessons for Knitters: Lesson 13)
You know that you can work in rounds or rows in both knitting and crochet. Alternatively, you can work on the diagonal. In knitting, we often call this knitting on the bias. There are also ways to crochet on the bias, one of the most popular of which is Corner-to-Corner Crochet (or C2C Crochet). This week, BiCrafty Bootcamp is all about learning C2C crochet, including how to read C2C charts.
Disclosure: This post contains affiliate links. Your price doesn’t change. Thank you for your support.
What is Corner to Corner Crochet?
As the name implies, you begin crocheting in one corner of the project and work your way toward the diagonally opposite corner. Therefore, you’re crocheting diagonal rows rather than horizontal ones.
There are other ways to crochet on the diagonal. For example, many years ago, I crocheted from corner to corner using double crochet stitches, increasing along the sides until I got to the center and then decreasing along the sides.
Crochet on the Diagonal
In C2C, you essentially do the same thing. Although there are variations on C2C crochet, people commonly use a stitch that’s a variation of the granny stitch. So, you essentially make a 3 double crochet granny stitch to start the first diagonal row. Then you turn the work and use a technique to work on the diagonal to increase to two granny stitches in the second row. Continue turning and increasing until the blanket is about half the size that you want it to become.
Then you work some diagonal rows in the center that are the same length; we’ll go over this technique below. After that, you keep turning, but instead of increasing, you begin decreasing, still using that granny stitch variation.
Crochet Graphghans
There’s a little more to it, including learning to read C2C charts. However, that’s the overview of what corner-to-corner crochet is all about. The chart-reading part is important because C2C crochet is often used to create graphghans. These are crochet blankets where you take a picture, make a grid over it, and use that as a chart to create an image-based crochet square or blanket. So, we’re going to look at graphghans and C2C crochet today.
History of Corner-to-Corner Crochet
C2C Crochet has probably been around in some form for a very long time. However, I remember it suddenly burst onto the scene and became extremely popular about ten years ago.
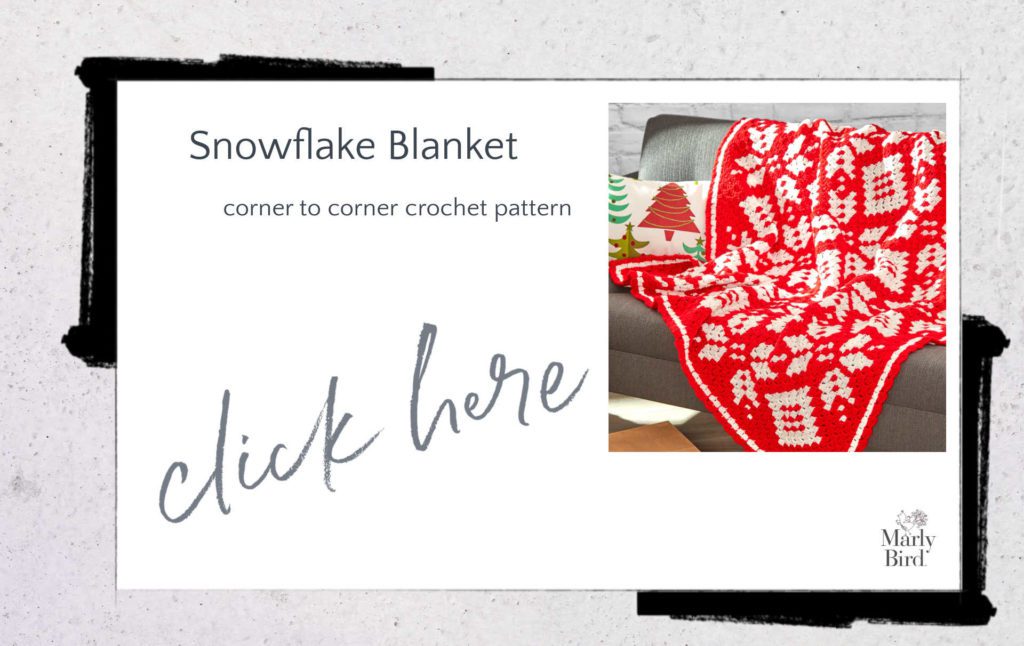
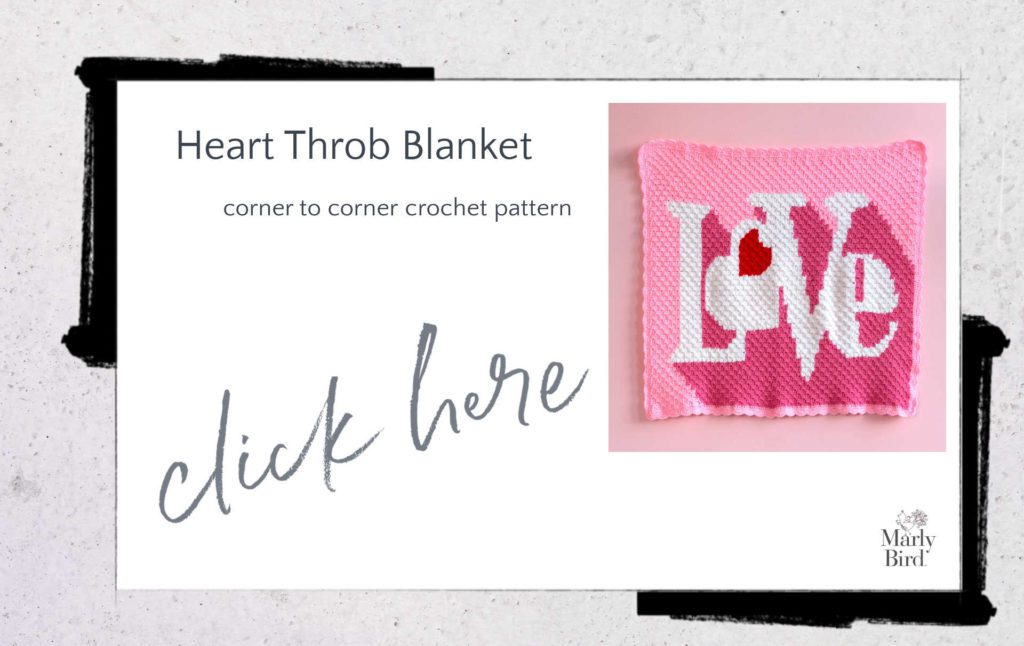
My personal history of learning C2C crochet comes from admiring the beautiful work of Sarah Zimmerman from Repeat Crafter Me. She’s well-known for making amazing crochet graphgans. I had come across a beautiful Christmas blanket pattern she’d created. I loved everything about it and immediately wanted to learn what the technique was all about. After I learned from her, I created my Heart Throb C2C Blanket.
While there are now many different C2C crochet patterns, she continues to be a leading designer in this niche.
How to Read a Corner-to-Corner Crochet Chart
As you’ll see in the video for today’s lesson, here’s how to read a crochet chart:
- Begin in a corner. Often the designer has labeled the corner with “1” and/or “start here” to indicate where to begin.
- Each square on the chart is one color. You use that color to crochet the C2C stitch (which, as you’ll see, is a variation on a granny stitch) for that square. Then you read the next square.
- Read the chart on the diagonal, working back and forth, up and down.
Materials for C2C Crochet
Corner-to-corner crochet is a technique that allows you to use any yarn and any crochet hook. Of course, if you’re using a pattern, then the pattern should indicate what to use. For this project demonstration, I used:
Yarn
Red Heart Super Saver worsted weight yarn
Crochet Hook
Size I/9 5.5 mm; see crochet hook chart here
Corner to Corner Restful Throw Pattern
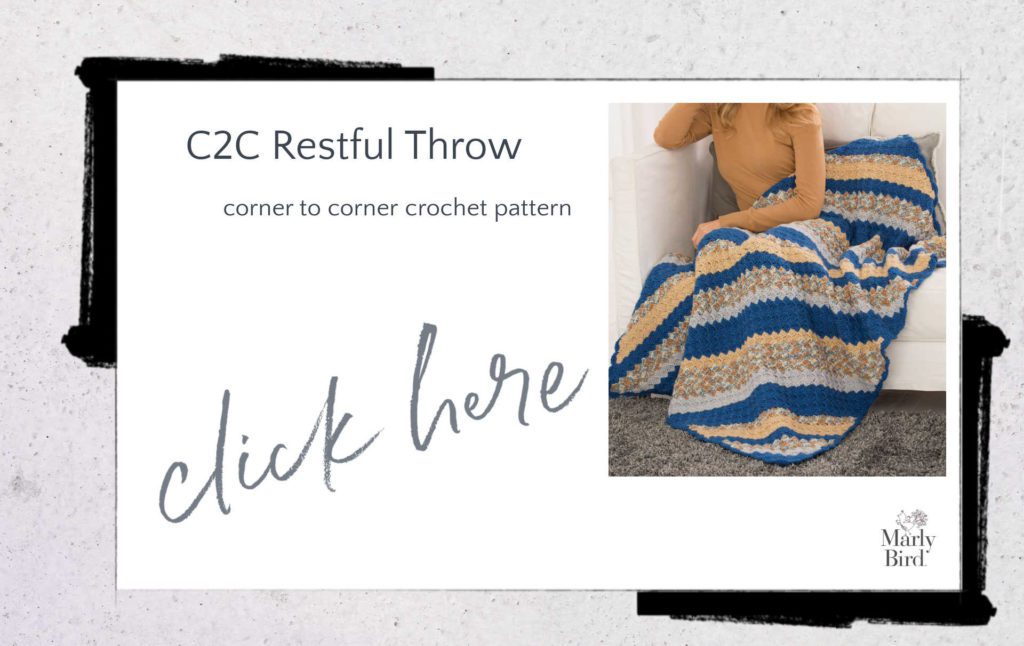
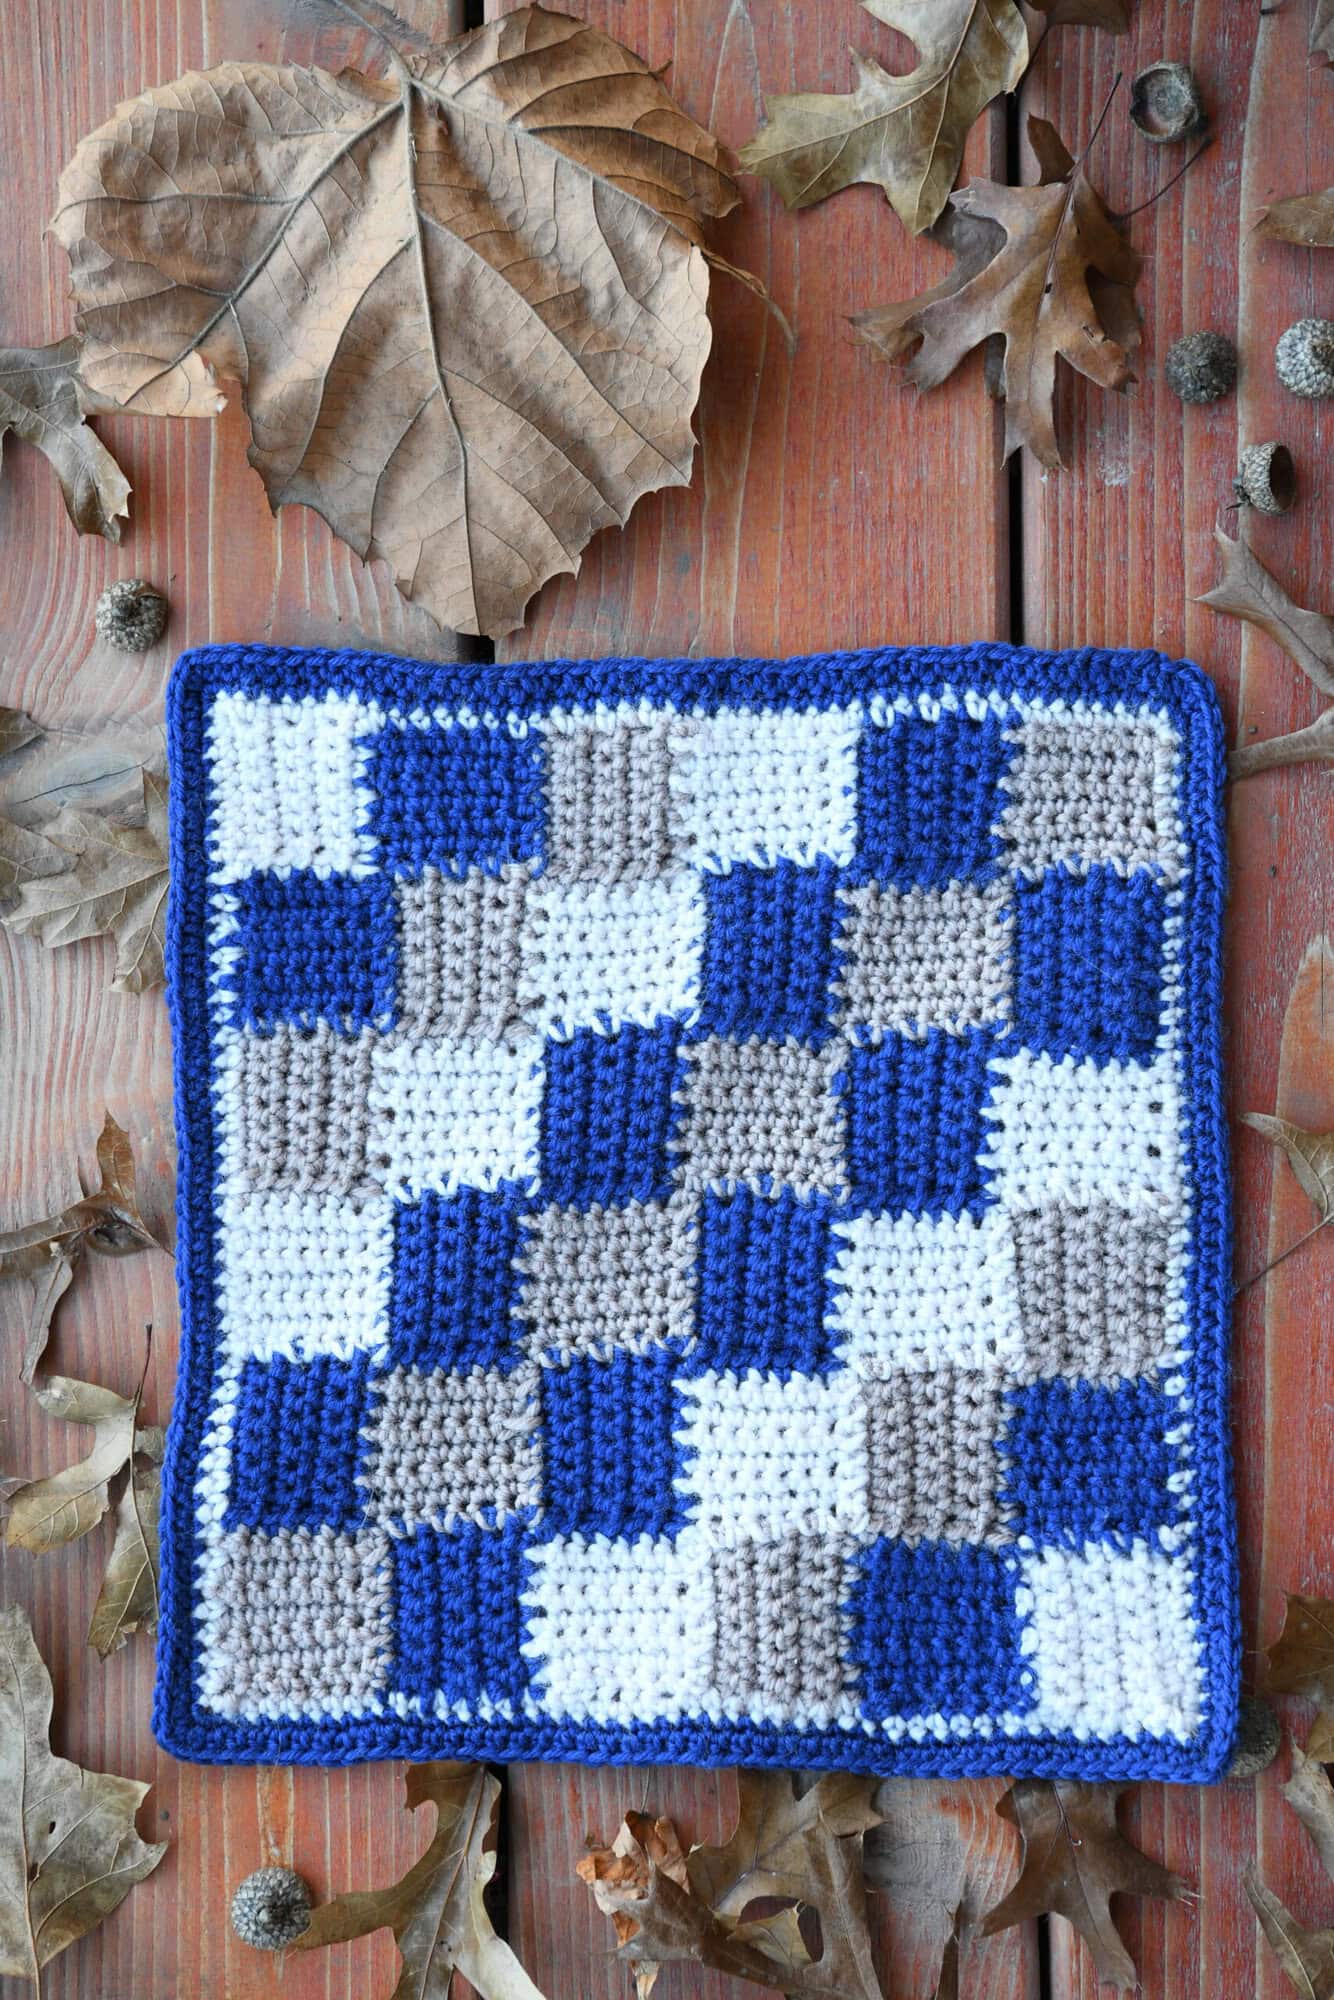
To learn how to C2C crochet, we’ll work with the Corner to Corner Restful Throw free pattern. Here’s how:
How to Increase In Corner to Corner Crochet
Ch 6.
Row 1: Dc in 4th ch from hook and next 2 ch. Note that this creates the granny stitch’s first set of three double crochet stitches. That’s one block, which makes up one square on the chart. It’s the first square in the corner.
Row 2: Ch 6, dc in 4th ch from hook and in next 2 ch (1st block of row made), (slip st, ch 3, 3 dc) all in ch-3 space of previous row (second block of row made), turn. Note: the first Chain 6 increases and adds the new block to the next diagonal row. This is how you keep growing the size of the blanket as you work from that first corner toward the opposite corner.
Row 3: Ch 6, dc in 4th ch from hook and in next 2 ch, [(slip st, ch 3, 3 dc) all in next ch-3 space of previous row] twice, turn. It’s row 3; you should have 3 blocks in this diagonal row.
Now you’re going to continue increasing. Just keep doing what you’re doing, adding those blocks row by row. You’ll do this until about the middle of the pattern.
How to Crochet Center Rows in C2C Crochet
Your corner-to-corner crochet pattern indicates when you’re ready to start the center rows. Basically, when you’re ready to form the second corner, you’re ready for this part.
When you get to the center rows, you’ll make several of them the same length as one another. However, to do that, you need to complete a two-row repeat in which you’ll decrease one block at the beginning of a row and then increase one block at the beginning of the following row.
Decrease Row 1: Slip st across first 3 dc to ch-3 space of second block of previous row, [(slip st, ch 3, 3 dc) all in next ch-3 space of previous row] to end of row, turn
Increase Row 2: Ch 6, dc in 4th ch from hook and in next 2 ch, [(slip st, ch 3, 3 dc) all in next ch-3 space of previous row] to last block, slip st in ch-3 space of last block, turn.
Repeat those two rows until the pattern indicates, or you’re ready to complete the third corner.
How to Decrease in C2C Crochet
After that, you simply need to decrease row by row, one block at a time, until you reach that fourth corner. You already learned how to decrease above (in the first of the two-row pattern repeats for the center rows).
How to Corner to Corner Crochet Video Instruction
Here’s this week’s full video lesson on how to corner-to-corner crochet:
Additional Helpful Videos:
Most of the time, you’ll see corner-to-corner crochet worked as these boxes of double crochet stitches. However, you can work them in other stitches as well. Here’s a simple Half Double Crochet Variation:
So far, we’ve worked C2C crochet rectangles. However, you can also work C2C crochet squares:
See my other C2C crochet videos here.
Keep Practicing!
Here are some additional helpful links to keep growing your crochet skills in this niche:
- Yarnspirations FREE C2C Crochet Patterns
- Corner to Corner Crochet Tapestry Pattern
- Box Stitch Crochet Book Review
- Get advanced: Corner to Corner Planned Pooling Crochet combines two techniques!
Check Out: Spring Blog Hop Coming Up!
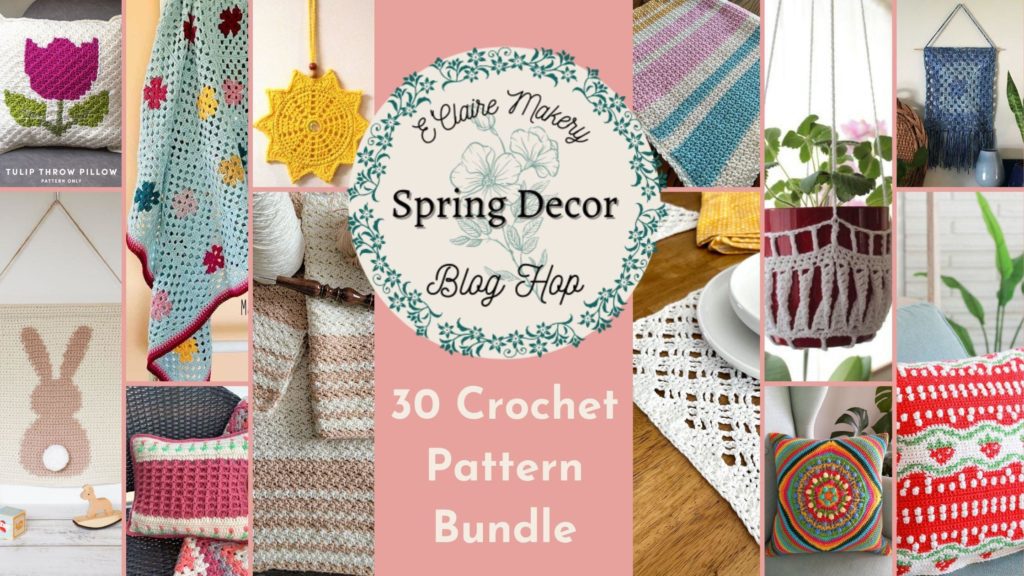
I’m thrilled to join many other amazing crochet designers in this year’s Spring Blog Hop and Pattern Bundle by E Claire Makery. Learn more here.
Frequently Asked Questions
What exactly is Corner to Corner crochet?
Honestly… it’s a way to crochet on the diagonal! You start in one corner and work your way to the opposite corner, making diagonal rows instead of the usual horizontal ones. It’s pretty neat!
Can knitters really learn C2C crochet?
Yes! This is part of the BiCrafty Bootcamp, which is specifically for knitters wanting to learn crochet. C2C is a great technique to dive into, and the page even mentions how it’s like knitting on the bias.
What kind of yarn and hook do I need for C2C?
So here’s the thing… you can pretty much use any yarn and hook combo you like! For the example project, Red Heart Super Saver yarn and a size I/9 5.5mm hook were used, but always check your pattern for specific recommendations.
How do you read a C2C chart?
It’s simpler than it sounds! You start in a corner, usually marked with a “1” or “start here.” Each square on the chart represents a color and a C2C stitch (like a granny stitch variation), and you just read across the diagonal, back and forth.
Is C2C crochet good for making pictures?
Definitely! The page mentions that C2C is super popular for creating graphghans… that’s basically crochet blankets where you use a chart to make a picture. So cool, right?