
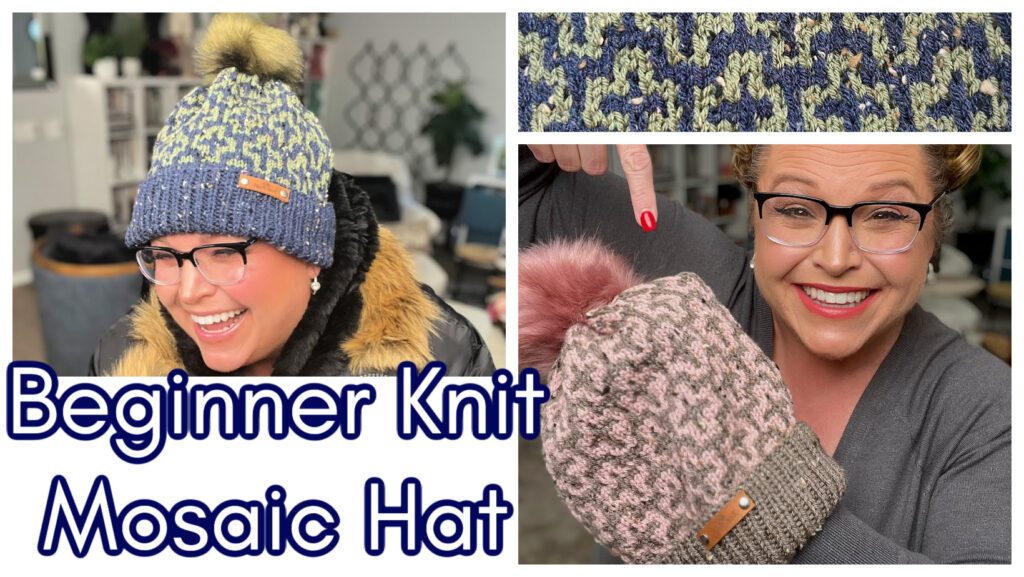
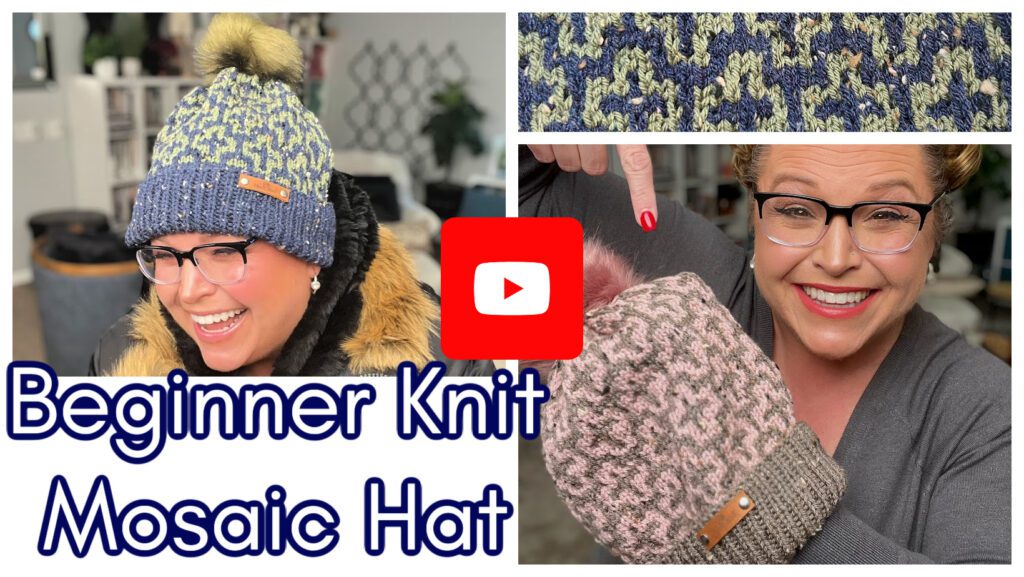
Cozy Up with the Falling Leaves Mosaic Knit Hat: Free Pattern & Mosaic Tips
It’s that time of year when you can feel the crisp breeze and see the beautiful fall colors swirling around—why not capture that cozy fall vibe with your knitting needles? The Falling Leaves Mosaic Knit Hat is here to give you a stylish, fun-to-make project that can be completed in a weekend! Whether you’re a beginner to mosaic knitting or a seasoned stitcher, this pattern is perfect for adding a splash of color to your autumn wardrobe.
The best part? It’s free! You can view the pattern right here on my blog. While you’re here, be sure to check out some other fun projects on my Bamburg Bandana Cowl, Anne Slip Stitch Mosaic Shawl, Dynamic Wave Mosaic Hat — Free Pattern.
Affiliate Disclosure: This post contains affiliate links. If you click on one of these links and make a purchase, I may earn a small commission at no additional cost to you. This helps support the content and free patterns I provide here on MarlyBird.com. Thank you for your support—it means the world to me! 💖
What is Mosaic Knitting?
Mosaic knitting is a colorwork technique that looks intricate but is surprisingly easy to master. It’s based on simple slip stitches, which allow you to create eye-catching designs using two colors of yarn without having to carry multiple strands at once. Unlike other colorwork techniques like fair isle or intarsia, you only work with one color per row, which makes it super beginner-friendly!
Mosaic knitting = less yarn tangling and more fun!
Why You’ll Love the Falling Leaves Mosaic Knit Hat 🍁
- Quick Weekend Project: Perfect for knitters who love fast, satisfying projects. This hat can be made in a weekend!
- Beginner-Friendly Mosaic: Even if you’re new to mosaic knitting, I’ve included tips and tutorials to help guide you.
- Free Pattern & Tutorial: You get the pattern, plus a step-by-step tutorial to make sure you’re set up for success.
Materials & Yarn for Mosaic Knitting Hat
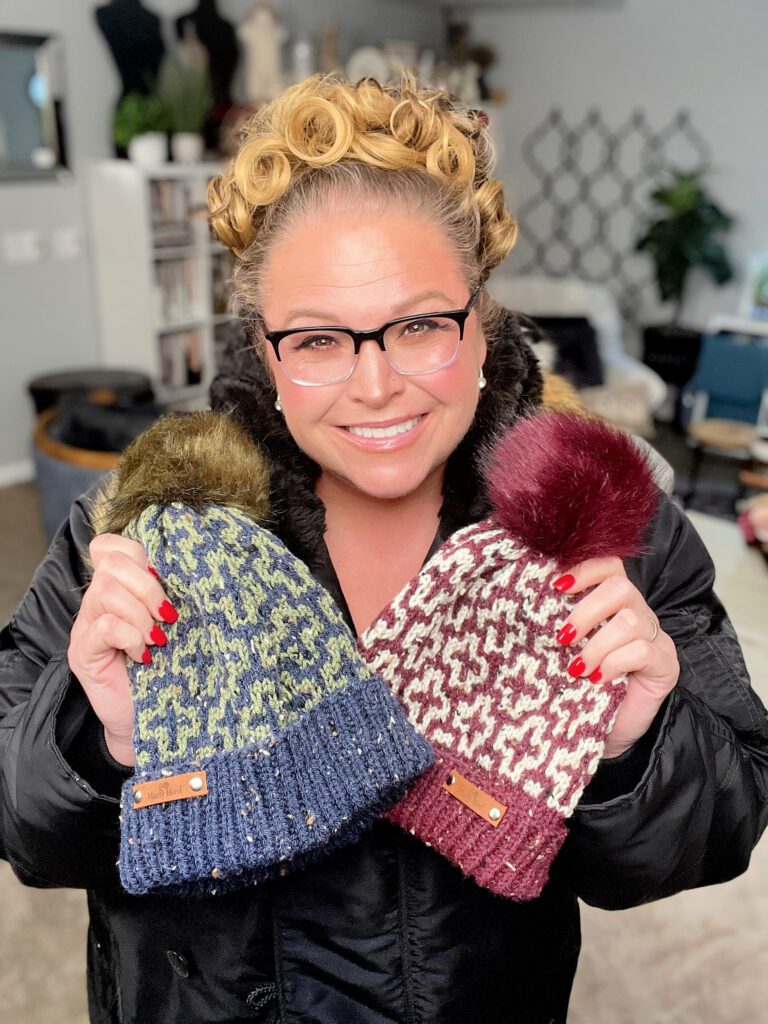
The Falling Leaves Mosaic Hat pattern uses worsted-weight yarn. For best results, I recommend using yarn that shows contrast between the two colors, like a dark and light shade. This makes the mosaic pattern pop!
Suggested Yarn:
WeCrochet, Brava Tweed (97% Premium Acrylic/ 3% Viscose, 218 yds / 200 m, 3.5 oz/ 100 g, CYCA# 4 worsted)
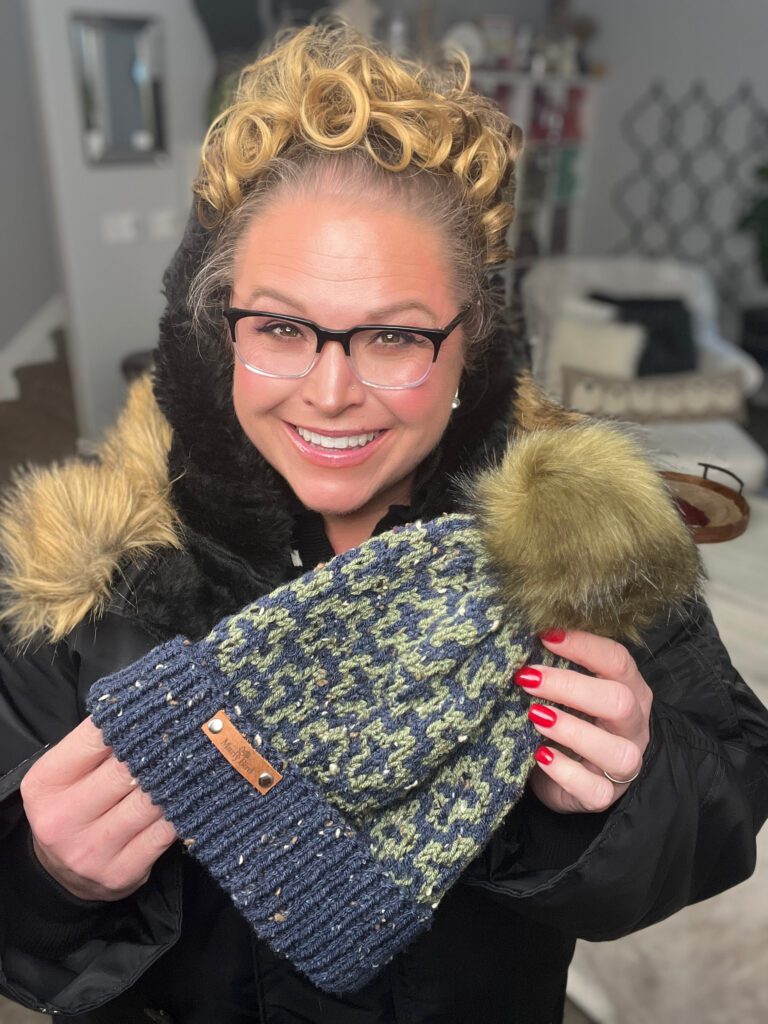
- Yarn A (Main Color): A deep autumn hue such as burgundy, forest green, or navy.
- Yarn B (Contrasting Color): A light shade like cream, mustard, or heathered gray to create contrast with the main color.
Other Supplies:
- Knitting Needles: US Size 7 [4.5 mm] and US Size 8 [5 mm] 16″ circular needles, or size to obtain gauge.
- Stitch Markers: To help you keep track of your rounds.
- Tapestry Needle: For weaving in ends.
- Optional leather tags, leather rivets, Faux Pom Pom
How to Get Started with Mosaic Knitting
If you’re new to mosaic knitting, don’t worry! Here’s a quick guide to get you going:
- Slip Stitches: The key technique in mosaic knitting. You slip stitches as if to purl (without knitting them) to bring up a color from the row below, creating the colorwork effect.
- One Color at a Time: You only knit with one color per row or round, making this a simpler form of colorwork.
- But it is important to point out that most mosaic patterns will have you work 2 full rows or rounds with one color.
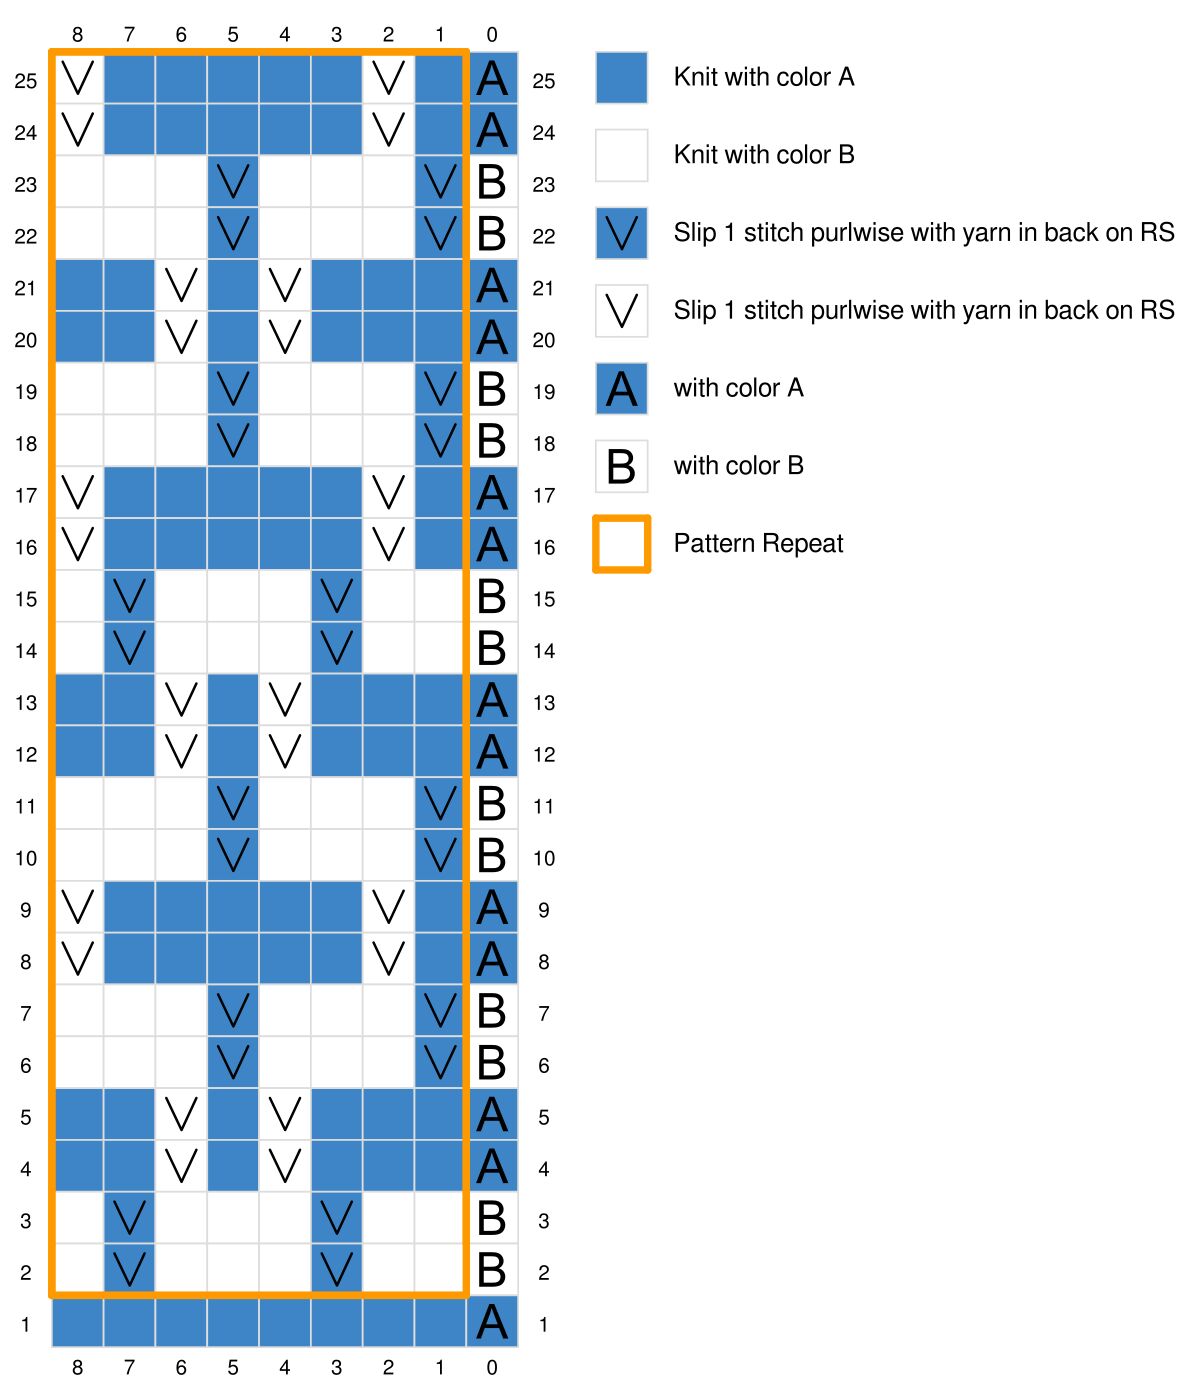
- Follow the Chart: Mosaic patterns often come with charts. In this pattern, you’ll follow a color-coded chart that tells you which stitches to knit and which to slip.
Read more about Mosaic Knitting in my Beginner’s Guide
How to Customize Your Hat 🎨
Want to make this hat even more special? Here are a few ideas to customize it:
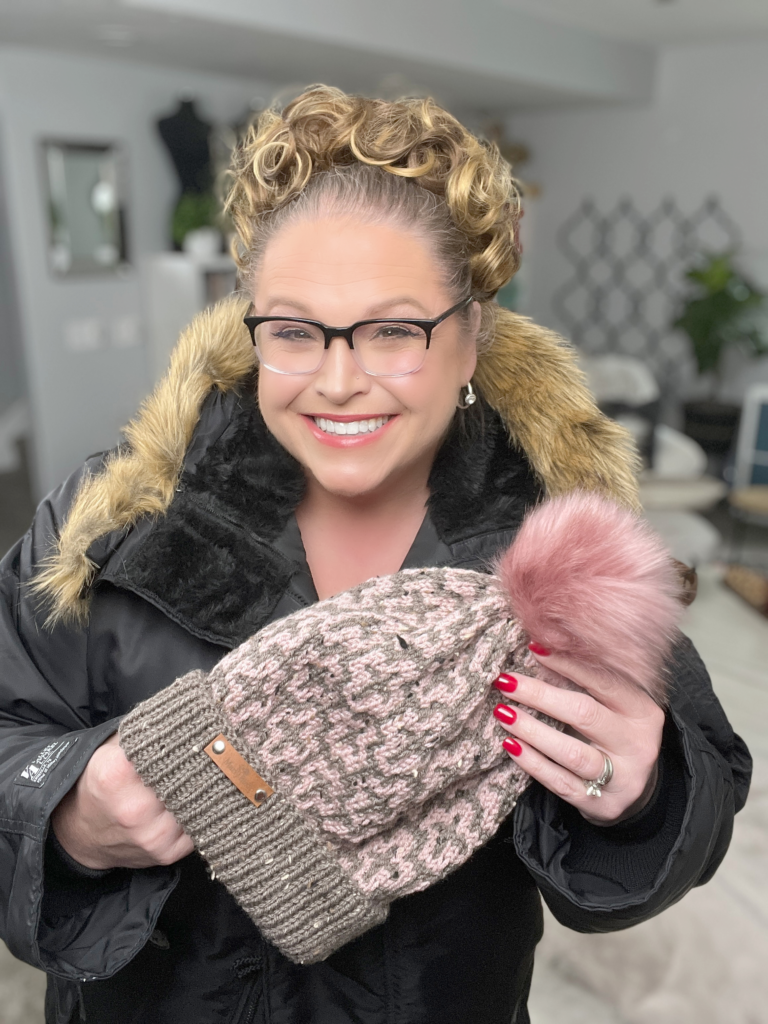
- Pom-Pom Fun: Add a large, fluffy pom-pom to the top for a playful touch. You can even make a two-tone pom-pom to match the hat’s colors.
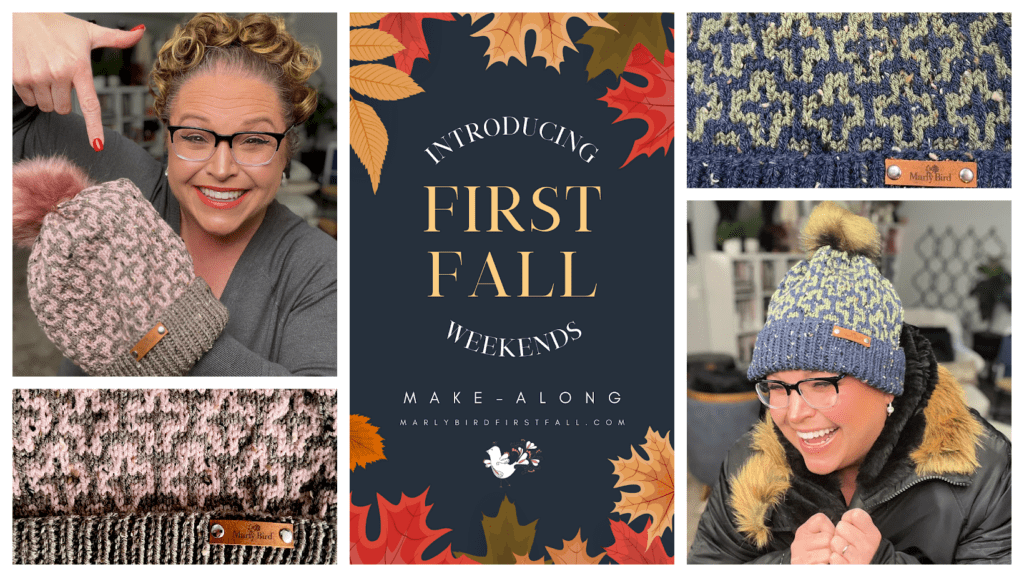
- Switch Colors: Play around with different color combinations to make the pattern uniquely yours. Using a long color changing yarn like Sandscapes for color B and a solid color of Brava for color A would result in a stunning mosaic hat!
- Extra Length: If you prefer a slouchy beanie, simply knit a few more rounds before starting the decrease section.
FAQs About Mosaic Knit Hats
Q: Is mosaic knitting hard?
A: Not at all! Mosaic knitting is actually one of the simplest colorwork techniques. Since you’re only working with one color at a time and using slip stitches to create the pattern, it’s very approachable for beginners.
Q: Can I knit this hat with double-pointed needles (DPNs)?
A: Yes! If you prefer working with DPNs instead of circular needles, you can absolutely adapt this pattern. Just be sure to divide your stitches evenly across the needles.
Q: What’s the best way to block a knit hat?
A: After you finish your hat, wet block it to even out the stitches and soften the yarn. Use a balloon or a hat form to block your hat without losing its shape.
Q: What type of yarn is best for mosaic knitting?
A: High-contrast yarns work best for mosaic knitting. You want the slip stitches to stand out, so choose colors that show a distinct difference when placed side by side. How to colors for colorwork knitting.
Ready to Start? Here’s the Free Pattern!
Now that you know a little bit more about mosaic knitting, it’s time to grab your needles and dive into the Falling Leaves Mosaic Knit Hat pattern below.
FALLING LEAVES KNIT MOSAIC HAT
Designed by Marly Bird
SKILL LEVEL
Adventurous Beginner
MEASUREMENTS
To Fit Size
Toddler (Child, Adult Small, Adult Medium, Adult Large)
Sample in sized Adult Medium
Finished Measurements
| To Fit Size | Toddler | Child | Adult Small | Adult Medium | Adult Large |
| Finished Head Circumference (approx) Inches | 16 | 18 | 21 | 22.5 | 24 |
| Finished Head Circumference cm | 40.5 | 45.5 | 53.5 | 57 | 61 |
| Height not including Brim INCHES | 6.25 | 7.5 | 8 | 8.5 | 9 |
| Height not including Brim CM | 16 | 19 | 20.5 | 21.5 | 23 |
Gauge
20 stitches by 35 rounds= 4″ [10 cm] x 4″ [10 cm] in mosaic stitch pattern and larger needles; use any size needle to obtain the gauge.
MATERIALS
Yarn
WeCrochet, Brava Tweed (97% Premium Acrylic/ 3% Viscose, 218 yds / 200 m, 3.5 oz/ 100 g, CYCA# 4 worsted)
Color A: #61309 Elderberry, 1 ball
Color B: #61304 Wasabi, 1 ball
Needle
U.S. 7 [4.5 mm] and U.S. 8 [5 mm] 16” circular needles, or size required for gauge.
Notions
ABBREVIATIONS
K – Knit
K2tog – Knit Two Together
P – Purl
PM – Place Marker
RS – Right Side
Sl – Slip
Sl-wyib – Slip With Yarn in Back
St(s) – Stitches
WS – Wrong Side
CHART
NOTES
- Directions are for size Toddler; changes for sizes (Child, S, M, L) are in parentheses. When only one number is given then that number applies to all sizes.
- When casting on, place a marker every 20 stitches to not lose count.
- Project is made from the bottom brim to crown.
- When working on the body, place a marker every 8 stitches for the repeat.
- Slip all stitches as if to purl with yarn in back.
- When slipping stitches be sure to not pull the float too tight or the gauge will get too small.
- Do not cut colors, carry the color up the inside of the project.
- If you want to be sure you have a safety net as you knit, adding a lifeline to your project every so often will be helpful. Just to make sure you have a point to rip back to if something goes wrong. (video help).
VIDEO TUTORIALS
- Long Tail Cast-On >> Click Here for Video Help <<
- Knit Stitch (continental style) >> Click Here for Video Help <<
- Purl Stitch (continental style) >> Click Here for Video Help <<
- Perfect Ribbing >> Click Here for Video Help <<
- Duplicate Stitch >> Click Here for Video Help <<
- How to Add Lifeline >> Click Here for Video Help <<
- Bury Ends >> Click Here for Video Help <<
- How to add a Removable Faux Fur Pom Pom >> Click Here for Video Help <<
- Falling Leaves Knit Hat Video >> Click Here for Video Help <<
GROW
To Unlock Exclusive Subscriber Content click the Box below and join for free by simply adding your email and creating a password! If you are having troubles, clear your cache or reset your password or login to the Grow Publisher Portal.
>> Learn More About Grow Here <<
I’m thrilled to share this amazing pattern with you, many patterns on my blog are absolutely free! I kindly request that you don’t copy and paste or distribute this pattern. Prefer an ad-free experience? Buy a digital PDF pattern for a small fee from one of my online stores for a seamless crafting journey.
I appreciate your support and readership. You are the reason I can keep doing what I love and sharing it with others. So, thank you from the bottom of my yarn-loving heart! Disclosure: This post contains affiliate links, meaning I get a commission if you decide to make a purchase through my links at no cost to you.
FALLING LEAVES MOSAIC KNIT HAT
FINISHING
Thread the tail into a tapestry needle, insert tapestry needle into each stitch on left hand needle as if to knit and off until the tail has been thread through each stitch.
Pull tight like a drawstring.
Secure tail to the wrong side of the hat.
Weave in all loose ends.
(Optional) Add Pom Pom to top of hat.
(Optional) Add Leather Tag with Leather Rivets
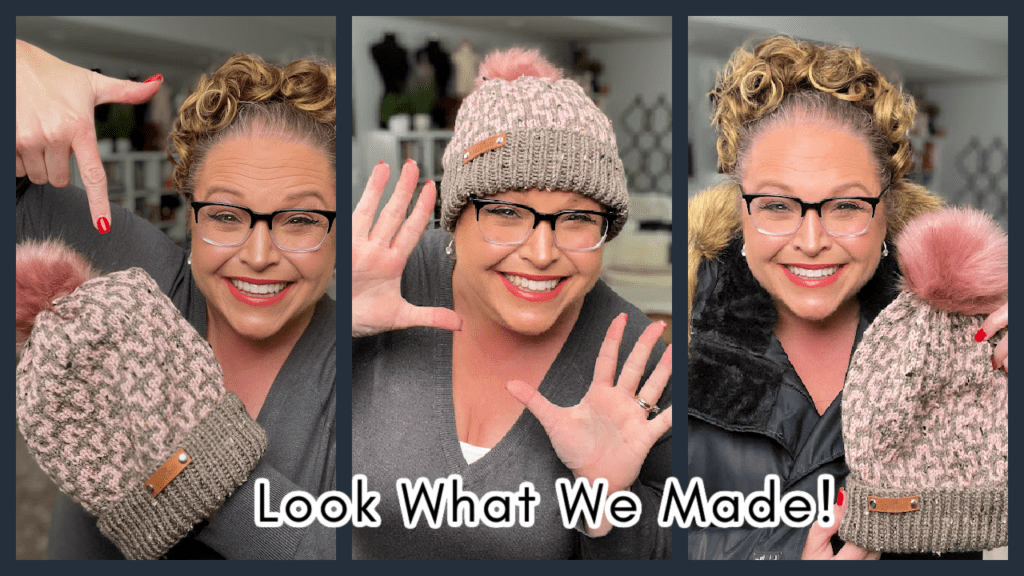
Don’t Forget to Share Your Project!
Once you’ve finished your Falling Leaves Mosaic Knit Hat, I’d love to see it! Share your project on Ravelry or tag me on social media with #MarlyMadeMeDoIt.


I can’t find the VIP experience for BiCrafty individuals. I paid for it and verified the charge went through but it’s not on marlybirdhouse
You should have received an email with instructions for how to access the MarlyBirdHouse.com account. That is where you will find the BiCrafty VIP Experience. If you need additional help, please reach out to customer service. [email protected]
I’m reading the mosaic hat pattern, and the finishing instructions make it sound like we’ll get down to 40 or so sts, knit 1 row, and then run the tapestry needle through and cinch up? That doesn’t sound right.
That is exactly right. You will only do one round of decreases. I do go over this in the video tutorial as well. 🙂
HELP!
I am unable to access the free pattern. I can see all the information, supply list, both charts, etc. and then the next item is finishing. Where it says ” here is the free pattern below” there’s a nice picture of you, Marly, but no instructions.
if you keep scrolling, you will see where you can login to see the exclusive content. the free patterns is locked until you subscribe to the marlybird website. It is free.
I cannot find the crochet pattern, I signed up for. I only see the knit pattern, Please help me find it.
Thank You
The crochet pattern is called Autumn Breezes. If you do a search on my website the blog post will pop up.
Hi, I’ve been going through your blog to find the fall crochet hat and I can see all of the information except for the actual pattern.
Here is the link that I’m using: https://marlybird.com/blog/cozy-up-with-the-falling-leaves-mosaic-knit-hat-free-pattern-mosaic-tips/
Thanks, Lisa
You have to become a subscriber to the Marly Bird Website through the grow program. When you scroll to the locked content, click login or join and create an account if you don’t have one. Once you do, refresh the page and the exclusive content should appear.
the crown is only 2 rows?
Yes
Love your patterns
On the pattern, row 14, it says, ” [K2 times, sl1wyib, K] 2 times” what exactly does the first part ” [K2 time” of this mean? Or is it a typo and it is just supposed to read
[K2, sl1wyib,K] 2 times?
Yes, thank you