Beginner Knit Preemie Hat | FREE Pattern and Video Tutorial
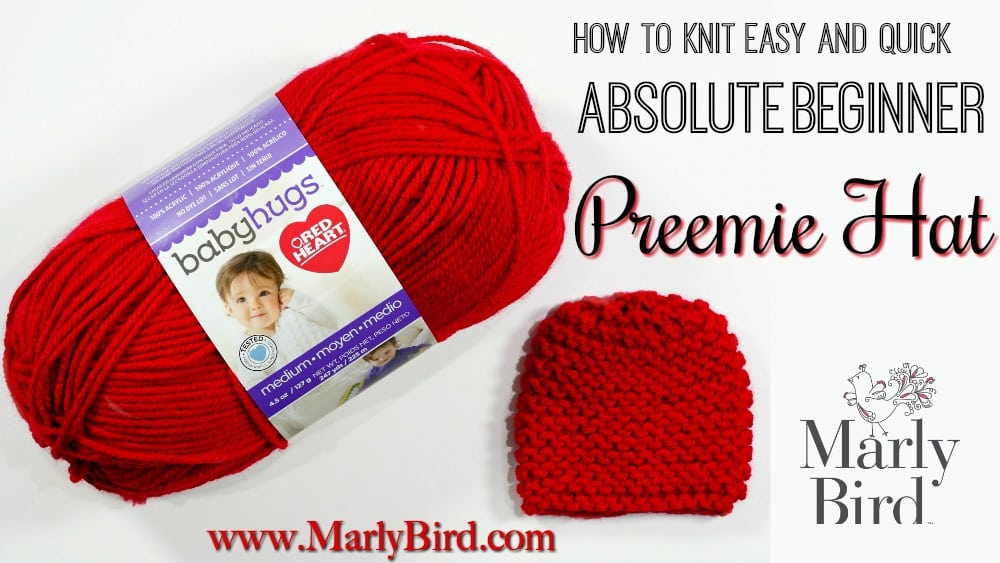
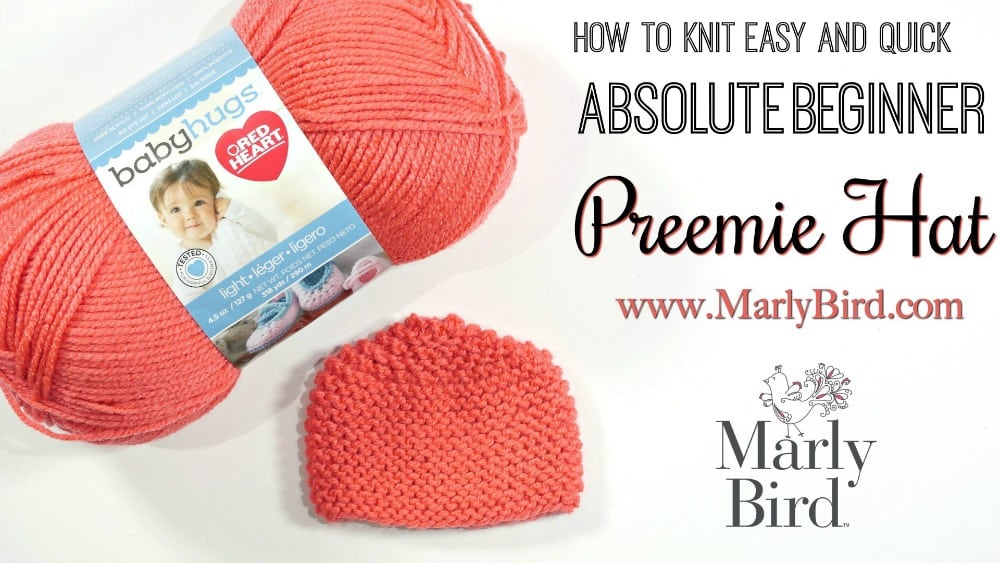
The Free Beginner Knit Preemie Hat Pattern for Charity is a simple pattern that even an absolute beginner knitter can make. Choose any color of Baby Hugs, by Red Heart ® Yarns, print the pattern, and watch the step-by-step video tutorial showing you everything you need to make this free beginner knit preemie hat pattern for charity.
*This post contains affiliate links. By clicking one of the links and making a purchase a small portion will go to support the blog. The price that you pay is not changed. Thank you for your support of the blog.*
Queue it up and Like the Pattern on Ravelry
Beginner Knit Preemie Hat Materials
- Baby Hugs, by Red Heart ® Yarns
- 1 ball any color for all sizes
- Red Heart Knitting Needles:4.5 mm [US 7] for light weight yarn; 5.5mm [US 9] for worsted weight yarn.
- Removable stitch marker
- Bent Tip Yarn needle
- Good pair of scissors
Gauge | Free Beginner Preemie Hat Pattern for Charity
GAUGE is the measurement of the stitches and rows after you knit them. Getting gauge means that you are getting the same numbers per inch as written in the pattern.
Light weight yarn gauge: 4.5 sts and 10 rows per inch. CHECK YOUR GAUGE. Use any size hook to obtain the gauge.
Worsted weight yarn gauge: 3.5 sts and 8 rows per inch. CHECK YOUR GAUGE. Use any size hook to obtain the gauge.
It is important that you get gauge if your hat is to fit the size you are making.
Sizes for Free Beginner Knit Preemie Hat
Here is a handy chart to show you what size hat measurements are recommended. This information was found on the Preemie Project website (wonderful source for information).
NOTICE: Do NOT stretch hat when measuring. Hat measurements are 1.0″-1.5″ smaller than the head circumference. The hats should stretch at least 1.0″ – 1.5″. If your hat does not stretch that much, you will need to make the hat a bit wider.
| 1-1.5 lbs | 2-3 lbs | 3-5 lbs | 6-8 lbs | 9-11 lbs | |
| Hat Circumference | 7.5″ to 8.5″ | 8.5″ to 10″ | 10″ to 12″ | 12″ to 12.5″ | 13″ to 14″ |
| Hat Length (height) | 3″ to 3.25″ | 3.5″ to 4.0″ | 4″ to 5″ | 5″ to 6″ | 6″ to 6.5″ |
| Head (circumference) | 8.0″ to 9.25″ | 9.75 to 11″ | 11.25″ to 12.75″ | 13″ to 14″ | 14.5″ |
Pattern Notes
- The knit preemie hat is made flat then seamed up to close
- When knitting every row, that is called garter stitch
- When counting rows of garter stitch, it takes 2 rows to create each ridge
- Be sure to weave in tails securely at the end of the project
Abbreviations
CO – Cast On
K – Knit
K2tog – Knit two stitches together (1 stitch decreased)
st(s) – stitch(es)
Light Weight Yarn Pattern | Free Beginner Preemie Hat
Body of Hat
Cast on 36 (40, 48, 52, 64) stitches.
BEGINNER TIP: there are many different cast on methods for knitting. I recommend to do a long tail cast on. It is a wonderful cast on that transitions beautifully to the garter stitch (knitting every row) and it is stretchy. If you need a more visual representation of the long tail cast on, take a look at the video I did for the hat.
Row 1: Knit all the stitches. Mark front of fabric with a marker to indicate right side.
BEGINNER TIP: when starting the next row, be sure that you do NOT pull up the stitch from the row below in an attempt to tighten the last stitch. Doing so will make it look like you have two stitches. It is best to make sure you see the purl bump of the stitch you are about to work into. If you need a more visual representation of what I mean, take a look at this video I did for the Easy and Quick Absolute Beginner Chunky Scarf.
Row 2: Knit all the stitches.
Continue to repeat row 2 until the body of the hat measures 3 (3.5, 4, 5, 6) inches [7.6 (8.9, 10.1, 12.7, 15.2) cm] ending after a wrong side row.
Crown of Hat
Row 1: Knit two stitches together (k2tog) all down the row– 18 (20, 24, 26, 32) stitches remaining.
Row 2: Knit all the stitches.
Row 3: K2tog all down the row– 9 (10, 12, 13, 16) stitches remaining.
Row 4: Knit all the stitches.
sizes 1-1.5 (2-3, -, -, -) lbs only go to finishing instructions.
sizes – (-, 3-5, -, 9-11) lbs only
Row 5: K2tog all down the row– – (-, 6, -, 8) stitches remaining.
Row 6: Knit all the stitches.
sizes – (-, -, 6-8, -) lbs only
Row 5: K1, k2tog all down the row — – (-, -, 6, -) stitches remaining.
Row 6: Knit all the stitches.
Finishing
All the stitches are stitched and it is time to secure them.
- Cut the yarn leaving a length that is 3 times the height of the hat.
- Thread the tail onto a bent tip tapestry needle.
- Working into each stitch individually, put the tapestry needle into the stitch as if you were going to knit it, then pull the yarn through that stitch.
- Let the stitch fall off the needle.
- Repeat steps 3 and 4 until all stitches have yarn thread through them.
- Pull the tail like a draw string really tight.
- On the wrong side of the hat, weave in the tail by drawing through all the stitches again in a figure 8 manner to insure the top of the hat will not come undone.
- Make sure the tail is positioned at the open seam of the hat and proceed to the seaming portion.
Seaming
The fabric of the hat you have made is called garter stitch. You get garter stitch by knitting every row (you can also get it if you were to purl every row). To seam garter stitch with an invisible seam, you simply follow these instructions:
- Align the edges that need to be sewn together, with the right side of the fabric facing out.
- Thread your bent tip tapestry needle with the tail of yarn remaining from the top of your hat.
- Starting at the top of the hat, just under where you pulled the top like a drawstring, insert your needle under the horizontal bar between the first and the second stitch on the right edge and pull the yarn through.
- Insert the needle under the corresponding bar on the left edge and pull the yarn through.
Repeat steps 3 and 4 to the bottom of the hat. Turn your hat inside out and weave in the tail. Don't forget to also weave in the starting tail of your hat to the inside also.
Worsted Weight Yarn Pattern | Free Beginner Preemie Hat
Body of Hat
Cast on 32 (36, 44, 48, 56) stitches.
BEGINNER TIP: there are many different cast on methods for knitting. I recommend to do a long tail cast on. It is a wonderful cast on that transitions beautifully to the garter stitch (knitting every row) and it is stretchy. If you need a more visual representation of the long tail cast on, take a look at the video I did for the hat.
Row 1: Knit all the stitches. Mark front of fabric with a marker to indicate right side.
BEGINNER TIP: when starting the next row, be sure that you do NOT pull up the stitch from the row below in an attempt to tighten the last stitch. Doing so will make it look like you have two stitches. It is best to make sure you see the purl bump of the stitch you are about to work into. If you need a more visual representation of what I mean, take a look at this video I did for the Easy and Quick Absolute Beginner Chunky Scarf.
Row 2: Knit all the stitches.
Continue to repeat row 2 until the body of the hat measures 3 (3.5, 4, 5, 6) inches [7.6 (8.9, 10.1, 12.7, 15.2) cm] ending after a wrong side row.
Crown of Hat
Row 1: Knit two stitches together (k2tog) all down the row– 16 (18, 22, 24, 28) stitches remaining.
Row 2: Knit all the stitches.
Row 3: K2tog all down the row– 8 (9, 11, 12, 14) stitches remaining.
Row 4: Knit all the stitches.
sizes 1-1.5 (2-3, -, -, -) lbs only go to finishing instructions.
sizes – (-, -, 6-8, 9-11) lbs only
Row 5: K2tog all down the row– – (-, 6, -, 7) stitches remaining.
Row 6: Knit all the stitches.
sizes – (-, 3-5, -, -) lbs only
Row 5: K1, k2tog all down the row — – (-, -, 5, -, -) stitches remaining.
Row 6: Knit all the stitches.
Finishing
All the stitches are stitched and it is time to secure them.
- Cut the yarn leaving a length that is 3 times the height of the hat.
- Thread the tail onto a bent tip tapestry needle.
- Working into each stitch individually, put the tapestry needle into the stitch as if you were going to knit it, then pull the yarn through that stitch.
- Let the stitch fall off the needle.
- Repeat steps 3 and 4 until all stitches have yarn thread through them.
- Pull the tail like a draw string really tight.
- On the wrong side of the hat, weave in the tail by drawing through all the stitches again in a figure 8 manner to insure the top of the hat will not come undone.
- Make sure the tail is positioned at the open seam of the hat and proceed to the seaming portion.
Seaming
The fabric of the hat you have made is called garter stitch. You get garter stitch by knitting every row (you can also get it if you were to purl every row). To seam garter stitch with an invisible seam, you simply follow these instructions:
- Align the edges that need to be sewn together, with the right side of the fabric facing out.
- Thread your bent tip tapestry needle with the tail of yarn remaining from the top of your hat.
- Starting at the top of the hat, just under where you pulled the top like a drawstring, insert your needle under the horizontal bar between the first and the second stitch on the right edge and pull the yarn through.
- Insert the needle under the corresponding bar on the left edge and pull the yarn through.
Repeat steps 3 and 4 to the bottom of the hat. Turn your hat inside out and weave in the tail. Don't forget to also weave in the starting tail of your hat to the inside also.
Variations of Free Beginner Knit Preemie Hat
Stripes
Once you get the hang of knitting this super simple and easy hat, you might want to make some variations. Once quick and easy variation to the charity hat is to add stripes. It could be simple 2 row or 4 row stripes. To do that you would change colors every 2 or 4 rows. Because there is a seam, you wouldn't have to cut your yarn and rejoin for each color change, meaning less ends to weave in later.
To change colors, at the start of the row you want the new color, simply drop the old color and pick up the new (be careful not to pull snug so the fabric bunches) and continue knitting with the new color letting the old color just hang out. As long as you are doing an even number of rows between each color change, the next time to change colors, the old color will be hanging out waiting for its turn to play. You will drop the color your were using (which is now the old color) and pick up the color that was hanging out (which is the new color).
At the end, when it is time to seam, use the color yarn that you finished the top of the hat with to do the invisible garter stitch seam and you will be golden!
Working these little preemie hats in stripes is a great way to use up scraps of Baby Hugs yarn.
Pom Pom's
Another option is to add a pom pom to the top of the hat. BUT I will caution you, that some charities do not want any extra bits or embellishments on the outside of the hat so be sure to check with the charity you are donating to before you go to all that trouble. If you want help on making pom pom's we got you covered!
Video Tutorial

As I mentioned earlier, I've found that videos help alot when it comes to understanding what you need to do. So, I've created a quick video demonstrating how to make this charity hat.

ETA: in the video I mentioned an article I read about red hats for preemies, here is more information about Little Heads Big Hearts.