Bead Crochet Chain Necklace || Spectacular Spectacular
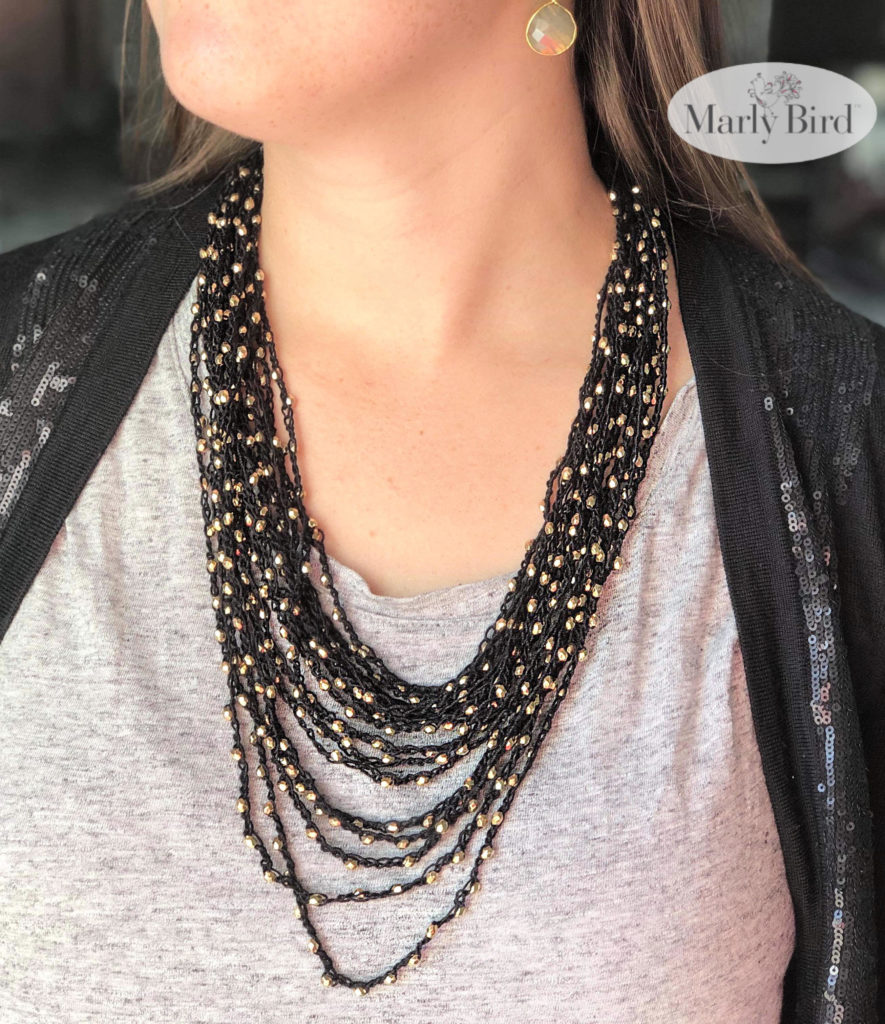
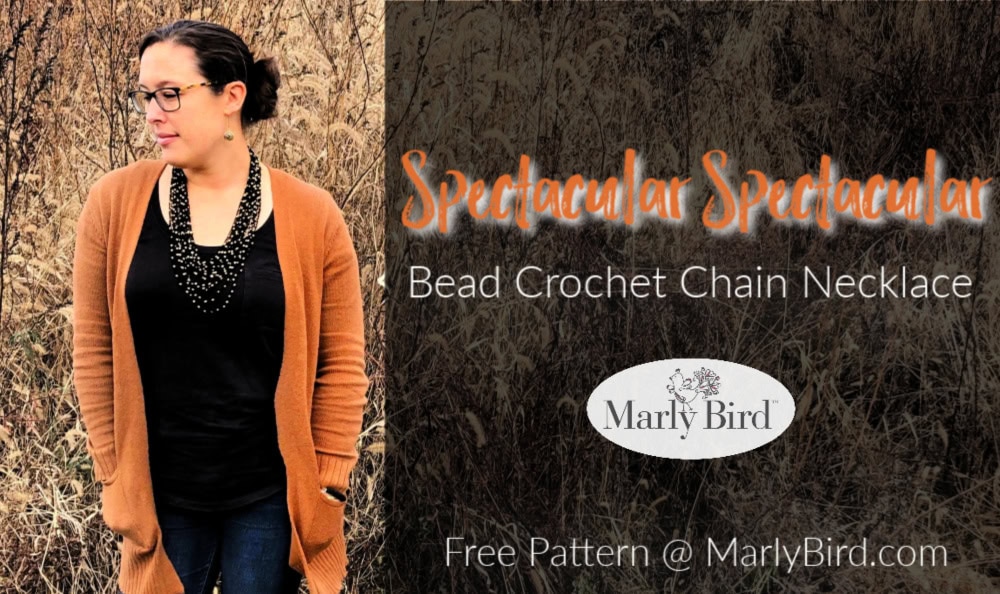
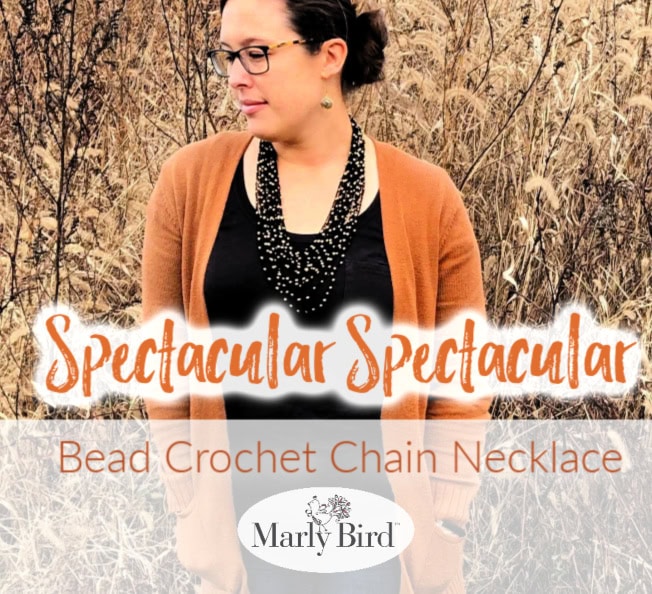
Spectacular Spectacular is a great introduction to bead crochet for those of you that have wanted to incorporate some bling to your work. This necklace is easy peasy.
You can wear this bead crochet chain necklace for your holiday party, the next wedding you attend or even just a Wednesday to work. You will love this fast beginner friendly crochet necklace.
*THIS POST CONTAINS AFFILIATE LINKS. BY CLICKING ONE OF THESE LINKS AND MAKING A PURCHASE A SMALL PORTION COMES BACK TO THE BLOG. THE PRICE YOU PAY WILL NOT CHANGE. THANK YOU FOR YOUR SUPPORT OF THE BLOG.*
Queue it up and Like the Pattern on Ravelry
MEASUREMENTS
Total length of necklace rows: 32″ (81.2 cm) longest bead row; 22.5″ (57.1 cm) shortest bead row
Granny Stitch Triangle: 1.25″ (3.75 cm) from center to corner point
Gauge: 4 (ch 4, 1 bead chain) = 4″ (10 cm); 6 (ch 3, 1 bead chain) = 4″ (10 cm)
MATERIALS
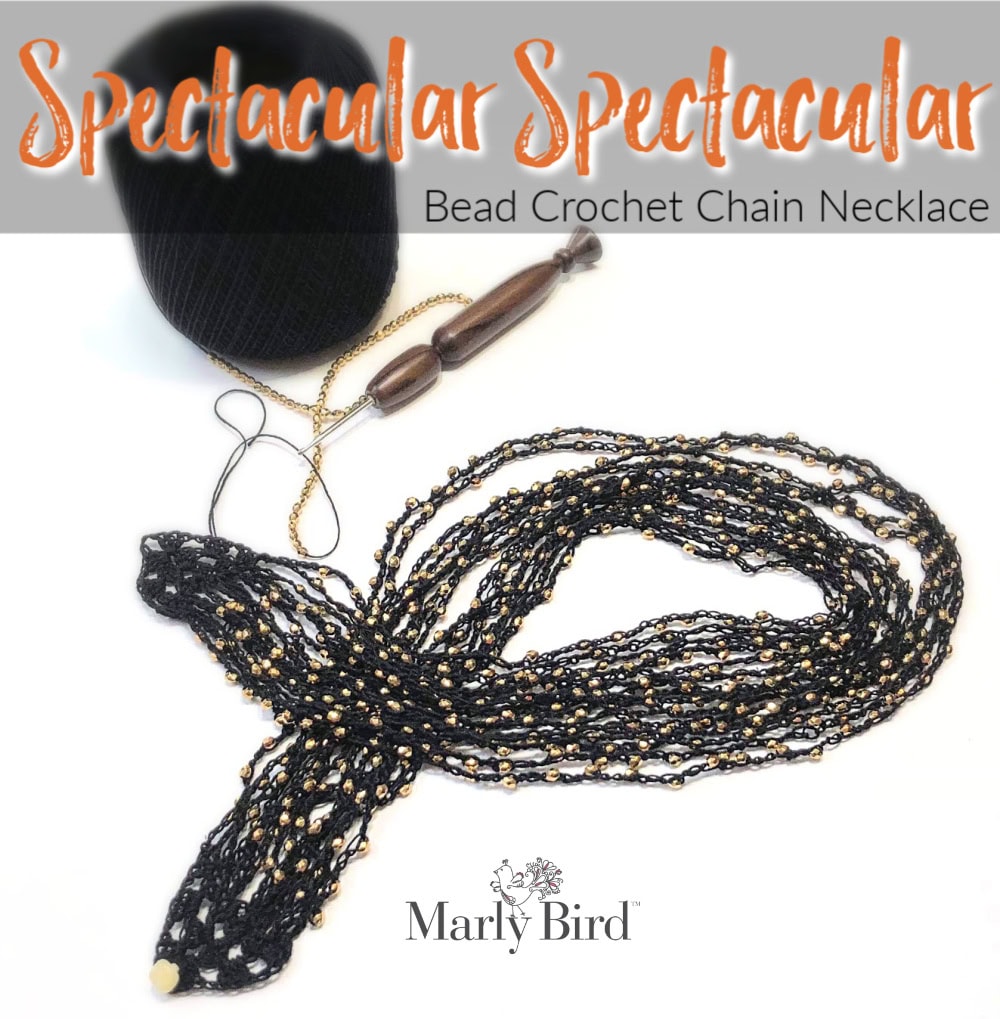
Crochet Thread: Aunt Lydia’s Classic Crochet Thread Size 10 (color of choice)
Hook: Size C (2.75mm)
NOTIONS
- Bead spinner (optional),
- Tapestry needle,
- Sharp scissors,
- Sewing thread and needle,
- Shank button (approximately 3/8″–This will need to fit in the hole that you make in the triangle two section of the pattern)
Beads: Approx 700 seed beads, 4mm used in sample (color of choice)
NOTES
- As you work on the necklace you will push the unused beads down the string until it is time to chain around them. Because you will be pushing many beads there is a risk of your string becoming overused or fraying. Be aware of the string condition as you work to make sure it doesn’t accidentally break and you end up with 700 beads on your floor. If you notice your string is becoming too weak go ahead push the beads down until the bad string has no beads on it, then cut the bad string away and rejoin the string to the project and carry on making the bead crochet chain necklace.
- The total length of your necklace is established on the very first beaded crochet chain row made.
- Each row made after the first is a little bit shorter to give a graduated layered necklace look.
Spectacular Spectacular Bead Crochet Chain Necklace
Pattern
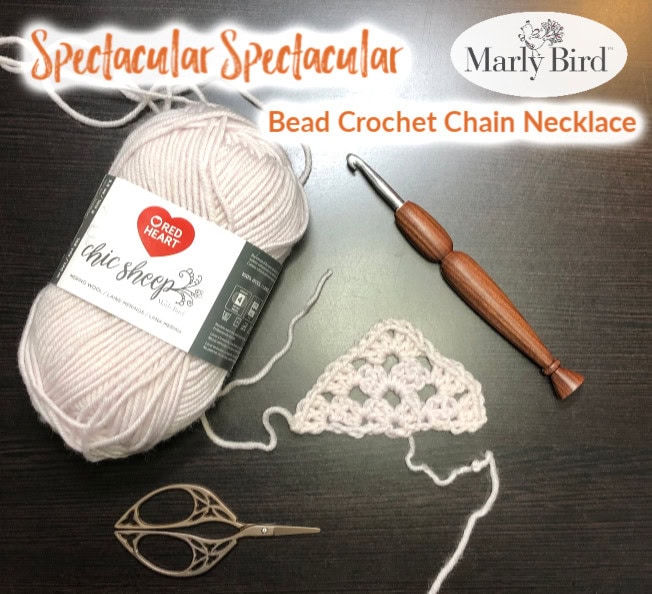
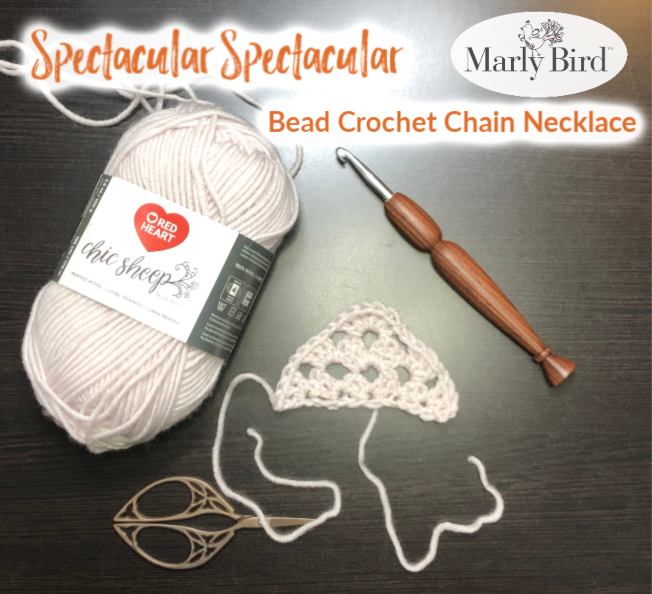
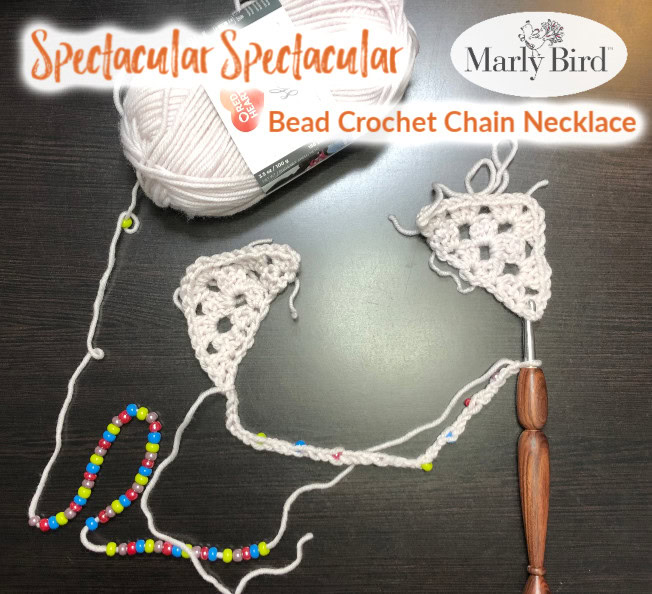
1st Clasp — Granny Stitch Triangle
Ch 4, slip stitch into the first chain to form a ring.
Row 1 (RS): Ch 3 (counts as a double crochet here and throughout), (2 dc, ch 2, 3 dc) in ring, turn — 6 dc, 1 ch-2.
Row 2 (WS): Ch 3, 2 dc in first stitch, ch 1, (3 dc, ch 2, 3 dc) in ch-2 space [corner made], ch 1, 3 dc in last st of row, turn — 12 dc, 2 ch-1, 1 ch-2.
Row 3 (RS): Ch 3, 2 dc in first stitch, ch 1, 3 dc in ch-1 space, ch 1, (3 dc, ch 2, 3 dc) in ch-2 space [maintaining corner], ch 1, 3 dc in ch-1 space, ch 1, 3 dc in last st of row — 18 dc, 4 ch-1, 1 ch-2.
Fasten off and weave in ends.
2nd Clasp — Granny Stitch Triangle (button side)
Ch 4, slip stitch into the first chain to form a ring.
Row 1 (RS): Ch 3 (counts as a double crochet here and throughout), (2 dc, ch 2, 3 dc) in ring, turn — 6 dc, 1 ch-2.
Row 2 (WS): Ch 3, 2 dc in first stitch, ch 1, (3 dc, ch 2, 3 dc) in ch-2 space [corner made], ch 1, 3 dc in last st of row, turn — 12 dc, 2 ch-1, 1 ch-2.
Row 3 (RS): Ch 3, 2 dc in first stitch, ch 1, 3 dc in ch-1 space, ch 1, (6 dc) in ch-2 space [makes solid place to attach button], ch 1, 3 dc in ch-1 space, ch 1, 3 dc in last st of row — 18 dc, 4 ch-1, 1 ch-2.
Fasten off and weave in ends.
Bead Crochet Chain Necklace Chains
See Notes section before beginning this section.
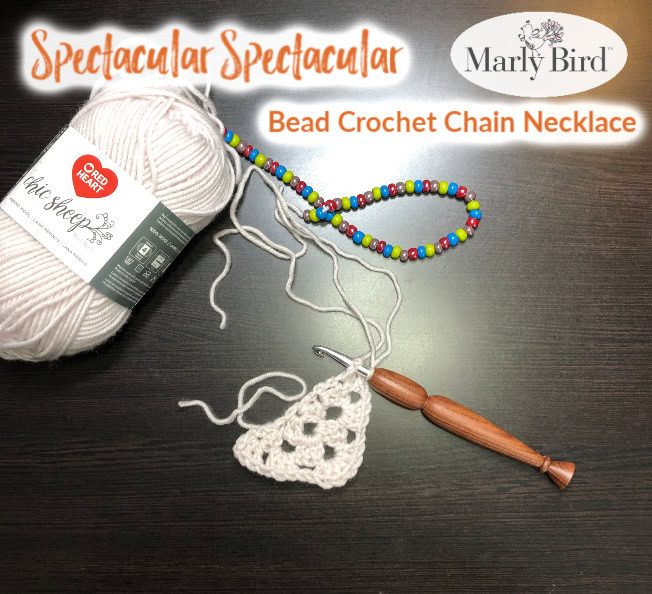
Pre-string 700 beads onto crochet thread using a beading needle (and bead spinner if you have one).
Longest part of necklace
It needs to be repeated from the notes. This beaded chain section will establish the total length of your necklace. Make sure it’s as long as you want the necklace to measure. Each row made after this one is a little bit shorter to give a graduated layered necklace look.
Set-up Row: Join with a slip stitch to the 3rd ch of the beginning ch-3 of row 3 of the 1st granny stitch triangle, *ch 4, slide a bead up to the hook and work a chain (the chain now has a bead in the middle); repeat from * necklace measured desired length (sample measures 32″ (81.2 cm), ch 4, join with a slip stitch to the last dc of row 3 of the 2nd granny stitch triangle.
Graduated layer rows of necklace
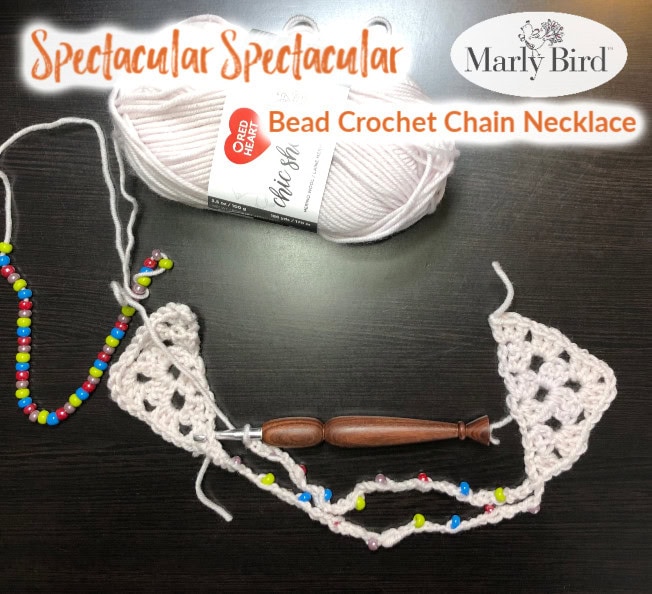
Row 1: *Ch 3, slide a bead up to the hook and work a chain; repeat from * until necklace measures slightly shorter than the previous row, ch 3, join with a slip stitch next to the previous row join on 1st granny stitch triangle.
Row 2: *Ch 4, slide a bead up to the hook and work a chain; repeat from * until necklace measures slightly shorter than the previous row, ch 4, join with a slip stitch next to the previous row join on 2nd granny stitch triangle.
Make sure as you are joining the bead chain rows with the slip stitch along the triangles you have them spaced out evenly so the very last bead chain rows you do are joined 1. in the last dc of row 3 of the 1st granny stitch triangle and 2. the 3rd ch of the beginning ch-3 of row 3 of the 2nd granny stitch triangle.
Repeat rows 1 and 2, 16 times (or more if you want a fuller necklace but that will require more beads). This will give you 1 long row and 18 gradually shorter rows.
Fasten off and weave in ends.
Finishing
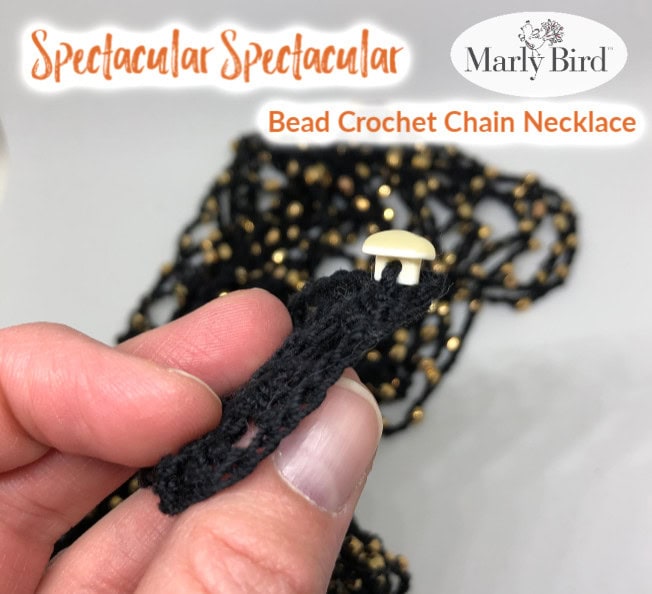
Using sewing thread and needle, attach the button to the 2nd granny stitch triangle on the 6 dc at the corner. Buttons with a shank will make this easier and allow for room for the other side of the clasp.
If your tails are long enough you could weave it up to the top and use it to sew on your button rather than adding another thread.
MORE FREE PROJECTS WITH BEADS
- DIY Knit Row Counter
- DIY Shawl Pins
- Scrap yarn bracelet
- Crochet bangle bracelets
- DIY Stitch Markers
- Beaded Crochet Rope Necklace
- Beaded Crochet Rope Bracelet
MORE FREE CROCHET PATTERNS
