
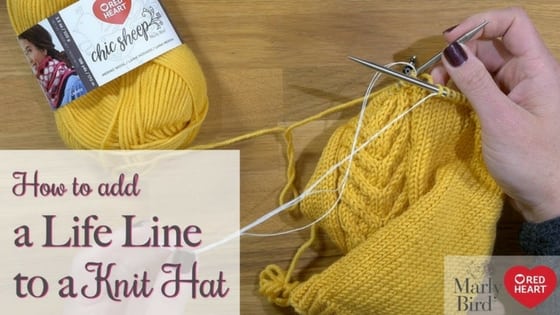
Adding a Lifeline to your Knitting: Video Tutorial
Time to SAVE THOSE STITCHES before they fall! Learn how to Add a lifeline to your knitting in three different ways.
I'm sure many of you can relate to having made a mistake in your knitting several rows back. That feeling when you first see it…know what I mean? You're so proud of yourself, then…you spot it and groan. You need to make a decision. What do you do?
Do you rip back to your mistake to fix it? Or do you keep going? The choice can be easier when you use a lifeline in your knitting. Let me show you what a lifeline is, how it works, and how to add one to your next project.
*This post contains affiliate links. By clicking one of these links and making a purchase a small portion will go to support the blog. The price you pay does not change. The small commission I make from your purchase helps me bring you free content like in this post. Thank you for your continued support.*

What is a Lifeline (sometimes spelled life line)?
Add a lifeline to your knitting by using a piece of thread, or smooth yarn, to save your place in your work. When working on a lace or cables there is often a lot of things that can go wrong. If you forget a yarn over, or cable in the wrong spot, you'll need to rip back your work. Ripping out your work can be scary since the stitches are live and sometimes have a mind of their own.
Using a lifeline in your knitting gives you a spot to rip back to. Here, you know that your stitches were perfect. One lifeline in your project won't be enough. I suggest you use lifelines every few rows. This allows you to have different secure spots you can rip back to.

Notes About using a Lifeline in your Knitting:
When using a lifeline in your next knitting project there are a few things that you should remember. Selecting the material you'll use for your life line is important. You should select something that is a finer weight than the project that you are doing. Typically, I use crochet thread since it is the thinnest I can find and works really well in most cases. Crochet thread does not stick to wool, so you won't have an issue when you remove it later.
As you string your life line through your stitches, don't split the knit stitches sitting on your needle. If your stitches split, it'll be much harder to remove the life line at the end of your project. To make it easier to add your life line, use the cord of your needle rather than the needle itself. There is more room around the stitches on the cord. This makes it easier, and faster, to add your life line.
DO NOT KNIT THE LIFELINE. I can't stress this enough! You do not knit the life line. The life line will sit through your stitches as you knit the next row. It will act as the knitting needle cable, but does not move to the next round with you.
Afterthought Lifelines in your Knitting:
Lifelines can be added after the fact. If you notice you made a mistake you can still add a lifeline wherever you want to rip back to. But this can be a little more challenging. It's easier to add them in every few rows as you go knowing you're picking up all of the stitches.
Video Tutorials – 3 ways to add a lifeline to your knitting:
Want to Make the Hat in the Video?
In the video, I'm working on the Road to Success Chic Hat, made in Chic Sheep Yarn. I have a full video tutorial to walk you through making the pattern on my blog.
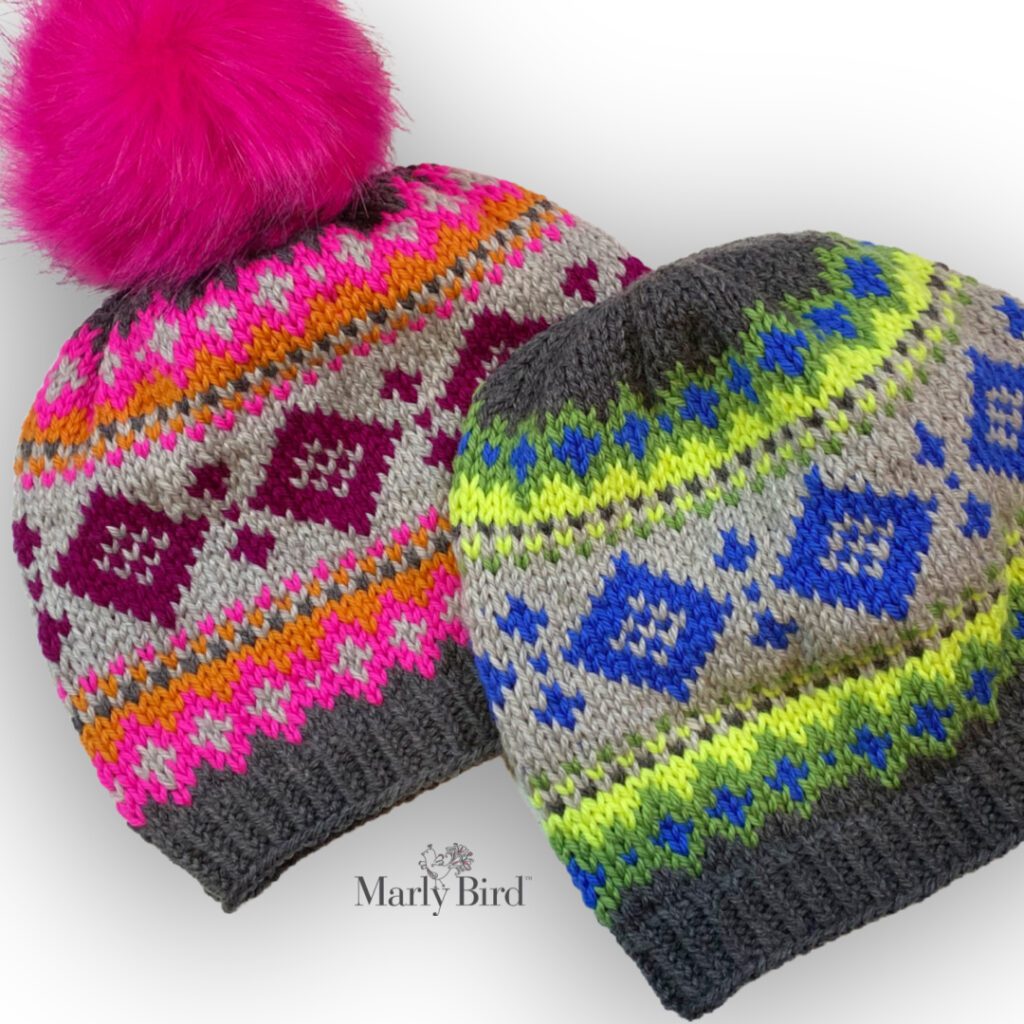
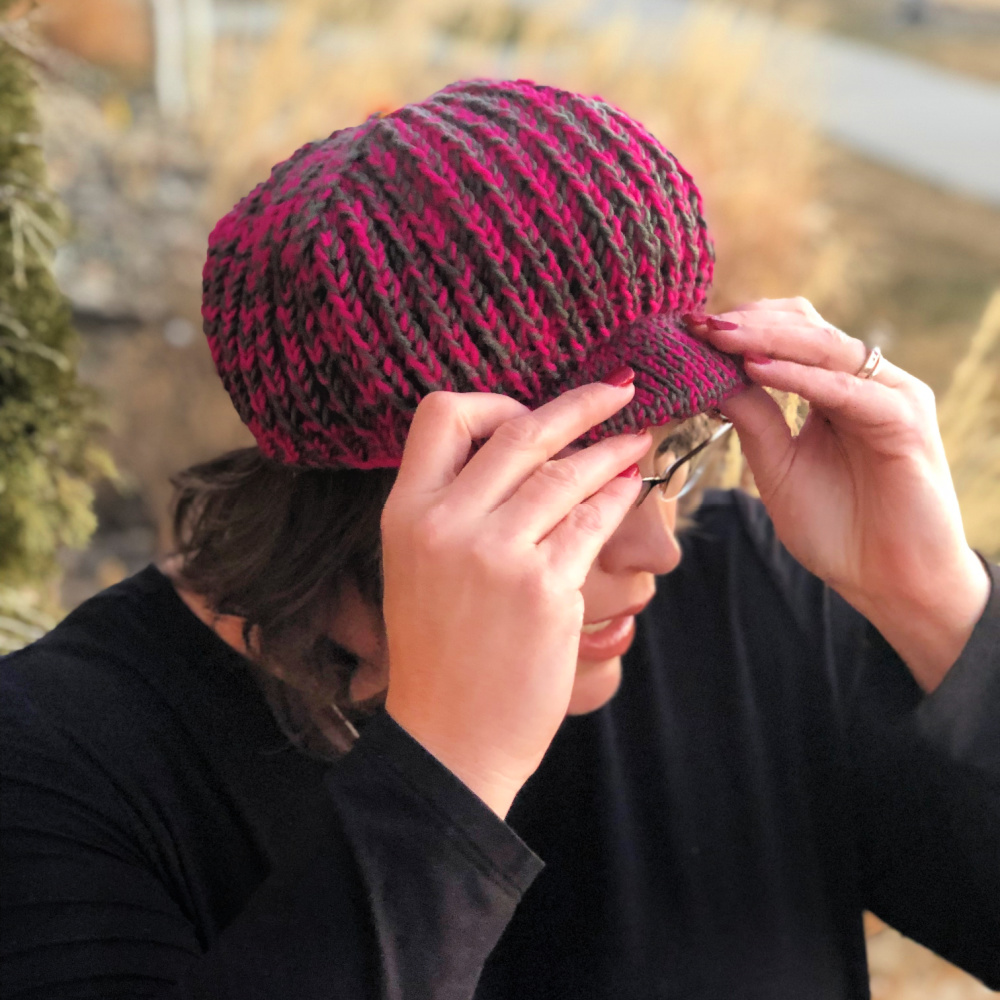
Or, here are a few hats available in the Marly Bird pattern shop.

Frequently Asked Questions
What exactly is a lifeline in knitting?
Honestly, a lifeline is just a piece of thread or thin yarn that you use to save your place in your knitting. It's super handy when you're working on something tricky like lace or cables, because if you make a mistake, you have a secure spot to rip back to without losing all your work!
When should I add a lifeline to my project?
So here's the thing… you can add lifelines whenever you feel like you need a safety net! I really recommend adding them every few rows, especially if you're tackling something complex. It gives you lots of little safe spots to fall back on if you need to frog your work.
What should I use for my lifeline material?
Yes! It's important to pick something thinner than your main yarn, like crochet thread. It won't snag, and it's usually super smooth, so it's easy to pull out later when you don't need it anymore. Just make sure it's not wool, as that can stick!
Can I add a lifeline after I've already made a mistake?
You totally can! It's called an “afterthought lifeline.” It can be a bit trickier to get it in perfectly, but if you need to rip back to a certain spot, it's still doable. It's just easier to add them as you go, you know?
Is there anything I absolutely SHOULD NOT do with a lifeline?
Oh, definitely! The biggest thing is… DO NOT KNIT the lifeline itself! Seriously, don't do it. It just sits there, like a temporary needle, ready for you to rip back to. It doesn't become part of your knitted fabric.


I like follow you, it is hard for me because my first language is french. But i understand a half of your comment, may be one day i understand 100%.. continue, you are a nice people.