Stay Warm and Stylish with the Autumn Breezes Crochet Mosaic Hat: Free Pattern & Mosaic Crochet Tips
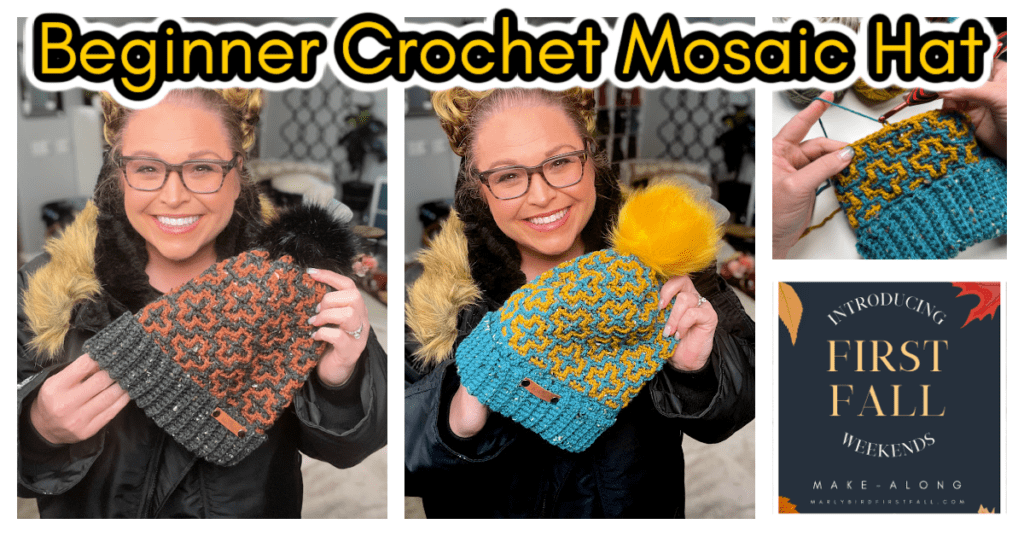
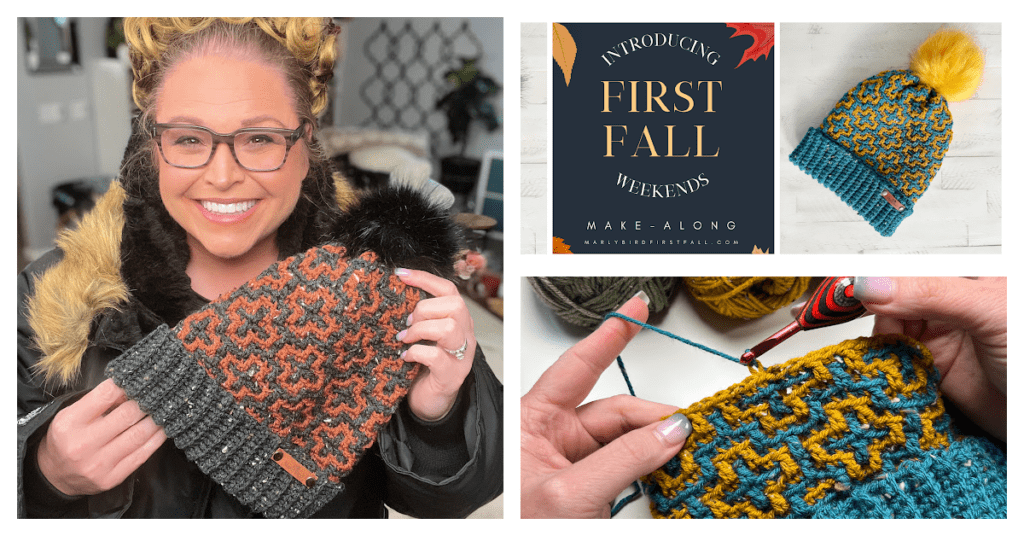
Crochet lovers, meet your new fall favorite: the Autumn Breezes Crochet Mosaic Hat! This beautiful mosaic crochet hat combines cozy warmth with eye-catching geometric patterns, making it a perfect addition to your fall wardrobe.
Best of all, this pattern is completely free! In this blog post, you’ll find everything you need to know to get started on this project, along with tips and tricks to help you master mosaic crochet. Don’t forget to check out my other fall crochet patterns while you’re here—there’s something for every skill level!
Affiliate Disclosure: This post contains affiliate links. If you click on one of these links and make a purchase, I may earn a small commission at no additional cost to you. This helps support the content and free patterns I provide here on MarlyBird.com. Thank you for your support—it means the world to me! 💖
Why You’ll Love the Autumn Breezes Hat
- Unique Design: Mosaic crochet brings out intricate patterns using simple slip stitches. This hat uses two contrasting colors to create a stunning visual effect.
- Perfect for Fall: The textured look and cozy warmth make this hat ideal for chilly autumn days.
- Mosaic Crochet Made Easy: This pattern is a great introduction to mosaic crochet, with step-by-step instructions and helpful tutorials.
Yarn & Materials for the Autumn Breezes Hat
To make the Autumn Breezes Hat, I recommend using worsted weight yarn in two contrasting colors. The contrast between your main color and accent color will really make the mosaic pattern pop!
Suggested Yarn:
WeCrochet, Brava Tweed (97% Premium Acrylic/ 3% Viscose, 218 yds / 200 m, 3.5 oz/ 100 g, CYCA# 4 worsted)
- Yarn A (Main Color): A warm, neutral tone such as rust, mustard, or dark brown.
- Yarn B (Accent Color): A lighter or more vibrant color like cream, teal, or burgundy for contrast.
Other Supplies:
- Crochet Hook: US I/9 (5.5 mm)
- Stitch Markers: To help you keep track of your rounds.
- Tapestry Needle: For weaving in ends.
- Optional leather tags, leather rivets, Faux Pom Pom
What Is Mosaic Crochet?
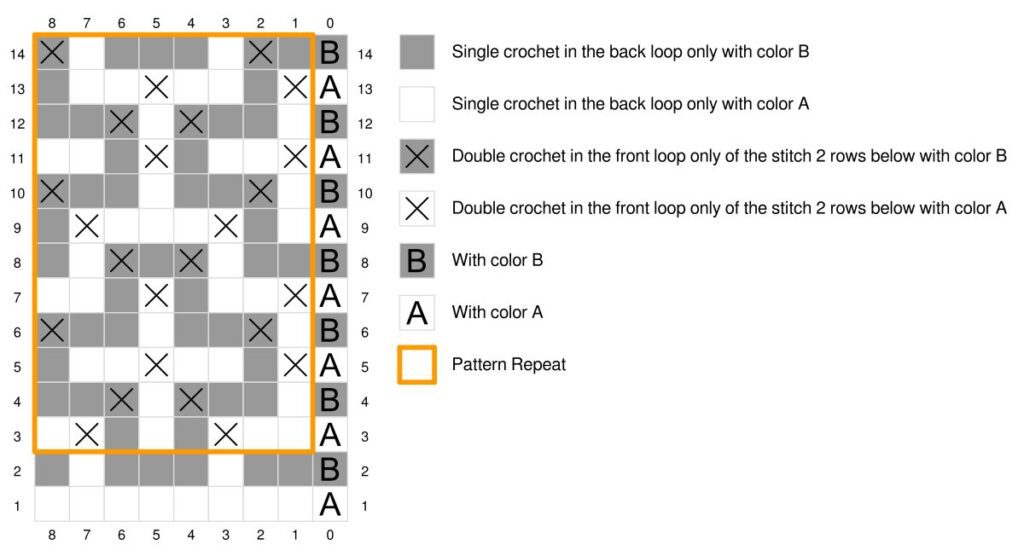
Mosaic crochet is a colorwork technique that uses slip stitches to create intricate patterns. Unlike other colorwork techniques, you only work with one color per round, working double crochet stitches into the front loop of the stitch 2 rows below to create geometric color joines from previous rows into the pattern.
For this project, the mosaic stitch pattern creates a geometric, textured look that’s both modern and classic, making it a perfect fit for fall accessories like the Autumn Breezes Hat.
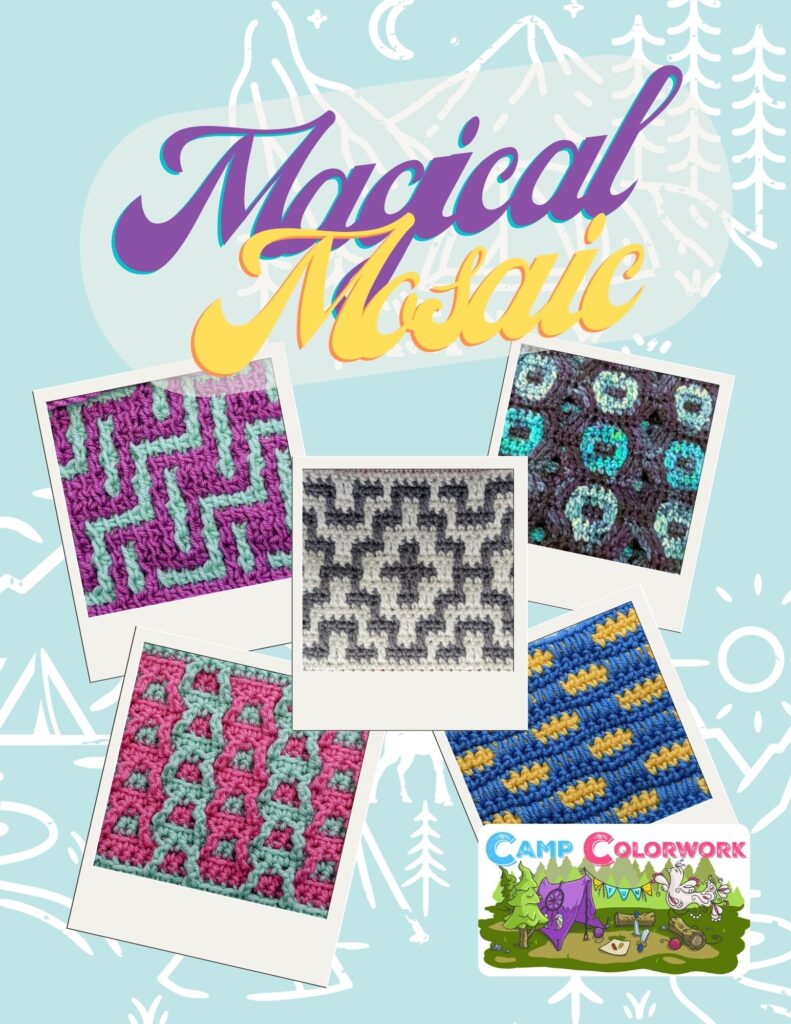
Want to learn more than just this form of mosaic crochet? You should check out Camp Colorwork!
FAQs: Crochet Mosaic Hats
Q: Is mosaic crochet difficult?
A: Mosaic crochet might look complex, but it’s much easier than it appears. You’ll only work with one color at a time, which makes it beginner-friendly. If you can crochet basic stitches you can do mosaic crochet!
Q: How do I choose colors for mosaic crochet?
A: Choose two high-contrast colors to really make the pattern pop. Think of a dark and a light color combination or go for bold color choices to make your mosaic design stand out.
Q: Can I adjust the size of the hat?
A: Absolutely! You can adjust the number of rounds or stitches to make the hat larger or smaller. Just be mindful of the pattern repeats in mosaic crochet.
Q: How do I block a mosaic crochet hat?
A: Blocking helps open up the stitches and show off the pattern. Gently wet-block your finished hat and shape it with a balloon or hat form to ensure a perfect fit.
Get the Free Autumn Breezes Hat Pattern Here
You’re all set to start crocheting! Look below for the Autumn Breezes Crochet Mosaic Hat.
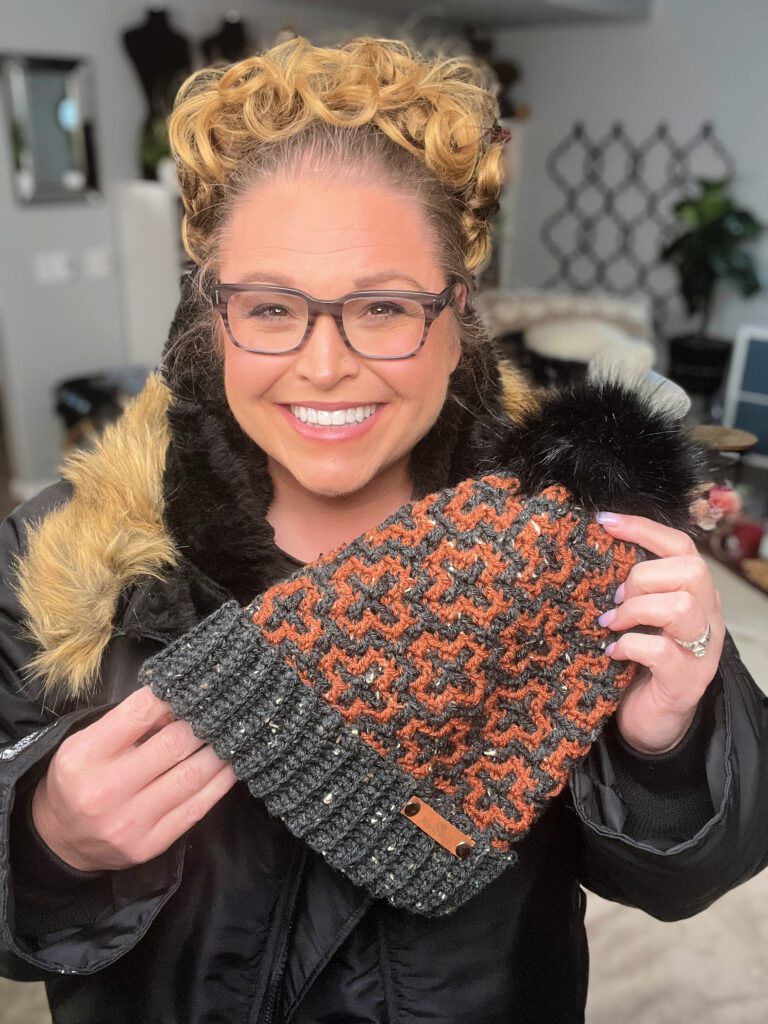
Autumn Breezes Crochet Mosaic Hat Pattern Details
Designed by Marly Bird
SKILL LEVEL
Adventurous Beginner
MEASUREMENTS
To Fit Size
Baby (Toddler-Child, Adult Small-Medium, Adult Large-Extra Large)
Samples shown in Adult Small-Medium
Finished Measurements
| To Fit Size | Baby | Toddler – Child | Adult Small – Medium | Adult Large – Extra Large |
| Finished Head Circumference (approx) Inches | 15 | 17.5 | 20 | 22.5 |
| Finished Head Circumference cm | 38 | 44.5 | 51 | 57 |
| Finished Height – Not Including BrimInches | 6.5 | 7.5 | 8 | 8.25 |
| Finished Height – Not Including Brimcm | 16.5 | 19 | 20 | 21 |
Gauge
16 sc blo x 25 rounds = 5” [12.5 cm] x 4” [10 cm] in pattern stitch in the round; use any size hook to obtain the gauge.
MATERIALS
Crochet Yarn
WeCrochet, Brava Tweed (97% Premium Acrylic/ 3% Viscose, 218 yds / 200 m, 3.5 oz/ 100 g, CYCA# 4 worsted)
Color A: #653734 Chimney Sweep, 1 ball
Color B: #61306 Pumpkin Bread, 1 ball
Crochet Hook
Size I/9 [5.5 mm]
Notions
Stitch markers, tapestry needle, leather tags, leather rivets, optional Faux Pom Pom
ABBREVIATIONS
Ch – Chain(s)
BLO – Back Loop Only
Mosaic Dc – Mosaic Double Crochet
FLO – Front Loop Only
PM – Place Marker
RS – Right Side
Sc – Single Crochet
Sc2tog – Single Crochet Two Stitches Together
Sl st – Slip Stitch
St(s) – Stitch(es)
WS – Wrong Side
SPECIAL STITCHES
⭐Back Loop Only (blo): This is the furthest loop to you of the top 2 loops of the stitch indicated, regardless if you are on the RS or WS.
⭐️Chain (Ch): With slip knot or free loop on hook, yarn over hook and pull through loop on hook.
⭐️Front Loop Only (flo): This is the closest loop to you of the top 2 loops of the stitch indicated, regardless if you are on the RS or WS.
⭐️Invisible join: This is created by removing the free loop from hook, thread hook from back to front in first st, place free loop on hook and draw through stitch.
⭐️Single Crochet (Sc): Insert hook into indicated stitch, yarn over and pull up a loop, yarn over and draw through 2 loops on hook.
⭐️Slip Stitch (Sl st): Insert hook into indicated stitch, yarn over and pull up a loop and draw through loop on hook.
⭐️Single Crochet Two Together (Sc2tog): *Insert hook into indicated stitch, yarn over and pull up a loop; repeat from * in next stitch indicated, yarn over and draw through all 3 loops on hook.
⭐️Mosaic Double Crochet (Mosaic-dc): Yarn over hook, insert hook into front loop of st indicated 2 rounds below (in front of next st), yarn over and pull up a loop, [yarn over and draw through 2 loops on hook] twice. Skip next st on current round (the one directly behind the dc just made).
MOSAIC CHARTS

NOTES
- Directions are for size Baby; changes for sizes (Toddler-Child, Adult Small-Medium, Adult Large-Extra Large) are in parentheses. When only one number is given then that number applies to all sizes.
- Brim of the hat is worked flat then seamed together before starting on the body of the hat.
- Body of the hat is worked into the long side edge of the brim as instructed.
- Body of the hat is worked in joined rounds. Use a marker to identify the first stitch of each round. Do not turn at the end of each round.
- Join each round with an invisible join (see special stitches), change to a new color while making the chain to start the next round.
- Do not cut colors, carry the color up the side of the project.
VIDEO TUTORIAL
- Single Crochet Ribbing >> Click Here for Video Help <<
- Through the Back Loop >> Click Here for Video Help <<
- Through the Front Loop >>Click Here for Video Help <<
- How to Bury Ends >> Click Here for Video Help <<
- How to add a Removable Faux Fur pom >> Click Here for Video Help <<
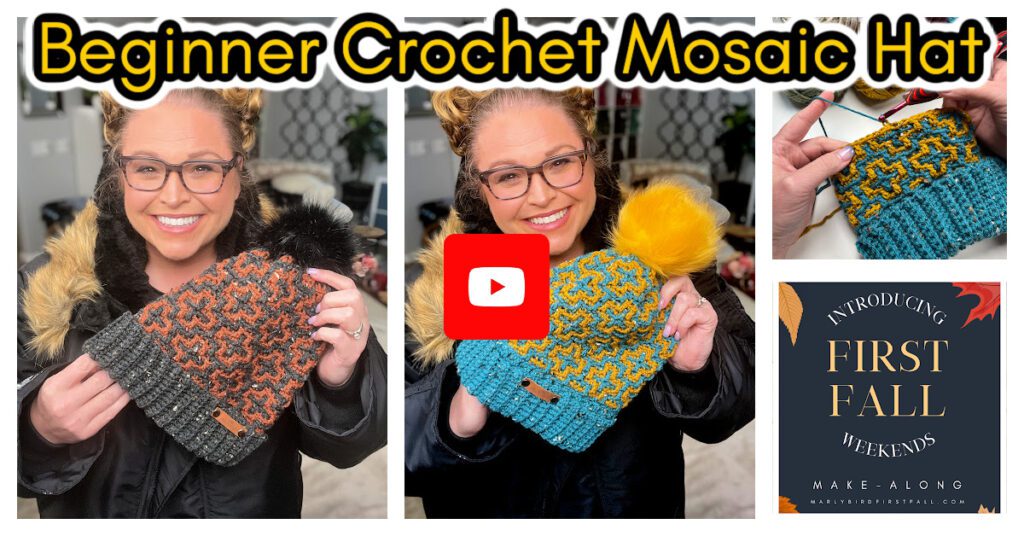
- How to Crochet the Autumn Breezes Crochet Mosaic Hat >> Click Here for Video <<

GROW
To Unlock Exclusive Subscriber Content click the Box below and join for free by simply adding your email and creating a password! If you are having troubles, clear your cache or reset your password or login to the Grow Publisher Portal.
>> Learn More About Grow Here <<
I’m thrilled to share this amazing pattern with you, many patterns on my blog are absolutely free! I kindly request that you don’t copy and paste or distribute this pattern. Prefer an ad-free experience? Buy a digital PDF pattern for a small fee from one of my online stores for a seamless crafting journey.
I appreciate your support and readership. You are the reason I can keep doing what I love and sharing it with others. So, thank you from the bottom of my yarn-loving heart! Disclosure: This post contains affiliate links, meaning I get a commission if you decide to make a purchase through my links at no cost to you.
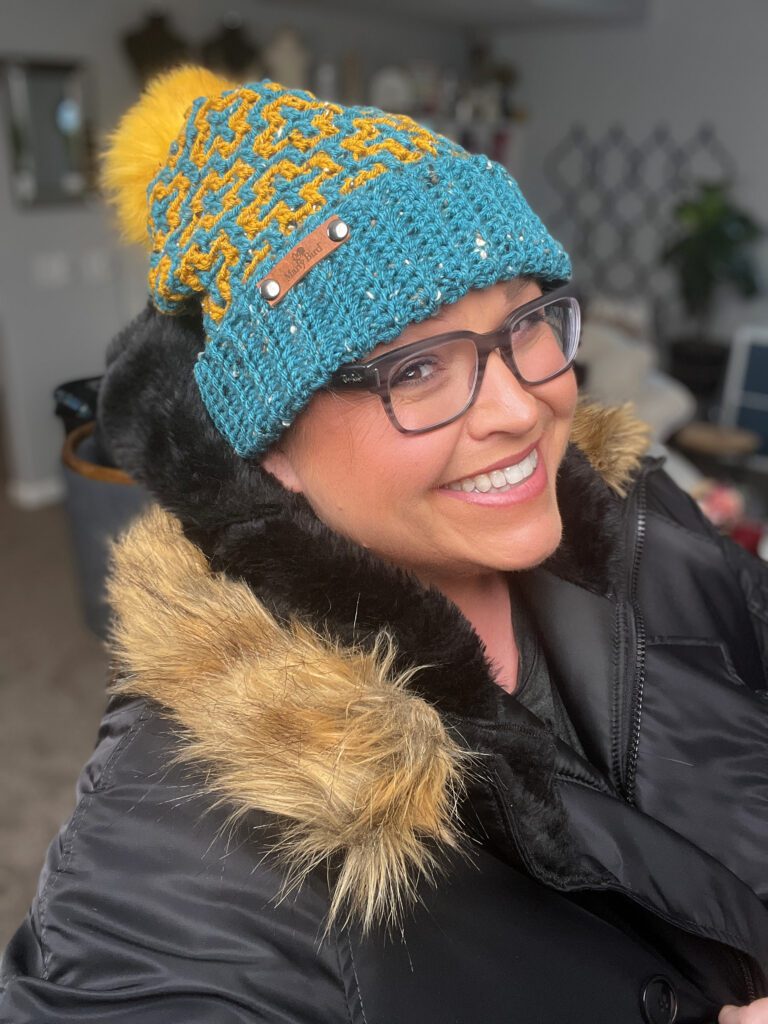
Autumn Breezes Crochet Mosaic Hat Pattern
FINISHING
With the color A tail thread through a tapestry needle, weave yarn through every other stitch. Pull to tighten the hat and close. Weave yarn around stitches, then back in the opposite direction to secure the end.
Add pom pom (optional)
Don’t Forget to Share Your Project!
Once your Autumn Breezes Hat is finished, I’d love to see how it turned out! Share your project on Ravelry or tag me on social media with #MarlyMadeMeDoIt.



I can’t wait to tackle this project. I have done mosaic before, so I kinda understand the concept. After watching your video, I understand it better. I’m ready to do some Christmas gifts. Thanks for sharing.
How do I get this pattern?
The pattern is on this website. You need to subscribe to the Grow program in order to view the exclusive content. It is free and protects my designs from unethical sharing/selling and Ai.
Hello
I’m so excited to make the hat and fingerless mitts. My Bravo yarn arrived! I need to purchase the “ad free” version of the patterns. I have searched everything Marly Bird and cannot find the pattern to purchase. Would you be so kind and send a link for the autumn breeze crochet pattern.
Thank you
Jannessa
the patterns are available now in the VIP Experience. It is a GREAT Deal as you get more than just the 2 patterns, you also get another free pattern and a coupon to spend in the Marly Bird Ravelry Store. You can get the VIP here: https://marlybirdfirstfall.com/ff-2024-mbh
How do I receive the free pattern ?
I signed up
The pattern is on this website. You need to subscribe to the Grow program in order to view the exclusive content. It is free and protects my designs from unethical sharing/selling and Ai.
Are we able to sell the completed beanies if we credit you as the pattern creator?
absolutely