My First Knit Sweater Knit-along Week 2 is the start of the annual knit together hosted and designed by Marly Bird, sponsored by Red Heart Yarns. Join the fun at any time. Click here to find out all the details and the instructions for weeks 1-6.

Last week your homework was to choose the right size for you and to do a gauge swatch with the yarn and needles you want to use. By this point you should know exactly what size you are making and what yarn and needles you are going to use to make your sweater.
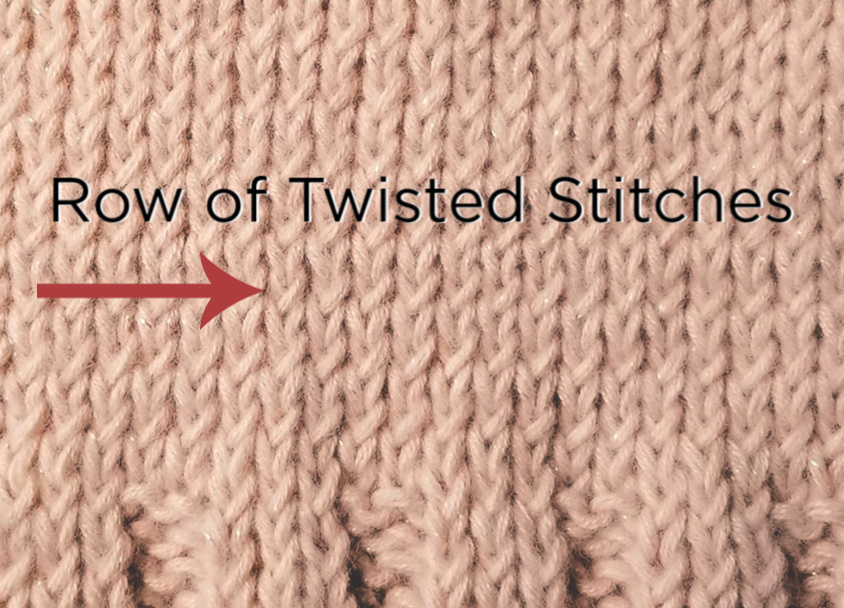
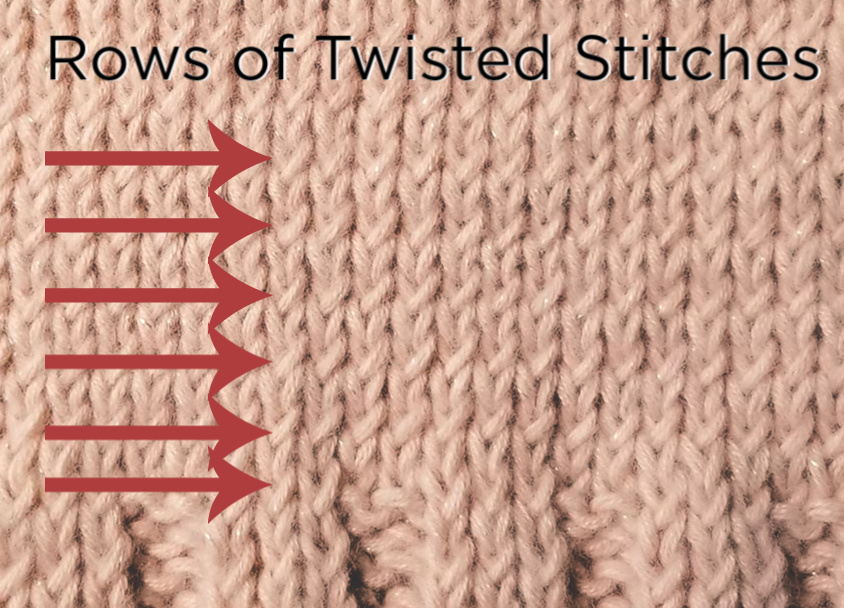
There is one recurring problem that I want to address before we start the pattern. In the facebook group I saw a lot of swatches with twisted stitches in the stockinette stitch portion of the swatch. This is very common especially with beginner knitters.

It begins with the purl rows. When knitting in the English or Continental method and create a purl stitch, you are supposed to wrap the yarn over the needle. This allows the resulting stitch on the right hand needle sit properly, and when you knit that stitch on the next row through the front leg as “normal” the stitch is not twisted.
However, if when making a purl stitch you wrap the yarn under the needle the resulting stitch on the right hand needle sit backwards. If the stitch is backwards (with the front leg sitting on the needle further back than the back leg) and you knit that stitch through the front leg as “normal” the stitch you knit into will be twisted.
If you find that your swatch has these twisted stitches and you absolutely MUST purl that way then there is a simple fix. When you are on the knit row after that purl row and the stitches are sitting backwards on the needle, knit it through the back leg instead of the front. Voila…you have a normal stitch. This just so happens to be the way knitters who are Combination knitters make their stitches.

If you are one of those knitters who made a gauge swatch with twisted stitches, you need to make another swatch with a stockinette stitch portion that does not have twisted stitches. Why? Because the gauge will change when you knit proper stockinette so you still need to find out what size needles you need to get gauge.
I did go over this in the video and showed examples of twisted stitches and how to recognize them.
Okay, with that out of the way, let’s get this party started. The instructions below are for the back and front of the sweater. Over the next two weeks your homework is to make both of these pieces.
How long to knit a sweater?
Yes, you need to make both the front and the back of a sweater in 2 weeks. This is doable. To manage your time to the best of your ability, take the length of the sweater back/front divided by the number of days you have to knit it.
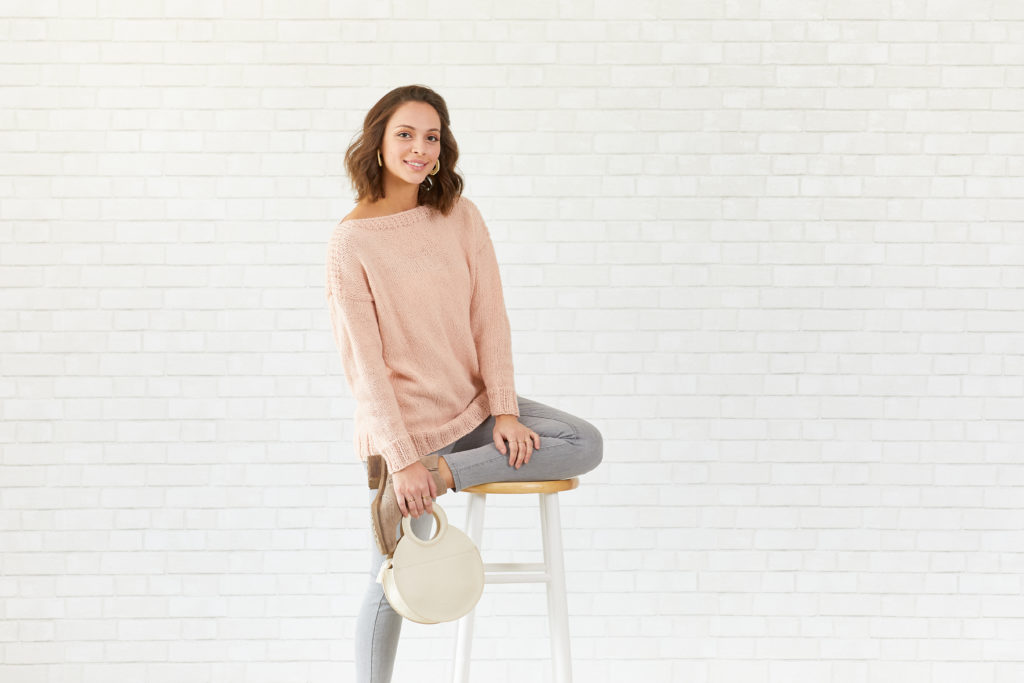
For example: the sample is the medium size (44” bust); the length of this size is 25.5”. If I want to make each side of the sweater in a week (to take up both weeks) I will take 25.5” / 7 days = 3.64” per day. So to keep up with the pace of the KAL, if I were to knit the medium size (44” bust) I need to knit 3.64” per day on the sweater.
How long will it take YOU to knit YOUR sweater?
Got gauge, now what?
You did the gauge swatch, and the numbers coincide with the pattern and you are satisfied with the fabric you have created (there are no twisted stitches). Congratulations, that is the first step to making a successful sweater. I want you to keep this swatch through the duration of the project as it will act as a good example for you to see how the fabric should look.

My First Knit Sweater Pattern Details
Just to make sure we are all on the same page, here are all the pattern details in one place. I know that is important since many of you print off this page.
MEASUREMENTS
To Fit Size: Small, (Medium, Large, 1X, 2X, 3X, 4X)
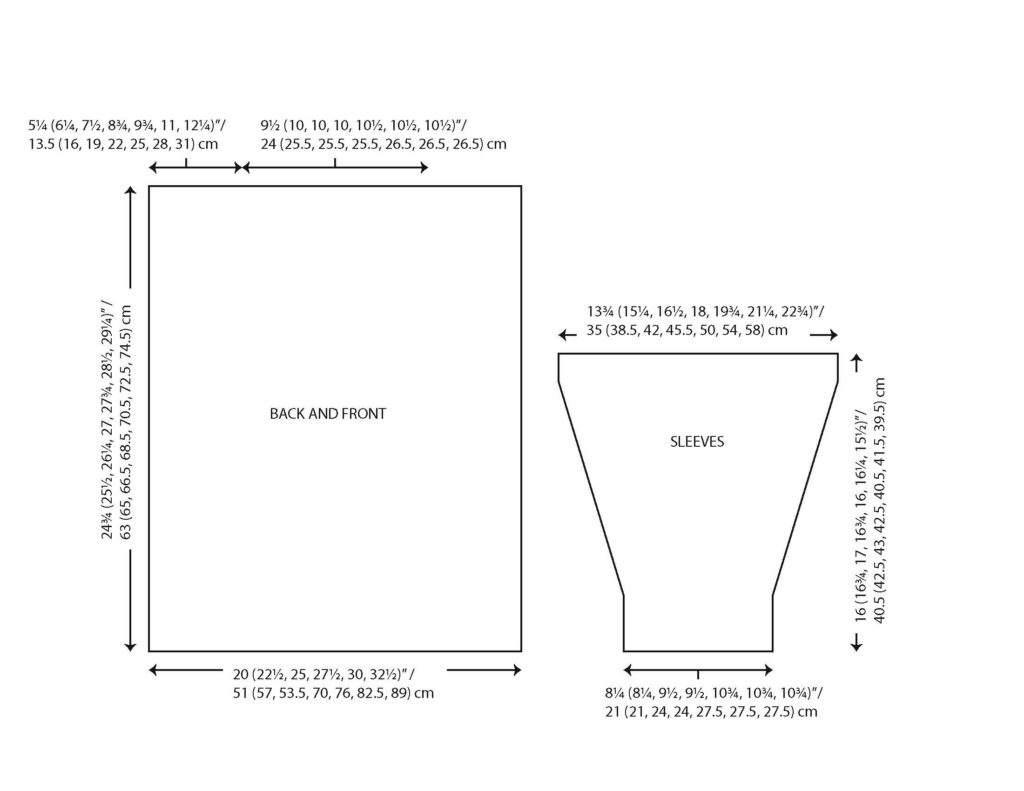
Finished Size: Bust: 39 (44, 49, 54, 59, 64, 69)” / 99 (112, 124.5, 137, 150, 162.5, 175.5) cm
Length: 24.75 (25.5, 26.25, 27, 27.75, 28.5, 29.25)” / 63 (64.5, 66.5, 68.5, 70.5, 72.5, 74.5) cm
YARN
RED HEART® Hygge Charm™: Art E882 available in 7 oz (198 g), 432 yd (395 m) balls 2 (2, 3, 3, 3, 4, 4) balls 6724 Meteor
GAUGE
16 sts = 4” (10 cm); 22 rows = 4” (10 cm) in St st. CHECK YOUR GAUGE. Use any size needles to obtain the gauge
NOTIONS
removable stitch markers, tapestry needle
SPECIAL STITCHES/TECHNIQUES
Long Tail Cast-on: https://youtu.be/vEGwt4cedLM
M1: (make 1) Insert left hand needle under horizontal strand between st just worked and next st, from the front to the back, knit through the back loop (1 st increased). https://youtu.be/nT1e-WgynUc
Mattress Stitch: With RS of both pieces facing you, pass yarn needle from bottom to top under horizontal strand between first and second sts, pull yarn through. Insert needle into corresponding horizontal strand on the other pc. Cont these steps alternating from one pc to the other.

PATTERN
BACK
Cast on 78 (88, 98, 108, 118, 128, 138) sts using the long-tail cast-on method.
Row 1 (Wrong Side): P3, * k2, p3; repeat from * to end.
Row 2 (Right Side): K3, * p2, k3; repeat from * to end.
Repeat Rows 1 and 2 until piece measures 3″/7.5 cm, ending after a Wrong Side row.
Next Row (Right Side): K1, m1, knit to last st, m1, k1 – 80 (90, 100, 110, 120, 130, 140) sts.
Continue in St st (knit the Right Side rows, purl the Wrong Side rows) until piece measures 15″/38 cm after ribbing; 18″/45.5 cm total.
Place a removable stitch marker at the beginning and end of the last row worked to indicate armholes.
Continue in St st until piece measures 5¼ (6, 6½, 7¼, 7¾, 8½, 9)”/13.5 (15, 16.5, 18.5, 19.5, 21.5, 23) cm from armhole markers, ending with a Right Side row.
Shoulder Pattern
Set-up Row (Wrong Side): Purl to last st, m1, p1 – 81 (91, 101, 111, 121, 131, 141) sts.
Row 1 (Right Side): Knit.
Row 2: P1, *k1, p1; repeat from * to end.
Repeat Rows 1 and 2 until piece measures 6¾ (7½, 8¼, 9, 9¾, 10½, 11¼)”/17 (19, 21, 23, 24.5, 26.5, 28.5) cm from armhole markers, ending with a Wrong Side row.
Bind off all sts.
FRONT
Work same as for BACK.
Video for Week 2
Follow along as you sit in on your second weeks lesson for the My First Knit Sweater Knit-along with Marly Bird. Remember, these KAL’s are like taking a class with Marly!
Remember…next week there is a YouTube Live Q&A with me about the sweater. You don’t want to miss it. Be sure you are subscribed to the YouTube channel so you can catch the show live or on rerun 🙂 https://bit.ly/SubscribeMarlyBird
????Be sure to watch until the end!????

GIVEAWAYS
Post your progress pictures each week in the Marly Bird KAL Facebook group to be entered for a chance to win a Red Heart prize pack! We’ll choose one winner each week for the prize pack. One week after the final video is posted we’ll ask you to share a photo of your finished sweater, and we’ll choose 3 winners to each win a $50 prize pack from everyone who finished.
To enter: Post your picture of your in-progress sweater in the Facebook group before Tuesday at 11:59pm Mountain Time (Marly’s time zone) to be entered. Winners will be announced on Thursdays.
Week 1: Post your progress picture by Tuesday, April 9; 1 winner of a $25 prize pack announced Thursday, April 11
Week 2: Post your progress picture by Tuesday, April 16; 1 winner of a $25 prize pack announced Thursday, April 18
Week 3: Post your progress picture by Tuesday, April 23; 1 winner of a $25 prize pack announced Thursday, April 25
Week 4: Post your progress picture by Tuesday, April 30; 1 winner of a $25 prize pack announced Thursday, May 2
Week 5: Post your progress picture by Tuesday, May 7; 1 winner of a $25 prize pack announced Thursday, May 9
Week 6: Post a photo of your completed sweater by Tuesday, May 14; 3 winners of $50 prize packs announced Thursday, May 16
MORE Free Patterns by Marly Bird

