5pm Game Day Mystery Make-Along 2019
THIS IS THE 2 MIN WARNING! TIME TO GIVE IT ALL YOU’VE GOT!
Here is the 5pm Knit Game Day Mystery Make-along 2019 play. If you missed any of the play, go back to the original blog post and get all the details you need. You must complete each previous part of the mystery project before you can move on to the next.
Remember, should you have any questions please be sure to post in the Marly’s Minions Facebook Group!
*This post contains affiliate links. By clicking one of these links and making a purchase a small portion of that purchase will go to support the blog. The price that you pay does not change. The small commission I make allows me to keep bringing you free patterns like this. Thank you for your continued support.*
Special Knit Stitches & Techniques
5pm Play ????
Row 7a: [sl 1 wyif, k1] 35 times, turn (leaving all the remaining stitches unworked)
Row 7b: [sl 1 wyif, k1] 36 times, turn (leaving all the remaining stitches unworked)
Row 8a: [sl 1 wyif, k1] 37 times, turn (leaving all the remaining stitches unworked)
Row 8b: [sl 1 wyif, k1] 38 times, turn (leaving all the remaining stitches unworked)
Row 9a: [sl 1 wyif, k1] 39 times, turn (leaving all the remaining stitches unworked)
Row 9b: [sl 1 wyif, k1] 40 times, turn.
At this point all the stitches on the needle have been knit and are back on the needle.
Row 10 (RS): K2tog across the row–40 sts.
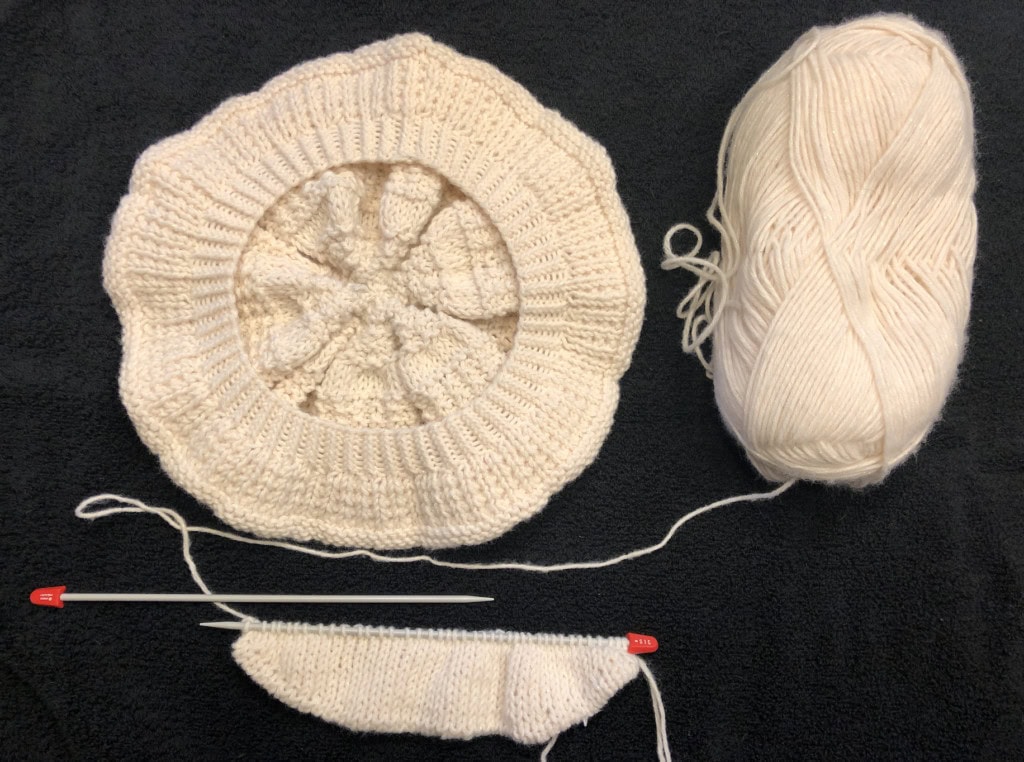
For all you newbies…you just did a very advanced knitting skill!!!! You should be so proud of yourself 🙂 What you just did was double knitting and short rows at the same time.
I only point this out because I want you to know that YOU CAN DO ANYTHING! There is nothing too difficult for you to do as long as you take your time, don’t over think it, and just do what the instructions tell you. The world is your oyster!

Finishing
Now it is time to close up this part of the project. Put the RS of the piece you just made and the RS of the hat together and working a 3 needle bind off to join the two.
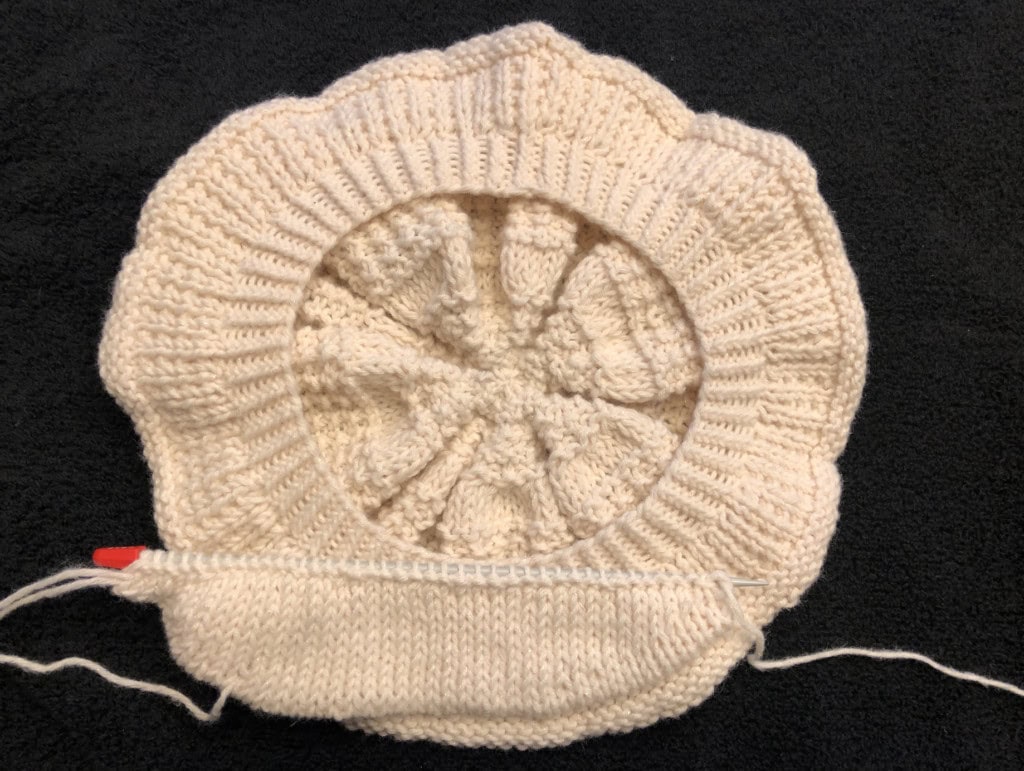
That means, you will have the edge of the hat laying next to all the stitches on the left hand needle.
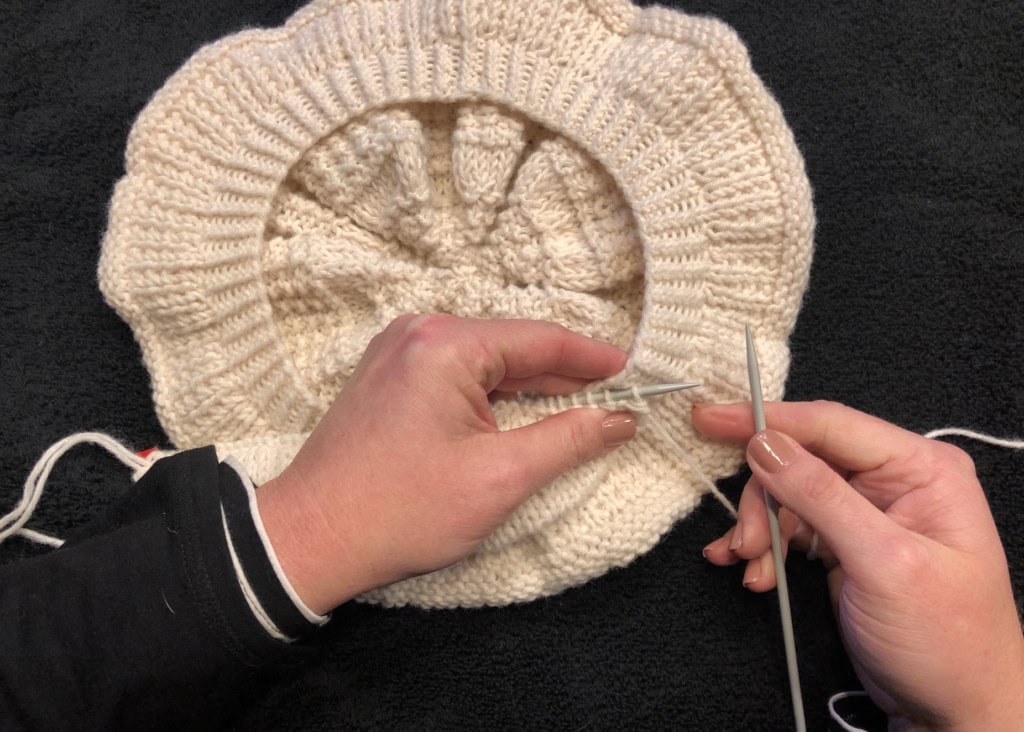
* You will take the right hand needle, insert it into the stitch on the left hand needle and through the cast on edge of the hat,
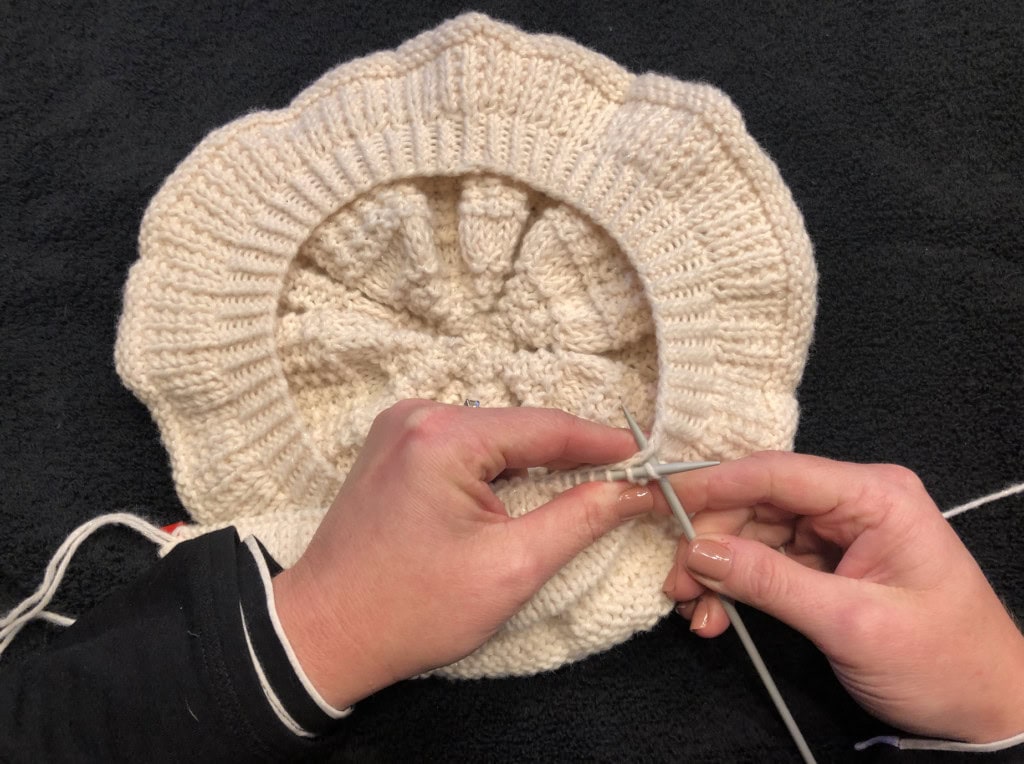
yarn over your needle
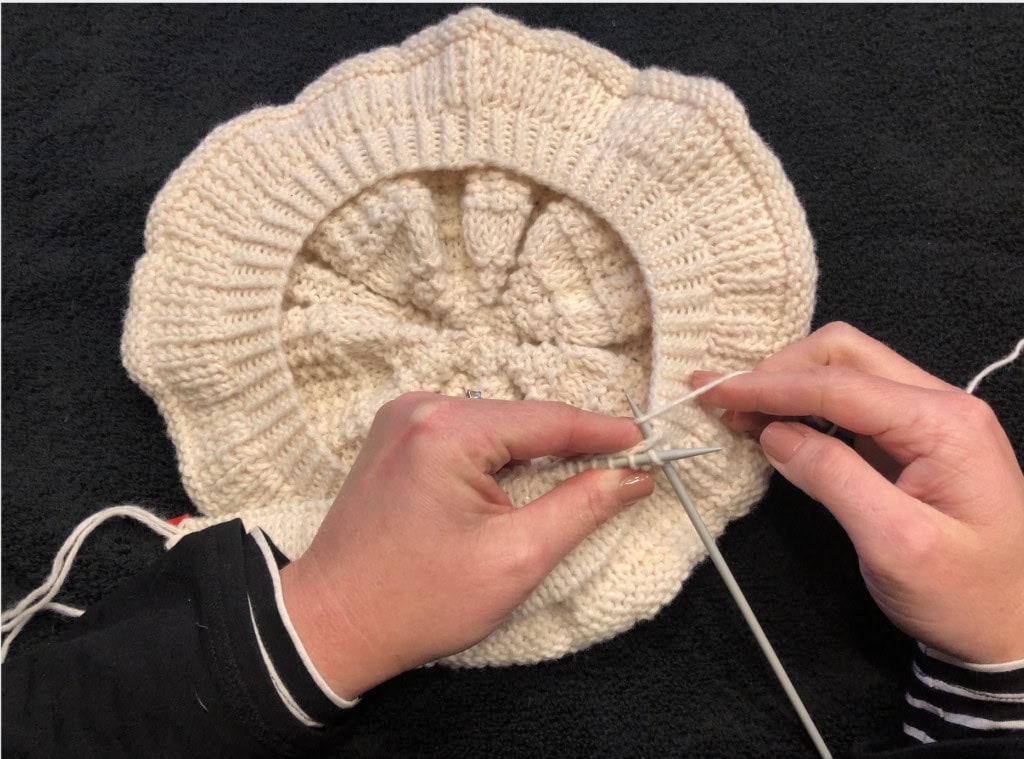
and draw up a loop through both the cast on edge stitch,
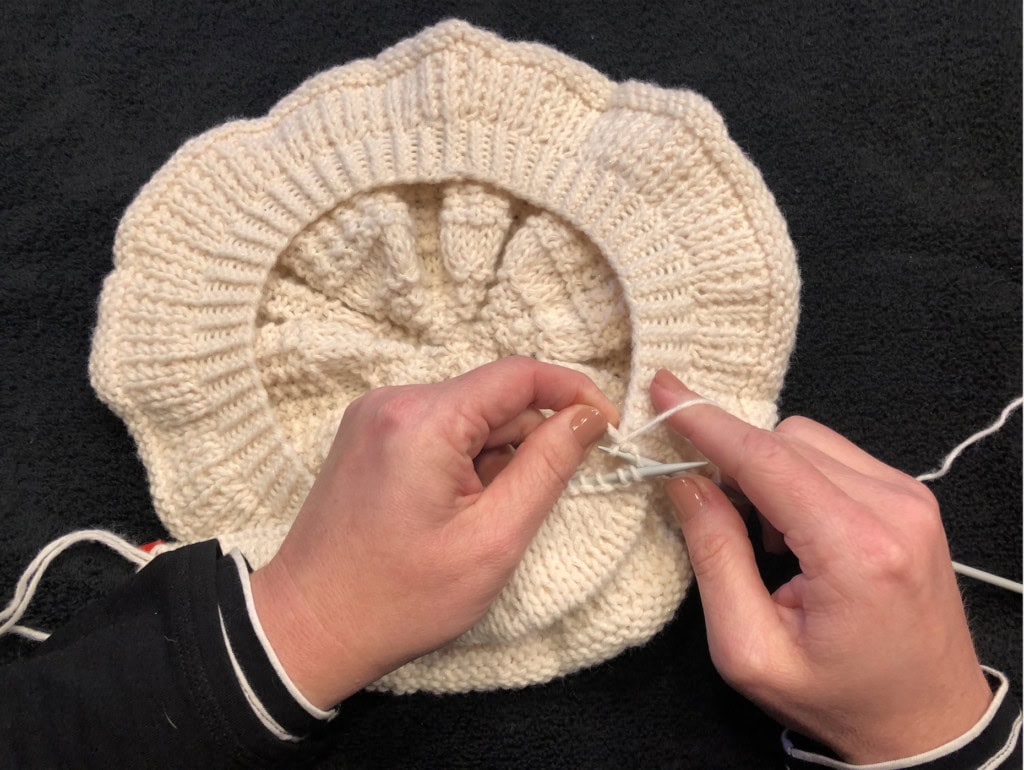
and the stitch on the needle (just like you do when you normally knit).
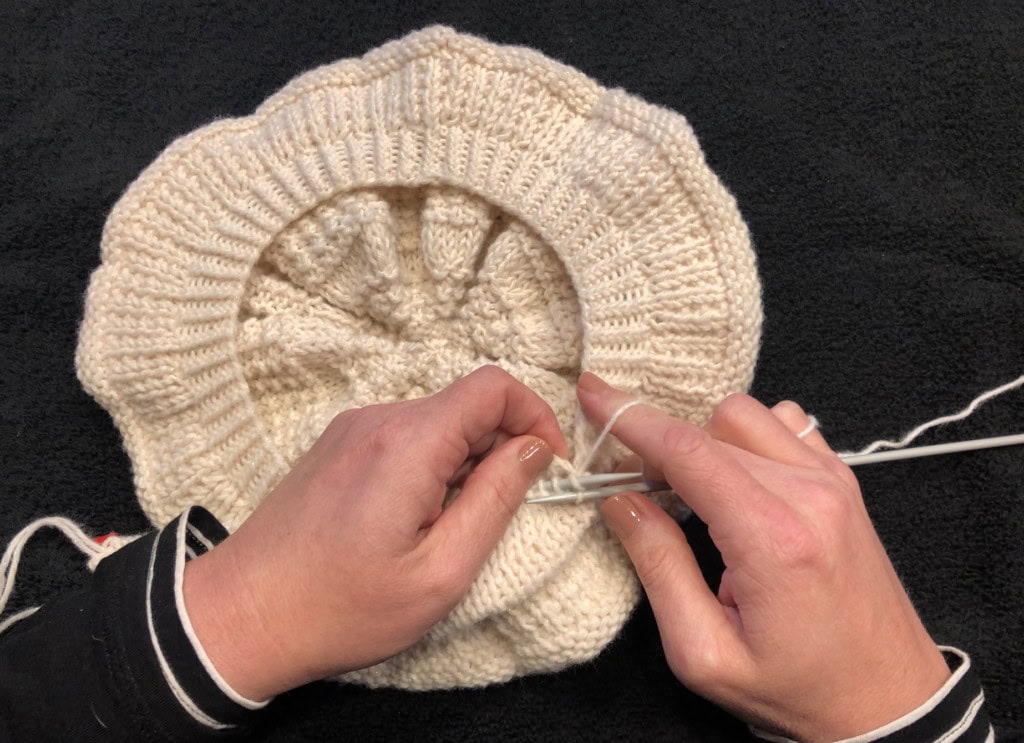
Then let the stitch on the left hand needle fall off Now you have 1 stitch on the right hand needle.
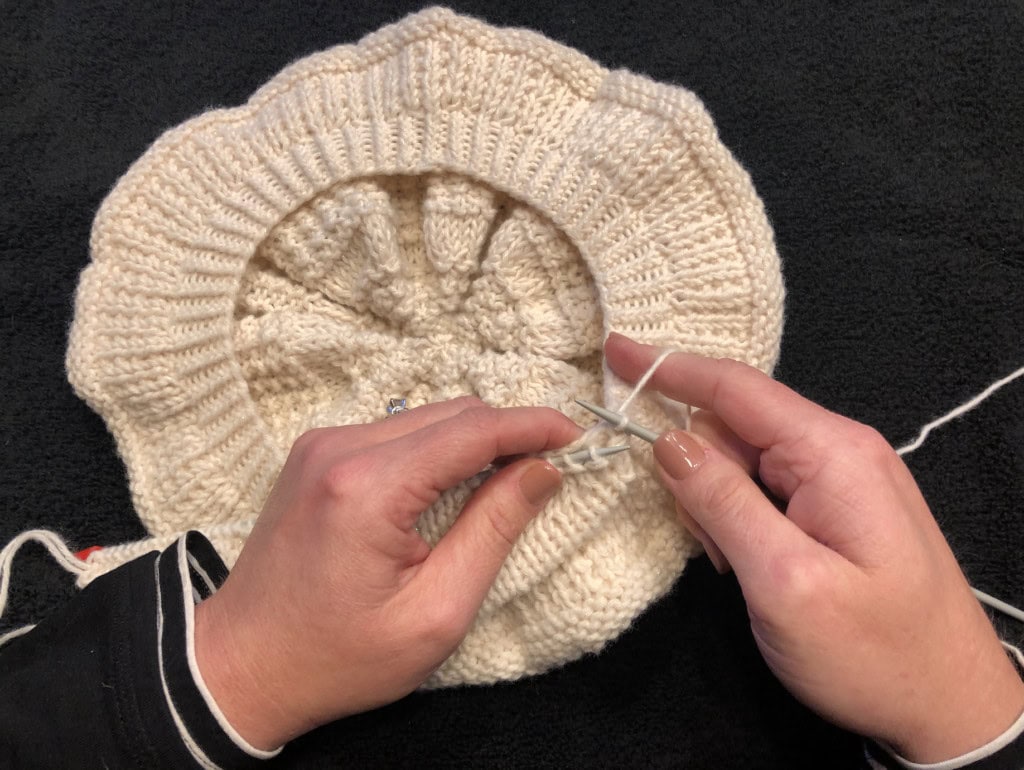
Repeat from * once. Meaning, you are going to do all that again into the next stitch on the left hand needle and the next stitch on the hat.
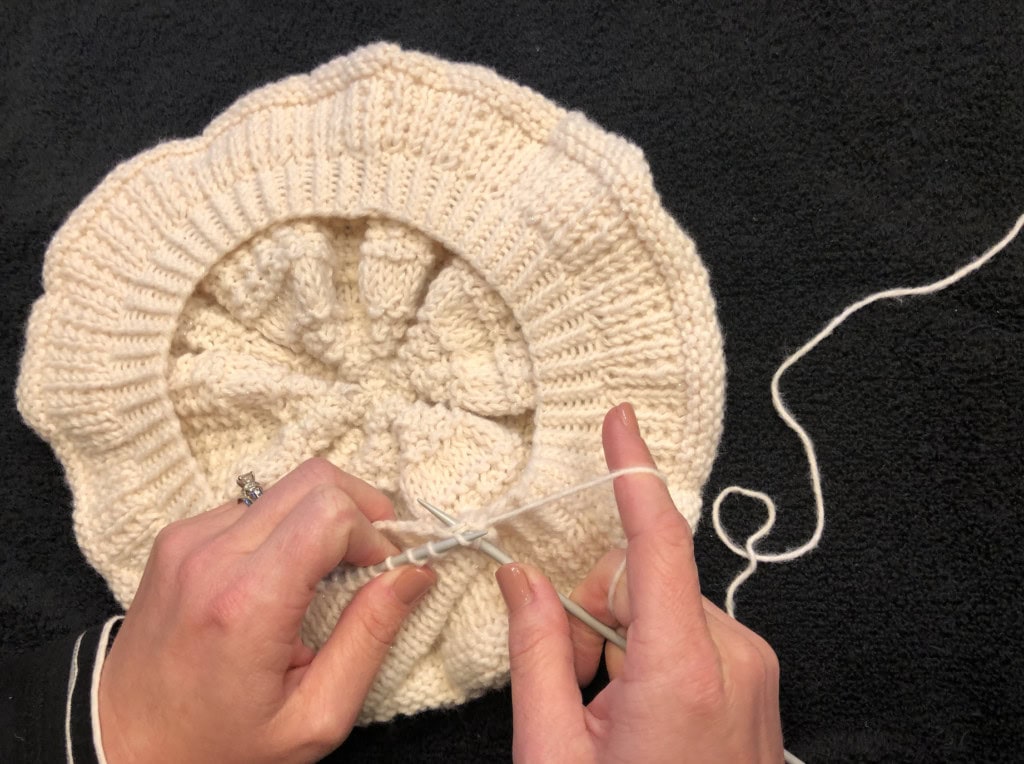
Now you have 2 stitches on the right hand needle.
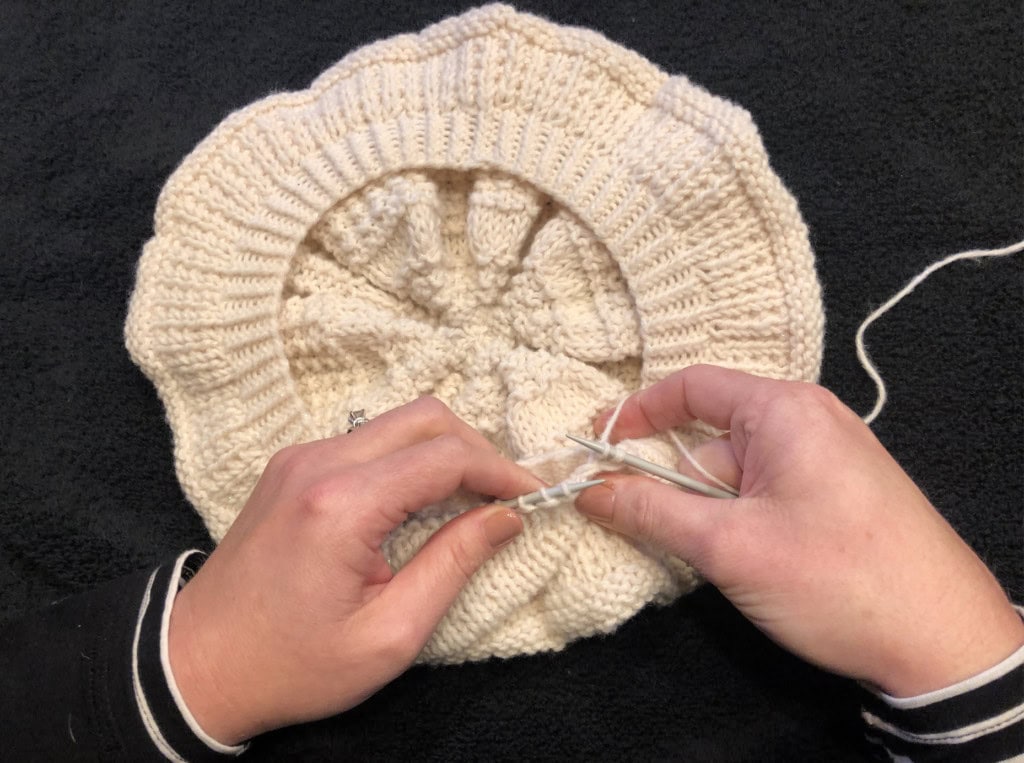
It is time to bind off by having the back stitch jump the front stitch on the right hand needle and off.
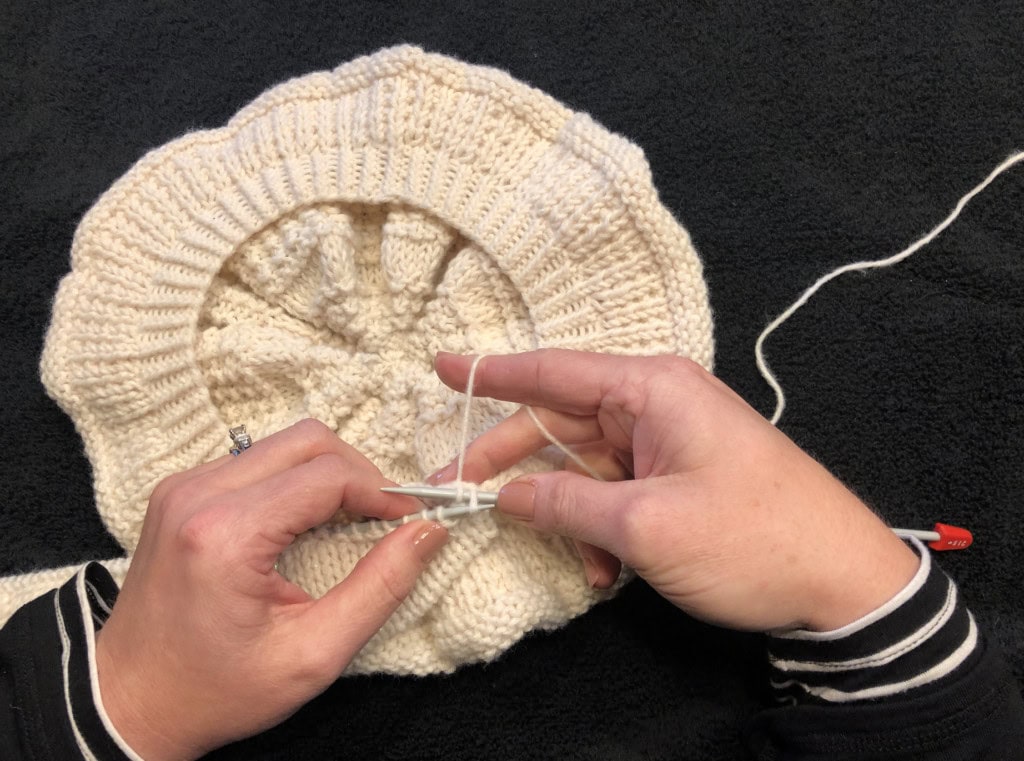
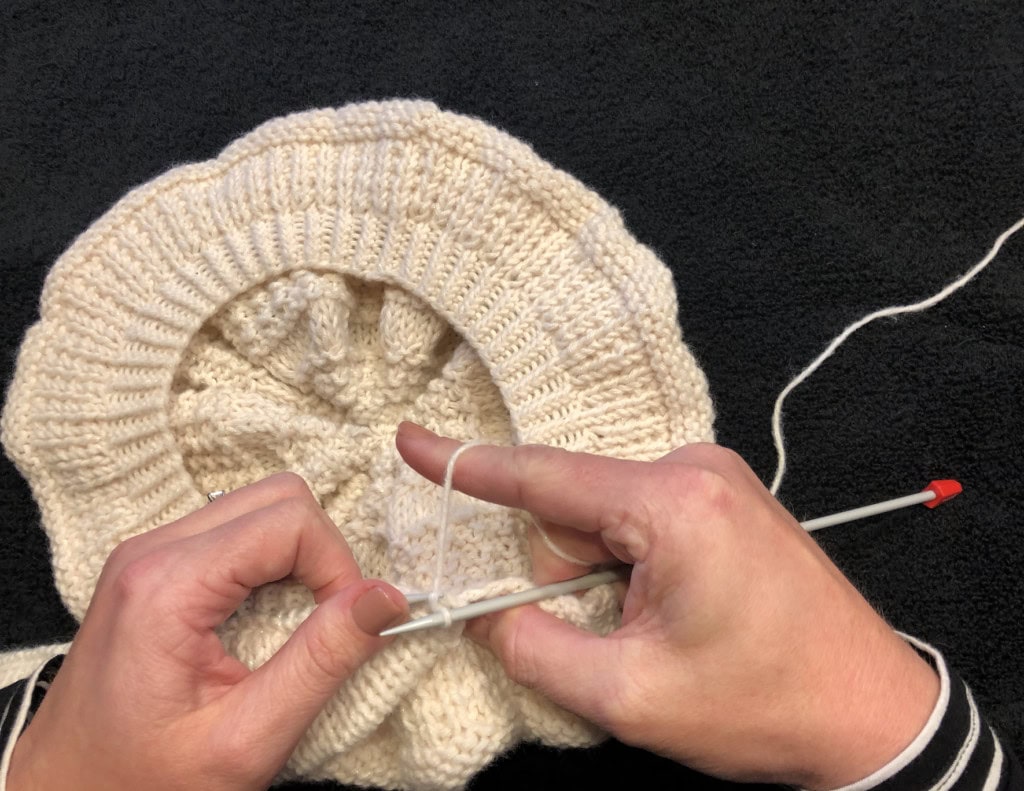
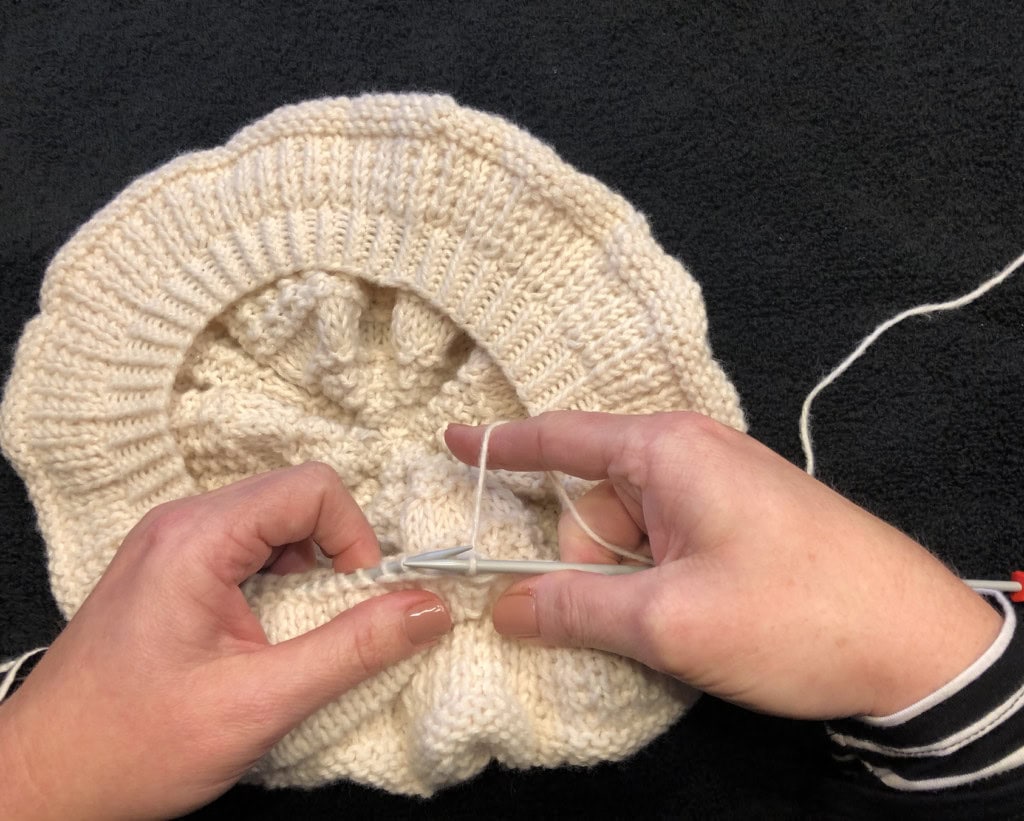
Leaving you with 1 stitch. Then you repeat from * again and continue until all the stitches are bound off and the bill is attached to the hat.
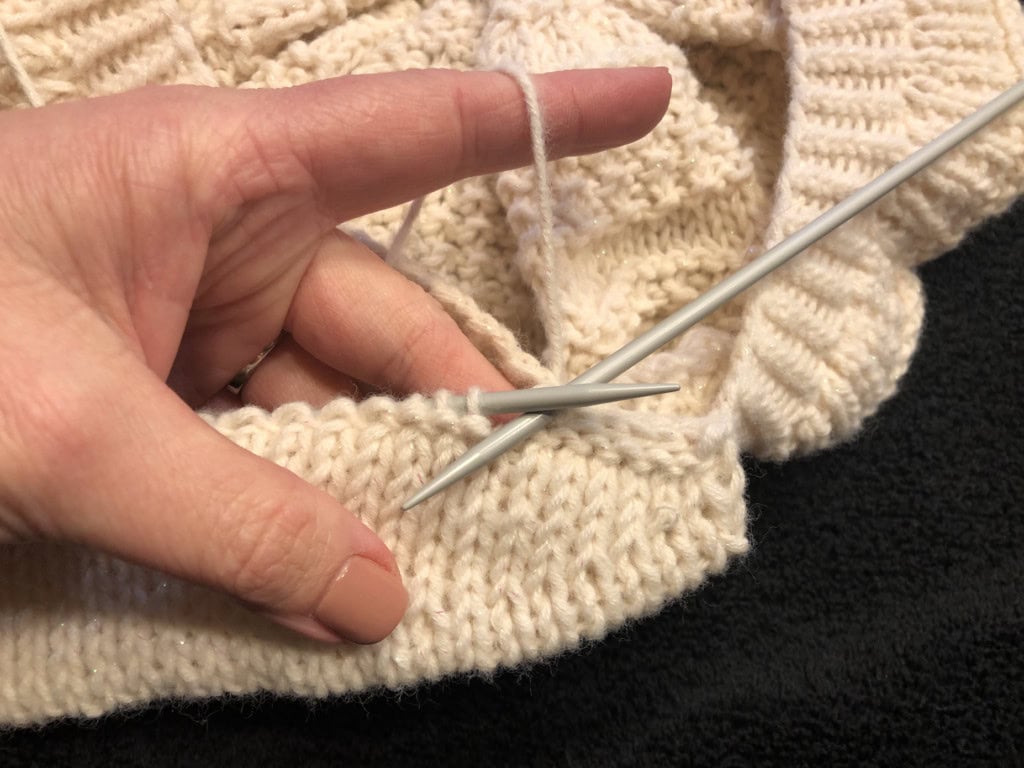
Joining the pieces this way will make the bill (yes, that is what you just made) stay upright to the when worn. That is right, without any sort of insert, the bill of your hat will stay in place!
Weave in all ends and sew the side of the bill to the brim of the hat…but make sure that doing so doesn’t pull the bill in too much. You don’t want the bill to be pulled down.
The round elastic cord can be added around the hat to tighten it up if your is a little large… AND …because the hat can stretch out of shape, the elastic is a great way to keep it in shape.
You will add the elastic to the part of the hat that is NOT attached to the bill.
More Free Patterns
If you liked this pattern, please be sure to check out the other free patterns here on my website. Also, in March there is the Tournament of Stitches…you will NOT want to miss it!

