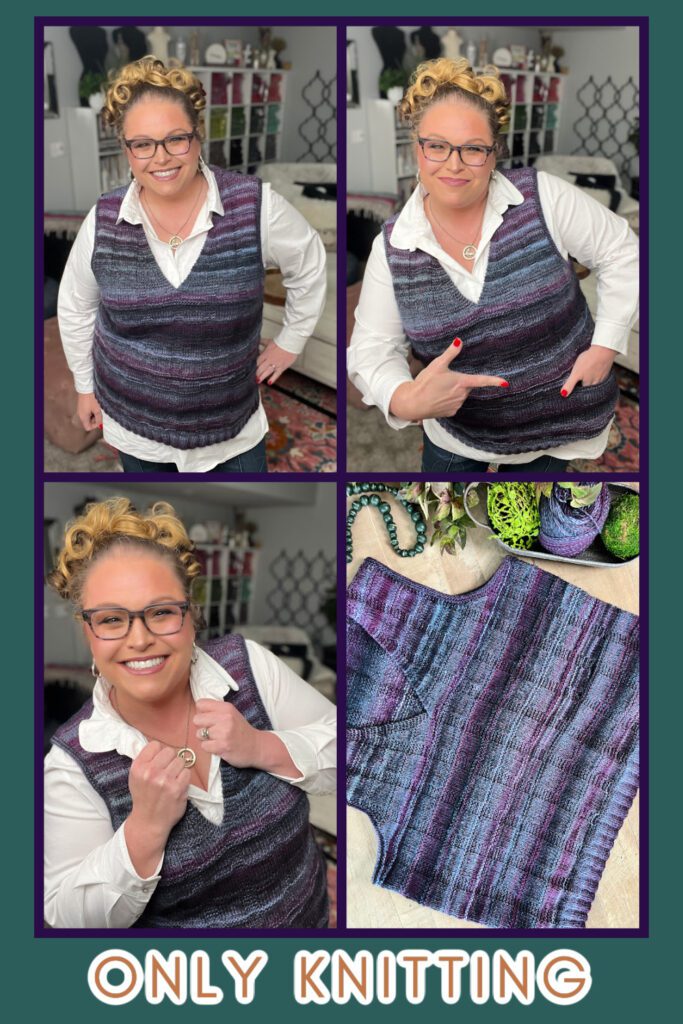
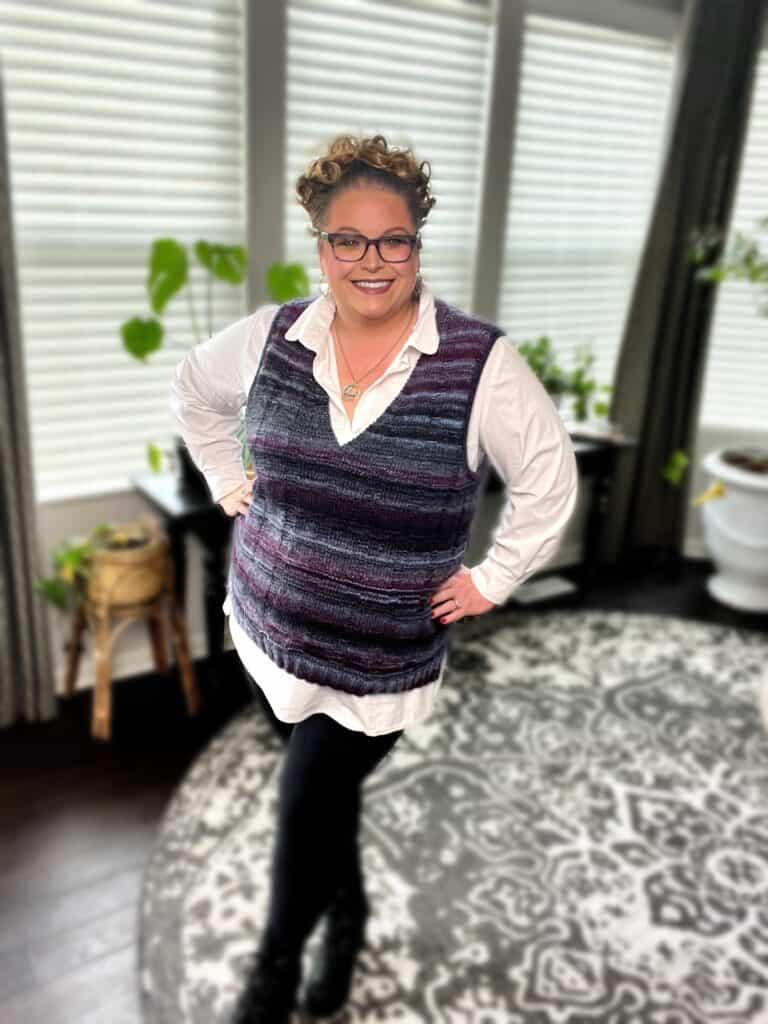
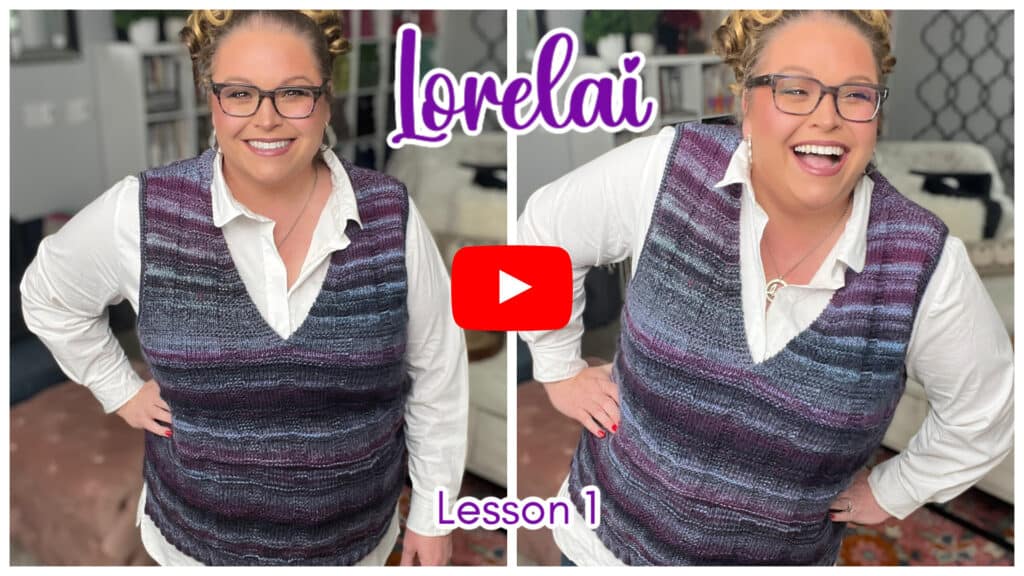
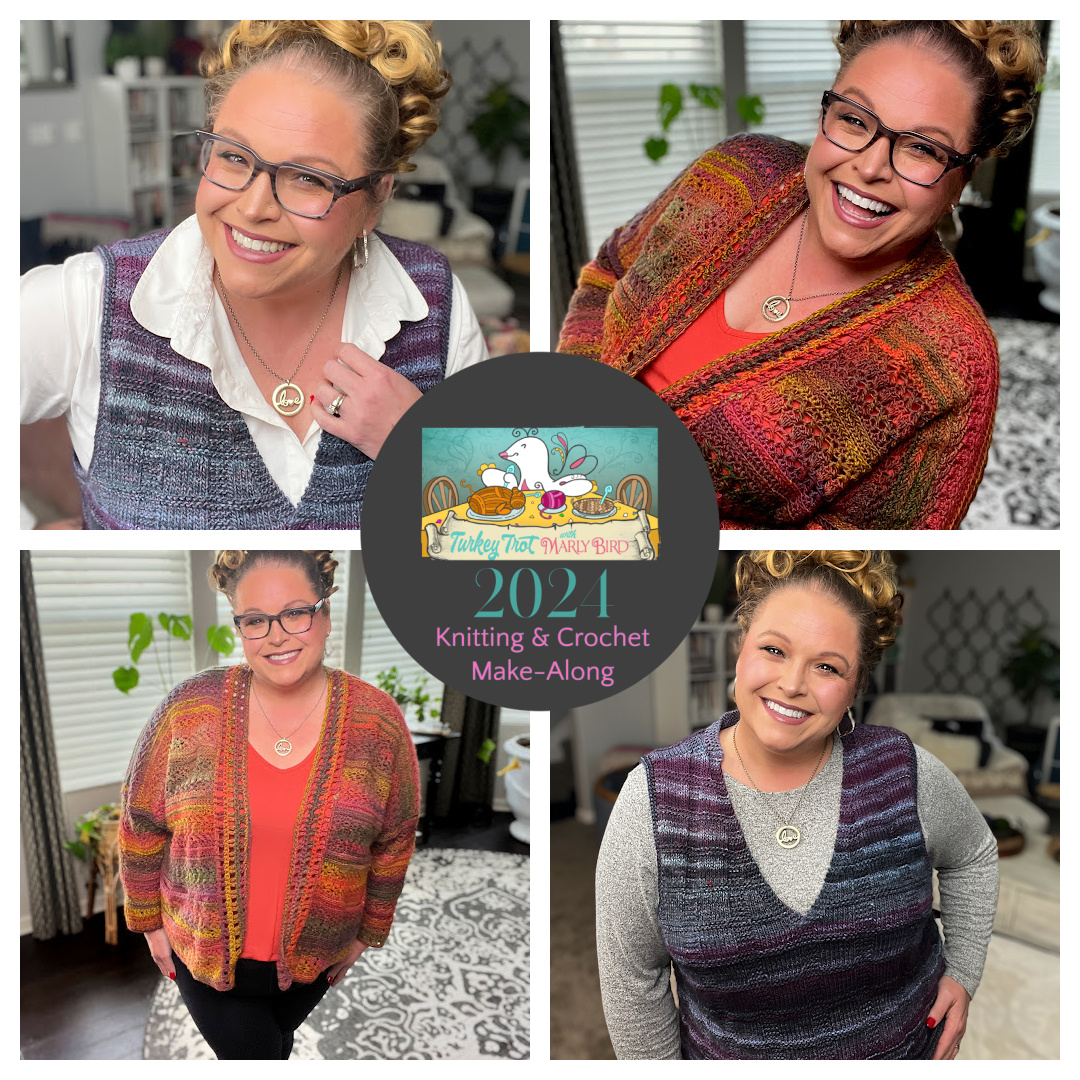
Lorelai Knit Vest Lesson 1 – Start Strong with Gauge, Cast-On, and Ribbing
Welcome to the Lorelai Knit Vest, part of the 6th Annual Marly Bird Turkey Trot Make-Along! 🦃✨ This cozy and stylish vest is a crowd favorite, and we’re so excited to guide you through every step. If you haven’t joined the event yet, it’s not too late! Visit link to Turkey Trot event page to sign up, grab your yarn, and stitch along with us.
In this first lesson, we’ll start by getting the foundation of your project just right. You’ll learn how to achieve the correct gauge, cast on with confidence, and work the perfect 2×2 ribbing to set up your vest for success. Whether you’re a seasoned knitter or just starting out, this section is packed with tips to make your knitting experience smooth and enjoyable.
Lorelai Knit Vest – Turkey Trot 2024
Designed by Marly Bird
SKILL LEVEL
Adventurous Beginner
MEASUREMENTS
To Fit Size
XS (S, M, L-XL, 2X, 3X, 4X-5X)
Finished Measurements
(also see schematic)
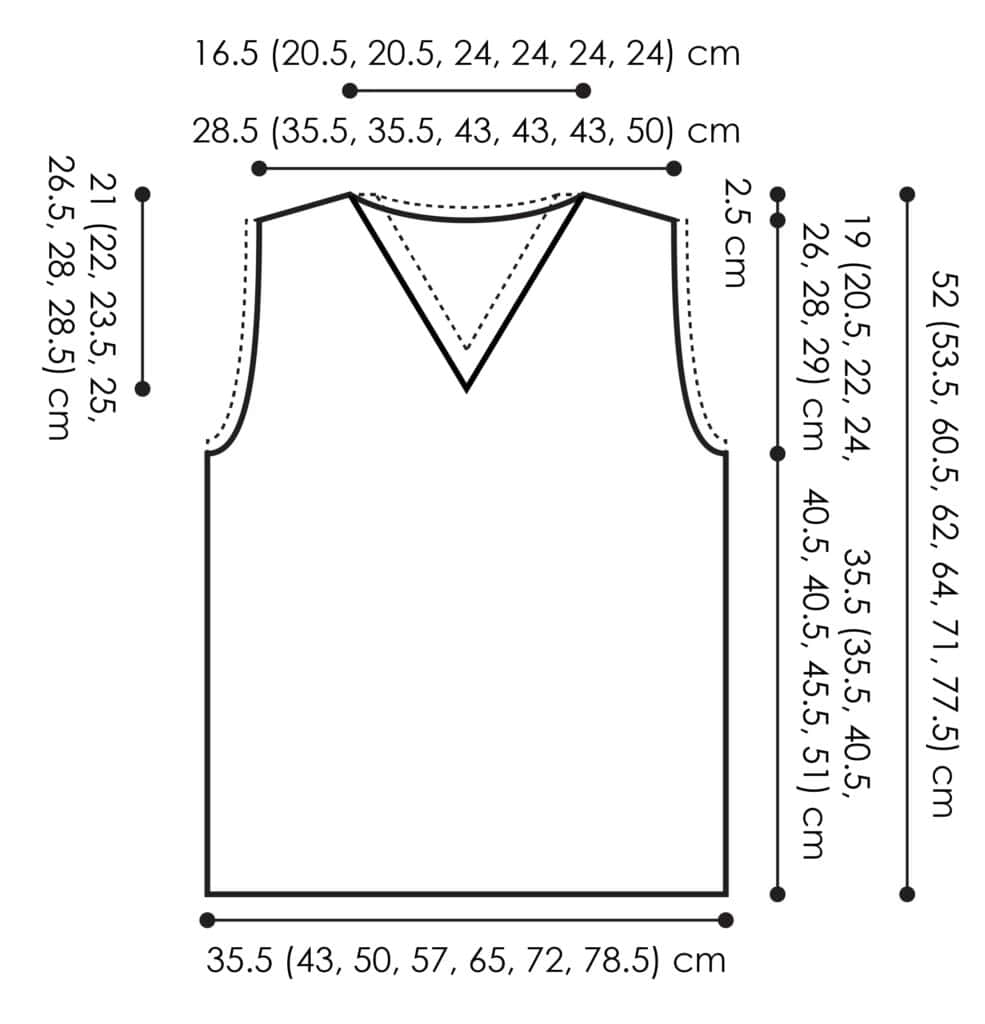
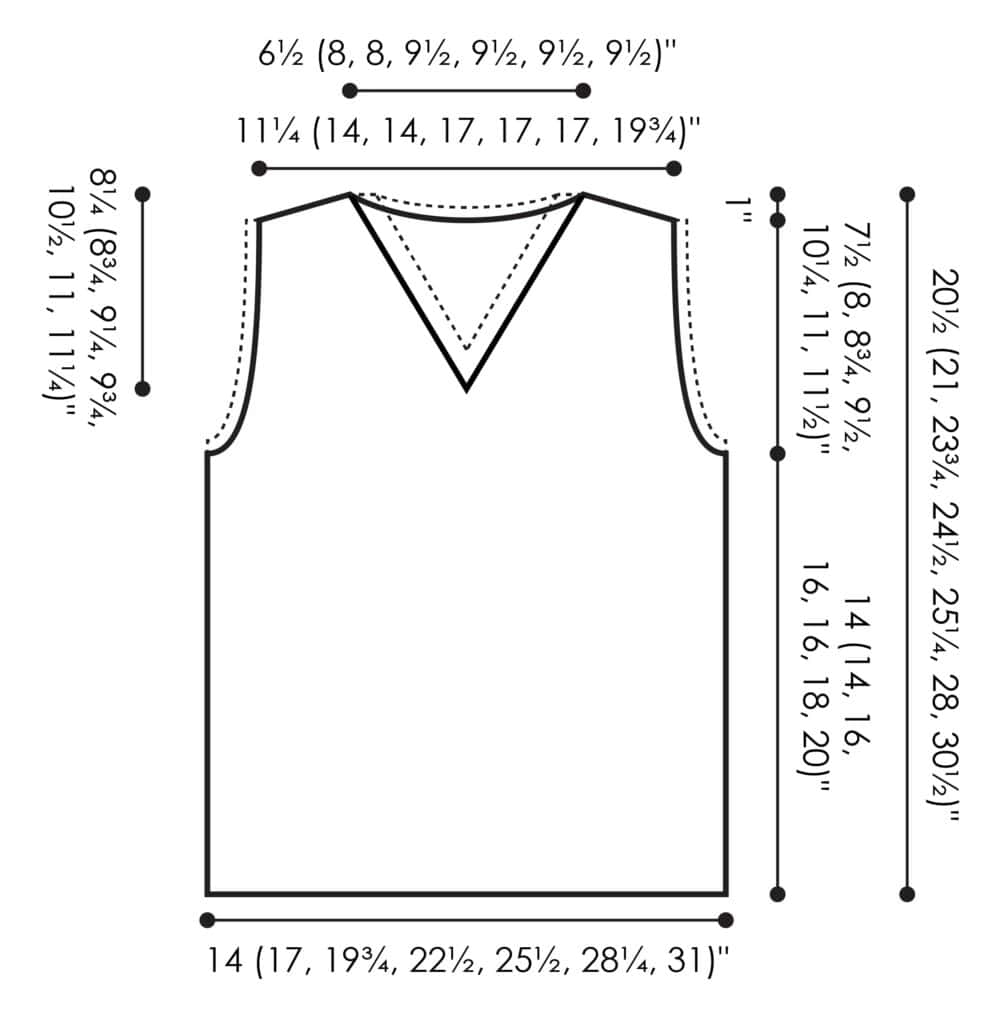
Bust 28 (34, 39½, 45, 51, 56.5, 62)” [71 (86.5, 100.5, 114.5, 129.5, 143.5, 157.5) cm]
Length 20½ (21, 23¾, 24½, 25¼, 28, 30½)” [52 (53.5, 60.5, 62, 64, 71, 77.5) cm]
- Designed to have 2-4” of positive ease
Gauge
See Gauge Swatch Instructions Below
17 sts in and 28 rows in Stockinette Windows pattern = 4 x 4” [10 x 10 cm]
- Note: Work a gauge swatch in the Stockinette Windows pattern stitch over 36 stitches and at least 3 full repeats, then rows 1-4 once more. Bind off and measure.
Begin with the Gauge Swatch
Before you start with the pattern, it is important you begin with a gauge swatch to confirm you are using the right size needles for you.
For the gauge swatch, use size 8 [5mm] needles and work up these instructions:
Cast on 36
Row 1 (WS): Knit.
Rows 2-4: Knit.
Row 5: * K2, p8, k2; repeat from * to end.
Row 6: Knit.
Row 7: * K2, p8, k2; repeat from * to end.
Row 8: Knit.
Row 9: * K2, p8, k2; repeat from * to end.
Row 10: Knit.
Row 11: * K2, p8, k2; repeat from * to end.
Row 12: Knit.
Row 13: * K2, p8, k2; repeat from * to end.
Row 14: Knit.
Repeat rows 1-14 two or three times more, then rows 1-4 once more. Bind off.
Measure the swatch.
Gauge: 17 sts in and 28 rows in Stockinette Windows pattern = 4 x 4” [10 x 10 cm]
- If you get TOO MANY STITCHES = Go Up A Needle Size ⬆️
- If you get TOO FEW STITCHES = Go Down A Needle Size ⬇️
MATERIALS
Yarn
Red Heart, Roll With It Melange (100% acrylic, 389 yds / 356 m, 5.29 oz / 150 g CYCA #4 worsted)
3 (3, 3, 4, 4, 4, 5) skeins: #Autograph
Note: Yarn amounts include an extra ball for color-matching when working the upper front sections.
Knitting Needles
Two 32” [81 cm] U.S. 8 [5 mm] circular needles, or size required for gauge.
Note: Vest is worked back-and-forth in rows; a circular needle is used to hold the full length of the sts. A second needle is included for working both upper front sections at the same time.
Notions
Stitch Holders
ABBREVIATIONS
K – Knit
K2tog – Knit Two Stitches Together
P – Purl
Pm – Place Marker
RS – Right Side
St(s) – Stitches
WS – Wrong Side
SPECIAL STITCHES
⭐️ Ssk (Slip, Slip, Knit): Slip 2 stitches, one at a time, as if to knit. Insert left hand needle into the front of these two stitches and knit them together from this position (1 stitch decreased)
PATTERN STITCHES
Stockinette Windows Pattern (for sizes S, L-XL, 3X)
Worked over a multiple of 12 sts.
Row 1 (WS): Knit.
Row 2: Knit
Row 3: Knit
Row 4: Knit.
Row 5: * K2, p8, k2; repeat from * to end.
Row 6: Knit.
Row 7: * K2, p8, k2; repeat from * to end.
Row 8: Knit.
Row 9: * K2, p8, k2; repeat from * to end.
Row 10: Knit.
Row 11: * K2, p8, k2; repeat from * to end.
Row 12: Knit.
Row 13: * K2, p8, k2; repeat from * to end.
Row 14: Knit.
Repeat Rows 1-14 for Stockinette Windows Pattern.
Stockinette Windows Pattern (offset – for sizes XS, M, 2X, 4X-5X)
Worked over a multiple of 12 sts.
Row 1 (WS): Knit.
Row 2: Knit
Row 3: Knit
Row 4: Knit.
Row 5: P4, k2, * k2, p8, k2; repeat from * to end to last 6 sts, k2, p4.
Row 6: Knit.
Row 7: P4, k2, * k2, p8, k2; repeat from * to end to last 6 sts, k2, p4.
Row 8: Knit.
Row 9: P4, k2, * k2, p8, k2; repeat from * to end to last 6 sts, k2, p4.
Row 10: Knit.
Row 11: P4, k2, * k2, p8, k2; repeat from * to end to last 6 sts, k2, p4.
Row 12: Knit.
Row 13: P4, k2, * k2, p8, k2; repeat from * to end to last 6 sts, k2, p4.
Row 14: Knit.
Repeat Rows 1-14 for Stockinette Windows Pattern, offset.
SCHEMATIC
CHART
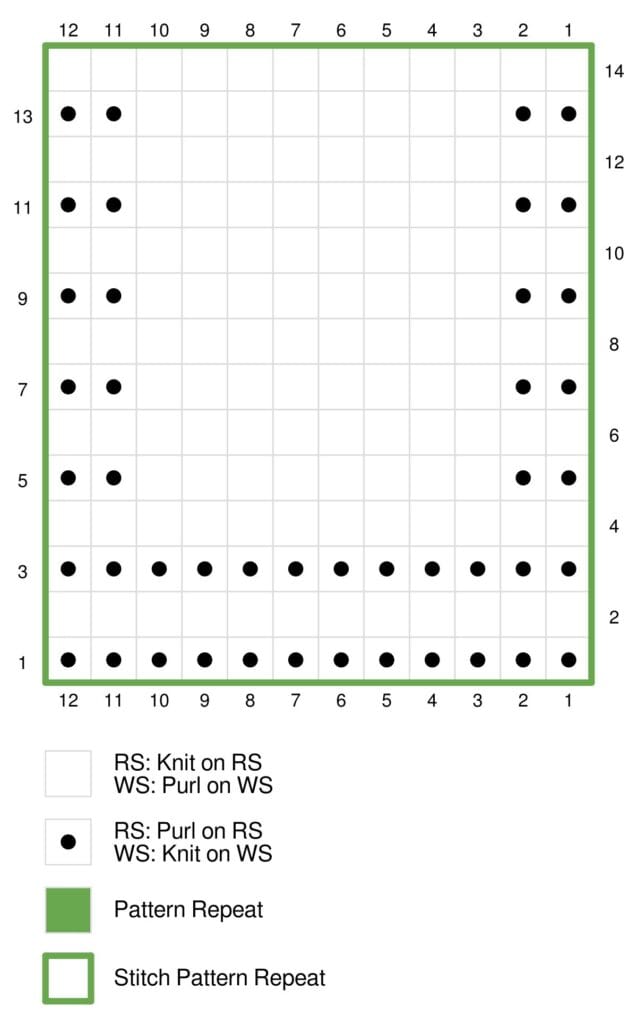
✅ Full charts for each size is exclusive to the ad-free pdf only available with VIP Upgrade.
Row-by-Row Checksheet
✅ Only available with the VIP upgrade or ad-free pdf

NOTES
- Directions are for the smallest size; changes for all other sizes are in parentheses. When only one number is given then that number applies to all sizes.
- Vest is worked from the bottom up in 2 pieces, then seamed together. Optional pockets are worked as-you-go.
VIDEO TUTORIALS
- Long Tail Cast-On >> Click Here for Video Help <<
- Knit Stitch (continental style) >> Click Here for Video Help <<
- Purl Stitch (continental style) >> Click Here for Video Help <<
- How to Tink >> Click Here for Video Help <<
- How to Add Lifeline >> Click Here for Video Help <<
- How to Bury Ends >> Click Here for Video Help <<

GROW
To Unlock Exclusive Subscriber Content click the Box below and join for free by simply adding your email and creating a password! If you are having troubles, clear your cache or reset your password or login to the Grow Publisher Portal.
I’m thrilled to share this amazing pattern with you, many patterns on my blog are absolutely free! I kindly request that you don’t copy and paste or distribute this pattern. Prefer an ad-free experience? Buy a digital PDF pattern for a small fee from one of my online stores for a seamless crafting journey.
I appreciate your support and readership. You are the reason I can keep doing what I love and sharing it with others. So, thank you from the bottom of my yarn-loving heart! Disclosure: This post contains affiliate links, meaning I get a commission if you decide to make a purchase through my links at no cost to you.
✨Your homework is to complete the ribbing for both the back and the front of the vest.
See you in the next lesson!
Happy Knitting, Marly!

