Fisherman’s Rib Stitch 3 Ways || Knit Stitch Library
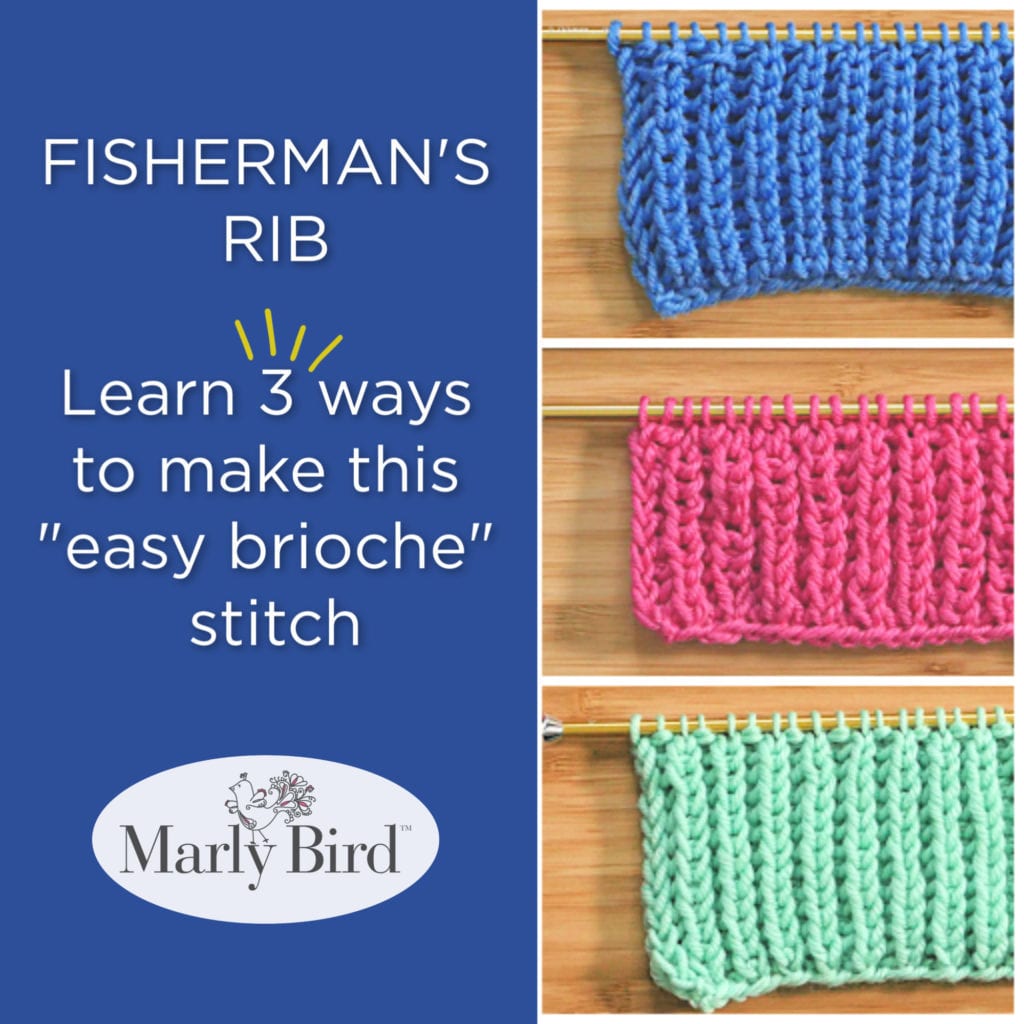
The fisherman’s rib stitch is a reversible pattern that creates a thick fabric with lots of volume and horizontal stretch. It is a great stitch for scarves, hats and sweaters.
Often thought of as the “easy brioche”, the fabric created with the fisherman’s rib stitch is almost indistinguishable from basic brioche stitch but the two stitch look completely different on the needles.
LEARN HOW TO KNIT FISHERMAN’S RIB STITCH
MATERIALS
Yarn: Round, sturdy yarns that resist flattening or compression will create the best stitch definition.
- Yarn used in the sample is Red Heart Chic Sheep by Marly Bird™ [Art. R170 100% Merino Wool available 3.5 oz (100 g),186 yd (170 m) balls] Poolside (MC) 1 ball, Creme de Mint (CC) 1 ball.
Needles: When working fisherman’s rib or brioche, use a needle two to four sizes smaller than you would for stockinette stitch.
When working with one color, you can use straight needles. When working with two colors, you need to use circular needles or double pointed needles so the fabric can be worked from both ends without turning the work.
Notions: Stitch Marker (make your own), Tapestry needle to bury the ends (learn how here)
ABBREVIATIONS
BO — bind off
CC — contrasting color
CO — cast on
K — Knit
K1-below — Knit 1 stitch below the stitch on the left hand needle
MC — main color
P — Purl
P1-below — Purl 1 stitch below the stitch on the left hand needle
PM — place marker
tbl — through the back leg
wyif — with yarn in front
NOTES
Projects worked in fisherman’s rib or brioche may require up to 35% more yarn than a comparable stockinette stitch project.
It takes two rows to complete one full row of fisherman’s rib or brioche.
When working with two colors, it is necessary to use circular or double pointed needles. Straight needles will not work.
If you want to be sure you have a safety net as you knit, adding a lifeline to your project every so often will be helpful. Just to make sure you have a point to rip back to if something goes wrong. Watch Video Here
VIDEO
FISHERMAN’S RIB STITCH
STITCH MULTIPLE
Even number +1+2 selvedge sts (symmetric at both ends & selvedge sts): If you want the edges of the fabric to be uniform and clean, add 1 selvedge stitch at the start and end of the number of stitches cast on. The stitch multiple for fisherman’s rib with symmetric fabric and selvedge edge is any even number +1+2.
BEST CAST ON FOR FISHERMAN’S RIB STITCH
Any cast on can be used for fisherman’s rib stitch but you want a fabric that elegantly merge from cast on fabric, then it is best to use a cast on that mimics the k1, p1 of the fabric.
Here are some common cast on methods for ribbing.
Long Tail cast-on: this is a tried and true cast on. It places all the stitches on the needle as knits. This is a sturdy, neat, and common cast on. But traditional long tail cast-on does not make the fabric. Watch Video Here
The Long Tail cast-on places the stitches on the needle as if they are all knits. Therefore, when the work is turned you are looking at purls on the needle. Because of this, I often think of the very first row after this cast on as a WS row.
Italian cast-on: this cast on is similar to long tail in the way it looks but the motion is slightly different. A long tail is used to complete this cast on. It creates a very stretchy edge. Watch Video Here
The Italian cast-on places stitches on the needle that resemble a combination of k1, p1.
Tubular cast-on: this cast on takes several steps but the finished look of the fabric looks as if the stitches work out of nothing from the start. It creates a very stretchy edge.
Alternating Cable cast-on: using the cable cast on method, cast on one stitch knit-wise and one stitch purl-wise. Alternate between a knit cast on and a purl cast on. It creates a very stretchy edge.
The Alternating Cable cast-on is a very nice way to begin a ribbing and is very easy to do.
FIRST ROW AFTER CAST-ON
After doing some research on this stitch, it is clear that the first row after the cast-on is dependent on which way you work the fisherman’s rib stitches (3 ways described below). There are instructions that start with a knit row, there are instructions that start with a purl row, and then there are instructions that start with a K1, P1 (or vice versa) ribbing.
It is my opinion that you should start with the way a pattern is written and if you don’t like it, try out one of the other ways. Also, remember that the cast-on you choose can affect the look of the first row after cast-on so changing that as well might be necessary to get your desired look.
For me, starting with actual K1, P1 (or vice versa) ribbing is the best way to start this stitch pattern to make it look as pretty as possible. But if you feel differently, you can absolutely use one of the other options.
ONE COLOR FISHERMAN’S RIB STITCH — FLAT
After doing research on fisherman’s rib, I’ve discovered that there are a few ways that a knitter can complete this stitch. Below are three of the most common instructions. In the video, you can learn how to do each one and the difference/benefit to each one.
????Looking for TWO COLOR FISHERMAN’S RIB? Instructions for that are coming soon. ????
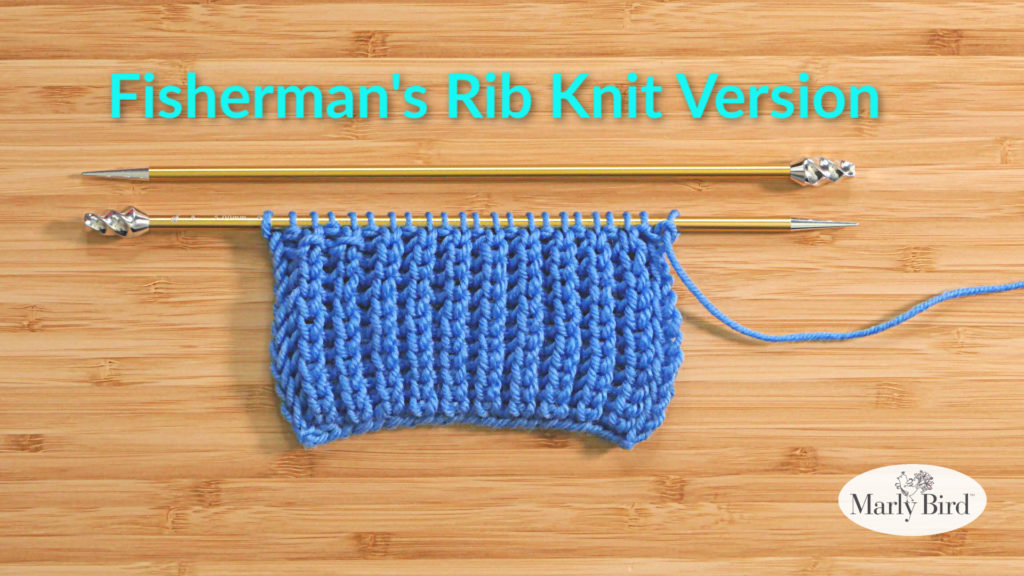
FISHERMAN’S RIB KNIT VERSION
Cast on even number +3 (2 selvedge stitches plus 1)
Row 1 (set-up): Slip 1 as if to purl wyif, knit to last st, k1-tbl.
Row 2: Slip 1 as if to purl wyif, p1, *k1-below, p1; repeat from * to last stitch, k1-tbl.
Row 3: Slip 1 as if to purl wyif, k1-below, *k1, k1-below; repeat from * to last stitch, k1-tbl.
Repeat rows 2 and 3 for desired length, ending after a row 3.
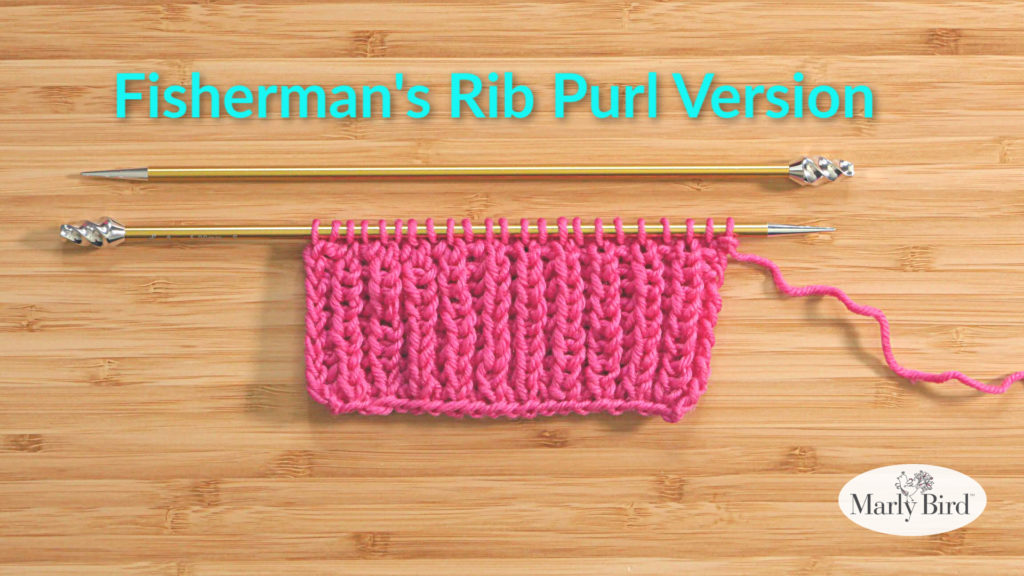
FISHERMAN’S RIB PURL VERSION
Cast on even number +3 (2 selvedge stitches plus 1)
Row 1 (set-up): Slip 1 as if to purl wyif, purl to last st, k1-tbl.
Row 2: Slip 1 as if to purl wyif, p1-below, *k1, p1-below; repeat from * to last stitch, k1-tbl.
Row 3: Slip 1 as if to purl wyif, p1, *p1-below, p1; repeat from * to last stitch, k1-tbl.
Repeat rows 2 and 3 for desired length, ending after a row 3.
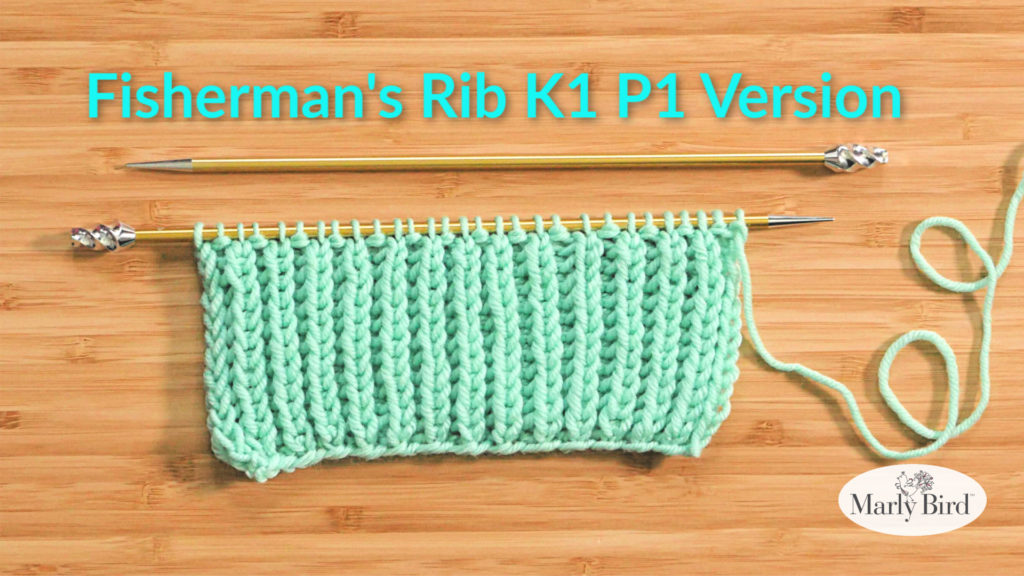
FISHERMAN’S RIB K1, P1 VERSION
Cast on even number +3 (2 selvedge stitches plus 1)
Row 1: Slip 1 as if to purl wyif, *k1, p1; repeat from * to last 2 stitches, k2.
Row 2: Slip 1 as if to purl wyif, p1, *k1-below, p1; repeat from * to last stitch, k1-tbl.
Row 3: Slip 1 as if to purl wyif, k1-below, *p1, k1-below; repeat from * to last stitch, k1-tbl.
Repeat rows 2 and 3 for desired length, ending after a row 3.
Bind off in pattern loosely.
FREE PATTERNS USING FISHERMAN’S RIB
I’ve collected a links to really wonderful patterns that use the fisherman’s rib stitch. Take a look at some of these fantastic patterns.
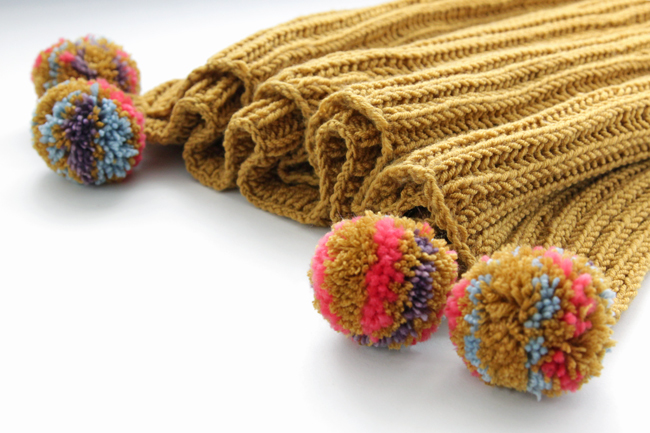
Fisherman’s Rib Baby Blanket by Hands Occupied
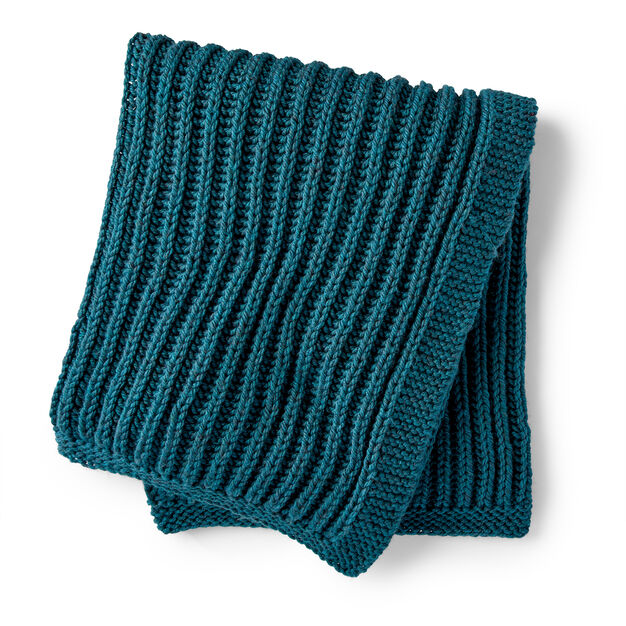
Squishy Fisherman’s Rib Blanket by Yarnspirations
Includes Video Tutorial


