Yarn Dyeing with Kool-Aid: a Photo Tutorial
I have always wanted to dye my own yarn. Making your own colors and patterns seems so cool to me. When Marly told me that I could play around with Chic Sheep by Marly Bird™ and try out yarn dyeing with Kool-Aid I was super excited. Rather than just do the project myself, my son got involved and we had a great time. I am not an expert at dyeing yarn but I can tell you what I learned along the way after doing research and trying things out. I can’t wait to see what colors you come up with!

Disclosure: This page may contain affiliate links which help me cover the cost of publishing my blog. Should you choose to make a purchase, at no additional cost to you, I may earn a small percentage of the sale.
The Basics of Yarn Dyeing:
Before we jump in and get started I wanted to remind you that there are a few different ways that you can dye your yarn. First thing to note is that dyeing yarn only works if you have a natural fiber. Today we are going to be using Chic Sheep by Marly Bird™ which is 100% merino wool. To use Kool-Aid you will need to use an animal fiber. Cotton and other plant based fibers cab be dyed but they do not need an acid dye, they require something else.

Dyeing yarn can be done with Kool-Aid or food coloring, things that you might have in your house, or you can go and purchase professional grade dyes as well. The difference you ask? Although I haven’t used the professional dyes I would assume that they will give you a more vibrant color. What do you need to know is that if you get another dye you will need to check if it has acid in it.
Since Kool-Aid contains citric acid we don’t need to give the yarn a bath in an acid solution. We still need to saturate the yarn, which we will cover later, but it can be done with just water in our case. If you are looking for another source on how to use acid dyes I recommend the video that Faith did on Creativebug’s Facebook page not too long ago where she shows the same process but using acid dyes and not Kool-Aid.
What you will need:
It is pretty suprising to see what tools and materials you will need for this project. Most of them are already things that you have around the house. We will be working with white (linen) yarn today but you could totally try this out with other colors as your base. It will impact the look of the color you get but will still be a lot of fun. Your kids can get involved and play around with what colors they can make. Grab the items on the list below and get started!
- Yarn of choice-I started off with one ball of Linen Chic Sheep by Marly Bird™ and broke it into three hanks. This allowed me to test out some different ways of working with color before using an entire ball. When starting out try using a white (undyed) yarn so that you can really see how the color works with the yarn.
- Kool-Aid in colors of choice-I purchased some of the packages of Kool-Aid and some bottles of ready made drinks. If you are getting the packets you will need about two packets for half of the yarn. The more yarn you are dyeing at one time will require more Kool-Aid.
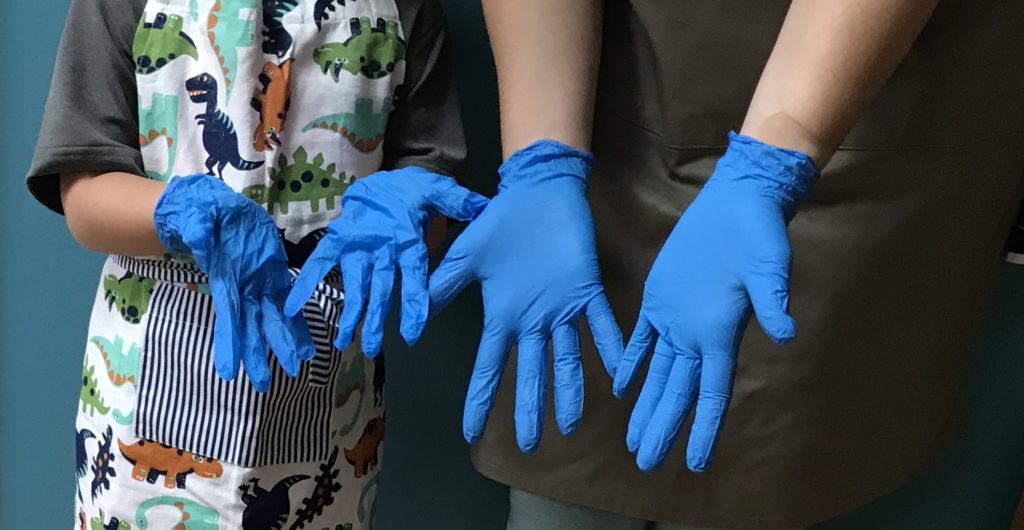
- Latex gloves-I suggest having something to protect your hands. It is pretty amazing how Kool-Aid can stain your hands when you work with it.
- Newspaper
- Yarn Swift
- Large Bucket-This will be used to soak the yarn, you could also use your sink.
- Microwavable Container
- Plastic Wrap
- Paper Plate
- Mixing Containers-You could use small dishes or bottles. I also tried this out using ketchup and mustard bottles that I got at the dollar store
How to get started:
First things first, you should protect yourself and your workstation from stains. Since we will be using much less water for each packet of Kool-Aid the color is much more concentrated and will stain clothing, counters and your skin. To avoid the need to clean excessively when you are finished grab an apron or old clothing, some newspaper for your counter and some gloves to keep your hands clean. You will want to get a few pairs of gloves if you want to do many colors so that you don’t contaminate the colors.
After covering your surface to protect it you are ready to start mixing your colors. I tried three different ways of dyeing the yarn to see what it would look like. The first way I tried was to make the yarn one solid color. Next I tried sprinkling the color onto the bare yarn and lastly I did one solid color with some sprinkles as well. Before you can do anything you will need to prepare the yarn.
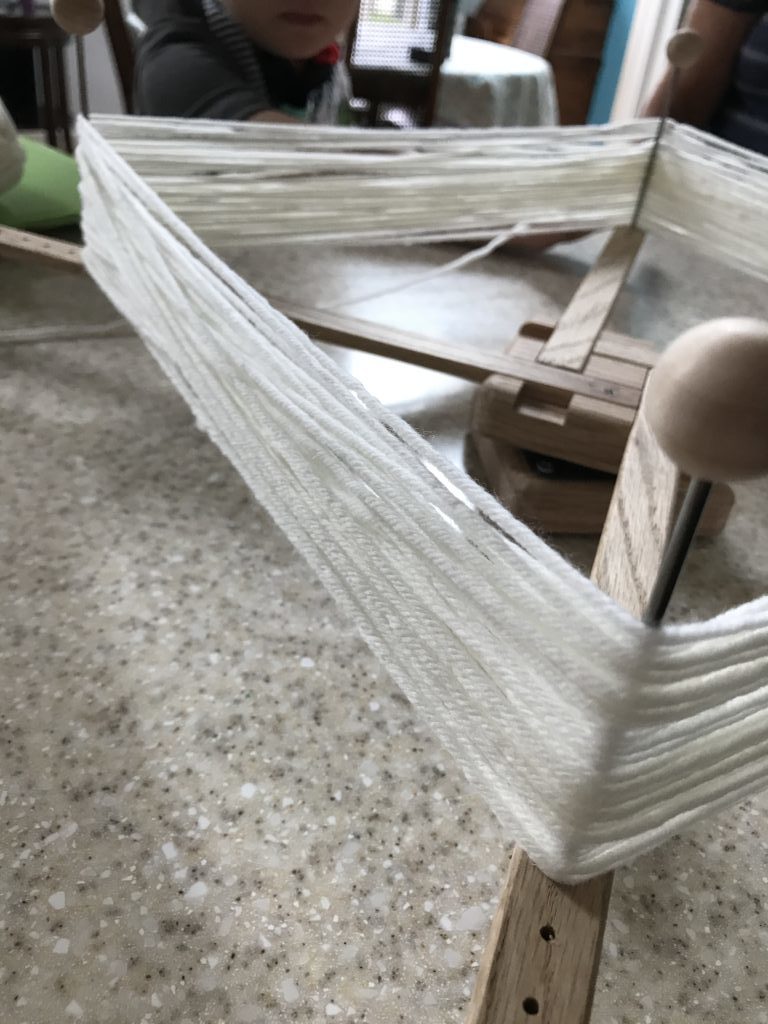
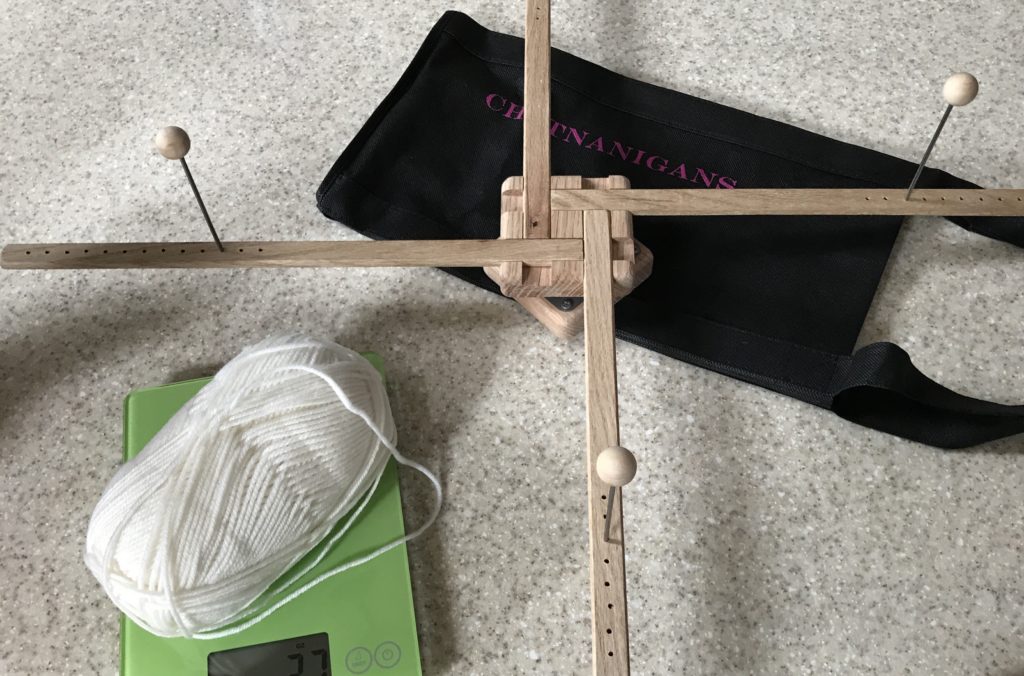
Chic Sheep by Marly Bird™ comes in a ball when you purchase it in the store. To get an even dyeing of the yarn we need to have it in hanks. In order to get hanks you will use a yarn swift to un-ball the yarn. I also used a kitchen scale just so I could get my three hanks about even. This was a great time to involve my son because he could help me count how many times we went around and watch the scale to see what the weight was. Before you remove the yarn from the swift you will need to add a few ties around, I added three. Don’t make them too tight or the dye won’t be able to get to the yarn and you will have white stripes in that section.

Before you can start to dye your yarn you need to soak it in a water bath. This will allow it to get saturated with water and make it more susceptible to accepting the dye. Submerge your new open hank of yarn into the water. NOTE that you should always fill the bucket or sink first and then add your yarn, do not add your yarn first and then put water on top of it. Also be sure that the water is no warmer than room temperature so that you don’t trigger any felting.
As you put the yarn into the water you will want to full get it under the water. It won’t stay there but you will want to push it under the water every few minutes. It is important that you don’t swish the yarn around or you could have a big mess when you try to pull it out of the water. After letting your yarn soak for about 20 min (or until full saturated) you are ready for dyeing. Carefully pull your yarn out of the water bath and gently squeeze it dry. Do not wring the yarn dry just get the majority of the extra water out.
Yarn Dyeing with One Color:
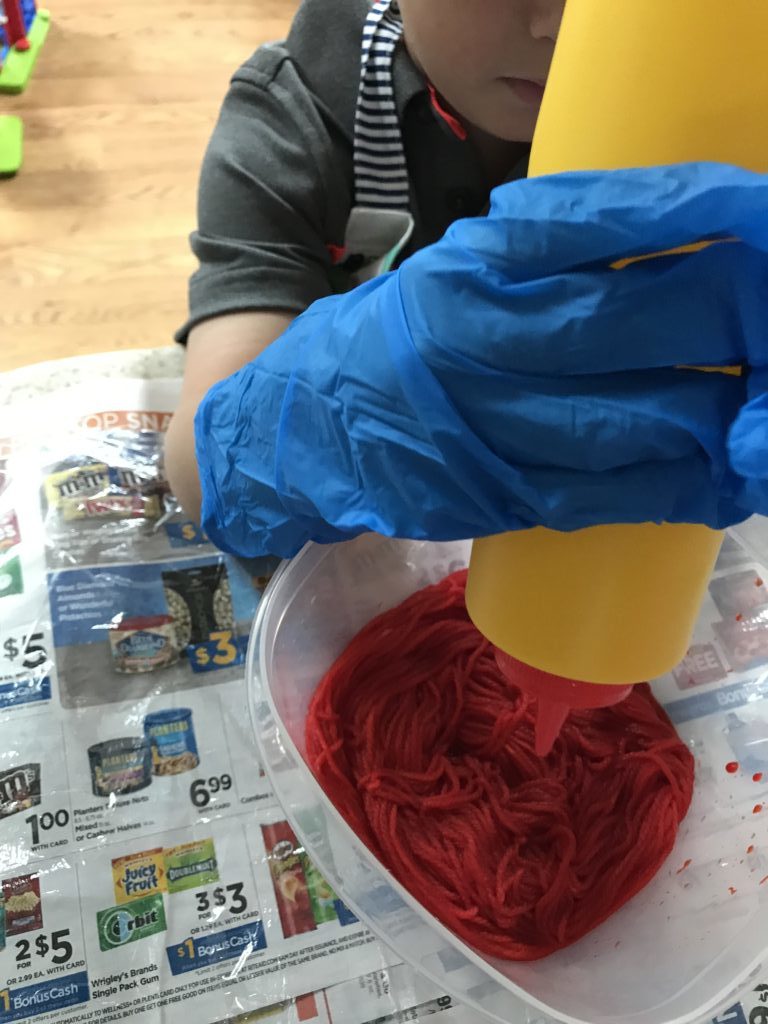
Our first attempt at dyeing the yarn was to use one color. I dumped the contents of one pack of Kool-Aid mix into a container, in this case a mustard bottle, and mixed it up with about 1/2 cut of water. The more water you use or leave in your yarn the lighter the color will become. If you are using a lighter color of Kool-Aid, like the pink lemonade, you will likely need at least 2-4 packages to see the color in your yarn.
Once my Kool-Aid was mixed I gave the bottle to my son and he squirted the liquid on the yarn. We did this inside a rubbermaid container. It needs to be done inside something that can go into the microwave. As you quirt the yarn with the liquid be sure to cover it completely if you want a solid color. If you are looking for something that is more tonal you could make some spots darker than others, play around with the saturation.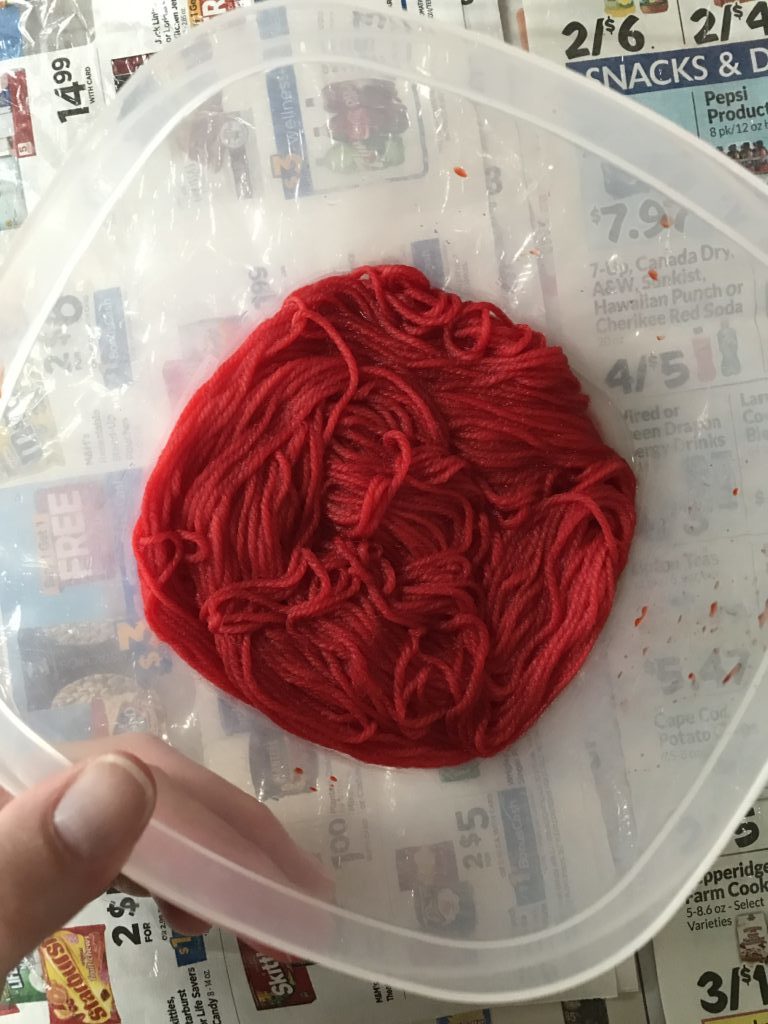
After we had covered the yarn we put it into the microwave, uncovered, for about 2 minutes. When we took it out there was still water in the container and it was still pinkish. This told me that it need to go back into the microwave. We used the microwave as a way to set the dye. Always go in small increments when working this way because you don’t want to burn your yarn if it gets too hot.
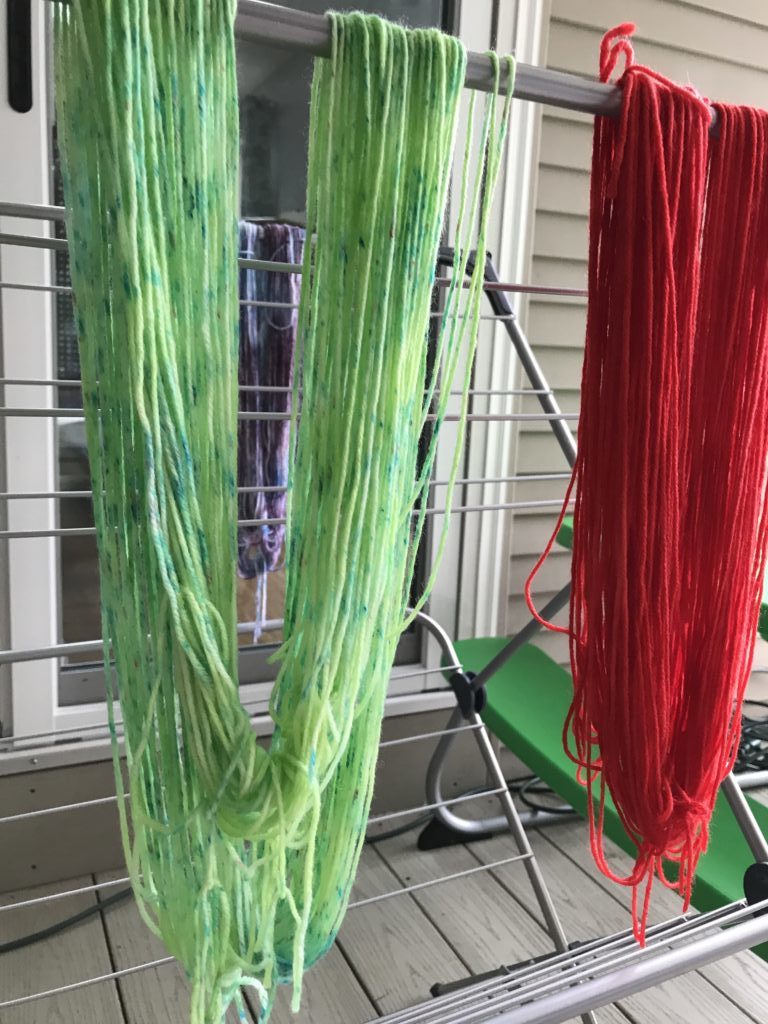
After a second run in the microwave the water was clear in color but a little cloudy. It is okay that the water is cloudy that is just some of the remains of the dye and the yarn together. Once we got to this point it was time to give our yarn a quick rinse. Remember that the water should go into your container first and then the yarn, not the other way around. To finish off this hank of yarn we squeezed out the extra water and put it on a drying rack outside to fully dry.
Dyeing Yarn with a Base Color and Speckles:
Now we knew how to dye a base color I wondered how it would work with the ready made drink mix. I thought that would be easier than having to make the mix up each time. This time we stuck our yarn into a clean container and dumped three bottles of ready made drink on it. We went through the same process of setting the dye. This time we left a little more water in the yarn when we were finished so that we could add the next step, the speckles.
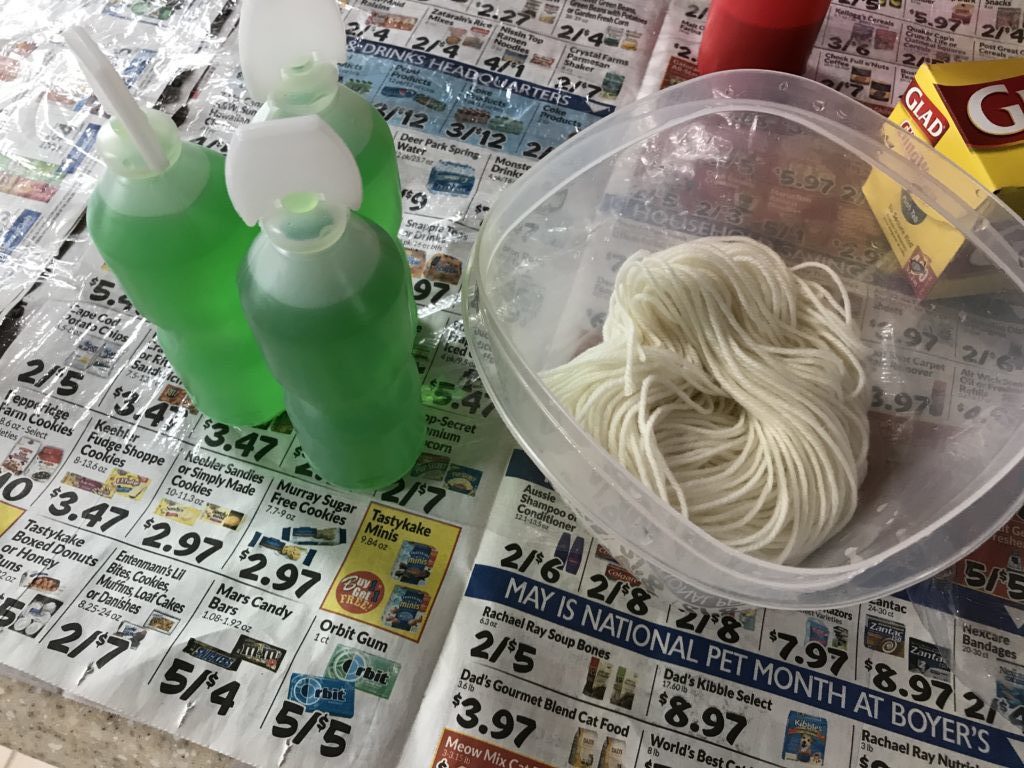
My son decided that we were going to use a green ready made drink so I thought that it would look pretty cool with some blue speckles. After I got the green color into the yarn I laid the hank out onto plastic wrap. From there I sprinkled the blue power over the yarn where I thought that I wanted the color. Please note that I did NOT mix the blue powered with water, it went onto the damp yarn as a powder.
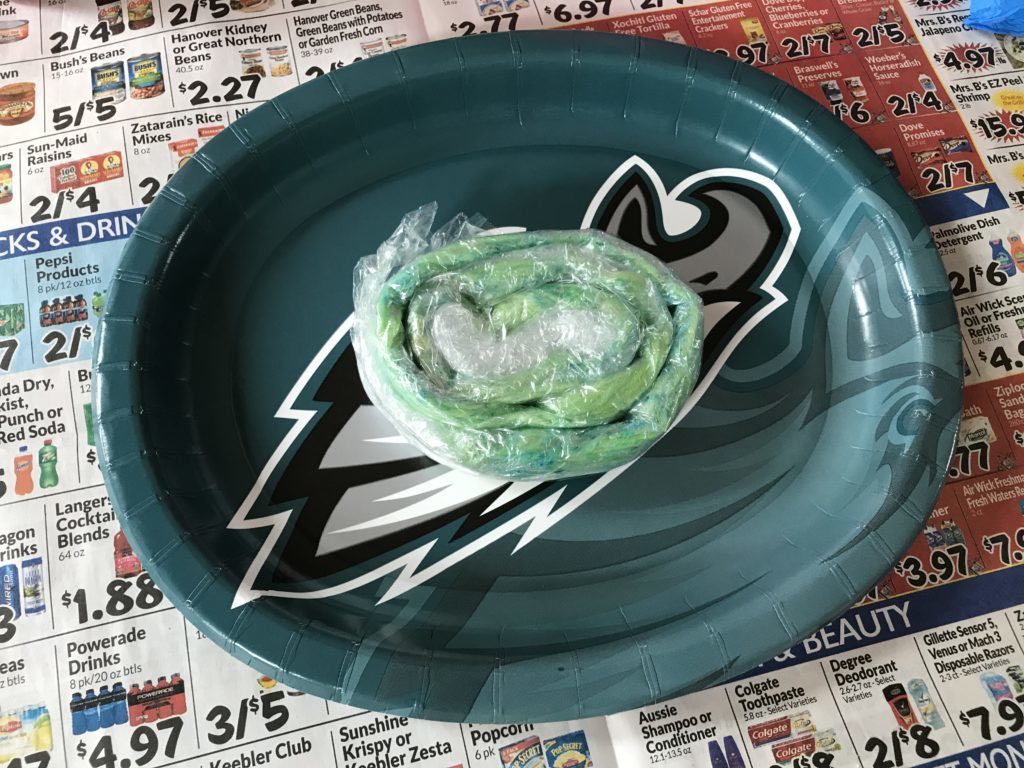
At this stage is where I really needed my gloves. I used my fingers to rub the powered into the yarn and flipped the yarn over to get the back side. Once I was done and happy with the way that it was I wrapped the yarn in the plastic wrap and then rolled it up like a jelly roll.
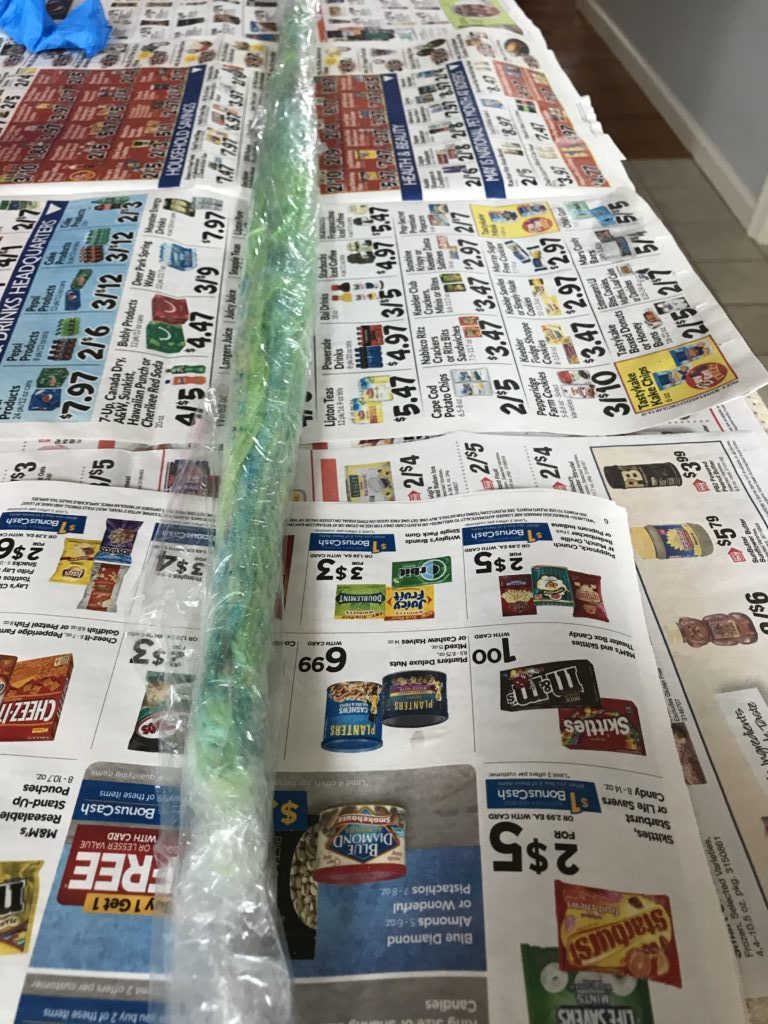
We are using the plastic wrap to keep the yarn from burning as we put it back into the microwave. Since we want the blue color to be in a specific spot we can’t submerse it in liquid like we did when we wanted the overall color. The plastic wrap helps to keep some of the moisture in the yarn so that it doesn’t burn as you heat set the color.
Back into the microwave went my new yarn roll for another 2 minutes. Be VERY careful as you take this out of the microwave. It will be very hot. You should let the yarn roll sit until it is completely cool. As it cools down it will absorb more of the color.
 Once the yarn has cooled you can move it around inside the plastic wrap to see if there is any colored liquid in the yarn. If it all seems clear you know that the color has been absorbed. Unroll your yarn, give it a rinse and then hang it to dry.
Dyeing Yarn with Speckles:
The last way that I tried to dye the yarn was with power only. I went through the soaking process to get the yarn ready and then I went right to sprinkling on the color as my yarn was on the plastic wrap. Again I used my fingers to massage the color into the yarn and checking to make sure that it got all the way through to the back.
Working with the dye this way allows you to have areas with more concentrated color. You can work with multiple colors, as I did, or just work with one and have darker and lighter spots. This process will end up with more of your base color showing.
Finishing Your Yarn:
After rinsing your dyed yarn there really isn’t anything else that you need to do other than dry the yarn. I recommend that you use a drying rack and put it outside if possible. Being outside will help the yarn dry faster, weather pending.
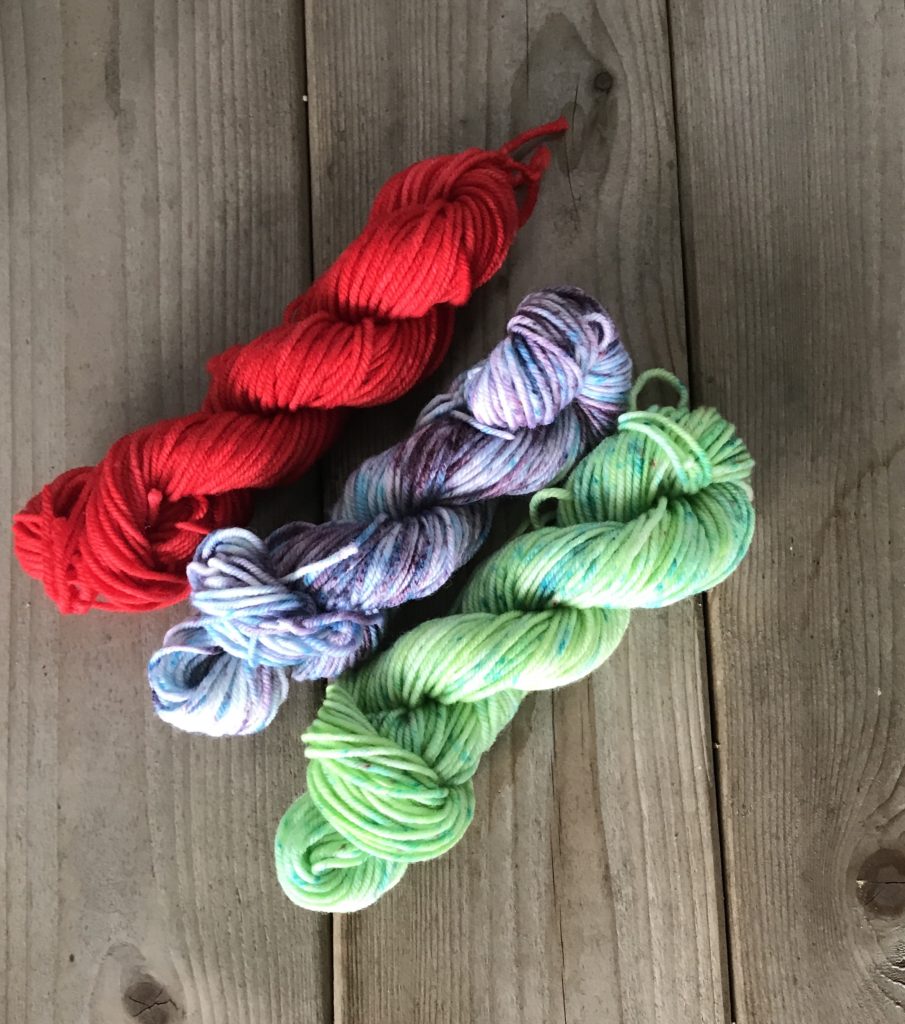
Once your yarn has drip dried you can then put twist it into a hank or put it back onto your swift and roll it into a ball.
Now that you know how to dye your yarn with Kool-Aid grab your supplies and get started. I can’t wait to see what colors you make up!
Tips to know:
Just to recap the most important tips I have put together this quick reference list.
- Protect yourself and your workstation from stains-Kool-Aid will stain clothing, surfaces and skin.
- Only use natural animal fibers for Kool-Aid dyeing, plant based fibers will not absorb this acid dye.
- Unwind your ball of yarn into hanks so that you can get an even coating of color.
- Always fill the bucket or sink first and then add your yarn.
- Heat your yarn in small intervals so that you don’t burn the yarn.