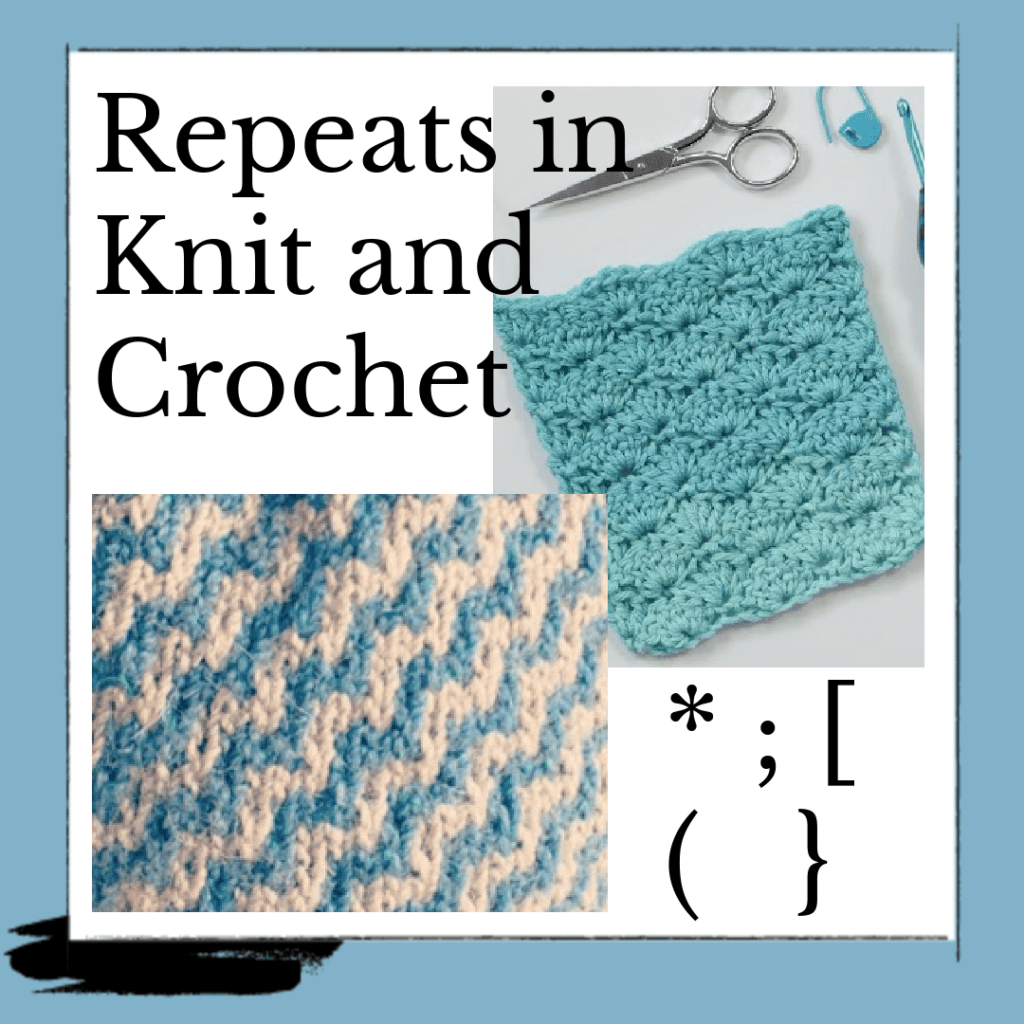
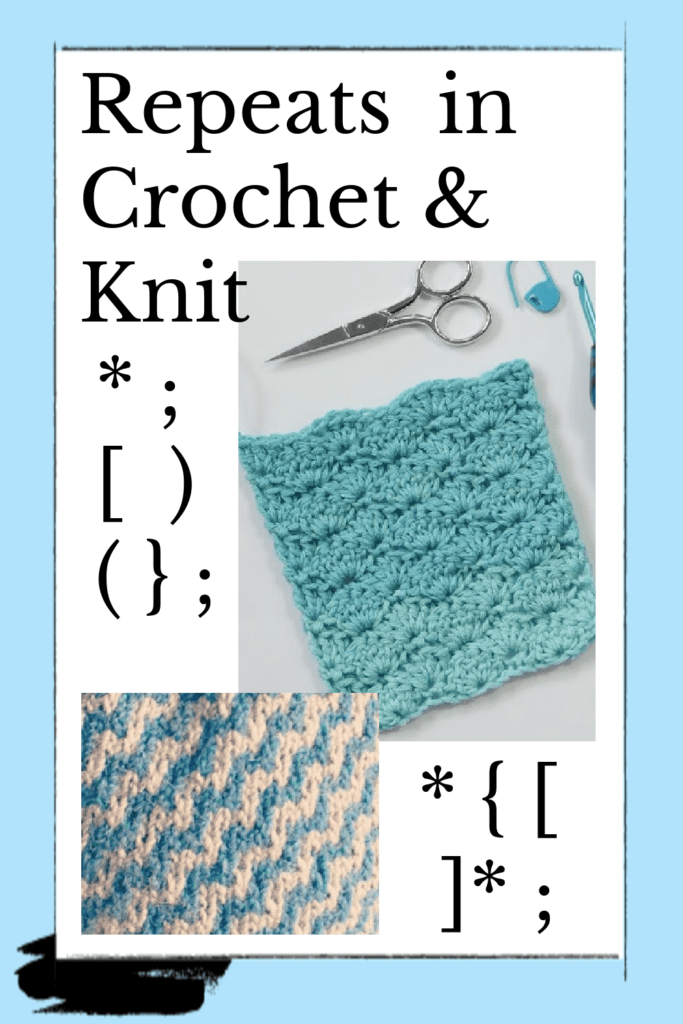
Repeats in Knit and Crochet || Tips & Techniques
Whether or not you’re a beginner, you’ll come across repeats in knit and crochet patterns. If you’ve been crafting for a while, you’ll recognize there are specific ways and methods of pattern writing.
It seems that each publisher or yarn company has a slightly different style. It’s especially obvious to designers who work with several companies. Once a company accepts a design, they’ll send a style sheet, so the designer knows how the company wants the patterns written.
Though there are subtle differences, on the whole, they look pretty much the same to knitters or crocheters.
So, let’s look at some ways you may have seen repeats in knit and crochet patterns.
I don’t have enough stitches!
A standard error in written pattern repeats is when the repeats shown add up to more stitches than you have on the needle. This is usually because the first written section of the pattern between the * and ; isn’t added to the stitch count. Here’s what I mean.
I’m showing this example in knit, but the same goes for crochet.
Let’s say your pattern repeat (sometimes written as pat rep or patt rep) is 8 sts + 3, you’ve cast on 27 sts, and your first pattern row looks like this:
- Row 1: K4, p3, *k5, p3; rep from * twice, k4.
If you add up the stitches mentioned in this row, it comes to 35 sts, but you only have 27. That’s because you’ve already worked one pattern repeat between the * and ; before the repeat is even mentioned.
Writing correct repeats in knit and crochet patterns
There are a few ways to write this, so the stitch count and pattern are correct.
- Row 1: K4, p3, *k5, p3; rep from * once, k4.
Breaking down the stitches into groups, we have 7 sts before the *, 8 sts between the * and ;, one repeat = 8 sts, and 4 sts to end the row.
- 7 + 8 + 8 + 4 = 27 sts
Here are four other ways you might see this row written which are also correct.
- Row 1: K4, p3, *k5, p3; rep from * once more, k4.
- Row 1: K4, p3, *k5, p3; rep from * to last 4 sts, k4.
- Row 1: K4, p3, *k5, p3; rep from * to last 4 sts, knit across.
- Row 1: K4, p3, *k5, p3; rep from * to last 4 sts, knit to end.
In these examples, the pattern doesn’t always tell you how many times to repeat the stitches between the * and ;, but you know you have to work in pattern to the last 4 sts, then knit the final 4.
You’ll find asterisks (*) and semicolons (;) are the most common method of showing repeats in knitting and crochet patterns.
What about shorter stitch repeats within rows.
You’ll see stitch repeats within rows in both knit and crochet patterns. You’ll spot these groupings of stitch repeats within square brackets [ ] or parentheses, also known as round brackets ( ). These square or round brackets surround a group of stitches that you must work a defined number of times before moving along the row. You may see multiple brackets in one row, each with its own number of repetitions.
In crochet patterns, you may see a group of stitches within the brackets, including where you should work these defined stitches, i.e., in a specific stitch or space. Depending on the pattern, the placement instructions for the bracketed stitches can be inside or outside of the brackets.
Let’s check out some examples.
Here’s a knit row to set up a cable pattern:
- Row 1: *K1, [p2, k2] twice, p2, k1, [p2, k2] twice, p2; rep from *, end k1.
Notice in this row, the * is right at the beginning. You have two separate bracketed instructions (each with a repeat number) separated by individual instructions. At the ;, you repeat the whole string from the beginning *.
Now, let’s look at a crochet row with brackets.
- Ch 3, dc in each of next 2 dc, [2 dc, ch 2, 2 dc] in next dc, dc in each of next 2 dc, dc in 3rd ch of ch 3.
Here you’ll notice there are stitch instructions inside the brackets. Instead of a repeat number after the brackets, we see where these stitches should be worked.
More repeats in crochet
Curly brackets look like this { }, and you’ll usually find them in crochet patterns where we need even more brackets to define a complete stitch pattern or unit. This is where we get to use brackets inside of brackets.
I’ll show you what that means here, where I describe how to work a crochet shell with a repetitive stitch pattern.
- {[dc, ch 1] 3 times, dc} in next ch-1 sp.
The square brackets inside show you the repeated stitches, which you then follow with the last dc. You’ll see that the curly brackets enclose the complete shell instructions. After the curly brackets, you find out where to work this shell.
Recognizing repeats on charts
Charts are fabulous visuals showing how your knitting or crochet will look and also how it’s formed.
You’ll see symbols for each stitch inside a grid on knitting charts. A solid colored line around the outside of a block of stitches marks the repeat. And you’ll see a legend telling you what each symbol means in terms of which stitch to use. You’ll also see how to read the chart depending on whether you work your project flat or in the round.
Crochet charts are only slightly different in that there is no grid since crochet stitches or combinations of stitches are all different shapes, widths, and heights. The stitch repeat is still marked with either a solid outline or a colored block overlay, and you’ll still see a legend, so you’ll know what each symbol means.
Working flat in knit or crochet, you’ll read right to left on Right Side (RS) rows and then left to right on Wrong Side (WS) rows.
In the round, you’ll work from right to left on every round. An easy way to spot ‘in the round’ charts is that all the row numbers are on the right side of the chart. If you’re working flat, you’ll see the row numbers alternate on both sides of the chart.
By where the foundation chain begins, you can tell if the first row of a crochet pattern is a right side or wrong side row. If the chain starts at the left, your first row will be an RS row. If your foundation chain begins at the right, your first row will be a WS row.
Whether knitting or crocheting, charts always show the Right Side of your work.
Now to practice reading repeats
So, now that you’re armed with enough information to understand repeats in knit and crochet, it’s time to put your knowledge into practice. Check out the links below for some fun projects and some samples of charts and how to read them.
Here’s a pattern for the Double Dip Ribbed Knit Hat.
And this is the YouTube video to accompany the Double Dip Hat Pattern. If you prefer to watch how it’s done, check it out.
Crocheters – how about the Lacy Crochet Shawl – Feather & Fan Wave?
And here’s the Feather & Fan Crochet Shawl accompanying video (Part 1.)
If you want even more pattern choices, check out the Marly Bird Ravelry Store!
Categories: Crochet, Knitting, Tips, Tricks, Techniques for Knitting and Crochet