
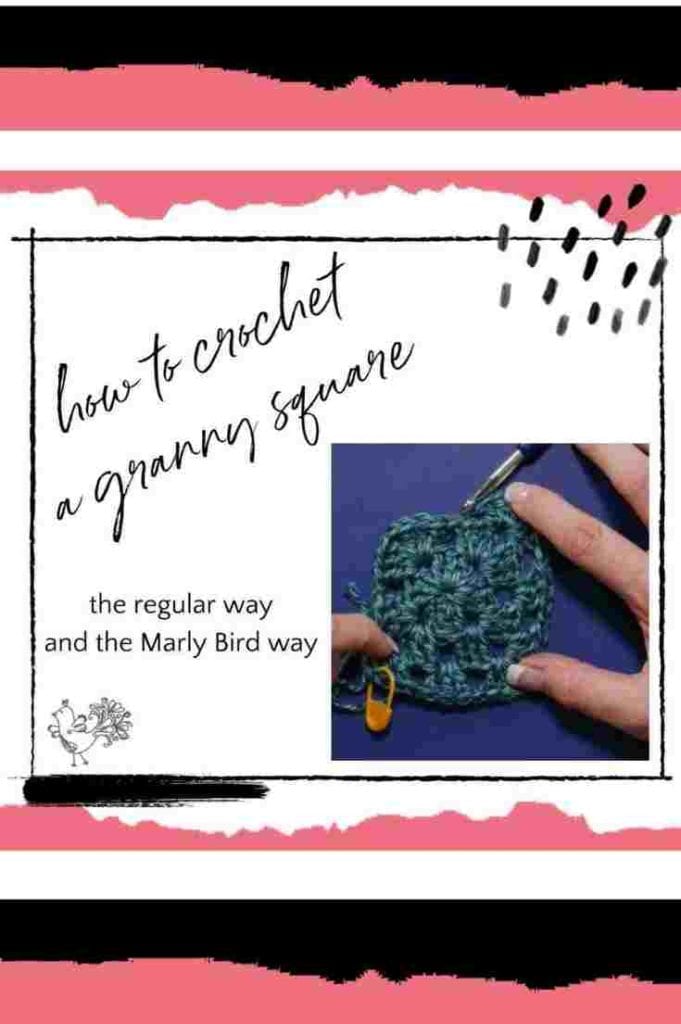
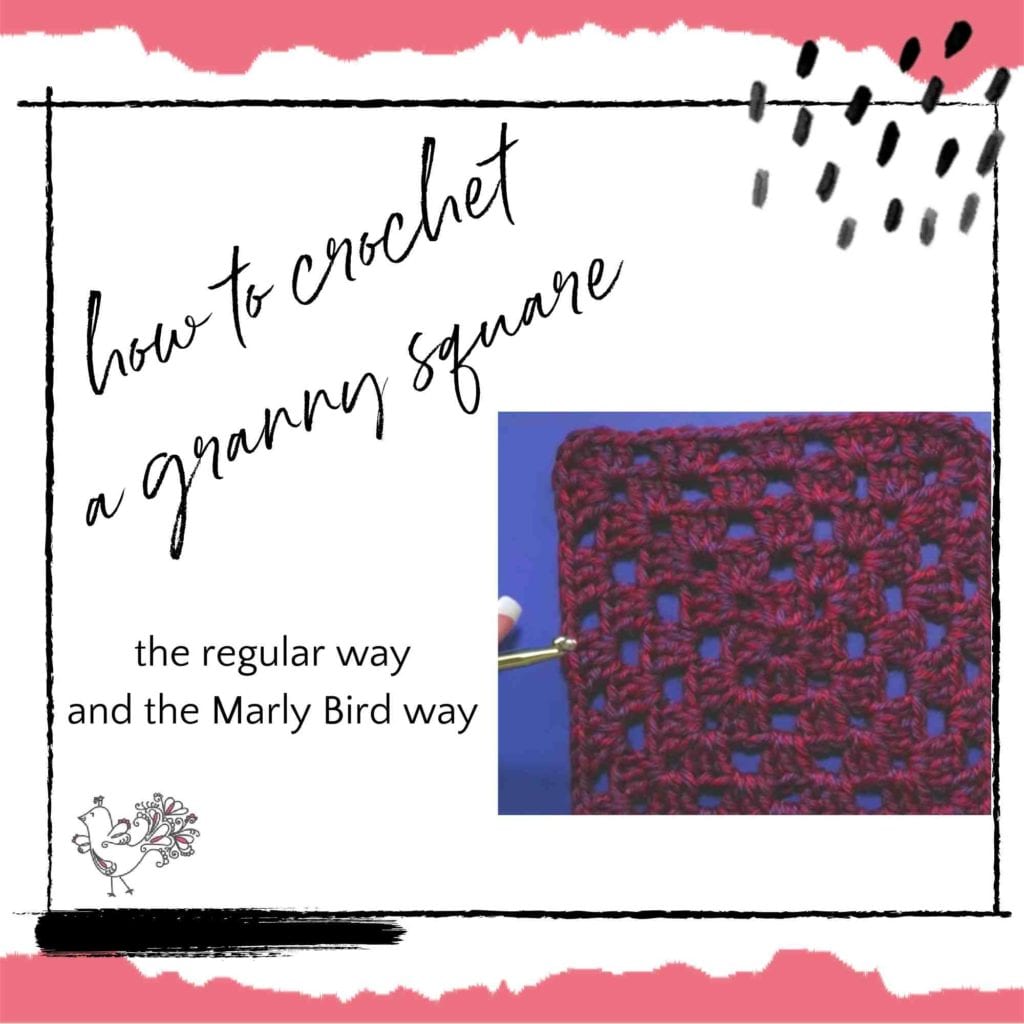
How To Crochet a Granny Square: 2 Ways to Make the Basic Square, The Regular Way and the Marly Bird Way
Everyone who starts to crochet quickly wants to learn how to crochet a granny square. It’s the classic crochet motif. Plus, once you know how to do it, there is so much you can do with it. You can make little ones, large ones, and all kinds of variations on the basic design. Therefore, let’s talk about how to crochet a granny square. Therefore, that’s what we’ll talk about in this post.
What Is a Classic Crochet Granny Square?
When people talk about how to crochet a granny square, they might refer to many different things. Some people will say that any crochet square is a granny square, Others will argue that any crochet square worked in the round from the center out is a granny square. However, there is a traditional, classic granny square motif. That’s the first thing you should learn when you learn how to crochet a granny square.
Fun Fact: Marly’s History with the Granny Square
My first granny square was made using red, light pink and white yarn. I didn’t fully understand how to do the corners of my granny square. Therefore, it began to pucker at the center. When I was done, it looked like a boob! I’m not even kidding. Once I realized what I was doing wrong, I was fascinated with the granny square. And as soon as I had figured out how to crochet a granny square, I totally understood why so many crocheters like to use it. It is a no-brainer project which is nice to have after a long day at work.
Marly’s Two Ways to Crochet a Classic Granny Square
So, after many years of making granny squares I realized that each granny square pattern has the same basic construction. However, there may be a tweak here and there that people prefer. For me, I found the best granny square pattern for me is one that ends with a sc join instead of a slip stitch. WHAT, you say, YOU CAN DO THAT? Yes you certainly can and I am going to show you how. But don’t worry; I’ll also show you the classic way to do it, too.
Below you’ll find the instructions for both options. Then, you’ll find the video tutorial for how to crochet a granny square. In that video, I’ll show you option one through round one. Then I’ll show you my preferred method after that, which is option two. From there, you can decide which you like best. Either one will give you the design of the classic granny square motif.
Recommended Materials
Note that you can use whatever materials you’d like to make a crochet granny square. They come in all sizes. For the purposes of learning, I recommend a basic worsted weight yarn in a light color and a size G or H crochet hook. You’ll also want stitch markers.
How to Crochet a Granny Square: Option 1
Set-up round: Chain 4 (remember the stitch on your hook does not count as a chain), join with a slip stitch to the first chain to form a ring,
Round 1:
- Chain 3 (counts as a double crochet so place a stitch marker in the 3rd chain of the chain 3)
- 2 double crochet in the center of the ring
- Chain 1
- 3 double crochet in the ring
- Chain 1
- 3 double crochet in ring
- Chain 1
- 3 double crochet in ring
- Chain 1
- Join with a slip stitch to 3rd chain of original ch-3 (the stitch that is marked)
- Turn work
Round 2:
- Chain 3 (counts as a double crochet, place a stitch marker in the 3rd ch of this)
- 2 double crochet (dc) in ch-1 space
- Ch 1, 3 dc in same ch-1 space (You have now created a corner that consist of 3 dc, a chain 1 and 3 more dc)
- In next ch-1 space do everything that is in the bracketsL [ch 1, 3 dc, ch 1, 3 dc]. You now have a second corner made.
- Again, in next ch-1 space do everything that is in the brackets: [ch 1, 3 dc, ch 1, 3 dc] (You now have a 3rd corner made)
- In next ch-1 space do everything that is in the brackets: [ch 1, 3 dc, ch 1, 3 dc] (You now have 4 corners made and should be at the end of the round)
- Ch 1, join with a slip stitch to 3rd ch of original ch-3 (the stitch that is marked)
- Turn work
Rounnd 3:
- Chain 3 (counts as a double crochet, place a stitch marker in the 3rd ch of this)
- 2 dc in ch-1 space
- *[ch 1, 3 dc, ch 1, 3 dc] in the corner ch-1 space, ch 1, 3 dc in next ch-1 space
- Repeat from * twice more
- Ch 1, join with a slip stitch to 3rd ch of original ch-3 (the stitch that is marked)
- Turn work
Rounnd 4 and beyond: You now can see a sequence beginning. From this point forward, at all of the ch-1 spaces between the corners you will only do ch 1, 3 dc. Then, at all of the ch-1 spaces in the corner you will do the [ch 1, 3dc, ch 1, 3 dc] so that the corner continues to grow and your square will not pucker.
You can repeat this as many times as you wish to get a square as large as you desire! People make small granny squares that they stitch together into bigger projects. However, you can also crochet a large granny square to use as a shawl or blanket.
How to Crochet a Granny Square: Option 2
The other way to crochet a classic granny square is my variation. In this one, you don’t turn the work after each round. Here’s how to do it this way:
Round1:
- Chain 3 (counts as a double crochet so place a stitch marker in the 3rd chain of the chain 3)
- 2 double crochet in the center of the ring
- Chain 1
- 3 double crochet in the ring
- Chain 1
- 3 double crochet in ring
- Chain 1
- 3 double crochet in ring
- Sc in 3rd chain of original ch-3 (the stitch that is marked). Doing the join this way places your loop and hook in the appropriate place for the next round
- DO NOT TURN.
Round 2:
- Chain 3 (counts as a double crochet, place a marker in the 3rd ch of this)
- 2 double crochet (dc) around the joining single crochet (sc) that you used to join the last round. (This is the first half of the first corner. Don’t worry; this will make more sense as you come back to this).
- In next ch-1 space do everything that is in the brackets: [ ch 1, 3 dc, ch 1, 3 dc] (Therefore, you now have a complete 2nd corner created.)
- Again, in next ch-1 space do everything that is in the brackets: [ ch 1, 3 dc, ch 1, 3 dc] (As you might guess, you now have a complete 3rd corner created)
- In next ch-1 space do everything that is in the brackets: [ ch 1, 3 dc, ch 1, 3 dc] (Obviously, you now have a complete fourth corner created.)
- But remember that you didn’t complete that very first corner. You only did half of it. Therefore now, around the joining sc that you used to join the last round and next to the first ch-3, you’ll make 3 dc. This will complete the first corner.
- Sc join into the 3rd ch of the original ch-3 (the stitch that is marked)
- DO NOT TURN.
Round 3:
- Chain 3 (counts as a double crochet, place a marker in the 3rd ch of this)
- 2 dc around the joining sc, *ch 1, 3 dc in next ch-1 space, [ch1, 3 dc, ch 1, 3 dc] in the corner ch-1 space
- Repeat from * twice more
- Ch 1, 3 dc in next ch-1 space
- Ch 1, 3 dc around the joining sc and next to the first ch-3
- Sc join into the 3rd ch of the original ch-3 (the stitch that is marked)
- DO NOT TURN.
Round 4 and beyond: You now can see a sequence beginning. From this point forward, you begin with a ch 3 and 2 dc in the sc join. After that, at all of the ch-1 spaces between the corners you will only do ch 1, 3 dc. On the other hand, at all of the ch-1 spaces in the corner you will do the [ch 1, 3 dc, ch 1, 3 dc] so that the corner continues to grow and your square will not pucker. Again, you can grow this crochet granny square as big as you want.
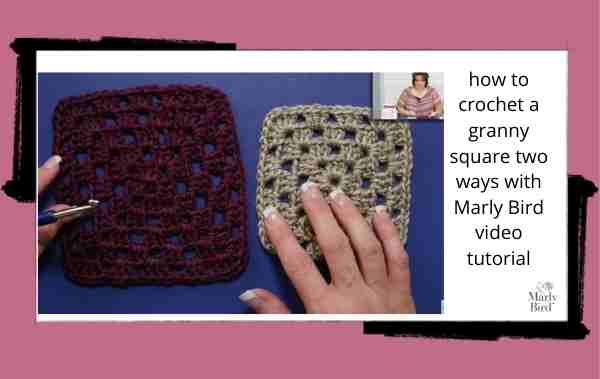
Video Tutorial for How to Crochet a Granny Square Both Ways
Okay, here’s how it all works:
You Might Also Like:
Categories: Crochet, Pattern, Tips, Tricks, Techniques for Knitting and Crochet


Love your version of the granny ….what is your favorite join?